Can Pebble Trays Prevent Crispy Leaves? A Diagnostic Guide
Can pebble trays prevent crispy leaves? Use a 5-cause triage (humidity, water, salts, heat, fluoride) to diagnose first, then test a tray as one controlled variable.
Quick Answer: One Tray, One of Five Causes
A pebble tray can prevent new crispy leaf edges when low humidity is part of the problem and the tray produces a small, local rise in relative humidity at the foliage. It cannot repair tissue that is already brown, fix underwatering, flush fertilizer salts out of the root zone, neutralize fluoride in tap water, or shield a plant from a heating vent. Iowa State Extension lists low humidity, inconsistent watering, excess fertilizer salts, and water-quality chemicals as separate causes of brown leaf tips, so the same symptom can come from five different directions. (Iowa State Extension)

The shortest version: diagnose first, then test a tray as one controlled variable for two to four weeks. If the next emerging leaves open clean, the tray is doing its job. If they don’t, the cause is somewhere else on the triage list and the tray will not fix it.
For a more detailed look at the mechanism itself - what the tray is doing, what it isn’t, and what current sources say about the size of the effect - see the DIY pebble tray hub and the do pebble trays really increase humidity? guide. This page is built to help you sort the cause before you reach for a tray.
The 5-Cause Crispy-Leaf Triage
Use this table as the first stop. Patterns overlap, so look for two or three cues that agree before deciding.
| Cause | What you observe | Test now | First corrective action |
|---|---|---|---|
| Humidity-crisp | Fine brown margins worsen when heating starts; room RH at leaf height reads below ~40%; soil moisture is consistent; no white crust | Place a hygrometer at leaf height; check for nearby vents and radiators | Move out of direct airflow; then compare a tray or humidifier |
| Underwatering-crisp | Whole leaves dry and curl; pot feels light; mix pulls from the pot sides; leaves droop before watering | Push a finger or chopstick 3–5 cm into the root ball; check pot weight | Rehydrate evenly and improve the checking routine |
| Salt-crisp | White or grey crust on soil surface or pot rim; tip burn appears after fertilizing; multiple plants in the same water source affected | Pause fertilizer; review water source; flush the mix with plain water | Leach the mix; repot if the crust returns within weeks |
| Fluoride-crisp | Sharp, tan tip burn on spider plant, dracaena, peace lily, prayer plant, or calathea despite good watering and adequate humidity | Run a 4–6 week trial with rain, distilled, or reverse-osmosis water | Change the water source before changing humidity |
| Heat-crisp / draft-crisp | Damage is strongest on the window- or vent-facing side; rest of the plant looks fine; pattern started after a temperature event | Map the damage to the exposure; check for a register, fan, or cold window | Move the plant; preserve suitable light |
UC Statewide IPM includes low humidity, excessively wet or dry soil, soluble salts, mineral toxicities, overfertilization, and injury among the possible causes of scorched houseplant tips, which is why the triage above is built as a checklist rather than a yes/no decision. (UC Statewide IPM) The Royal Horticultural Society makes the same point: brown tips or margins can result from watering, dry air, ventilation, or sudden environmental change, so the right fix depends on which pattern you actually see. (Royal Horticultural Society)
Why “Crispy” Is a Symptom, Not a Diagnosis
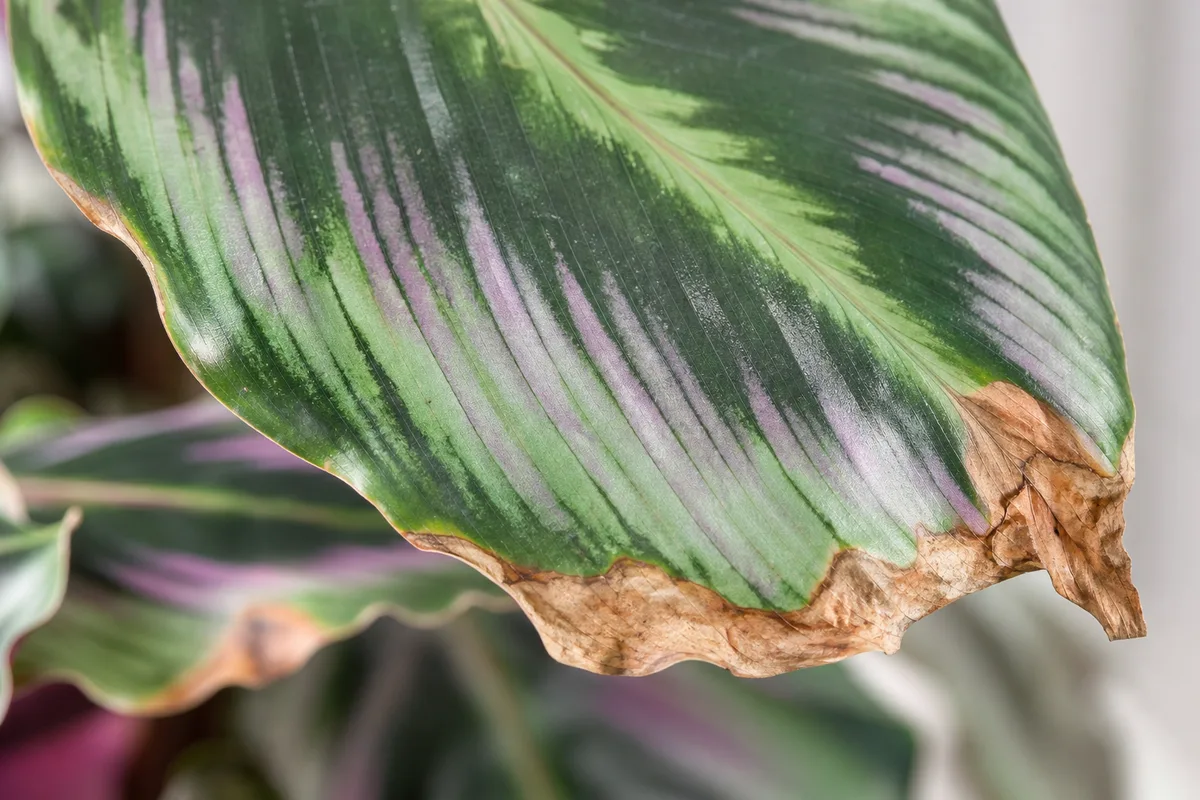
Two plants can look identical from across the room and need completely different fixes. Crispy leaf edges are the visible end of one of at least five different processes: water leaving the leaf faster than the roots can replace it, salt or fluoride building up in the tissue, the root zone cycling too dry or staying too wet, the leaf surface getting cooked by direct sun or a hot vent, or a pest or pathogen eating the same tissue you are trying to save. Treating any of them as a “humidity problem” without checking the others is how the same tray ends up under the same sad calathea for two years.
The Missouri Botanical Garden extension service notes that many indoor plant problems are caused by an unfavorable environment - low humidity, light issues, watering patterns, and fertilizer rates - rather than by a pathogen, and that the symptoms often overlap. (Missouri Botanical Garden) That is why this page leads with triage. A pebble tray is one specific tool; only one row of the table above is its job.
Humidity-Crisp vs. Underwatered-Crisp
Humidity-crisp tends to look like fine, even browning along the margin of an otherwise normally shaped leaf, usually appearing on the older leaves first and getting worse when the heating system runs. Underwatered-crisp tends to look like whole leaves that dry, curl, and feel papery all over, with a light pot and soil that has pulled away from the rim. University of Maryland Extension notes that most indoor environments lack sufficient humidity in winter and that grouping, pebble trays, and humidifiers are reasonable local options, but it also makes clear that misting is of questionable effectiveness and that an automatic humidifier is the most reliable tool. (University of Maryland Extension)
If the pot is heavy, the soil is damp, and the leaves are still going crispy, the root system may not be moving water up to the leaves fast enough, or the lower mix may be chronically wet while the top dries - both of which are root problems, not humidity problems. For those cases, the better first stop is the complete indoor-plant watering guide before adding anything underneath the pot.
Salt-Crisp and Fluoride-Crisp (often confused with humidity)
A white or grey crust on the soil surface or the pot rim is a salt clue. Clemson Cooperative Extension lists salt accumulation, hot dry air, and improper watering as the usual causes of brown leaf tips and recommends avoiding over-fertilization, removing crusts, and periodically leaching the mix. (Clemson Cooperative Extension) Missouri Botanical Garden adds that excess fertilizer salts accumulate along leaf margins and tips, where they cause marginal or tip necrosis, and that water-softener salt is part of the same problem. (Missouri Botanical Garden) If the damage appeared within a few weeks of feeding or after switching to softened water, salts are a stronger hypothesis than humidity.
Fluoride looks similar but is more specific. Iowa State names spider plant, ti plant, dracaena, prayer plant, and calathea among plants that develop brown tips after extended exposure to chlorine, fluoride, and other water chemicals. (Iowa State Extension) Wisconsin Horticulture specifically links spider-plant tip burn to fluoride, chlorine, salt accumulation, and dry soil. (Wisconsin Horticulture) The fastest home test is to run a four- to six-week comparison with rain, distilled, or reverse-osmosis water on a single affected plant while keeping everything else stable. If the new growth is clean and the older damage has stopped advancing, water quality was at least part of the story.
If a single plant species keeps crisping in the same spot with the same water, the dedicated species page is the next step. Calathea brown-tips guide and dracaena brown-tips guide walk through species-specific fluoride and salt patterns, and the spider plant brown-tips guide covers the fluoride-sensitive case directly.
Heat-Crisp and Draft-Crisp (often misread as a humidity problem)
When damage is concentrated on one side of the plant, the rest of the canopy looks fine, and the pattern started after a temperature event - a new radiator cycle, a heat wave, a cold snap by a single-pane window - the leaf is responding to its microclimate, not to room-average humidity. A tray cannot undo a hot-air plume from a forced-air register; the air will strip the small amount of added moisture before it reaches the leaf. Moving the plant a metre or two away from the airflow is the cheaper, more effective fix.
The Royal Horticultural Society recommends keeping humidity-sensitive plants out of drafts and away from radiators, conservatories, and unheated rooms, and groups brown crispy edges with low humidity as a winter heating problem rather than a tray problem. (Royal Horticultural Society) For winter heating context, the winter houseplant care guide and the signs your houseplant needs more humidity page are the cluster handoffs.
When a Pest or Disease Is the Real Cause
If the browning comes with stippling, fine webbing, sticky residue, cottony clusters, scale-like bumps, or a halo around the spot, the leaf is not reacting to humidity. Inspect both sides of the foliage with a bright light before assuming. UC Statewide IPM includes insects, mites, fungi, bacteria, and viruses among houseplant problems, with abiotic (care) issues usually the larger share. (UC Statewide IPM) Add a tray only after the pest or pathogen is identified, because extra humidity can actually make some foliar diseases worse.
A houseplant pest identification and treatment guide and a houseplant diseases identification guide sit in the cluster for that step.
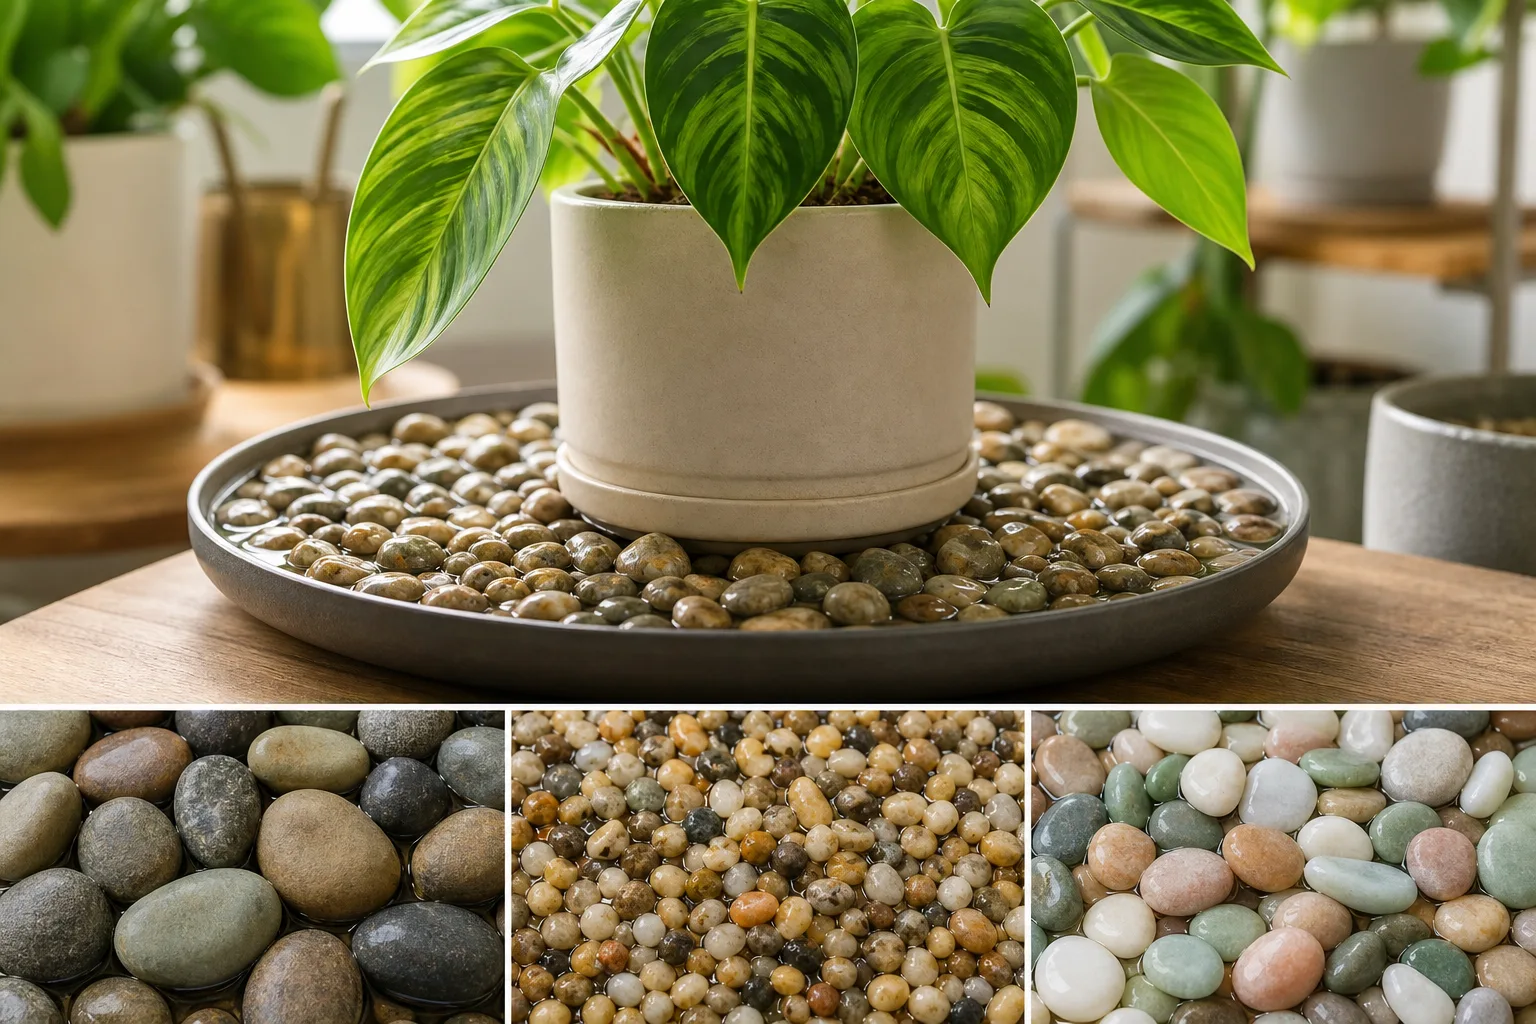
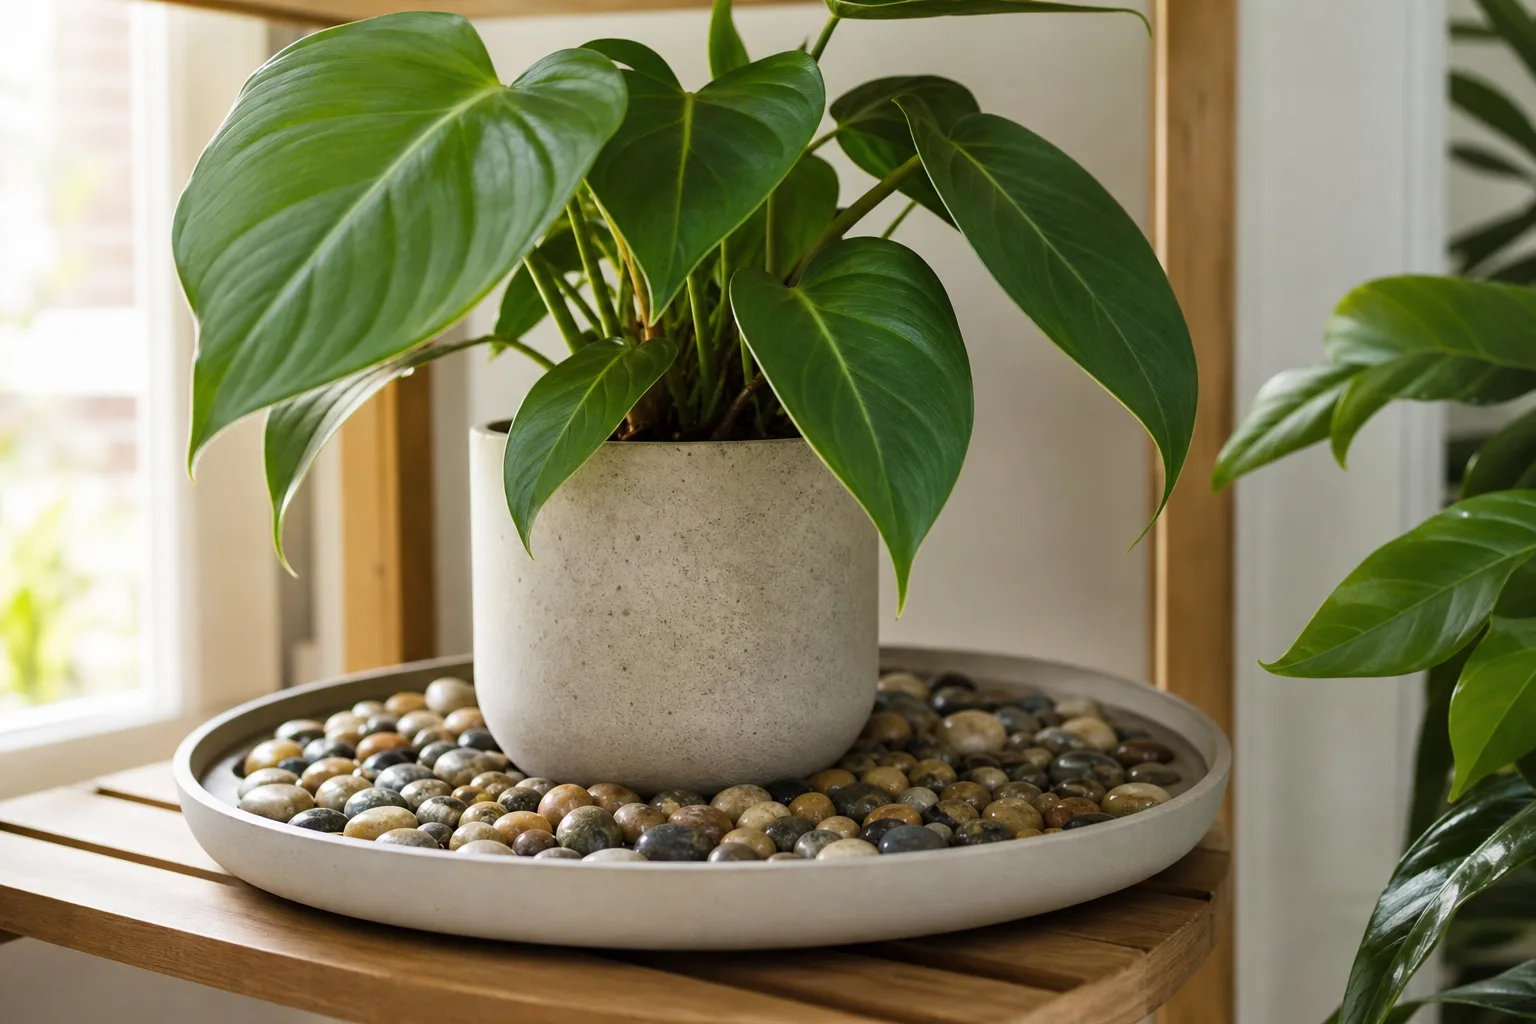
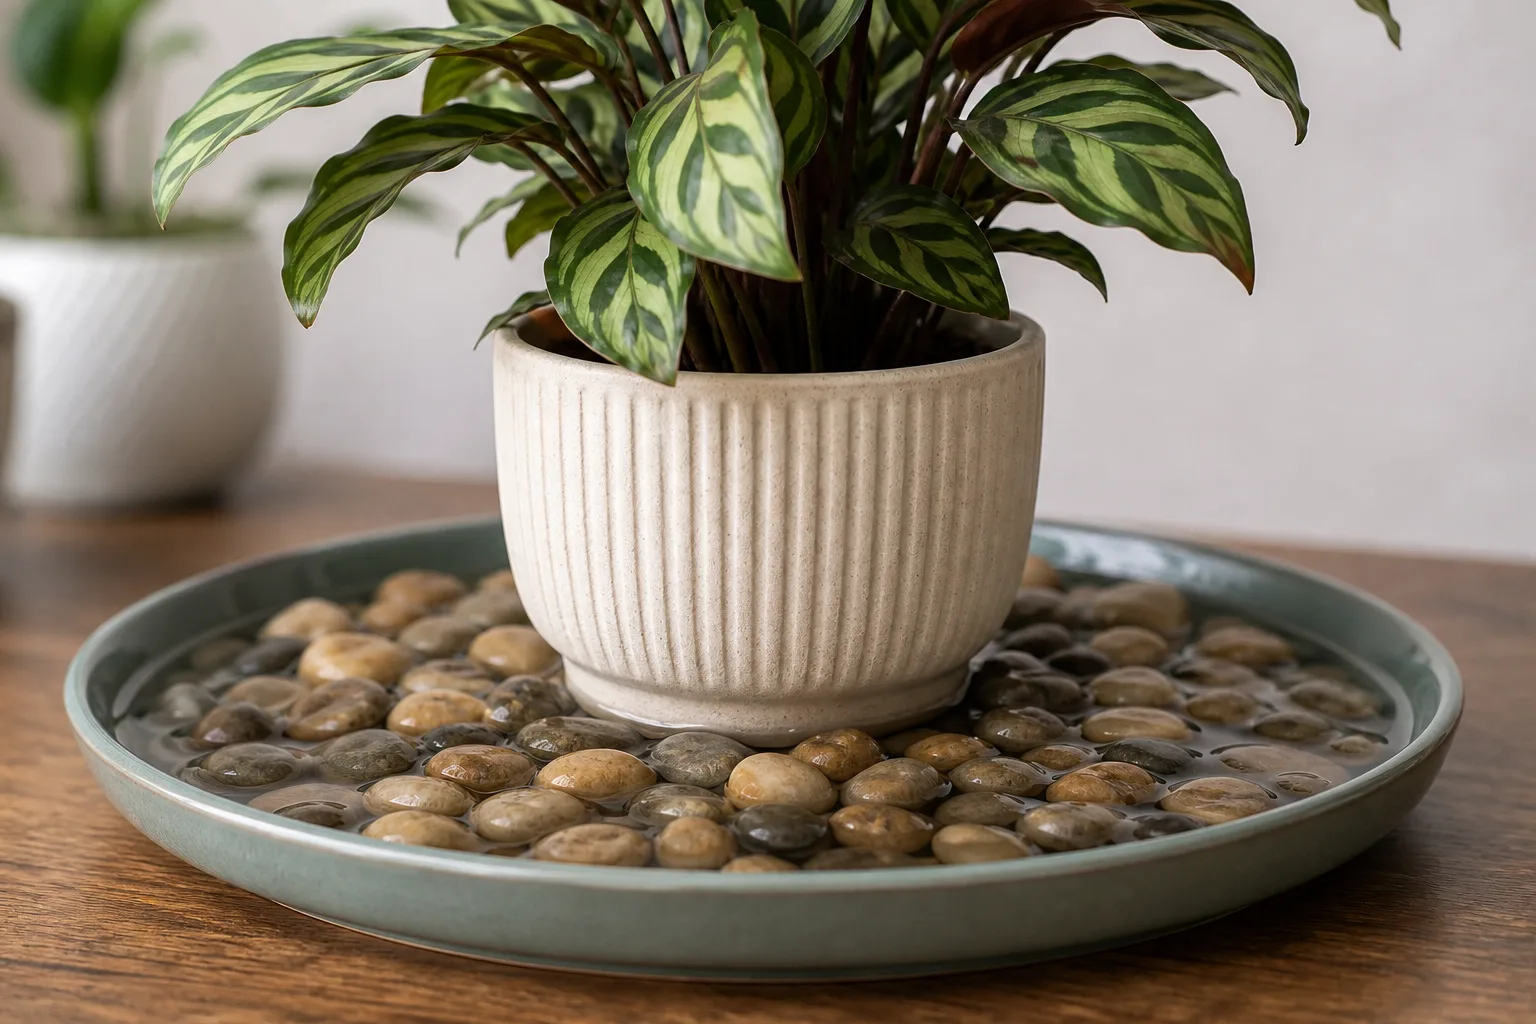
What a Pebble Tray Can and Cannot Do
A pebble tray is an evaporation reservoir: water sits between the stones, the pot rests above the waterline, and the exposed water surface slowly turns into vapor. University of New Hampshire Extension describes the effect as a small local benefit that is strongest with grouped plants in rooms with low air circulation, and ranks a portable humidifier monitored with a digital hygrometer as the option providing the most benefit. (University of New Hampshire Extension)
What a tray cannot do is just as important. It will not raise humidity evenly across a room, will not repair brown tissue, will not protect a plant from a draft, will not flush salts, will not neutralize fluoride, will not substitute for watering, and will not rescue a root-bound plant. The tray’s value is whether it produces a small, repeatable local change that lines up with healthier new growth after the stronger candidates have been ruled out.
A Pebble Tray in Plain Language
The canonical LeafyPixels build lives in the DIY pebble tray hub. That page covers tray sizing, materials, the safe water line, refill cadence, cleaning, and the difference between a humidity tray and a decor tray. For the evidence limits on local humidity change, the do pebble trays really increase humidity? guide is the deeper read.
This page hands the build off to the hub on purpose. Two near-duplicate setup sections in the same cluster makes the cluster read like keyword-swap content to both readers and search systems, and a single hub page is the cleaner answer.
How to Set Up a Pebble Tray Safely (5 Steps)
Use this short version once the triage supports a tray trial. For the full build, sizing tables, and refill ranges, follow the DIY pebble tray hub.
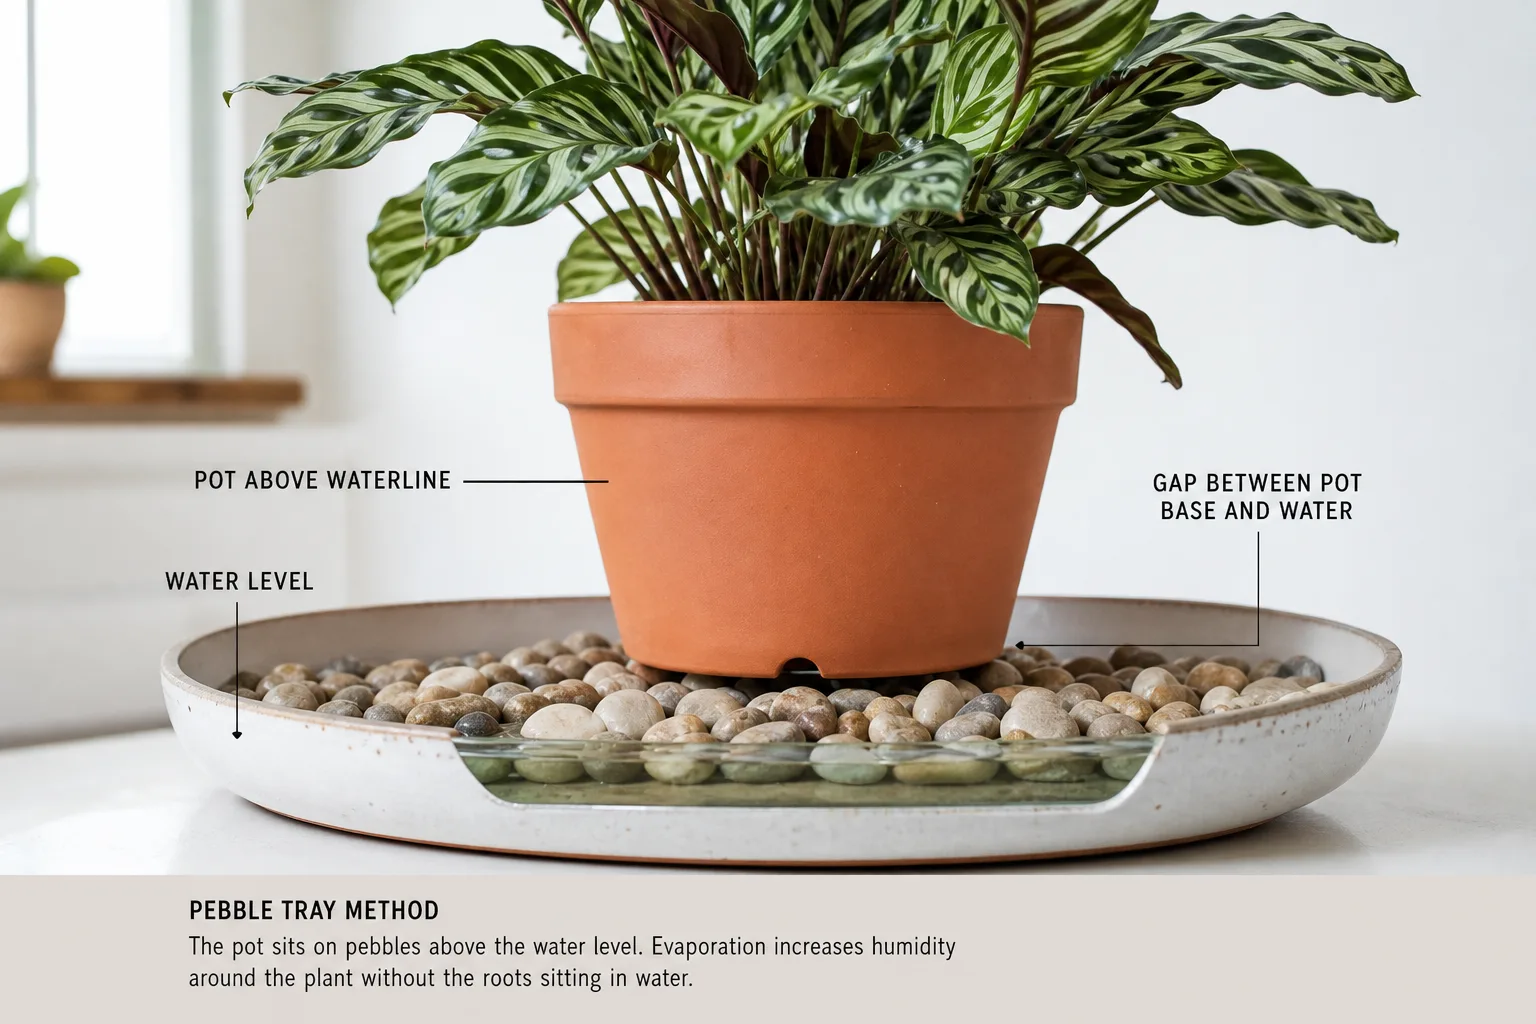
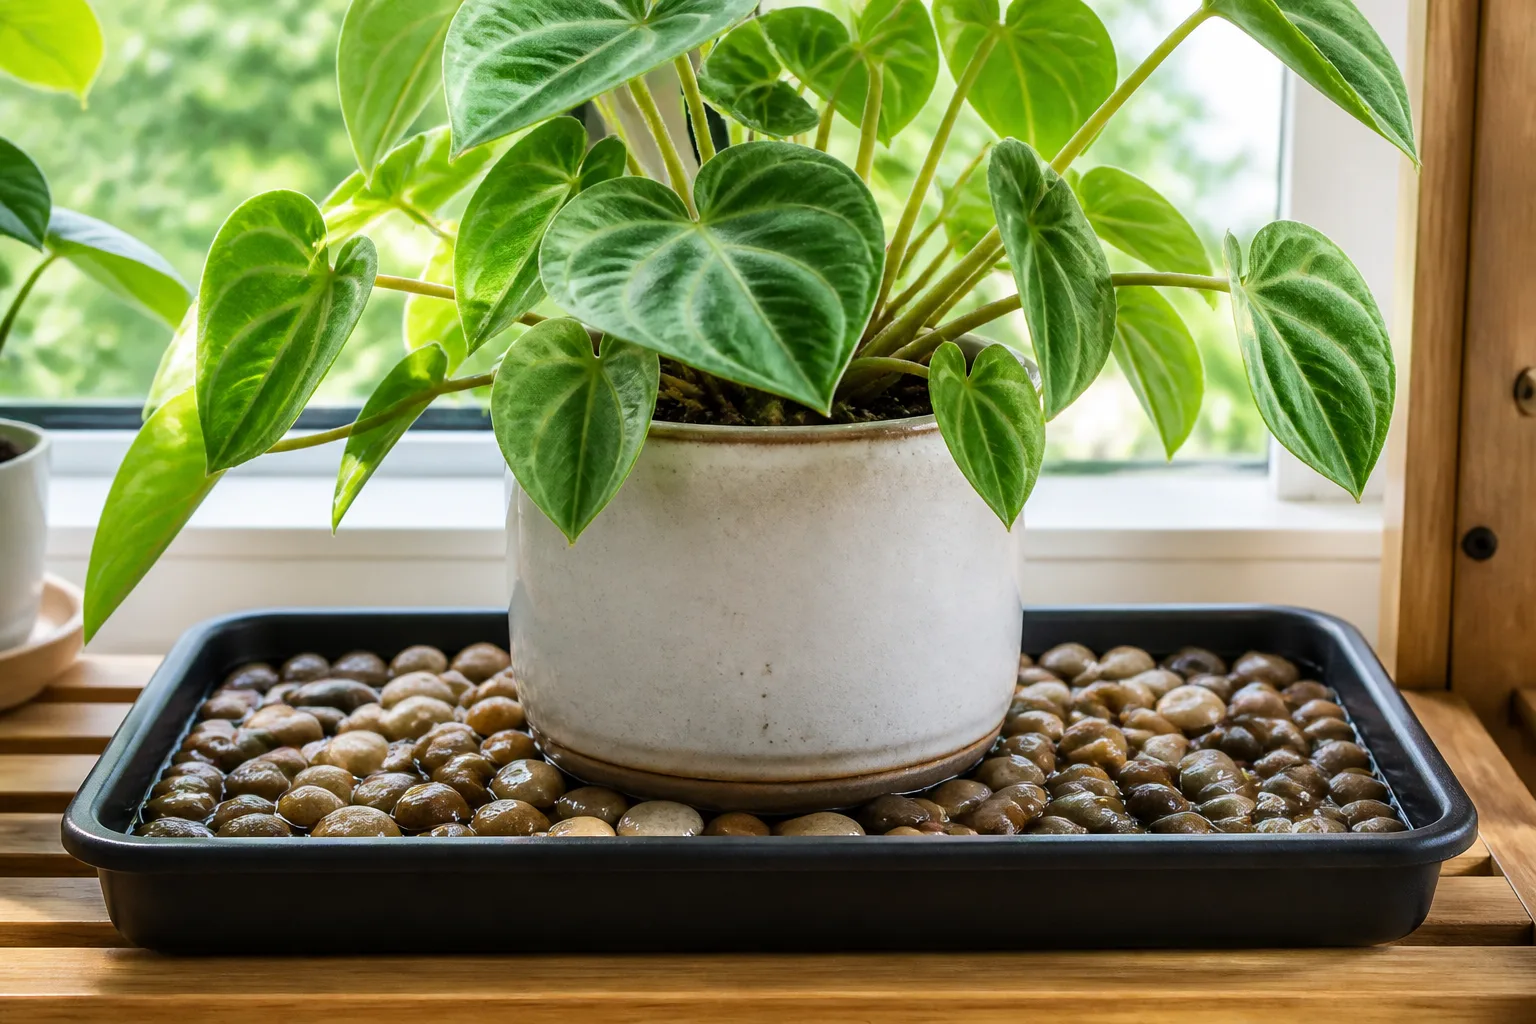
Correct pebble tray setup: the pot base and drainage holes stay above the waterline; water fills to just below the pebble tops. The gap between pot and water is the safety rule that keeps the tray from becoming bottom watering.
- Wash the tray and pebbles. Remove dust and residue before assembly; rinse thoroughly.
- Spread a level pebble layer (about 2–4 cm / 0.75–1.5 in.) wide enough to extend past the pot on every side.
- Add water below the pebble tops. The pot base and drainage holes must stay above the waterline.
- Set the pot above the water and confirm clearance with a side view. The reservoir should evaporate; the pot should never sit in it.
- Place a hygrometer at leaf height - not directly over the open water - and log temperature and RH at the same times each day for a week.
The critical safety rule is the same as in the hub: the pot is supported above the waterline. A container left in standing water becomes bottom watering and can keep the lower mix wet enough to rot roots. Iowa State advises never allowing houseplants to remain in collected water because roots held wet for long periods can suffocate and rot. (Iowa State Extension)
A 7-Day Leaf-Level Measurement Protocol
A “it feels a bit more humid” reading is not evidence. Run a simple A/B instead.
Days 1–3 (baseline, tray dry): Place a digital hygrometer at the same leaf height you would normally water. Log temperature and RH in the morning, afternoon, and evening. Photograph the damaged leaf and the next emerging leaf. Do not move the plant or change watering.
Days 4–7 (intervention, tray filled to the safe line): Repeat the readings at the same times without moving the plant, sensor, or watering schedule. Refill the tray only when the water level drops visibly below the pebbles; do not raise the water to the pot base.
Compare the medians at the same temperature rather than picking the highest single reading. A small but repeatable lift (a few percentage points of RH at the foliage) is what UNH and Maryland Extension describe as the realistic effect of a tray. (University of New Hampshire Extension) (University of Maryland Extension)
In a recent LeafyPixels editorial check in a 14 × 12 ft forced-air heated room with a 10-inch tray under a 6-inch pot, the hygrometer at leaf height read 41% RH with the tray filled, versus 36% RH at the same spot on the dry-tray baseline - a small, repeatable local lift consistent with extension guidance, not a room-wide transformation. Record the same numbers in your home. If the local reading barely moves, the tray is not the bottleneck, and grouping, a humidifier, or a different cause altogether is the better next step.
Watch the next emerging leaves over the following two to four weeks. Stabilisation means the boundary of existing damage stops advancing and the new leaves open without the same pattern; old brown tissue will not turn green again.
Which Plants Are Reasonable Candidates
A small, low-growing, humidity-sensitive plant sitting close to a broad tray in mildly dry air is the most plausible use case. Calathea, maranta (prayer plant), some ferns, and some orchids are reasonable trial subjects, but each can crisp from water quality or watering inconsistency before humidity is ever the issue. RHS guidance for poorly houseplants specifically links low air humidity with shrivelled or crispy foliage and lists grouping or damp-pebble trays as local humidity measures, alongside the warning that humidity alone is rarely the whole answer. (Royal Horticultural Society)
For species-specific patterns, use the relevant hub before treating:
- Calathea - margin crisp, fluoride-sensitive, hates cold taps. See the calathea care hub, the calathea brown-tips page, and the low-humidity calathea page.
- Dracaena - fluoride and salt tips on an otherwise healthy plant. See the dracaena care hub, the dracaena brown-tips page, and the dracaena watering page.
- Spider plant - fluoride tip burn is the classic case. See the spider plant care hub and the spider plant brown-tips page.
- Monstera deliciosa - usually tolerates average humidity; a tray is rarely the fix. See the monstera care hub and the monstera brown-tips page before assuming humidity is the cause.
Cacti, most succulents, and plants already in a wet mix are poor candidates. UNH Extension explicitly separates cacti, succulents, and a few other plants from its general 40–60% humidity recommendation. (University of New Hampshire Extension) Maryland Extension makes the same call: with the exception of cacti and succulents, most indoor plants benefit from added local humidity, but those groups do not need a tray. (University of Maryland Extension)
Pebble Tray vs. Grouping vs. Misting vs. Humidifier
Choose the smallest intervention that creates the measured correction without creating a building-moisture problem.
| Method | Likely reach | Main advantage | Main limitation | Best use |
|---|---|---|---|---|
| Pebble tray | Immediate area near a low plant | Cheap, passive, silent | Small, variable effect; cleaning required | Mild local dryness and a suitable compact plant |
| Plant grouping | Around a cluster | No equipment; combines transpiration | Needs several plants and similar conditions | Plants with similar needs in one location |
| Misting | Wet leaf surface and a brief nearby change | Fast and inexpensive | Effect is brief; wet foliage can be unsuitable | Specific cleaning or cultural uses, not stable humidity |
| Humidifier | Part or all of a room, depending on capacity | Active, measurable control | Cleaning, power, water, and over-humidification risk | Persistent low RH or several sensitive plants |
The U.S. Environmental Protection Agency recommends keeping indoor relative humidity below 60% and ideally between 30% and 50% where possible, to limit moisture and mold problems. (U.S. Environmental Protection Agency) A plant target never overrides condensation, damp materials, or building health. If you already see condensation on the windows, push the room down a little, not up.
When to Skip the Tray and Use a Humidifier
Skip the tray and reach for a correctly sized humidifier when:
- Room RH at the plant is persistently below 35–40% even after the diagnostic steps above.
- Several plants need the same correction in the same room - a tray is local, a humidifier is room-scaled.
- The plant’s canopy sits well above the tray surface (a tall floor plant on a small saucer) so the small local effect can’t reach the foliage.
- The 7-day A/B protocol shows no useful local change at leaf height.
- The damage is on a known fluoride-sensitive species (dracaena, spider plant, prayer plant, calathea, peace lily) and water quality is more likely than humidity. (Iowa State Extension)
For a head-to-head comparison, the pebble tray vs. humidifier guide walks through the same tradeoff in more detail.
Trim Old Damage, Then Watch New Growth
Brown, crispy tissue is dead. Trimming improves appearance but does not change the cause. Iowa State notes that trimming brown portions off the leaves can improve appearance, but new browning will continue unless the root cause is addressed. (Iowa State Extension) Use clean scissors and follow the leaf’s natural outline, leaving a narrow brown margin if cutting further would enlarge the wound.
The meaningful result is whether the boundary of existing damage stops advancing and the next emerging leaves open without the same pattern. Photograph the affected leaf and the next emerging leaf before the intervention, then again two to four weeks later under the same light. Improvement shows up on new growth, not on the old tip.
A Diagnostic Checklist You Can Reuse
Before reaching for a tray - or before blaming a tray that isn’t helping - run through this checklist once.
- Smell the pot. Sour, swampy, or rotten = overwatering or root rot, not humidity.
- Lift the pot. Light and bone-dry = underwatering; heavy and damp = drainage or root problem.
- Look at the pot rim. White or grey crust = salt; brown slime = root or algae issue.
- Read the hygrometer at leaf height. Below 35% RH = humidity is plausible; above 45% = look elsewhere.
- Check the side of the plant facing the vent or window. Damage concentrated there = heat/draft, not humidity.
- Check the species. Spider plant, dracaena, prayer plant, calathea, peace lily = test water quality too.
- Run a 4–6 week water-source comparison if the species is fluoride-sensitive.
- Then run the 7-day tray A/B at leaf height, and judge by new growth.
This is the same workflow extension services describe - diagnose environment first, then run a controlled intervention. (UC Statewide IPM) (Royal Horticultural Society)
When to Use This Guide
Use this page when you have crispy leaf edges and you are not yet sure whether a pebble tray is the right next step. It is built for triage: identify which of the five causes fits your plant, then send the right problem to the right next page.
- DIY pebble tray - the canonical hub for setup, sizing, refill, and cleaning once the triage supports a tray.
- Do pebble trays really increase humidity? - the evidence and limits behind the local-humidity claim.
- Can a pebble tray really fix brown leaf tips? - the brown-tips sibling page; use this guide for full 5-cause triage, that page when the symptom is specifically tip burn.
- Pebble tray vs. humidifier - the head-to-head when the local effect isn’t enough.
- How to set up a pebble tray - the step-by-step build with materials and illustrations.
- Pebble tray FAQs - the FAQ hub for water level, refills, mold, fungus gnats, calatheas, ferns, and humidity limits.
- Indoor humidity and pebble trays - how a tray fits into a whole-room humidity plan.
- Houseplant humidity guide - measurement, placement, and species differences.
- How to water indoor plants the right way - the better starting point when the root zone swings between too wet and too dry.
- Winter houseplant care - context for the heating-season crisping pattern.
- Signs your houseplants need more humidity - when to escalate from a tray to a stronger humidity tool.
- Common pebble-tray mistakes to avoid - what not to do once the tray is in place.
- Calathea brown-tips guide - species-specific triage for the humidity- and fluoride-sensitive group.
- Dracaena brown-tips guide - fluoride, salt, and watering patterns.
- Spider plant brown-tips guide - the fluoride-sensitive case study.
- Monstera brown-tips guide - usually not a humidity problem; the species-specific triage.
Conclusion
A pebble tray can prevent new crispy leaf edges when low humidity is contributing to the problem and the tray produces a small, measurable local change at the foliage. It cannot repair dead tissue, correct underwatering, flush salts, neutralize fluoride, or shield a plant from a vent. The diagnostic spine of this page - humidity, water, salts, heat, fluoride - exists because the same symptom has at least five different causes and only one of them is a tray’s job.
The defensible workflow is short: triage, then test one variable. If the 7-day A/B at leaf height shows no useful local change, the result is useful - move to a better-matched intervention instead of refilling the tray again. The plant will tell you which row of the table it is on; the rest of the page is just helping you read the answer.