DIY Self-Watering System: What Actually Works?
Compare wick, bottle drip, reservoir, capillary mat, and bucket drip systems. Materials lists, build steps, test protocol, and plant matching for home gardeners.

You are leaving for a long weekend, your balcony tomatoes are drinking faster than you can check them, or your peace lily wilts the moment you miss one watering. A DIY self-watering system can buy time—but only if you build the right mechanism for that plant, pot, and location. The mistake most people make is copying the easiest hack online instead of matching delivery method to moisture preference.
This guide compares five approaches—wick, bottle drip, bottom reservoir, capillary mat, and bucket drip line—with materials lists, numbered build steps, safety caveats, and a test protocol you should run before trusting any setup while you are away. For day-to-day watering habits first, see How to Water Indoor Plants the Right Way and Indoor Plant Watering Basics. For trip planning, use the Vacation Plant Care Planner.
When You Need a DIY Self-Watering Setup (and When You Don’t)
A self-watering build makes sense when containers dry out faster than you can water, when you need a short absence buffer, or when steady moisture helps thirsty herbs and greens on a balcony. It does not replace learning whether soil is actually dry, whether drainage works, or whether the plant prefers a dry-down period—topics covered in our watering guides and on overwatering symptom pages.
Skip DIY reservoirs for snake plants, cacti, and other drought-tolerant species unless you are experimenting with very weak wicking and excellent drainage. Skip them for sick plants until you know whether the problem is too much or too little water. A reservoir added to wet soil hides the diagnosis and can accelerate root rot.
Good candidates include moisture-loving tropicals such as pothos, ferns, calathea, and peace lilies; seedling trays; and actively growing container vegetables during warm weather.
How Self-Watering Works: Capillary vs. Gravity
Most DIY systems use capillary action (wick, mat, bottom reservoir) or gravity-fed drip (bottle hole, tubing, emitters). Capillary systems move water as dry soil or fabric pulls moisture upward. Gravity systems release water downward through an opening or emitter. They fail differently: wicks stall when too thin or poorly seated; drips flood when holes are too large or soil channels water to the drainage hole.
Capillary Action and Wicking
Capillary action moves water through small spaces in cotton cord, potting mix, or capillary matting. In a wick setup, one end sits in a reservoir and the other in moist soil; water travels as the mix dries. Bottom-watering and reservoir containers use the same principle: dry soil draws water up until moisture spreads through the root zone. Singapore’s National Parks Board describes bottom watering as water drawn upward by capillary action until soil becomes moist. (GardeningSG)
Wicking needs absorbent material in firm contact with soil. Cotton clothesline wicks well but can degrade; braided synthetics last longer but may wick poorly unless textured. Light potting mix with coir, bark, and perlite moves water better than dense garden soil. University of Maryland Extension emphasizes container drainage and appropriate media for healthy roots in vegetable containers. (University of Maryland Extension)
Gravity Feed and Slow Drip
Gravity-fed systems store water above or beside the plant and release it through a hole, tube, or emitter. Iowa State University Extension notes drip irrigation delivers moisture directly to roots, saves time, and can reduce foliage wetting compared with overhead watering. (Yard and Garden) Colorado State University Extension describes drip as low-flow delivery under low pressure—useful for efficient garden watering when scaled beyond a single bottle. (CSU Engagement & Extension)
DIY drip weakness is uneven flow. Hole size, soil contact, air pressure, and mineral clogging all change release rate. Testing over a sink or tray is mandatory before travel.
Choose the Right Self-Watering System
Match the system to moisture preference, pot size, light, and trip length—not to Pinterest aesthetics.
| System | Best for | Strength | Main risk |
|---|---|---|---|
| Wick watering | Indoor plants, small herbs, short trips | Gentle and cheap | Too slow or too wet if poorly sized |
| Bottle drip | Outdoor pots, weekend vacation backup | Fast to build | Can empty quickly or bypass root ball |
| Reservoir container | Herbs, greens, balcony vegetables | Long moisture buffer | Root rot without overflow |
| Capillary mat | Seedlings, small nursery pots | Even moisture across many pots | Wrong for drought-loving plants |
| Bucket drip line | Multiple pots, raised beds, patio rows | Scalable | Needs elevation, leak checks |
For a long weekend, a tested wick or bottle may suffice. For frequent travel or daily-watering fatigue on a vegetable balcony, build a reservoir or drip line.
Best for Indoor Plants
Indoor conditions are cooler and less evaporative than outdoor patios, so gentle capillary delivery usually beats open bottle drips near furniture. Wick systems and cachepot-style bottom reservoirs—where the plant stays in a nursery pot with drainage and draws from a saucer or outer reservoir—work well for pothos, philodendron, peace lily, ferns, and fittonia.
They are poor fits for snake plants, ZZ plants, and succulents, especially in low light where soil already dries slowly. Low light reduces water use; constant reservoir access can keep mix soggy for days.
Best for Outdoor Containers and Beds
Sun, wind, and terracotta accelerate drying. Virginia Cooperative Extension notes established container plants on sunny patios may need watering daily or twice daily. (Virginia Tech Publications) A single bottle may help one hot day; a reservoir tote or drip line carries large tomatoes and pepper pots through a weekend more reliably.
Outdoor reservoirs require an overflow hole because rain fills the chamber. Without overflow, water rises into the root zone and suffocates roots—the same drainage principle University of Maryland Extension stresses for all containers.
When Not to Use Self-Watering
Do not attach constant moisture to plants that prefer drying between waterings: cacti, many succulents, rosemary, lavender, thyme. Do not use sealed decorative pots without an inner nursery pot and visible drainage path. Do not add automation to a plant showing yellow leaves until you confirm whether the issue is overwatering or something else.
Materials and Tools Checklist
Wick system: clean jar or bowl, cotton cord or braided wick, scissors, pot with drainage holes.
Bottle drip: clean plastic or glass bottle, pin or 1 mm drill bit, tray for testing.
Reservoir container: two nesting buckets or a storage tote, PVC fill tube, landscape fabric optional, light potting mix, drill for overflow and wicking holes.
Capillary mat: shallow waterproof tray, elevated platform (inverted seed tray or tiles), capillary matting or absorbent wool/felt, seedling pots with bottom holes.
Bucket drip line: food-grade bucket, bulkhead or spigot fitting, 1/4-inch drip tubing, emitters or punched holes, optional battery timer, stable stand 3–5 feet above emitters.
Use food-safe HDPE (#2) buckets for herbs and vegetables. Never reuse pesticide, fuel, or unknown chemical containers. Wash bottles and totes thoroughly.
Method 1: Wick Watering System
A wick watering system places absorbent cord between a water reservoir and potting mix. As soil dries, water moves through the wick into the root zone. It is the easiest indoor method: quiet, electricity-free, and adjustable by wick count and thickness.
Build Steps
- Choose a clean jar, bowl, or bottle as the reservoir and set it beside or below the pot.
- Cut cotton cord long enough to reach from the reservoir bottom to several centimeters inside the mix.
- Pre-soak the wick. Dry cord may not start pulling water.
- Push one end into soil near the root zone—not on the surface. Seat the other end at the reservoir bottom; clip or weight it if it floats.
- For medium pots, use two wicks on opposite sides rather than one thick center wick.
- Check soil after a few hours and the next day. If dry, add a wick or use thicker cord. If soggy, remove a wick or lower the reservoir.
Editorial test log (LeafyPixels, June 2026): 15 cm nursery pot, two 4 mm cotton wicks, 500 ml jar reservoir, bright indirect room—soil at finger depth stayed evenly moist 4 days; single wick lasted 2 days before surface dried.
Method 2: Bottle Drip System
A bottle drip releases water through a tiny hole in the cap or base. It suits short outdoor absences and thirsty balcony pots—not most indoor setups without sink testing first.
Build Steps
- Start with a clean 500 ml bottle for small pots or 1–2 L for large outdoor containers.
- Drill or punch one pinhole or 1 mm hole in the cap; add a small air hole in the base if using an inverted bottle.
- Fill with water and test over a sink. Water should drip slowly, not stream.
- Water the plant normally first so the root ball is moist.
- Insert the bottle neck near the pot edge, not against the stem. Stake if wobbly.
For vacation-only bottle setups, pair this method with the Vacation Plant Care Planner so trip length matches measured empty time.
Flow-Rate Test Protocol
Record bottle size, hole method, and minutes to empty over a sink before installing in soil. Re-test after pushing the bottle into mix—soil contact often slows flow.
| Bottle | Hole | Sink test | In-pot test (editorial) |
|---|---|---|---|
| 500 ml | Pinhole in cap | ~18 hours | ~36 hours in 15 cm moist mix |
| 1 L | 1 mm bit, cap + air hole | ~6 hours | ~14 hours in 25 cm outdoor pot |
Rates vary with temperature and soil—treat the table as a starting point, not a guarantee.
Method 3: Reservoir Self-Watering Container
A reservoir self-watering container stores water below the soil platform and connects through a wicking column or fabric wicks. Kentucky Cooperative Extension publication AEN-157 describes wicking containers as self-contained systems where a fill tube supplies a bottom reservoir and an overflow drain prevents overfilling. (UK Cooperative Extension)
Four parts matter: water chamber, wicking connection, fill tube, and overflow hole slightly below the soil platform—typically 2–3 cm beneath the platform bottom so excess rain or overfilling exits before the root zone floods.
Build Steps
- Nest two buckets or use a tote with an inner platform (drilled tray, inverted nursery lid, or bricks) creating a 5–8 cm reservoir gap.
- Cut a center hole in the platform for a wicking cup or column packed with moist potting mix extending into the water.
- Install a vertical PVC fill tube reaching above the soil surface.
- Drill a 5/16-inch overflow hole in the outer wall just below the platform bottom.
- Fill with pre-moistened potting mix, water from the top once to settle, then fill the reservoir through the tube until water exits the overflow.
- Check daily the first week; new transplants may need light top watering until roots reach the wicking zone.
University of Maryland Extension notes self-watering containers can help catch drainage on balconies where runoff stains surfaces below. (University of Maryland Extension)
Method 4: Capillary Mat for Seedlings
Capillary matting gives many small pots even moisture from one reservoir—ideal for seed starting and propagation, not for cacti or dormant houseplants.
Build Steps
- Place a waterproof tray on a flat surface.
- Add a low platform (inverted seed tray, tiles, or styrofoam) so pots sit above standing water.
- Lay absorbent matting across the platform with one or both ends dipping into the tray reservoir.
- Saturate the mat and fill the tray to just below pot drainage holes.
- Set seedling pots or propagation cells directly on the wet mat. Pots must have bottom holes.
- Refill the tray when the mat begins to dry at the edges—typically every 2–5 days depending on heat and seedling size.
Keep the mat flat; moving pots mid-cycle can break the capillary link until you re-saturate the mat and bottom of each pot.
Method 5: Bucket Drip Line Basics
A bucket drip line scales gravity drip to multiple containers or a small raised bed. Elevate a food-grade bucket 3–5 feet above the highest emitter so gravity supplies enough pressure for 1/4-inch micro-tubing and adjustable drippers.
Build Steps
- Drill a hole 1–2 inches above the bucket bottom (leaves a silt sump) and install a bulkhead or spigot.
- Connect 1/2-inch header tubing, then branch to 1/4-inch lines with emitters at each plant base.
- Mount the bucket on a stable stand; secure against wind.
- Add a screen or stocking pre-filter if using rainwater.
- Leak-check every junction with the bucket full before burying lines in mulch.
- Optional: add a battery-powered irrigation timer on the outlet for true set-and-forget outdoor watering—timers need minimum pressure; raise the bucket if emitters barely drip.
Start with one bed or container group, measure output with a cup and stopwatch (aim for roughly 1–2 mL per minute per emitter), then expand.
Test Before You Trust It
Run every system at least 48 hours in the same location, pot, soil, and light you will use during absence. One-hour tests miss day-night demand swings.
- Start with properly watered soil—not a bone-dry root ball.
- Mark the reservoir level and measure drawdown after 24 hours.
- Check moisture at finger depth and deeper with a skewer or meter.
- Add a safety margin of 30–50% for heat, wind, or flowering spikes.
Worked example: Reservoir holds 1.5 L. After 24 hours the level dropped 300 ml. Estimated run time: 1,500 ÷ 300 = 5 days in tested conditions. For a seven-day trip, enlarge the reservoir or arrange a mid-week refill—do not hope the math stretches.
If hard water clogs pinholes or wicks, soak holes in vinegar, replace cotton wicks every few months, and flush reservoirs between seasons.
Common Mistakes That Kill Plants
Treating self-watering as always-wet. Most plants need air in the root zone. Drainage holes, overflow outlets, and correct plant choice matter more than clever plastic work.
Wrong system for the plant. Wicks on succulents, bottles on large tomatoes, reservoirs without overflow outdoors—each mismatch has a predictable failure mode.
Skipping the first deep watering. DIY systems maintain moisture better than they rehydrate hydrophobic dry mix. Water thoroughly, let drain, then start automation.
No overflow outdoors. Rain plus a sealed reservoir equals hidden waterlogging.
Trusting an untested hack before travel. Hole size, soil texture, and pot material change everything. If the system cannot stabilize a normal week at home, it will not become reliable on day three of your trip.
Related LeafyPixels Guides
This page is the DIY self-watering hub for the site. Use these siblings for adjacent jobs:
- How to Water Indoor Plants the Right Way — daily watering checks, drainage, and saucer habits before you automate.
- Indoor Plant Watering Basics — shorter primer on when and how much to water.
- Vacation Plant Care Planner — match trip length to measured reservoir life.
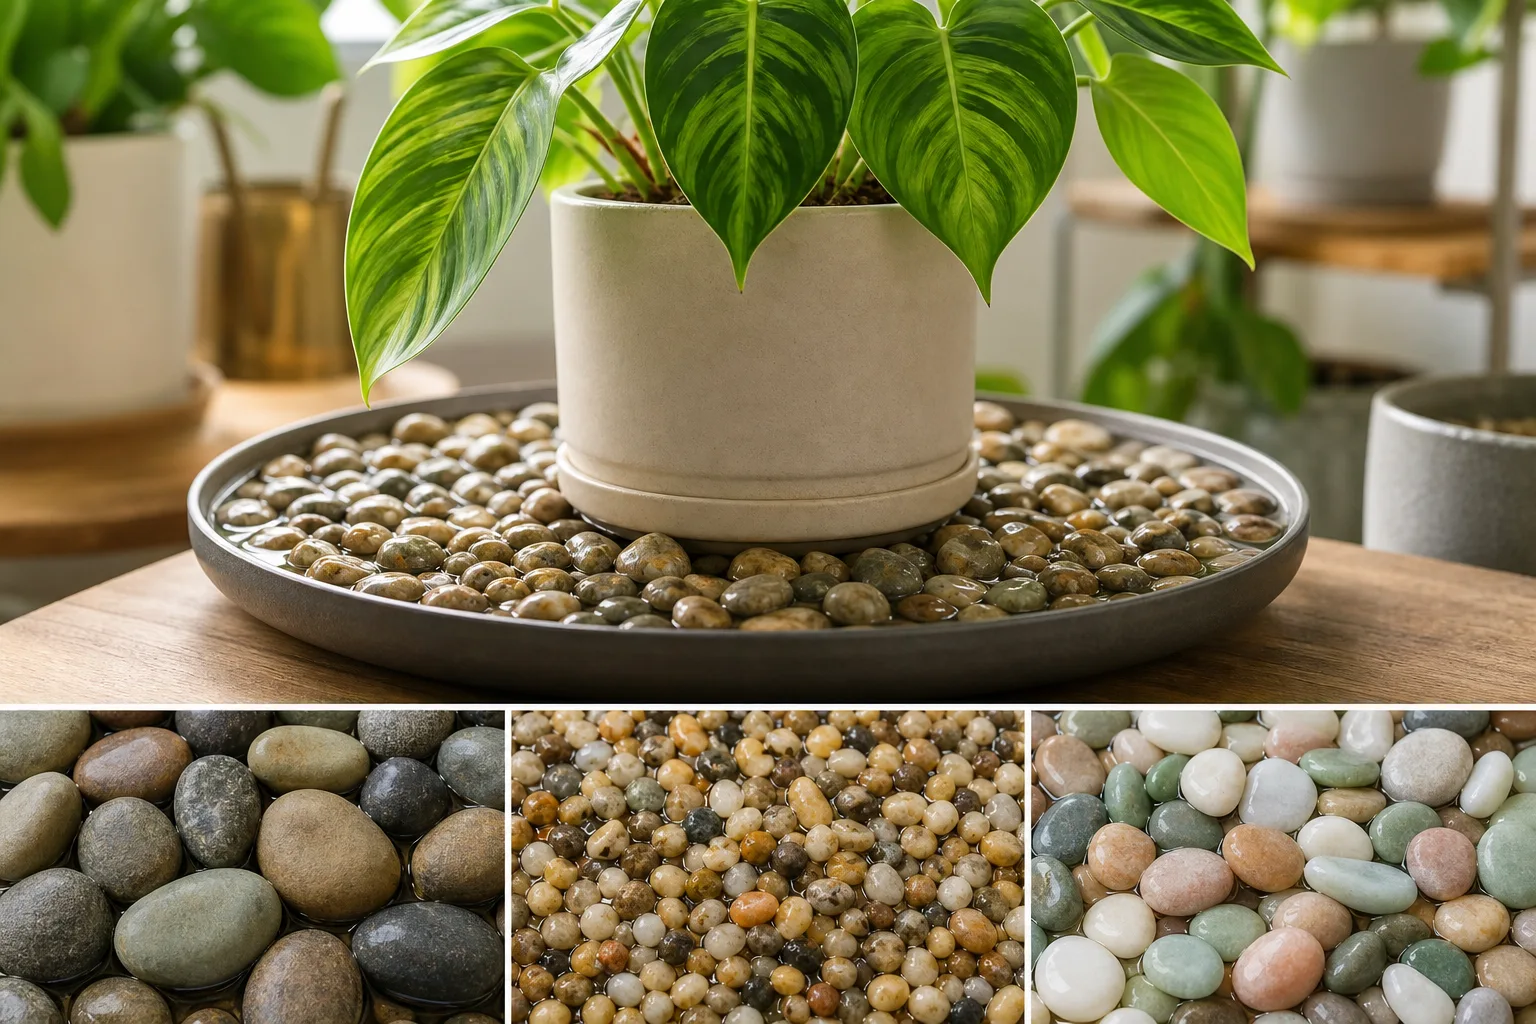
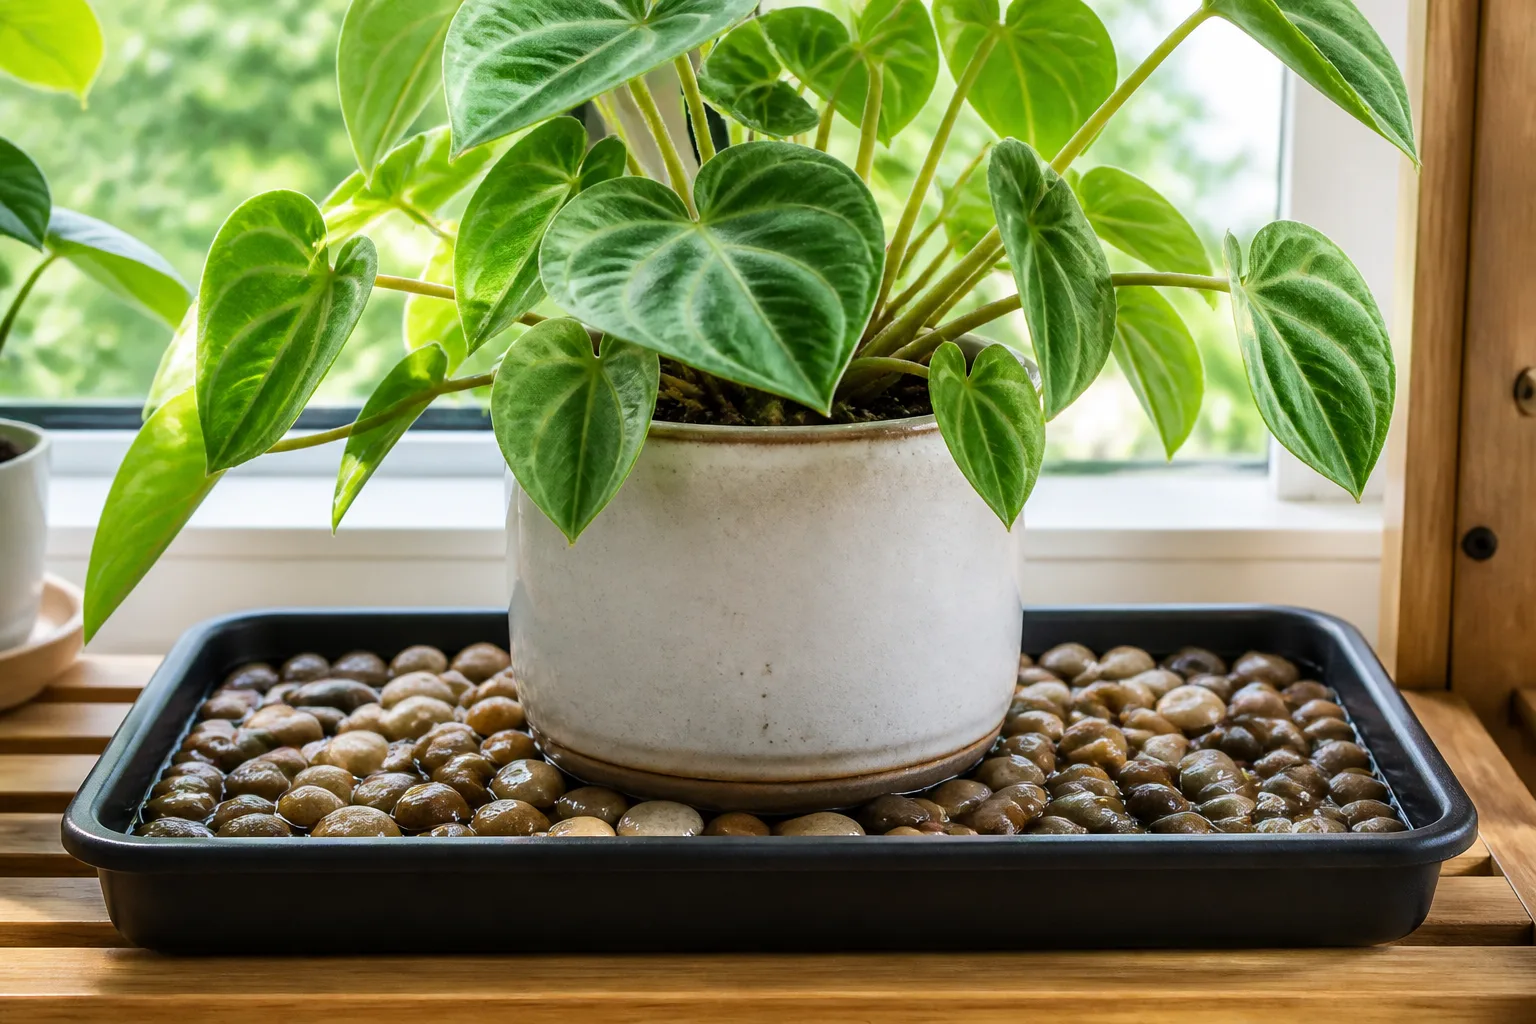
- DIY pebble tray for indoor plants — local humidity aid, not a substitute for root-zone watering but useful for ferns and calathea in dry rooms.
- Save a Dying Houseplant — diagnose before adding a reservoir to a struggling plant.
Conclusion
Build the right DIY self-watering system—not the easiest one on social media. Wick and reservoir methods suit moisture-loving indoor plants and balcony greens; tested bottle drips cover short outdoor gaps; capillary mats excel for seedlings; bucket drip lines scale to multiple containers when you can elevate a reservoir and check for leaks.
Whatever you build, run the 48-hour test, measure reservoir drawdown, confirm overflow protection outdoors, and match the mechanism to how your plant actually drinks. A good setup reduces daily emergencies; it should never hide soggy soil or replace basic watering judgment.