How to Create a DIY Terrarium: Step-by-Step Guide
Build a DIY terrarium with the right container, layer depths, plant pairings, and watering cues. Materials table, cross-section diagram, and mold prevention tips.
A DIY terrarium is a small planted glass container that behaves like a miniature growing system, not a decorative bowl you water like a normal pot. Moisture, light, soil structure, and plant choice all have to match the container type. The single decision that prevents most failures is whether you are building closed (humid, self-cycling) or open (more airflow, faster drying). Get that right first; materials and care follow naturally.
This guide walks through container choice, a shopping list with quantities by jar size, a labeled layer cross-section, numbered build steps with photos, first-week condensation cues, and links to LeafyPixels care pages for the plants named below. For related closed-display projects, see our DIY kokedama guide and houseplant humidity guide.
Quick Answer: Closed or Open First
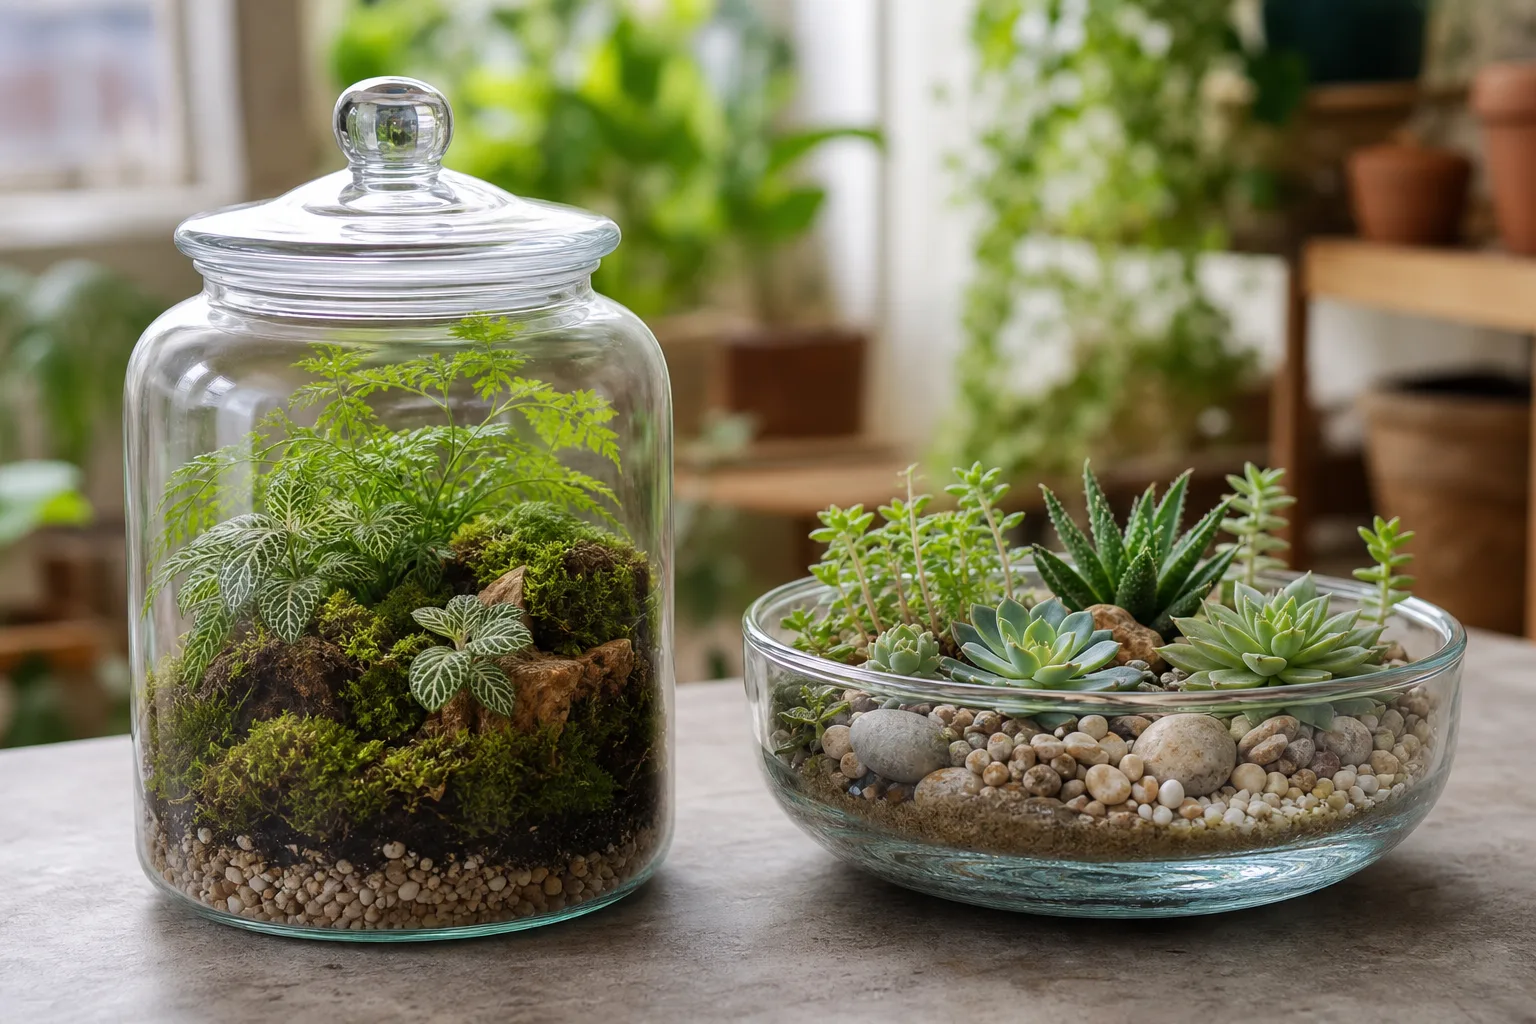
Closed terrariums trap humidity and suit moss, small ferns, fittonia, peperomia, pilea, and other moisture lovers. Open terrariums suit haworthia, echeveria, jade plant, and air plants that need more airflow and drier soil. Do not mix those groups in one sealed jar. If you are unsure, start with a wide-mouth open bowl—it is easier to plant, prune, and correct mistakes.
What a DIY Terrarium Really Is
A terrarium is a planted container, usually clear glass, that lets you grow small plants indoors while controlling humidity. Closed designs recycle moisture: water evaporates, condenses on glass, and returns to soil. Open designs lose moisture faster and behave more like a shallow dish garden without drainage holes.
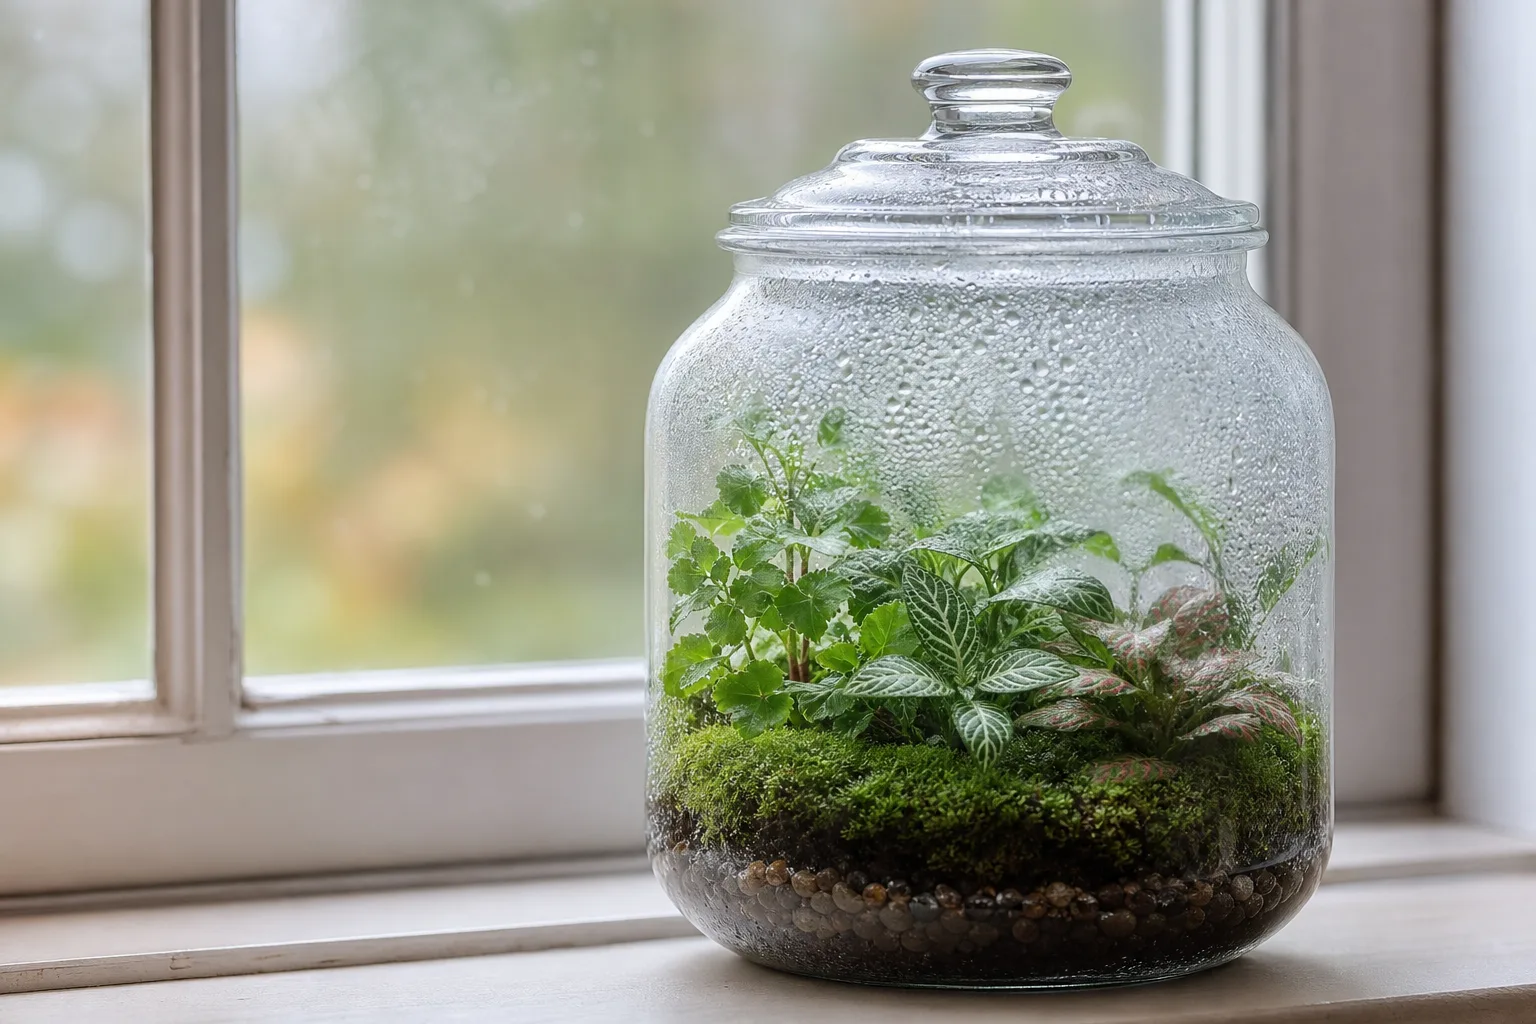
University of Missouri Extension notes that closed terrariums need less frequent watering but carry higher disease risk in constantly humid air. (MU Extension) That trade-off explains most beginner problems. A balanced closed jar shows light condensation on upper glass for part of the day. Heavy fog all day, dripping glass, or sour smell means too much water or heat—not a healthy cycle.
An open terrarium has better airflow and suits succulents and sculptural dry arrangements. It still has no bottom drain hole in most cases, so the gravel layer is a safety zone, not permission to pour freely. For fern-heavy closed builds, pair this guide with our indoor fern care guide.
Editorial Build Note: One-Gallon Closed Jar, Week Four
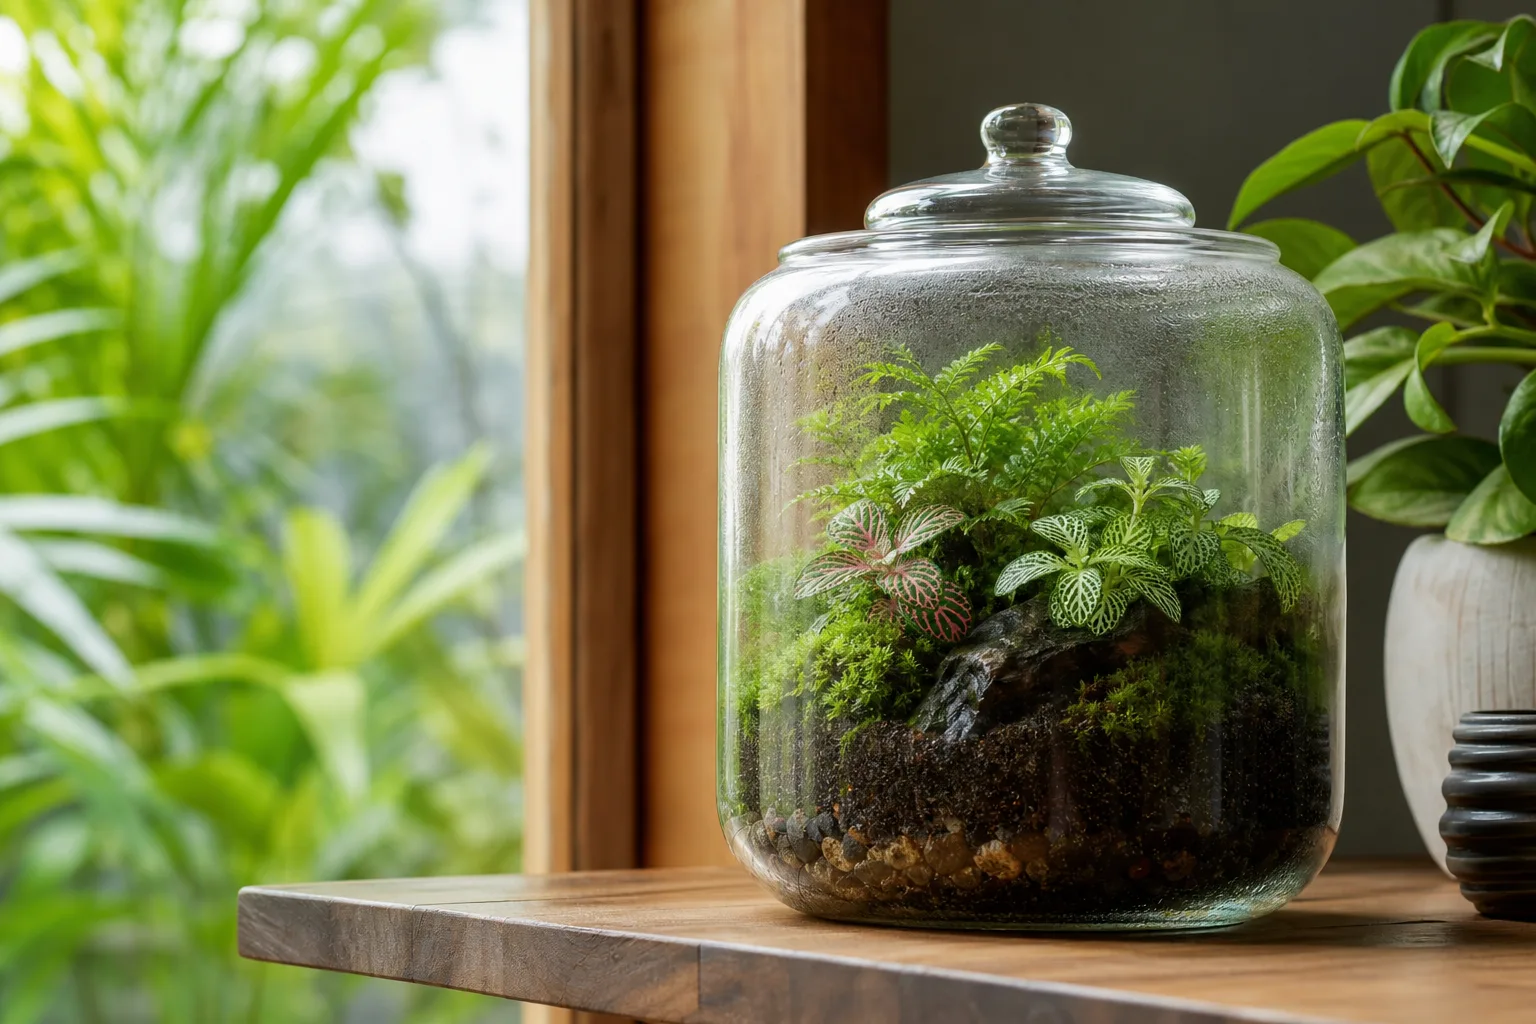
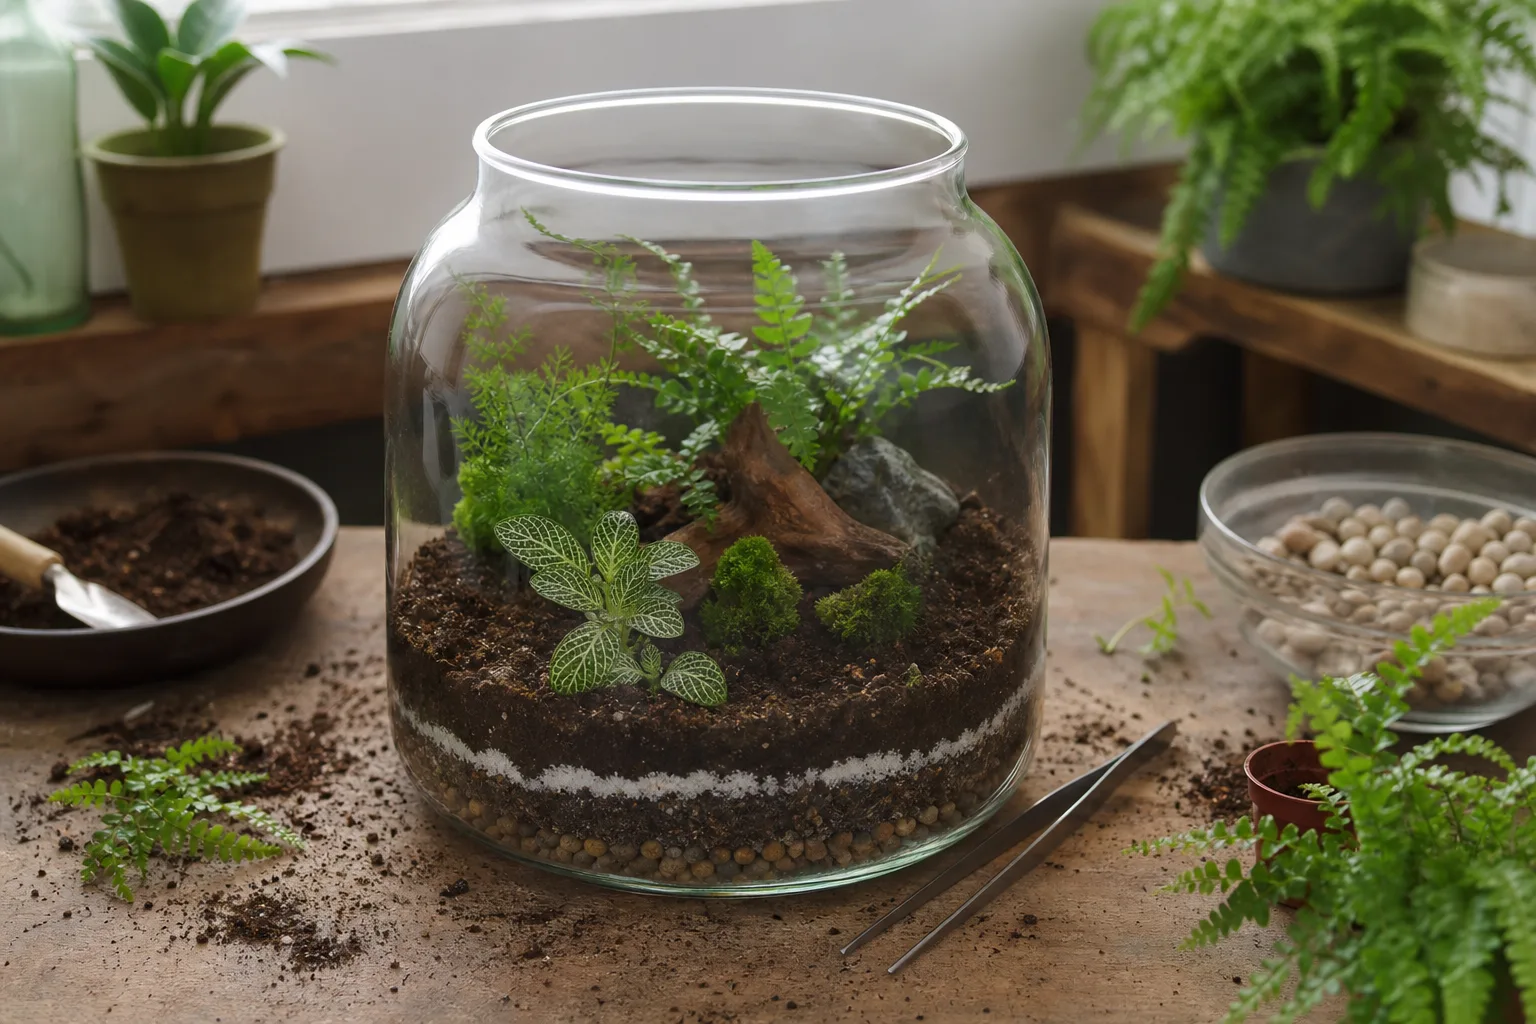
For this guide we built a one-gallon wide-mouth jar with fittonia, a small fern, and sheet moss—roughly 1½ cups drainage gravel, a thin charcoal layer, and 2½ inches of tropical potting mix. Setup day needed only a light mist; by day three, light morning condensation appeared. Week one mistake: one extra spray pushed fog to all-day levels; leaving the lid off for six hours fixed it without repotting. By week four, plants had rooted and needed one small top-up mist only. The lesson: observe condensation before adding water, especially in sealed jars.
Choose the Right Terrarium Type
Decide closed, open, or partially open before buying plants or soil. This choice controls watering, light tolerance, and which care pages you will need later.
| Terrarium Type | Best For | Avoid | Watering Pattern |
|---|---|---|---|
| Closed | Moss, ferns, fittonia, peperomia, pilea | Succulents, cacti | Very light watering; monitor condensation |
| Open | Haworthia, echeveria, jade, tillandsia | Plants that dry out quickly in open air | Small amounts when soil dries |
| Partially open | Tropicals needing humidity plus airflow | Extreme dry-climate plants | Moderate checking and venting |
Closed Terrarium
Choose closed when you want a lush, humid look. Clemson Cooperative Extension stresses that plants in closed containers must tolerate high humidity. (Home & Garden Information Center) Good beginner plants: fittonia, peperomia, pilea, small ferns, selaginella, live moss. Prefer wide-mouth jars over narrow-neck bottles for your first build—easier planting and cleanup.
Open Terrarium
Choose open for succulents and drier displays. Haworthia and echeveria still need bright indirect light and gritty mix; the open rim only helps humidity escape. Shallow bowls with wide mouths beat deep vases for beginners.
Partially Open Terrarium
A jar with a loose cork, tilted lid, or large vent hole splits the difference. Useful when condensation stays too heavy in a fully sealed jar but tropical plants still need moisture. Treat it as a closed build with planned venting, not a succulent container.
Materials and Tools (with Quantity Table)
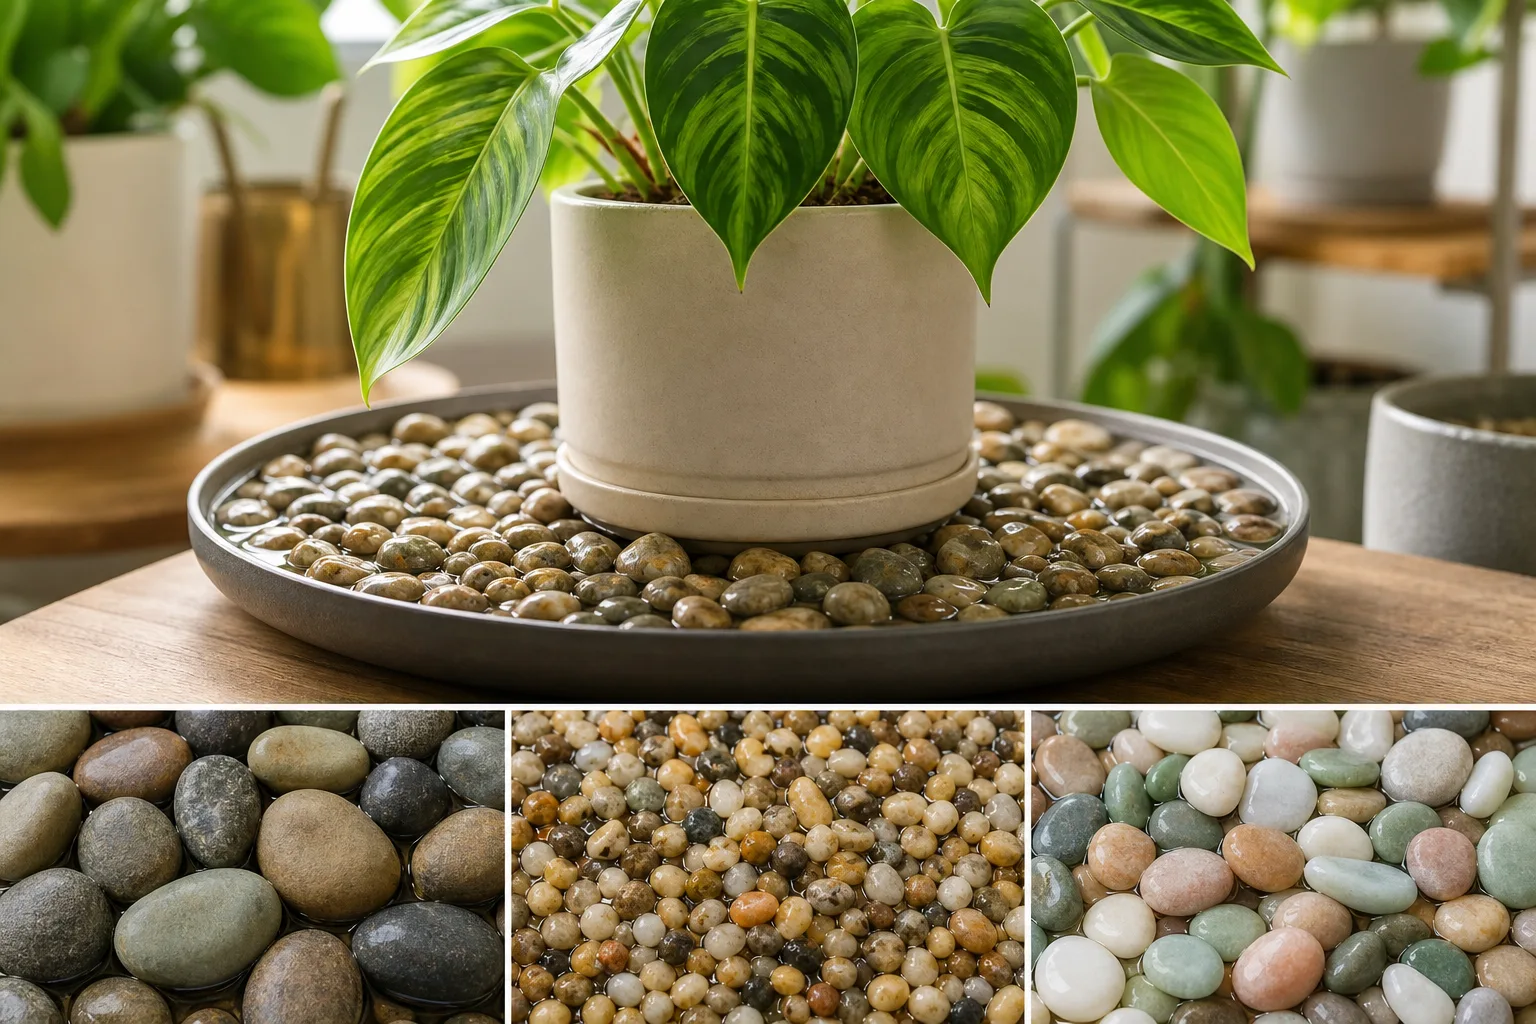
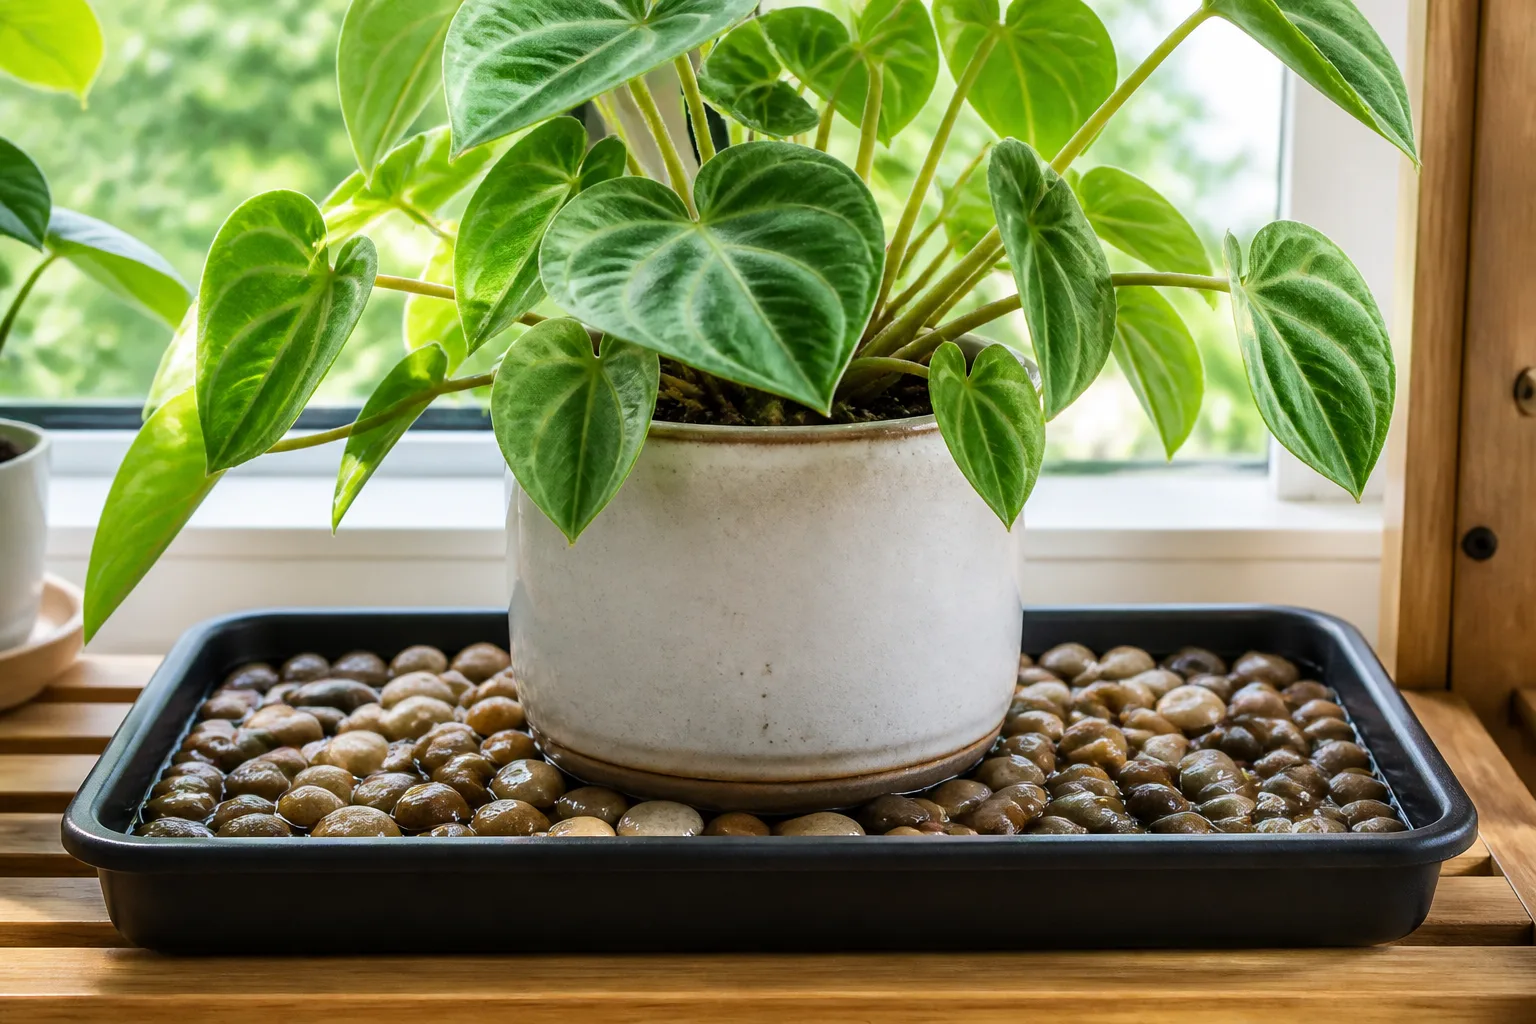
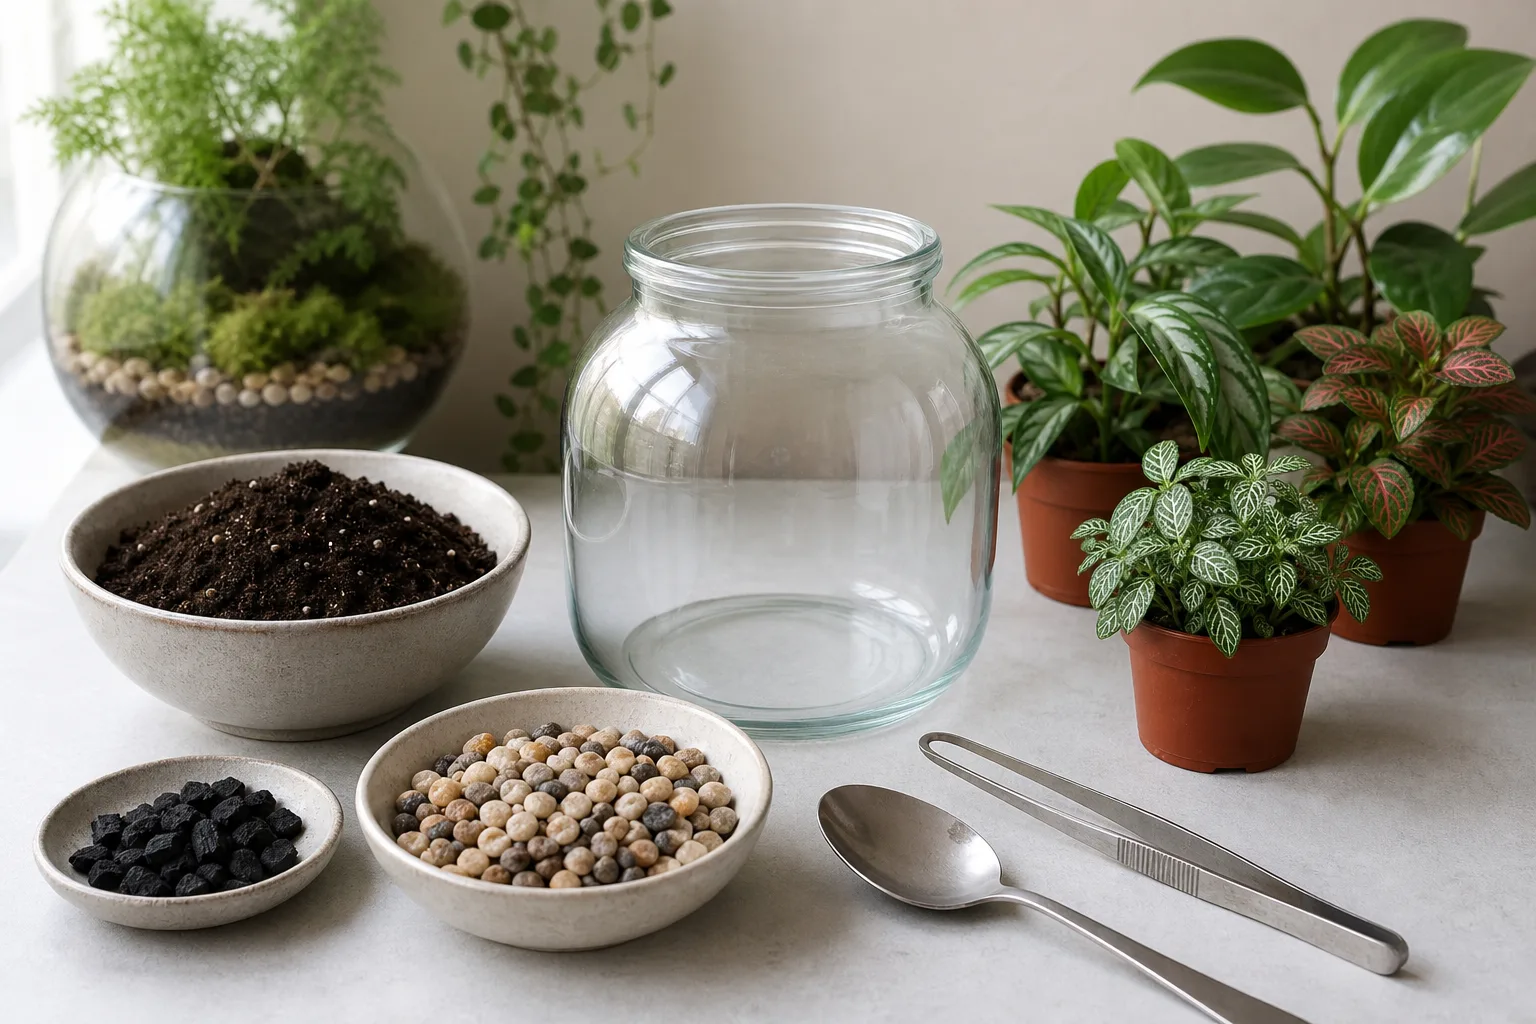
Terrariums usually lack drainage holes, so base layers matter more than decoration. You need a clear container, pebbles or gravel, charcoal (especially for closed jars), suitable potting mix, small plants, and simple tools: spoon, chopstick, paintbrush, funnel, tweezers, spray bottle.
Materials at a Glance by Container Size
| Container | Approx. volume | Drainage (gravel/pebbles) | Charcoal | Soil depth | Notes |
|---|---|---|---|---|---|
| Wide-mouth quart jar (~7 in tall) | ~1 qt | ½–¾ cup (1–1½ in) | 2–3 tbsp | 2–2½ in | Best first closed build |
| Half-gallon jar (~9 in tall) | ~2 qt | 1–1½ cups (1½–2 in) | ¼ cup | 2½–3 in | Room for 3–4 small plants |
| Shallow open bowl (8 in wide) | ~1–1½ qt | ¾–1 cup (1 in) | 2–3 tbsp | 2 in gritty mix | Succulent open terrarium |
| Large fishbowl (10 in) | ~3 qt | 2 cups (2 in) | ⅓ cup | 3 in | Leave headroom for growth |
University of Missouri Extension recommends clear glass or plastic because tinted or cloudy walls reduce light. (MU Extension) Thrifted jars work well after label removal (warm soapy water, adhesive remover, full rinse).
Container and Glass Safety
Filled terrariums are heavy and can shatter if knocked. Place on a stable shelf away from high-traffic edges, door swings, and curious pets or children. Remove labels and adhesive completely so light passes evenly. Check for cracks and sharp chips before planting. Do not use decorative containers not rated for holding moist soil and stones. Wear gloves when handling broken glass during cleanup.
Drainage, Charcoal, Soil, and Barriers
Iowa State University Extension recommends gravel or perlite at the bottom, thin charcoal, then well-drained potting soil. (Yard and Garden) Charcoal helps manage odors in closed systems; it does not fix overwatering or wrong plant choice. Optional mesh, landscape fabric, or sphagnum between stones and soil keeps layers clean.
Use tropical mix for closed builds; cactus or succulent mix for open desert bowls. Avoid heavy garden soil—it compacts and holds too much water.
Plants and Decorative Finishes
Put plants with similar needs together. Closed: fittonia, pilea, peperomia, ferns, moss. Open: haworthia, echeveria, jade, tillandsia. University of Minnesota Extension groups ferns, pilea, peperomia, and moss as closed-friendly options. (University of Minnesota Extension) Use decorative stones and moss sparingly so surfaces do not trap rot.
Build Your Terrarium Step by Step
Work slowly. Order: clean → drainage → charcoal → barrier → soil → plant → finish → water lightly → monitor. Each layer supports the next.
Layer Cross-Section

Clean and Prepare the Container
Wash the container even if it looks clean. Rinse away soap film and adhesive residue. Inspect roots on nursery plants; remove yellow leaves and pests before sealing a closed jar. Unstable empty bases become riskier once filled.
Add the Base Layers
Add drainage pebbles to the depth in the table above—visible reservoir, not a pond. Add a thin charcoal layer. UF/IFAS Extension places horticultural charcoal above pebbles to help prevent sour smells. (Ask IFAS - Powered by EDIS) Add barrier if needed, then soil shaped with slight mound for depth.
Plant the Terrarium
Place the tallest plant first. Leave air space between foliage and glass. Naples Botanical Garden advises leaving room for fill-in growth rather than crowding at setup. (Naples Botanical Garden) Firm soil gently; do not bury crowns. Clean soil smears from glass with a dry brush on a stick.
Water and First-Week Monitoring
Mist lightly until soil is evenly damp, not soggy. Leave the lid off briefly if heavy fog forms immediately. First week: watch more than water. Light condensation part of the day is fine; constant dripping is not. If water pools in the gravel layer, you added too much.
Care After Building
Long-term health depends on light, moisture balance, and small corrections—not constant fussing.
Light and Placement
Use bright, indirect light. RHS recommends bright indirect light for several hours daily and warns against direct summer sun and heat sources. (RHS) Glass intensifies heat; south-facing sills can cook closed jars. Keep away from radiators and AC vents.
Watering and Condensation
Closed jars may need almost no added water once balanced. Open bowls need checks when soil dries. Never water on a calendar without reading the glass and soil. Heavy all-day fog → vent the lid. Wilting with zero condensation → small mist, then wait 24 hours.
Pruning, Cleaning, and Mold Control
Prune before leaves press wet glass. Remove trimmings immediately—do not leave them as compost inside sealed jars. Wipe inner glass when algae or soil blocks view. Small white mold on fresh organic matter often clears with venting and cleanup. Springtails help in advanced bioactive setups; beginners can skip them until basic hygiene and watering are stable.
Common Mistakes and Troubleshooting
Wrong plant pairings—succulents with moss in a sealed jar—fail fast. Overwatering is the top closed-jar killer. Direct sun can burn through glass; Mississippi State University Extension warns solar heat can build inside terrariums. (MSU Extension Service) Overcrowding blocks airflow and pruning access.
| Symptom | Likely cause | First fix |
|---|---|---|
| All-day fog | Too wet or too warm | Vent lid; move to cooler indirect light |
| Yellow soft leaves | Overwatering / rot | Remove damaged leaves; check soil smell |
| Brown moss | Dryness, sun, or preserved moss | Confirm live moss; adjust light and mist |
| Stretching succulents | Low light or closed humidity | Move to open bowl with brighter indirect light |
| Small flies | Soggy soil, decay | Remove debris; let surface dry more |
Skip craft-store “terrarium kits” that bundle incompatible plants or lack drainage materials. Buy container, stones, charcoal, correct soil, and plants separately using the table above.
What to Read Next
- Fittonia care — classic closed-jar foliage
- Peperomia care — compact leaves for humid jars
- Pilea peperomioides care — bright green coins in closed setups
- Haworthia care — open-bowl succulent option
- Indoor fern care guide — humidity and light for fern terrariums
- Growing tillandsias (air plants) — open terrarium displays without soil planting
- Houseplant humidity guide — when a terrarium is not enough for your room
- DIY kokedama — another moss-forward display method
Conclusion
Use this three-item checklist after your build:
- Match container to plants — closed for humidity lovers; open for succulents and air plants.
- Protect the water balance — drainage layer at the depths in the table; water until damp, not flooded; read condensation before adding more.
- Observe weekly — prune early, remove dead leaves, keep glass clear, and vent when fog stays all day.
A terrarium succeeds when the glass, layers, plants, and light all agree. Build sparse, watch the first week closely, and link out to species care when a plant outgrows the jar.