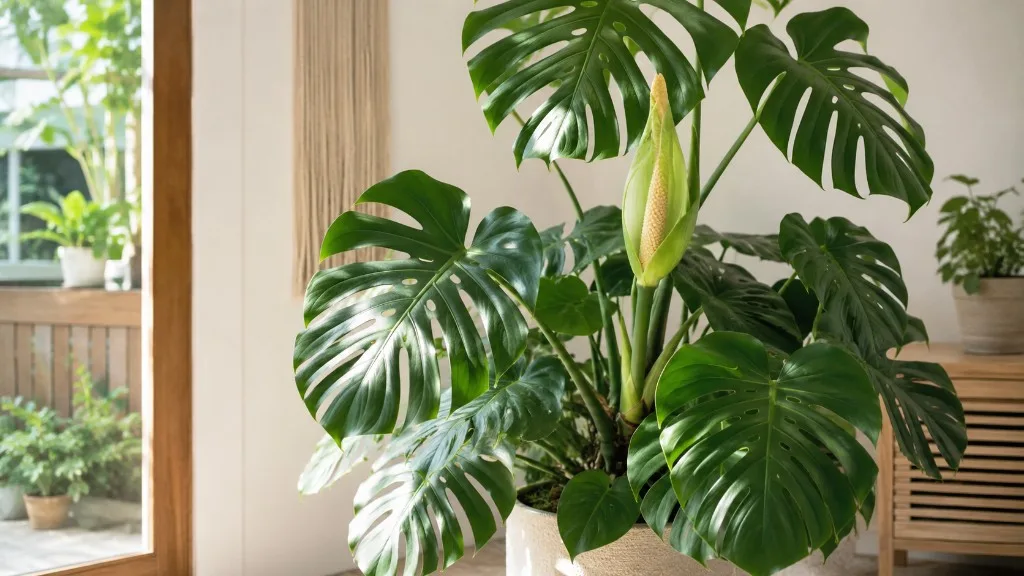
Repotting Houseplants: When to Repot, Pot Size & Soil Mix
Learn when a houseplant actually needs repotting, how much bigger the new pot should be, which soil mix to use, and how to reduce transplant shock.
Repotting gives roots fresh media, oxygen, and room to grow - but done wrong, it triggers weeks of drooping leaves and slow growth. Timing, pot size, and mix matter more than the label on a bag of “houseplant soil.” This guide walks through when to repot, how to choose a container, what mix to use, and the full hands-on workflow - with the restraint extension services recommend so you do not trade one problem for another. The goal is not to repot on a calendar. It is to intervene when the root system, the pot, and the soil are clearly out of balance.
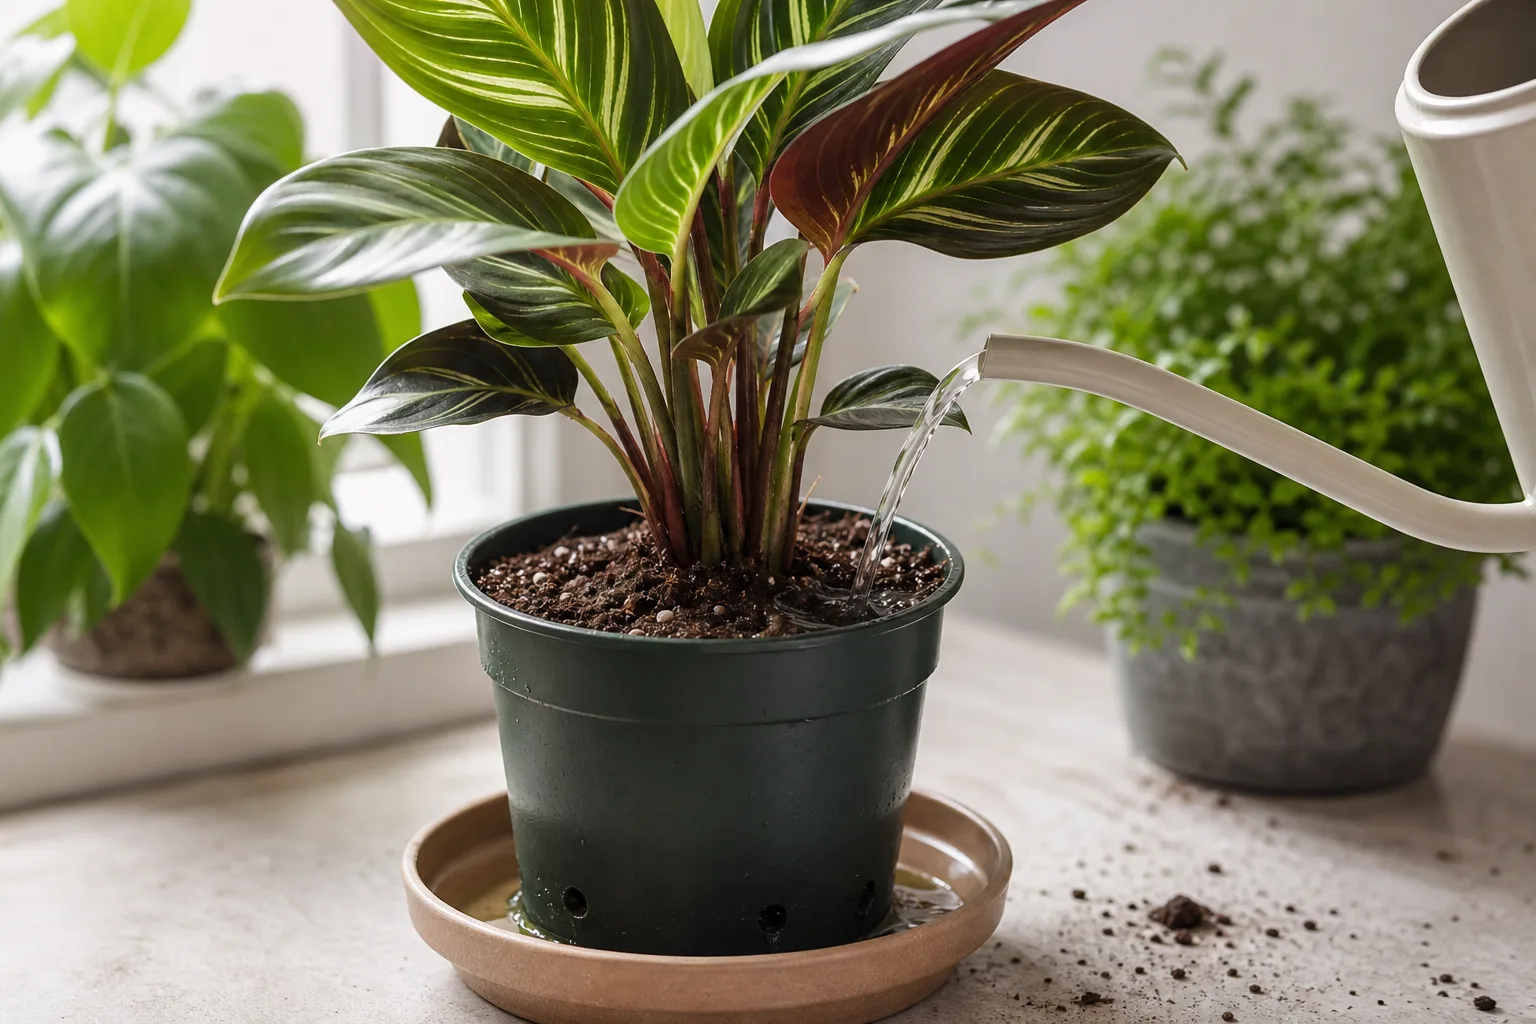
A clean workspace, the right pot size, and moist - not soggy - roots make repotting far less stressful for you and the plant.
Repot, Top-Dress, or Wait?
Before you disturb roots, decide which problem you are actually solving.
| What you see | Best move |
|---|---|
| Roots circling, drainage holes packed, soil gone from the lower root ball | Full repot |
| Salt crust, tired mix, but root ball still has room | Top-dress or partial soil refresh |
| Plant is stressed from pests, low light, or winter slowdown but not root-bound | Wait and fix the primary stress first |
| Sour-smelling soil, mushy roots, or chronic saturation | Emergency repot with root cleanup |
When to Repot Houseplants
Most active houseplants need attention every 1 to 3 years, but the calendar is a clue - the plant is the real answer. Penn State Extension recommends repotting when roots grow through drainage holes or the root ball is so dense you can barely see potting mix in the bottom third. (Penn State Extension) Spring is the best window because roots grow into fresh mix as new foliage appears; University of Minnesota Extension treats spring as the ideal season when roots circle the pot or soil dries unusually fast. (University of Minnesota Extension) Fast growers can reach that point yearly, but many slow growers, large floor plants, and plants kept intentionally compact do not need annual disturbance.
Not sure if your plant is ready? Use the repotting calculator to compare pot size, growth rate, and last repot date before you disturb roots.
Signs Your Plant Needs a Bigger Pot
| Sign | What it usually means |
|---|---|
| Roots out drainage holes | Root-bound - circling with little fresh mix |
| Water runs through instantly | Peat depleted or hydrophobic soil |
| Soil dries in under 24 hours | Too little media for top growth |
| White salt crust on soil | Salt build-up - refresh mix |
| Mushy smell at soil line | Root rot - repot after trimming rot |
| Slow growth despite spring fertilizer | Crowded roots limiting uptake |
NC State Wayne County Extension lists the same practical triggers: soil drying quickly, lower leaves yellowing, very slow growth in spring and summer, or roots visible at drainage holes or the soil surface. (NC State Extension) If several signs appear together, slide the plant out and inspect the root ball before you buy a new pot. Do not let one symptom, especially a single yellow leaf, talk you into a full repot on its own.
When to Skip Repotting
Skip repotting when the plant is stressed, flowering heavily, or mid-winter unless it is an emergency (active rot, pest soil, collapsed root ball). Penn State notes that even pot-bound plants can stay in the same container if you trim outer roots and top growth to hold size - useful for plants you do not want getting larger. (Penn State Extension) See winter houseplant care for seasonal slowdown cues before you repot in cold, dry rooms. Also skip the impulse repot right after you bring a healthy plant home unless the nursery mix is clearly failing; acclimation stress plus immediate root disturbance is often worse than waiting a few weeks.
Choose the Right Pot
Wrong pot choice and poor drainage cause more indoor failures than picking the “wrong species.” The pot controls how long mix stays wet after you water - especially in low light.
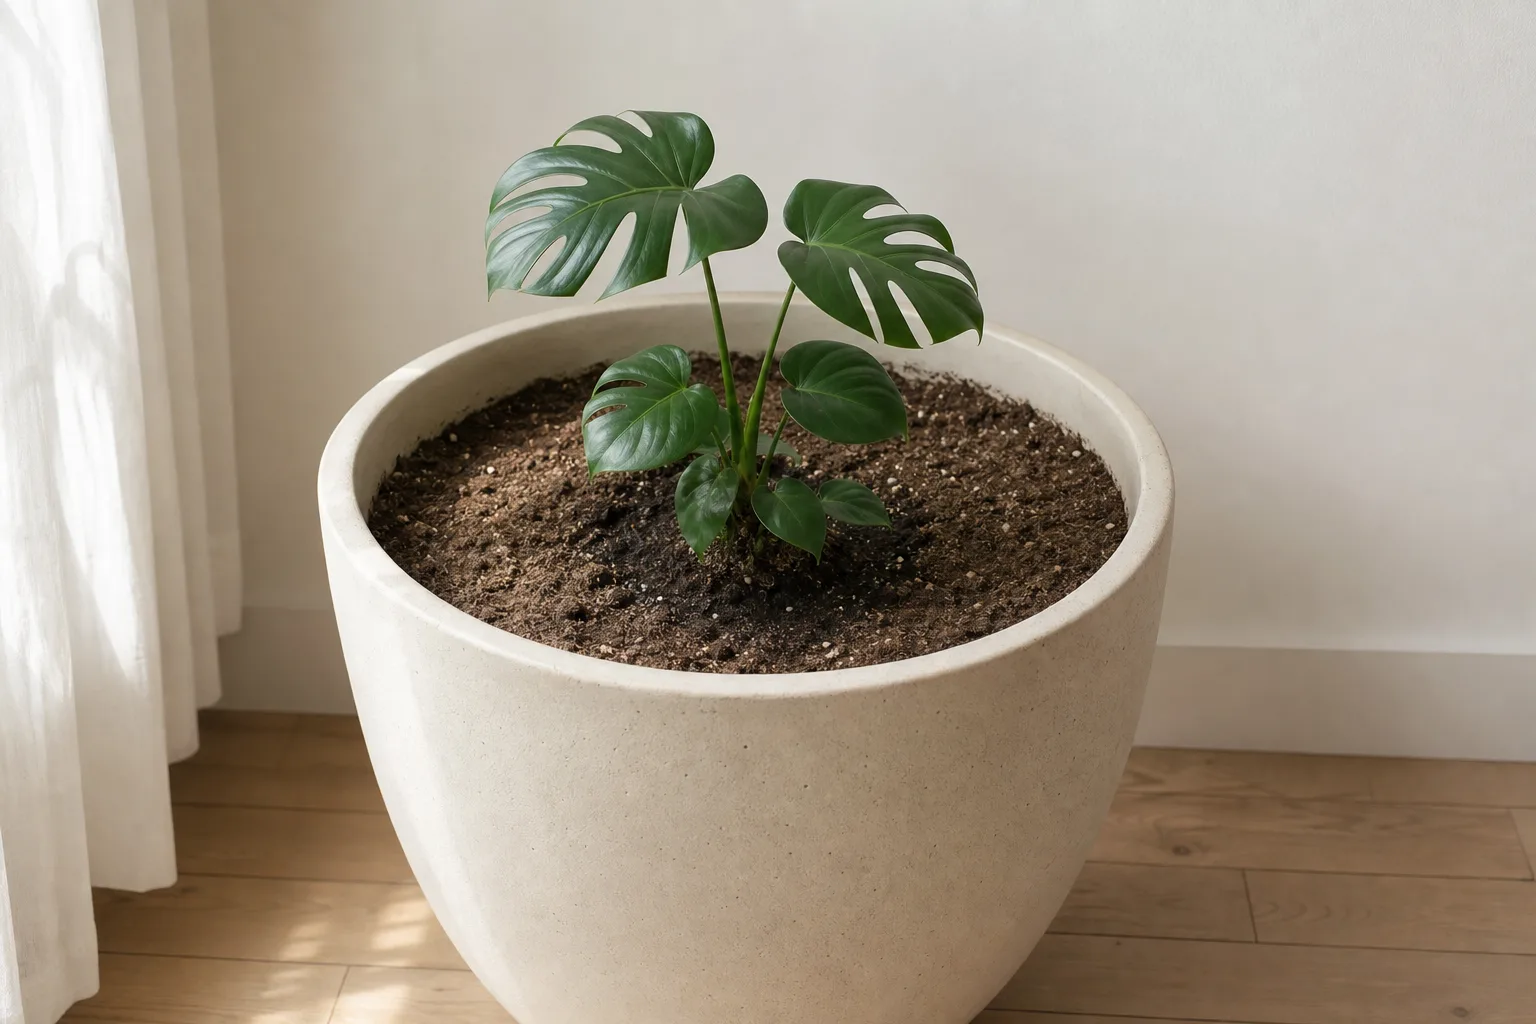
Pot Size: The 1–2 Inch Rule
Size up only 1–2 inches in diameter. NC State Wayne County Extension is explicit: the new container should be no more than 2 inches larger than the current one. (NC State Extension) Oversized pots hold excess wet mix around a small root ball, which is one of the fastest routes to rot.
Compare pots side by side before you commit. If the jump looks dramatic, it probably is.
Depth matters too. Set the root ball so the top sits about 1 inch below the pot rim - Penn State and NC State both use this headspace for watering and future growth. (Penn State Extension) After rot rescue, you may need a smaller pot than before once damaged roots are removed.
Drainage Holes and Cachepots
Drainage holes are non-negotiable for almost all houseplants. If a decorative pot has no holes, keep the plant in a nursery pot inside the cachepot and empty standing water after every watering. Penn State warns that water must drain freely between the inner pot’s holes and the cachepot bottom - perched water at the base keeps roots wet. (Penn State Extension) NC State adds that gravel in the bottom does not improve drainage and can keep soil saturated longer. (NC State Extension) For mix science behind that, see best potting mix for indoor plants. If you routinely forget to empty cachepots, fix that system before you blame the soil recipe.
Pot Materials Compared
- Terracotta: porous - pulls moisture and salts from mix; dries faster. Good for overwaterers and many succulents. Soak new clay overnight so it does not wick water from fresh mix on day one. (Penn State Extension)
- Plastic: retains moisture - helpful for thirsty ferns in dry rooms.
- Glazed ceramic: attractive but often heavy; ensure holes or use an inner pot.
- Reused pots: wash and sanitize with 1 part bleach to 9 parts water after rot or unknown history - Penn State and NC State both recommend this before repotting. (Penn State Extension) Rinse well, let the pot dry, and keep bleach away from children, pets, and unfinished fabrics.
Soil Mixes by Plant Type
Match mix to root type. Never use garden soil indoors - it compacts, drains poorly, and can introduce pests. Penn State and NC State both specify soilless potting mix for containers. (Penn State Extension)
| Plant type | Mix direction |
|---|---|
| Tropical foliage | Peat or coco + perlite + fine bark |
| Aroids (monstera, philodendron) | Chunky, airy - extra bark; see Monstera repotting |
| Succulents and cacti | Cactus mix + extra pumice; wear gloves on spiny or milky-sap plants |
| Orchids | Bark or chunk media - not standard potting soil |
| African violets | Light peat-perlite; shallow pots |
For recipes, amendment ratios, and the gravel-myth explanation, use the full best potting mix for indoor plants guide rather than guessing from a one-line bag label. The RHS notes that thicker-rooted houseplants need chunkier, well-drained media with air pockets, while moisture-loving types need more water-retentive blends. (RHS) Moisten new mix before repotting so it absorbs water evenly - dry peat can repel the first soak. (Penn State Extension)
Never reuse old soil from a rotted plant without sterilizing; discard it instead.
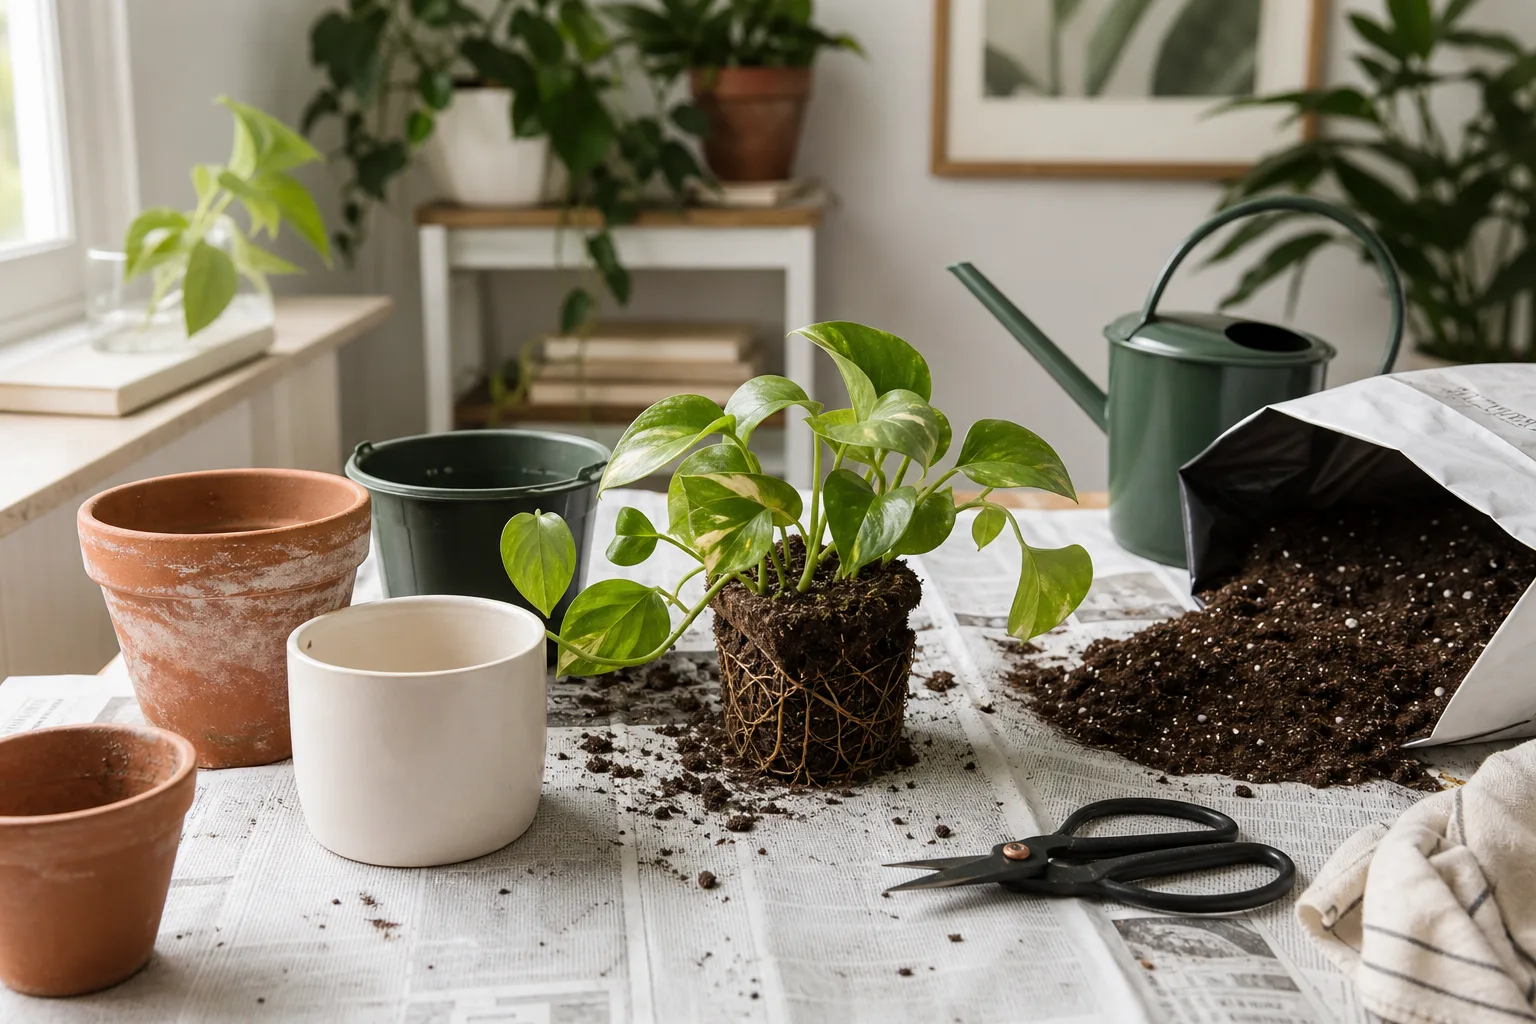
Step-by-Step Repotting
- Water lightly 1–2 days before - moist roots flex; soggy mud does not. Penn State waters one hour before proceeding. (Penn State Extension)
- Prepare workspace - newspaper, premoistened mix, clean pot, sterile shears.
- Slide plant out - hold the pot rim on a table edge and tap; do not yank the stem. NC State recommends supporting the soil with your hand while inverting. (NC State Extension)
- Inspect roots - white or tan and firm = healthy; brown mush = trim with sterile shears.
- Loosen circling roots - tease outward; score the bottom quarter if tightly wound.
- Partial soil refresh - remove loose old media; keep the root ball core if not rotted.
- Set in new pot - same depth as before; fill gaps; tap gently - do not pack wet mix.
- Water once to settle - no fertilizer for 4–6 weeks.
- Bright indirect light - no direct sun blast the first week.
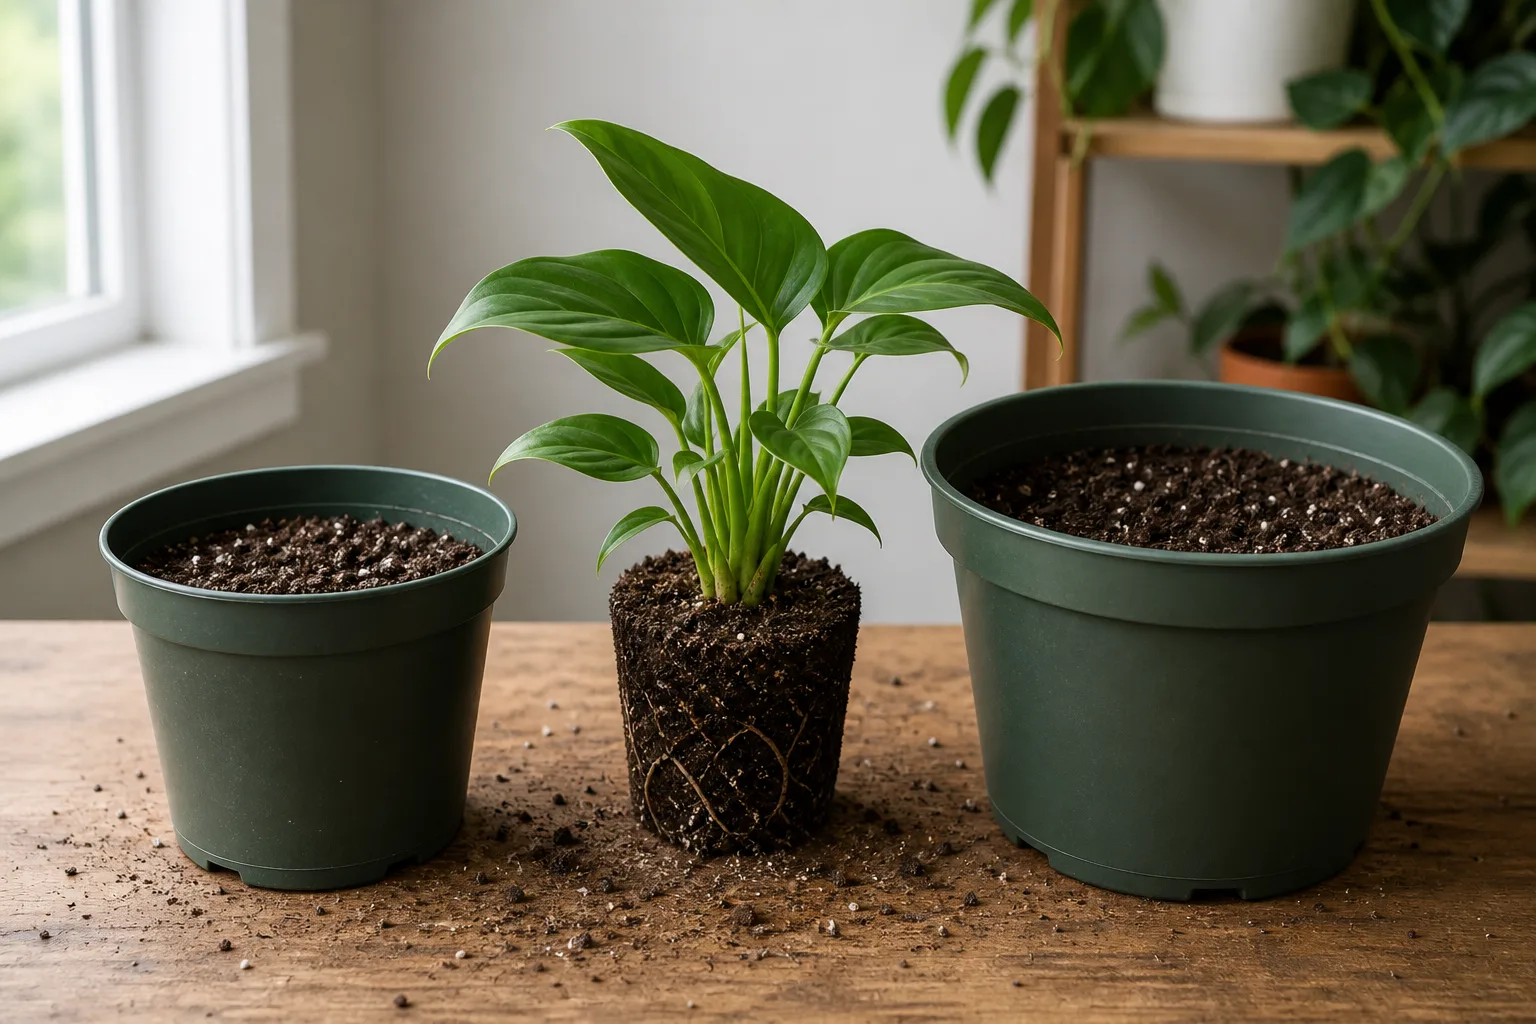
Inspect and Prepare the Root Ball
This is where repotting succeeds or fails. Healthy roots feel firm and smell like soil. Rot smells sour and leaves mush on your fingers.
Firm white or tan roots can stay; brown mush gets cut back to solid tissue with clean, sharp shears.
If roots circle heavily, cut and unwind them - NC State notes circling roots will not develop normally unless you break the pattern. (NC State Extension) Remove salt-crusted top inch if present. Orchids and some finicky ferns tolerate less root disturbance - tease lightly rather than aggressive scoring. If more than a small share of the root system is mushy, downsize the pot instead of moving the plant into a larger volume of wet mix.
Set Depth and Fill
Add mix to the bottom so the root ball top sits about 1 inch below the rim. Fill around the sides; leave headspace for water. Do not bury the crown deeper than it was - that invites stem rot on many tropicals. Firm lightly by tapping the pot on the bench or pressing with fingers; NC State warns against packing wet media, which collapses air space. (NC State Extension)
Settle-Water After Repotting
Water thoroughly until excess runs from drainage holes, then let the pot drain fully before returning it to a cachepot or saucer.
One thorough soak settles mix around roots. Empty the saucer afterward - roots should never sit in standing water. Hold fertilizer until you see stable new growth - usually several weeks.
Aftercare: Avoid Transplant Shock
Transplant shock shows up as mild drooping, slight leaf drop, or paused growth for days to a few weeks. That is common; widespread yellowing that worsens is not.
- Hold fertilizer until new growth appears - Penn State’s repot workflow assumes fresh mix may already contain starter nutrients. (Penn State Extension)
- Water when the top inch dries - not daily “to help it settle.”
- Skip heavy pruning the same week unless removing rot.
- Keep bright indirect light - not a dark corner “to rest.”
- Inspect new bagged mix for fungus gnats; quarantine recently repotted plants briefly if you opened outdoor-stored soil.
Adjust watering basics after repot because mix texture and pot size changed how fast the root zone dries.
Special Cases
Root Rot Rescue
Trim all mushy roots to firm tissue. Sanitize the pot or downsize. Repot into airy mix and fix the watering habit that caused saturation. See root rot for symptom detail. Wisconsin Horticulture Extension stresses pasteurized commercial mix and drainage holes over garden soil when recovering from rot. (Wisconsin Horticulture)
Root Pruning and Same-Size Repot
When a plant is too large to upsize - or you want to limit growth - remove the outer one-third of circling roots, refresh mix in the same pot, and trim some top growth to balance root loss. Penn State describes this bonsai-style size control for pot-bound plants you want to keep at current scale. (Penn State Extension) Spring timing and gentle aftercare matter most here.
Division and Cachepots
Division: snake plant, ZZ plant, and peace lily - split during spring repot when offsets have their own roots.
Cachepots: lift the inner pot to drain; never let the outer vessel hold standing water.
Hanging baskets: shallow-rooted trailers may need wider but not always deeper pots - match depth to root mass.
Cacti and euphorbia: use tongs or thick gloves; let cuts callus briefly if you removed significant root mass.
Repotting vs Top-Dressing
Refreshing the top 1–2 inches of soil annually helps without a full repot - useful for large plants you cannot move. Top-dressing does not fix severe root crowding or rotten core roots. Full repotting is required when roots circle the entire ball or water channels straight through. For oversized floor plants, top-dressing is often the better maintenance habit until roots clearly outgrow the container.
Common Mistakes
- Jumping to a “much bigger pot so I water less” - oversized containers stay wet.
- Packing soil too tight - roots need air; tap, do not stomp.
- Repotting then hiding the plant in low light - it still needs bright indirect light to recover.
- Using garden soil indoors - compacts and harbors pests. (NC State Extension)
- Gravel in the bottom “for drainage” - keeps the soil layer above saturated longer. (NC State Extension)
- Watering on a fixed schedule right after repot instead of checking soil moisture.
Link repotting to seasonal recovery: spring light increase supports new roots. For pest prevention after repotting, inspect fresh mix and follow integrated pest management indoors if gnats or hitchhikers appear.
Related guides
- Best potting mix for indoor plants - recipes and ingredients beyond this repotting workflow
- How to water indoor plants the right way - moisture checks after mix and pot change
- When and how to repot Monstera - species-specific depth for large aroids
- Winter houseplant care - when to delay repotting
- Repotting calculator - timing estimate from pot size and growth
Conclusion
Repotting houseplants is straightforward when you respect three rules: repot for a reason, size up modestly, and settle-water once - then leave the plant alone while roots recover. Spring timing, premoistened mix, sterile tools after rot, and the right potting mix matter more than any single product label. Use the repotting calculator when you are unsure whether this year is the year, and keep symptom pages like root rot and drooping leaves bookmarked for what happens when drainage or timing goes wrong. Not every plant needs a bigger pot. Many just need a better decision.