Spider Plant Care: What Actually Keeps It Thriving
Practical spider plant care: bright indirect light, soak-and-dry watering, brown-tip fixes, spiderette propagation, and ASPCA pet safety—with extension-backed tips.
Spider Plant Care at a Glance
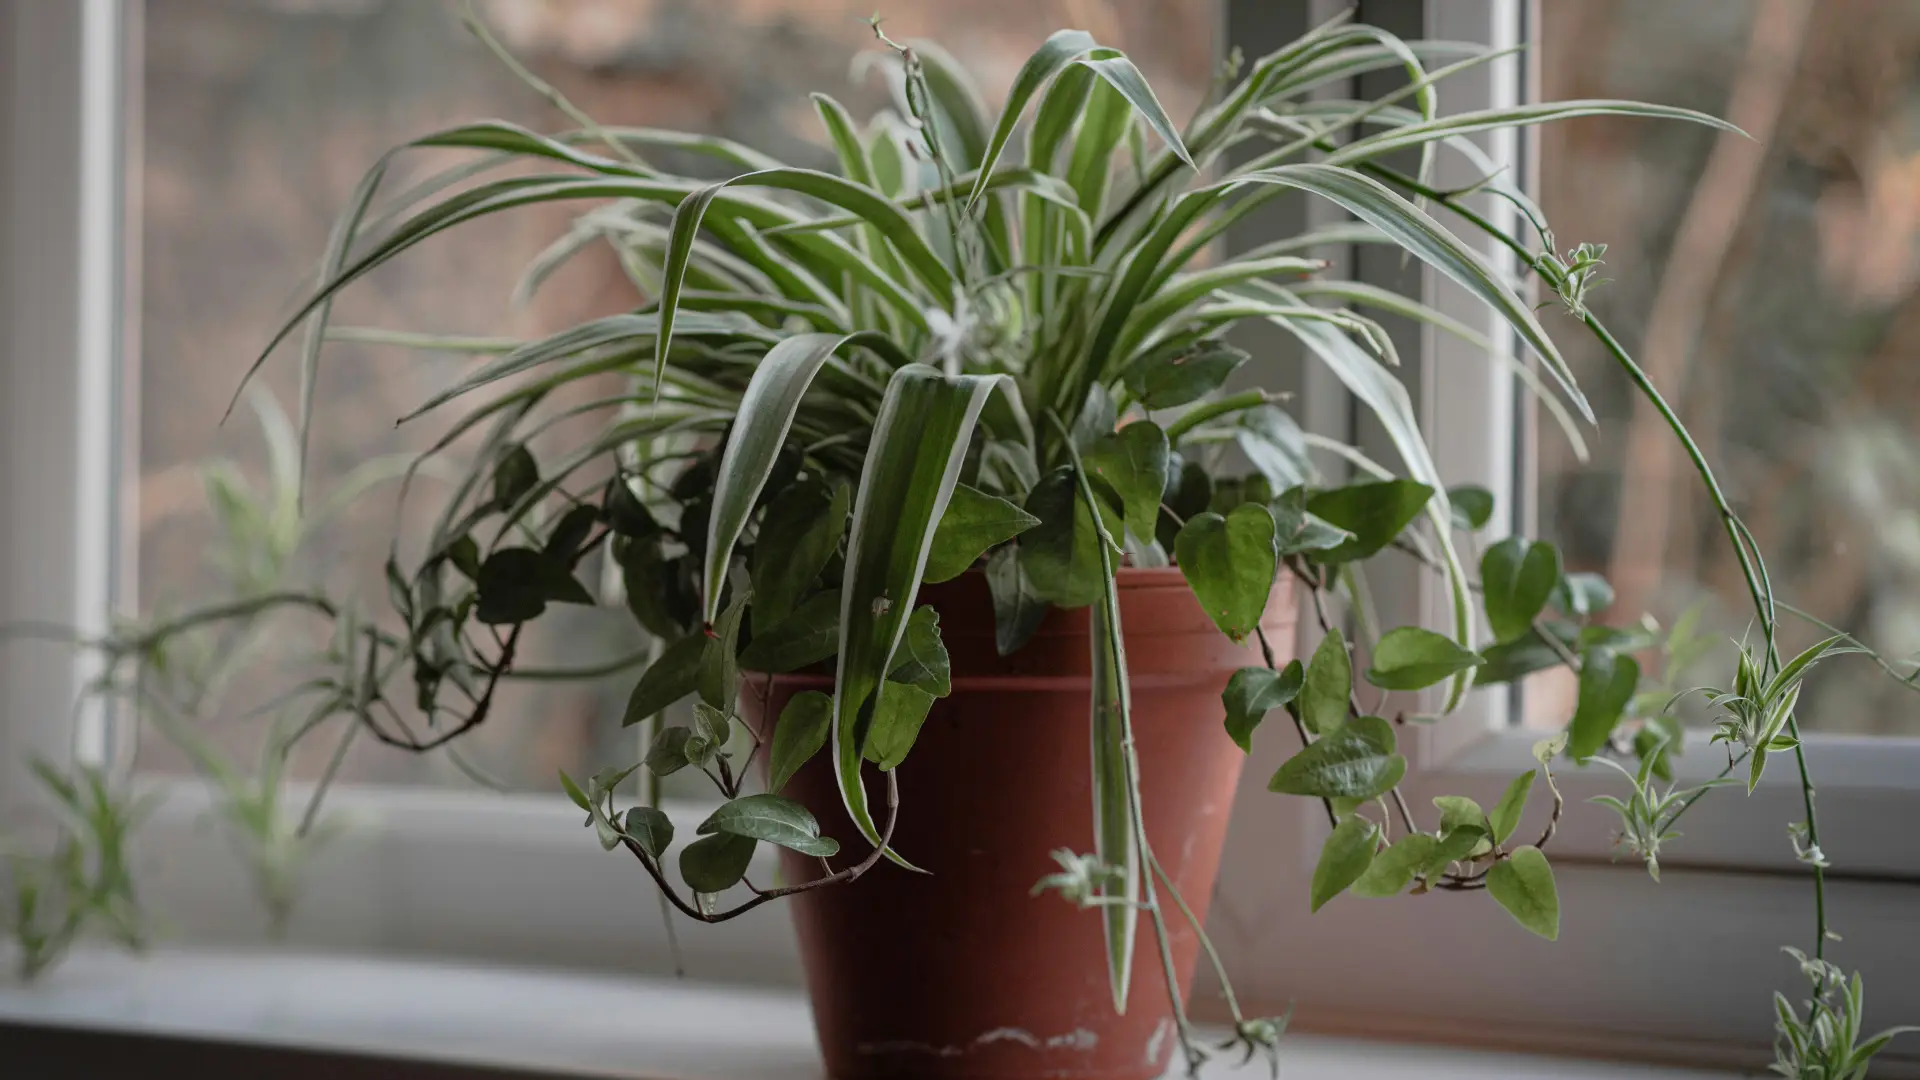
A spider plant (Chlorophytum comosum) rewards consistency more than constant fussing. Give it bright indirect light, water thoroughly when the top of the mix has dried slightly, use a pot with drainage, and feed lightly during active growth. In most homes that rhythm produces arching striped leaves and, on mature plants, dangling spiderettes (baby plantlets).
| Care factor | What works indoors |
|---|---|
| Light | Bright indirect for best growth; tolerates low light but fades and slows |
| Water | Soak when top layer dries slightly; less in winter |
| Soil | Well-draining indoor potting mix with a drainage hole |
| Temperature | Roughly 65–75°F (18–24°C); avoid cold drafts below ~50°F (10°C) |
| Pets | Non-toxic to cats and dogs per ASPCA; chewing can still upset stomachs |
For botanical background, cultivar comparisons, seasonal calendars, and sixteen problem-specific guides, see our Spider Plant care hub.
How This Guide Relates to Our Spider Plant Hub
LeafyPixels publishes two spider plant resources on purpose. The Spider Plant hub is the deep reference: native range, dimensions, USDA zones, rhizome biology, and links to topic guides on light, watering, soil, propagation, repotting, fertilizer, and pruning. This guide is the consolidated beginner on-ramp—one readable care system with the decisions that prevent most failures in the first few months.
If you already know the issue—brown tips, overwatering, not enough light—jump straight to those pages. If you are setting up a new hanging basket or resetting care after a rough season, start here, then use the hub when you need more depth.
Your First 90 Days With a Spider Plant
The first three months are about placement and rhythm, not heroic interventions. Week 1: Set the plant where leaves can arch freely—a hanging basket, shelf edge, or stand—in bright indirect light near an east window or a few feet back from south or west glass. Avoid pressing foliage against hot summer glass or cold winter panes. Week 2–4: Water thoroughly once, empty the saucer, then wait until the top inch of mix feels dry before watering again. Lift the pot to learn its weight when wet vs dry—that difference is often easier to read than surface soil color alone. Month 2: If tips brown repeatedly, switch to filtered or rainwater for a few weeks and note whether new growth comes in clean. Month 3: On a healthy, well-lit plant, expect the first runners or plantlets if the pot is slightly snug—not freshly repotted into an oversized container.
LeafyPixels grow log (spring 2026): A variegated Chlorophytum ‘Vittatum’ in a 6-inch hanging basket sat in an east-facing kitchen at roughly 68°F (20°C) and 750–900 foot-candles at midday. After moving it from a north hallway on 3 March 2026, the first stolon with two plantlets appeared on 18 April—about six weeks later. Switching from straight tap water to filtered water in Week 3 stopped new tip burn within two leaf cycles; older browned tips were trimmed but did not spread. Same genetics, same pot—the only changes were light and water source.
Spider plants store water in fleshy roots, which is why they survive missed waterings better than thin-leaved tropicals. That same storage makes soggy soil dangerous: roots need oxygen between drinks. Wisconsin Horticulture Extension notes that spider plants grow and produce plantlets best when slightly pot bound, a detail many generic care pages skip. (Wisconsin Horticulture)
Hanging Basket Setup Basics
Spider plants look best where arching leaves and runners can hang freely, which is why hanging baskets remain the classic display. Mount high enough that leaf tips clear furniture and walkways—usually 18–24 inches (45–60 cm) below the hook for a standard 6-inch basket. Use a pot with a drainage hole and a saucer or drip tray if water might reach floors; cachepots without drainage only work when you lift the nursery pot out to empty runoff after every watering. Leave clearance for stolons to dangle 12–18 inches (30–45 cm) below the pot rim so plantlets do not rest on dusty shelves where they struggle to root.
Light: Surviving vs Looking Great
The best light for spider plant care is bright, indirect light—enough for strong growth and crisp variegation without harsh direct sun scorching the leaves. The RHS describes spider plants as one of the easiest houseplants to grow and places them in bright but filtered indoor light for best performance. (RHS)
Low light is where owners get misled. Yes, the plant may stay alive in a dim hallway, but growth slows, variegation dulls, and spiderette production usually drops. When people say, “My spider plant is alive but not doing much,” light is the first variable worth fixing. Sun damage shows as pale patches or crispy sections—and moving the plant back beats trying to “water through” scorch.
Best Spots in the House
An east-facing window is usually excellent. A few feet back from a south- or west-facing window with a sheer curtain also works. North windows may suffice in bright seasons but are less reliable in already-dim rooms. For window-by-window nuance and grow-light specs, see our Spider Plant light guide.
How to Water Without Causing Stress
The most reliable watering rule: water thoroughly with room-temperature water, then wait until the top layer of mix has dried slightly before watering again. The New York Botanical Garden advises moistening all the soil and repeating when it becomes slightly dry, while always removing runoff from the saucer. That rhythm beats a fixed calendar because light, temperature, pot size, and season all change drying speed.
Editorial watering demo (April 2026): same 6-inch basket after a full soak (~1.4 lb / 635 g) vs seven days later when the top inch was dry (~0.9 lb / 410 g). The lift test matched the finger test at the surface.
During active growth in spring and summer, the plant usually wants water more often than in winter. In cooler, darker months, growth slows and the pot stays wet longer—heavy winter watering is a common mistake. Spider plants prefer consistent moisture more than total neglect, but chronic overwatering causes far more damage than watering a day late. If you are torn between watering now or checking tomorrow, checking tomorrow is often safer.
For the finger test, pot-weight method, and species-agnostic watering logic, our how to water indoor plants guide applies directly here. Month-by-month spider plant specifics live in the Spider Plant watering guide.
Watering Mistakes That Cause Most Problems
The biggest mistake is watering by habit instead of by soil condition. Small sips every few days can leave the lower root zone too wet while the surface looks damp—a quiet path to root stress. A better pattern: soak until excess drains, empty the saucer, then wait for partial dryness before repeating.
The second mistake is ignoring water quality. Spider plants are widely known for brown leaf tips, and both NC State and Wisconsin Extension point to fluoride, chlorine, salts, dry air, and inconsistent watering as overlapping triggers. Brown tips are not always proof of underwatering. In many homes, filtered water, rainwater, or distilled water reduces recurring tip burn when tap water is hard or heavily treated. (Gardener Plant Toolbox)
Soil and Pot Choice
Spider plants do best in a well-draining potting mix. You do not need an exotic formula—a good indoor mix with perlite and a pot with a drainage hole is enough for most homes. Wisconsin Horticulture recommends general-purpose potting soil or a soilless medium; NC State emphasizes well-drained mix as the baseline. (Wisconsin Horticulture)
The pot matters as much as the mix. Decorative cachepots without drainage only work if you keep the nursery pot inside and remove excess water after every watering. Spider plants develop thick, fleshy roots and can eventually crack a pot if left severely root-bound too long, but they also perform well when slightly snug—an oversized fresh pot often suppresses spiderettes for a season. Full mix recipes and refresh timing: Spider Plant soil guide.
Temperature and Humidity
Spider plants prefer normal indoor temperatures, with Clemson HGIC placing ideal daytime conditions around 65–75°F (18–24°C). They tolerate the same range most people find comfortable. Hard extremes matter more than small fluctuation—cold drafts, AC blasts, and leaves pressed against cold glass in winter cause stress faster than a degree or two of variation. (Home & Garden Information Center)
Average household humidity is usually fine. Persistent dry air near heaters or vents can contribute to brown tips, but misting rarely fixes a stressed spider plant on its own. Moving the plant away from drying airflow or using a humidifier in very dry rooms helps more than daily spritzing. For humidity-specific troubleshooting, see low humidity on Spider Plant.
Feeding Without Overdoing It
Spider plants are not heavy feeders. Light feeding during active growth helps; over-fertilizing is a classic mistake because it pushes salt buildup and can reduce spiderette production. NC State explicitly warns that too much fertilizer can cut back on plantlet formation. (Gardener Plant Toolbox)
A balanced houseplant fertilizer at half strength once or twice monthly in spring and summer is enough for most indoor plants. If you recently repotted into fresh mix, feed even less aggressively. If tips brown and you fertilize often, flush the pot with clean water and cut back before switching to a stronger product. Detailed schedules: Spider Plant fertilizer guide.
Repotting: When Snug Is Better Than Roomy
Spider plants are unusual in a helpful way: they often perform well when slightly pot bound, which supports plantlet production. You do not need to repot every time roots peek near the drainage holes. A little snugness is fine; severe crowding that makes watering impossible is not.
Repot when the root mass truly crowds the container, water runs straight through without soaking the mix, or thick roots push the plant upward and outward. Clemson warns that dense tuberous roots can expand enough to crack pots if ignored too long. Move up one pot size, not three—a dramatic jump creates extra wet soil around a compact root ball and raises rot risk. Step-by-step timing: Spider Plant repotting guide.
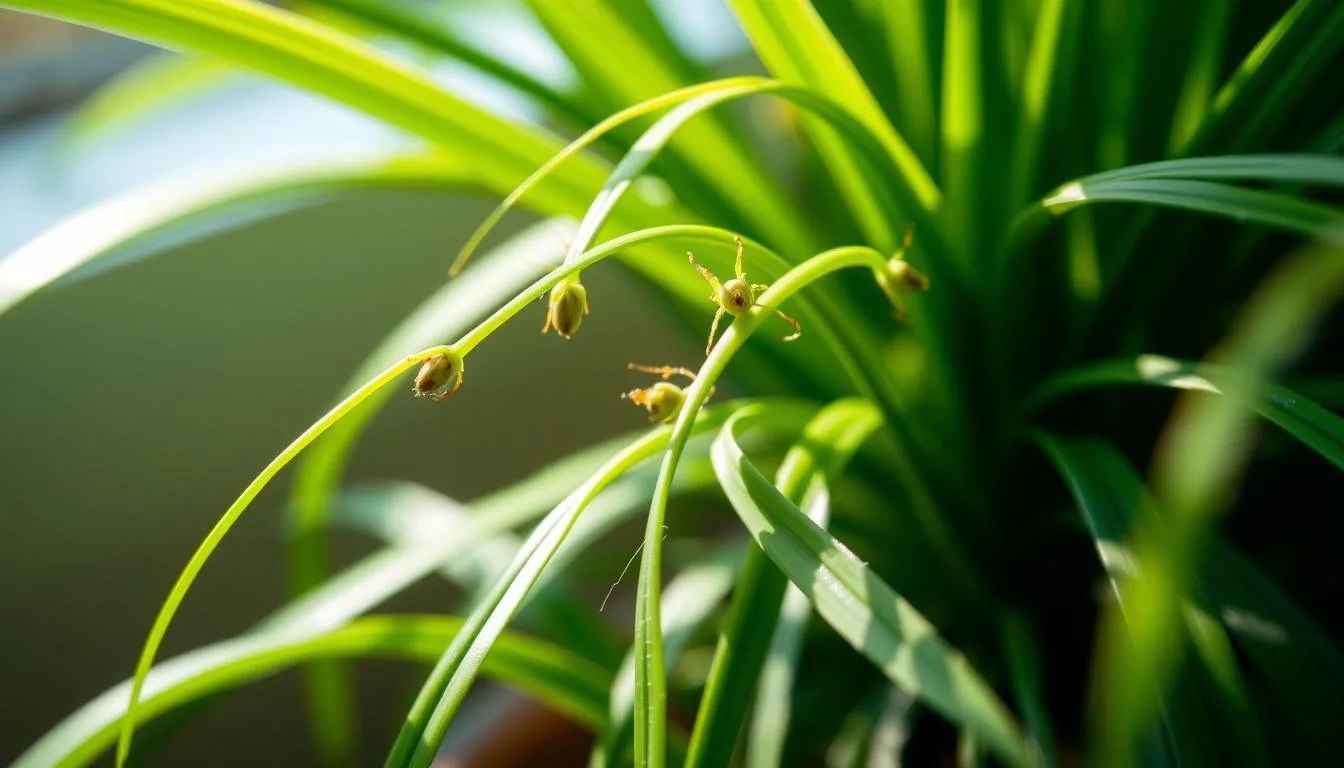
Propagating Spiderettes
Propagation is one of the best reasons to grow a spider plant. Long runners carry baby plants that root readily, which makes the plant satisfying for beginners. Wisconsin Horticulture recommends setting a plantlet on moist mix while still attached to the mother plant, holding contact until roots form, then severing the connecting stem—low-stress and reliable. (Wisconsin Horticulture)
Editorial propagation setup (April 2026): plantlet pinned with a bent paper clip; roots were visible at Day 14 before severing the stolon.
You can also detach a healthy spiderette with tiny root nubs at the base, place it in your chosen medium, and keep it lightly moist in bright indirect light out of harsh sun. Soil rooting starts the plant where it will live and avoids transition shock from water roots. Water rooting is easy to watch—SDSU Extension notes offshoots can root in water for a couple of weeks before potting—but water-rooted babies may sulk briefly after moving to mix. For step photos and timing, see our Spider Plant propagation guide.
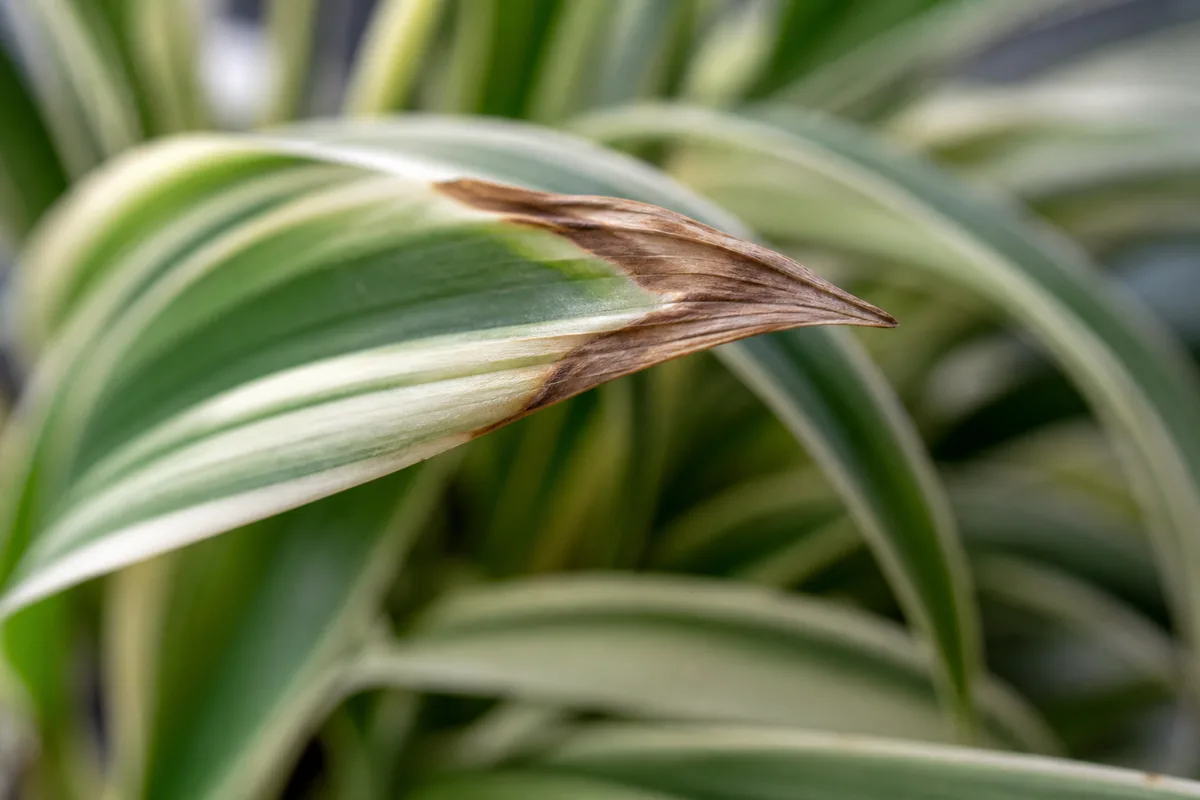
Brown Tips: Causes and Fixes
Brown tips are the most common spider plant complaint—and they have multiple causes, which is why one-line advice often disappoints. The big triggers are fluoride or chlorine in tap water, fertilizer salt buildup, dry air, inconsistent watering, and sometimes excess direct sun. NC State and Wisconsin Extension list several overlapping causes; diagnosis starts with your routine, not blind trimming. (Gardener Plant Toolbox)
The useful fix is to change the stressing condition, then trim existing brown tips for appearance if you want. Try better-quality water for a few weeks, reduce fertilizer if you feed often, stabilize watering instead of swinging between dust-dry and soggy, and move the plant away from harsh sun or drying vents. Damaged tips will not turn green again, but new growth can come in clean once the underlying problem improves. Full symptom-first workflow: Spider Plant brown tips guide.
| Problem | Likely cause | Best first fix |
|---|---|---|
| Brown tips | Fluoride/chlorine, salts, dry air, watering stress | Switch water source, flush soil, stabilize watering |
| Limp or dull growth | Too little light | Move to brighter indirect light |
| Yellowing with wet soil | Overwatering / poor drainage | Let mix dry, check roots, improve drainage |
| Crispy scorched patches | Too much direct sun | Move out of harsh sun |
| No spiderettes | Low light, overfeeding, immature plant | Increase light, feed lightly, be patient |
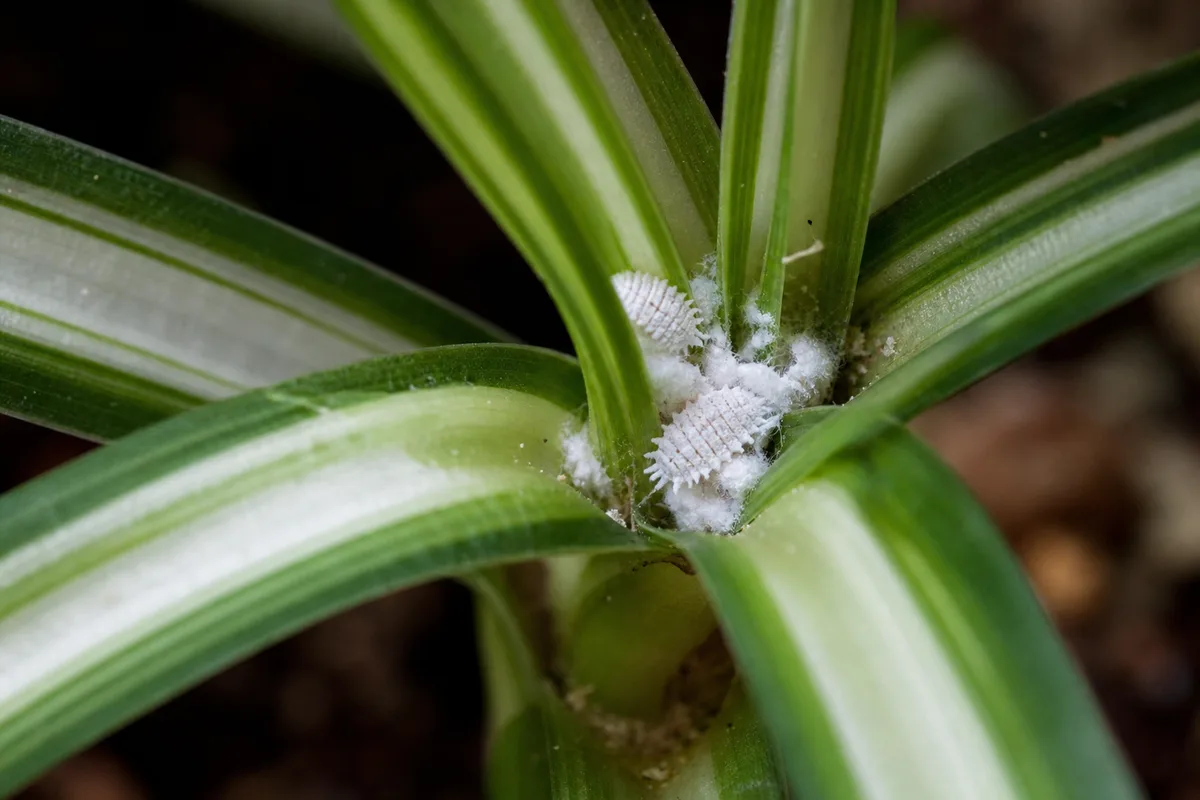
Pests, Rot, and Troubleshooting
Spider plants are fairly resilient but not immune. Wisconsin notes scale insects and mealybugs among common issues; dry indoor air can favor spider mites. Catch problems early: sticky residue, cottony clusters, fine webbing, or leaves losing vigor without an obvious watering reason. (RHS)
Root problems are usually more dangerous than insects. Overwatering and poor drainage create conditions root-rot organisms favor. If your spider plant droops even though the soil is wet, smells off, or has mushy roots, stop watering and inspect the root ball—trim damaged tissue, refresh mix, and fix drainage.
When Soil Is Wet but the Plant Wilts
This combination is a red flag—not thirst. Wet mix plus limp leaves usually means root stress from overwatering, compacted soil, or a pot sitting in standing water. Do not add more water. Slide the plant out, sniff the root ball, and trim anything mushy or black. Repot into fresh well-draining mix only if healthy roots remain. If the whole root mass is soft, recovery is unlikely—start diagnosis at overwatering on Spider Plant and root rot on Spider Plant.
Pet Safety and Placement
For pet owners, spider plants are one of the safer indoor choices. The ASPCA lists Chlorophytum comosum as non-toxic to dogs and cats. That is a major advantage over many common houseplants, though chewing any plant material can still cause mild stomach upset. (ASPCA)
Even with a pet-safe plant, placement matters. Cats that treat dangling leaves like toys can shred the plant and knock pots over. Hanging baskets or elevated shelves protect shape and keep runners visible. If you suspect ingestion of an unknown plant or see severe symptoms, contact your veterinarian or the ASPCA Animal Poison Control Center at (888) 426-4435 (consultation fee may apply).
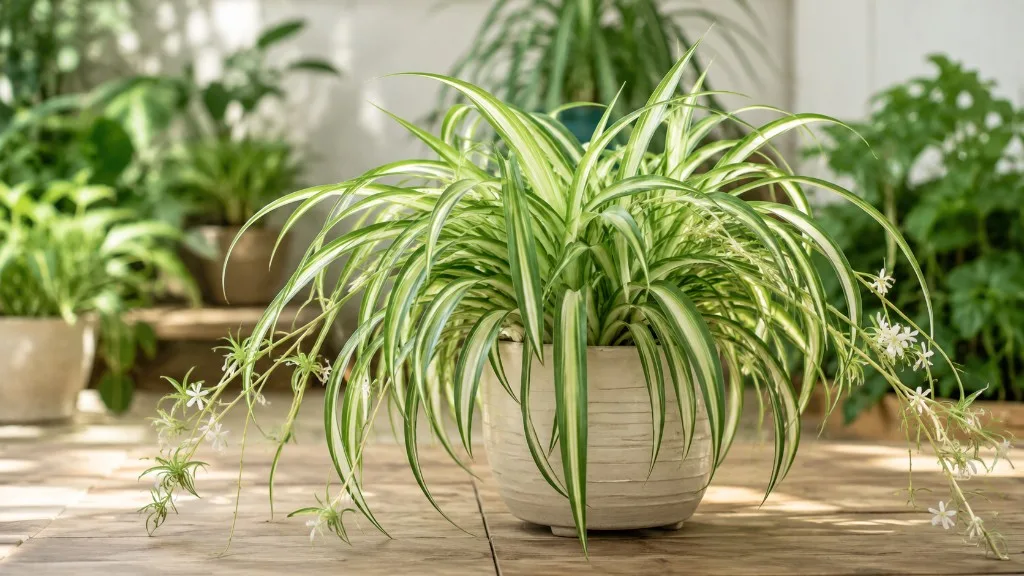
Popular Spider Plant Varieties
Most people know variegated forms first. ‘Vittatum’ usually has a green leaf with a white center stripe; ‘Variegatum’ shows white margins with a greener center. Both want the same basic care, though variegated types generally need stronger indirect light than all-green forms to keep crisp striping. (BBC Gardeners World Magazine)
The Bonnie spider plant has curlier, twisted leaves and a more compact shape—care is broadly similar, but dense foliage can hide the soil surface and make moisture checks slightly trickier. Green forms often tolerate lower light; heavily variegated forms need brighter positions.
One claim worth keeping in perspective: spider plants appeared in the NASA Clean Air Study, but meaningful pollutant removal in a real home would require vastly more plants than any room can hold. The American Lung Association states that houseplants do not effectively clean indoor air in ordinary homes—ventilation and source control matter more. Enjoy spider plants for looks, propagation, and ease—not as an air filter. (NASA Technical Reports Server)
Next Steps: Deeper Spider Plant Guides
Use this page as your setup checklist, then drill into the hub by topic:
- Spider Plant propagation — pin, water, or soil rooting with week-by-week timing
- Spider Plant brown tips — water quality, salts, and trimming workflow
- Spider Plant repotting — when snug is right and how to size up safely
- Spider Plant hub — full reference, cultivars, seasonal calendar
- Light · Watering · Soil · Fertilizer · Pruning
- How to water indoor plants — soil-check skills that apply across species
- Repotting houseplants — general timing when roots truly take over
Related guides
- How to water indoor plants the right way — finger and pot-weight checks that prevent overwatering
- Repotting houseplants — when to size up and how to avoid rot after repotting
- Houseplant humidity guide — when dry air contributes to brown tips
- Low-maintenance indoor plants for busy homes — spider plant as a forgiving beginner option
Conclusion
If your spider plant looks off, check soil moisture, light, and leaf texture before changing everything at once—and use the Spider Plant hub when a symptom needs its own page. The three post-read paths most owners need are propagation, brown-tip diagnosis, and repotting; the links above take you straight there.