DIY Pebble Tray for Tropical Houseplants: Does It Work
DIY pebble tray for tropical houseplants: which plants fit, how wide the tray should be, four safe build steps, and when a humidifier wins instead.
Your Calathea roseopicta looked fine through autumn. Then the heat kicked on, the air dried out, and new leaves started opening with crisp brown edges before they finished unfurling. You are not imagining the pattern. Winter forces tropical houseplants to live in air that feels nothing like the forest understory they evolved in, and the first casualties are usually thin-leaved, humidity-hungry growers sitting a foot above a heating vent.
A DIY pebble tray can help some of those plants-but only when the tray is sized for the plant, built safely, and matched to a species whose leaves sit close enough to the water to benefit. This guide is the tropical spoke in the LeafyPixels pebble-tray cluster: plant matching, pot-to-tray sizing, four build steps with tropical callouts, a repeatable hygrometer test, and honest limits. For the generic definition of what a pebble tray is, see what a pebble tray is. For the full canonical five-step build with maintenance tables, see the DIY pebble tray hub.
Why Tropical Houseplants Struggle With Dry Indoor Air
Tropical houseplants did not evolve for forced-air living rooms. They lose water through their leaves constantly in a process called transpiration, and when indoor air is dry they can lose moisture faster than roots replace it. The result shows up as brown leaf margins, curled tips, stalled new growth, and leaves that never quite look plump.
Transpiration and Thin Leaves
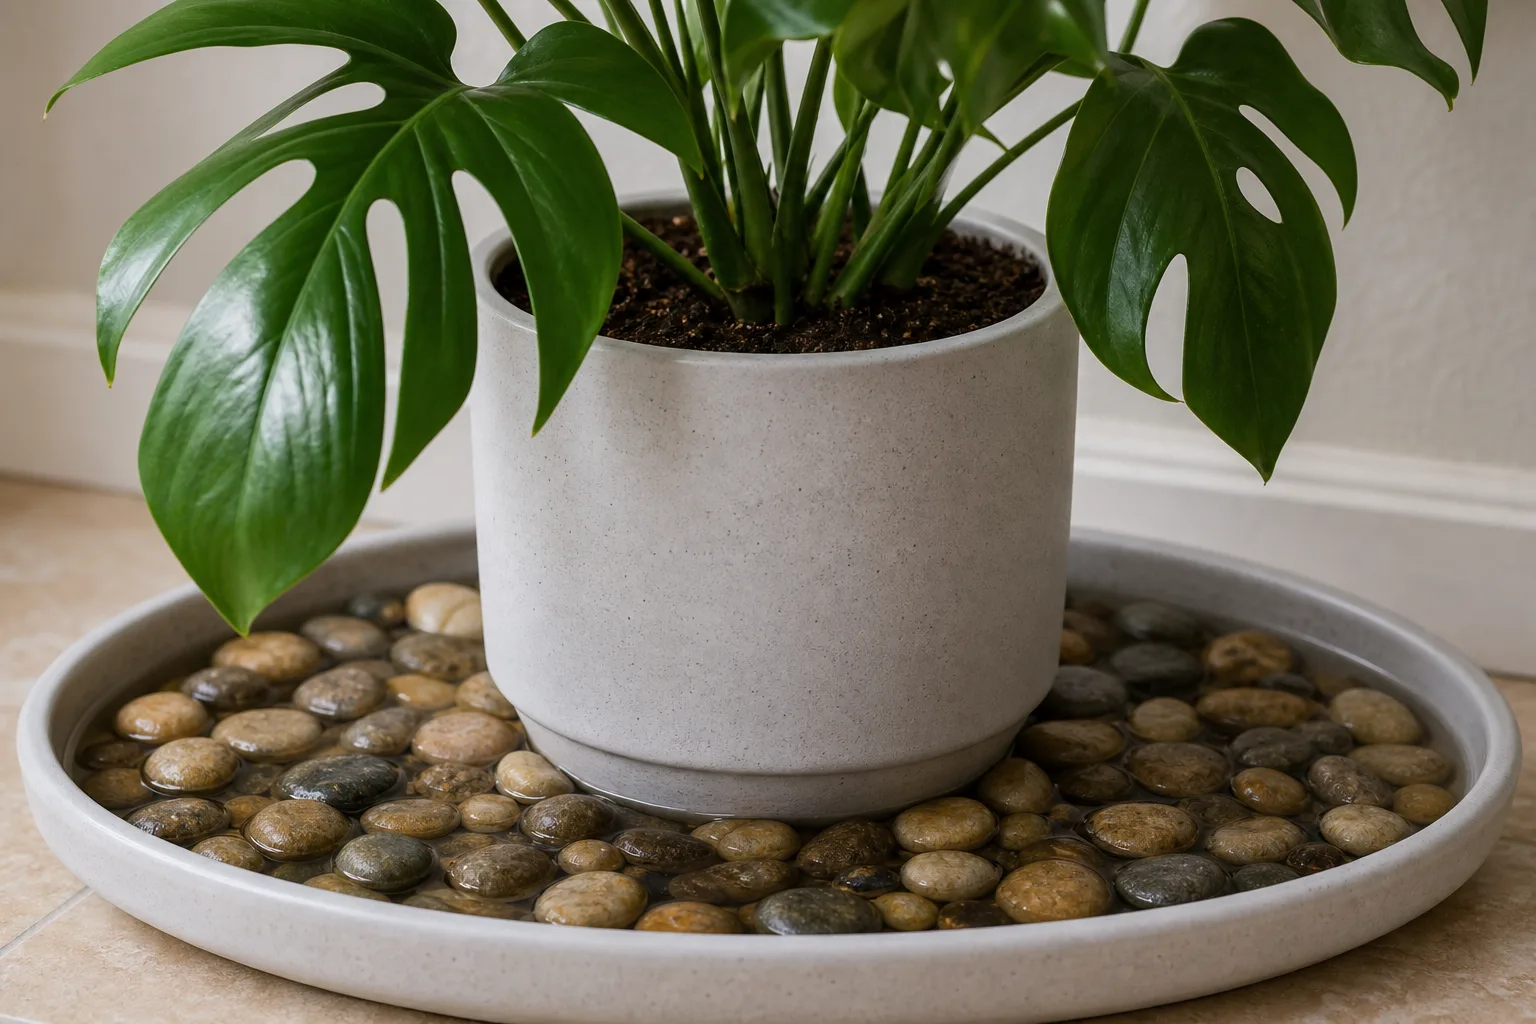
The plants that complain first are not always the ones labeled “tropical” on a nursery tag. They are the ones with thin leaves, high surface area, and low tolerance for dry air. Fittonia nerve plants, small maidenhair ferns, juvenile prayer plants, compact calatheas, and young alocasias fit that profile. Thicker-leaved philodendrons and many monsteras tolerate average home humidity better, which is why a tray under a mature Monstera deliciosa often disappoints even when the build is correct.
Missouri Botanical Garden notes that Fittonia albivenis prefers high humidity and may be placed on a wet pebble tray. (Missouri Botanical Garden) That recommendation only works when the foliage sits relatively close to the evaporating surface-a detail many quick tutorials skip.
When Average Home Humidity Is Not Enough
Most houseplants grow well around 40–60% relative humidity, according to University of New Hampshire Extension, while many true tropical understory plants prefer the upper half of that range or higher. Missouri Botanical Garden gives a similar benchmark near 50% RH for general houseplants, with humidity-sensitive types wanting more. In a heated winter room, wall readings can drop into the low 30s or below, which is tolerable for some adaptables and stressful for fittonia, ferns, and calatheas.
That gap is why growers reach for pebble trays, humidifiers, grouping, and cabinets. The question is not whether humidity matters for tropicals. It is whether a passive tray can close enough of the gap for your plant in your room.
Do Pebble Trays Actually Work for Tropicals?
Yes-but only within limits that matter more for tropicals than for average houseplants. A tray adds moisture to a small pocket of air near the pot. It does not rewrite the climate in your apartment.
What Local Humidity Really Means
Local humidity is the RH reading at leaf height above the tray, not the number on a sensor across the room. Iowa State University Extension states that pebble trays raise humidity in the vicinity of the plant, not throughout the whole space. University of New Hampshire Extension calls the benefit small, strongest with grouped plants in a room with low air circulation.
Think in geometry: water evaporates upward and outward from the tray surface. The humid pocket is tallest and strongest directly above the water rim. A 4-inch fittonia with leaves 6 inches above a 12-inch tray sits inside that pocket. A 5-foot monstera with canopy three feet above a saucer mostly lives in the same dry room air as before.
When a Tray Helps Compact Tropicals
A pebble tray is most plausible when four conditions align: the plant is compact, the leaves sit relatively low, the tray is wider than the pot, and airflow is moderate rather than aggressive. UNH Extension says grouping and similar microclimate methods work best in small rooms with low airflow. Nebraska Extension recommends a tray two to three inches wider than the pot on each side so enough water surface stays exposed.
That makes trays a practical first step for a shelf of fittonia, a tabletop calathea, or a cluster of small ferns-not for a floor specimen in a drafty great room.
When It Falls Short
A tray fails the tropical test when the plant outgrows the geometry. Tall calatheas, large alocasias, bird-of-paradise, and mature monsteras keep crisping even with a tray underneath because the foliage is too far from the moisture source. Research in the Journal of Building Engineering (2024) found that air exchange had a greater impact on relative humidity than plant moisture contribution under tested indoor conditions. (Journal of Building Engineering) Translation: HVAC, vents, and fans often strip away a tray’s small gain faster than a fussy tropical can use it.
If your calathea’s low-humidity symptoms persist beside a heating vent despite a correctly built tray, the method is not wrong-the situation is wrong. Move the plant, measure RH, group compatible tropicals, or upgrade to a humidifier.
Which Tropical Houseplants Benefit Most
The best tray candidates share two traits: humidity sensitivity and compact geometry. “Tropical” alone is not enough.
Best Matches for Small Trays
These growers usually sit close enough to a properly sized tray for a measurable local assist:
| Plant | Typical pot | Starting tray width | Why it matches |
|---|---|---|---|
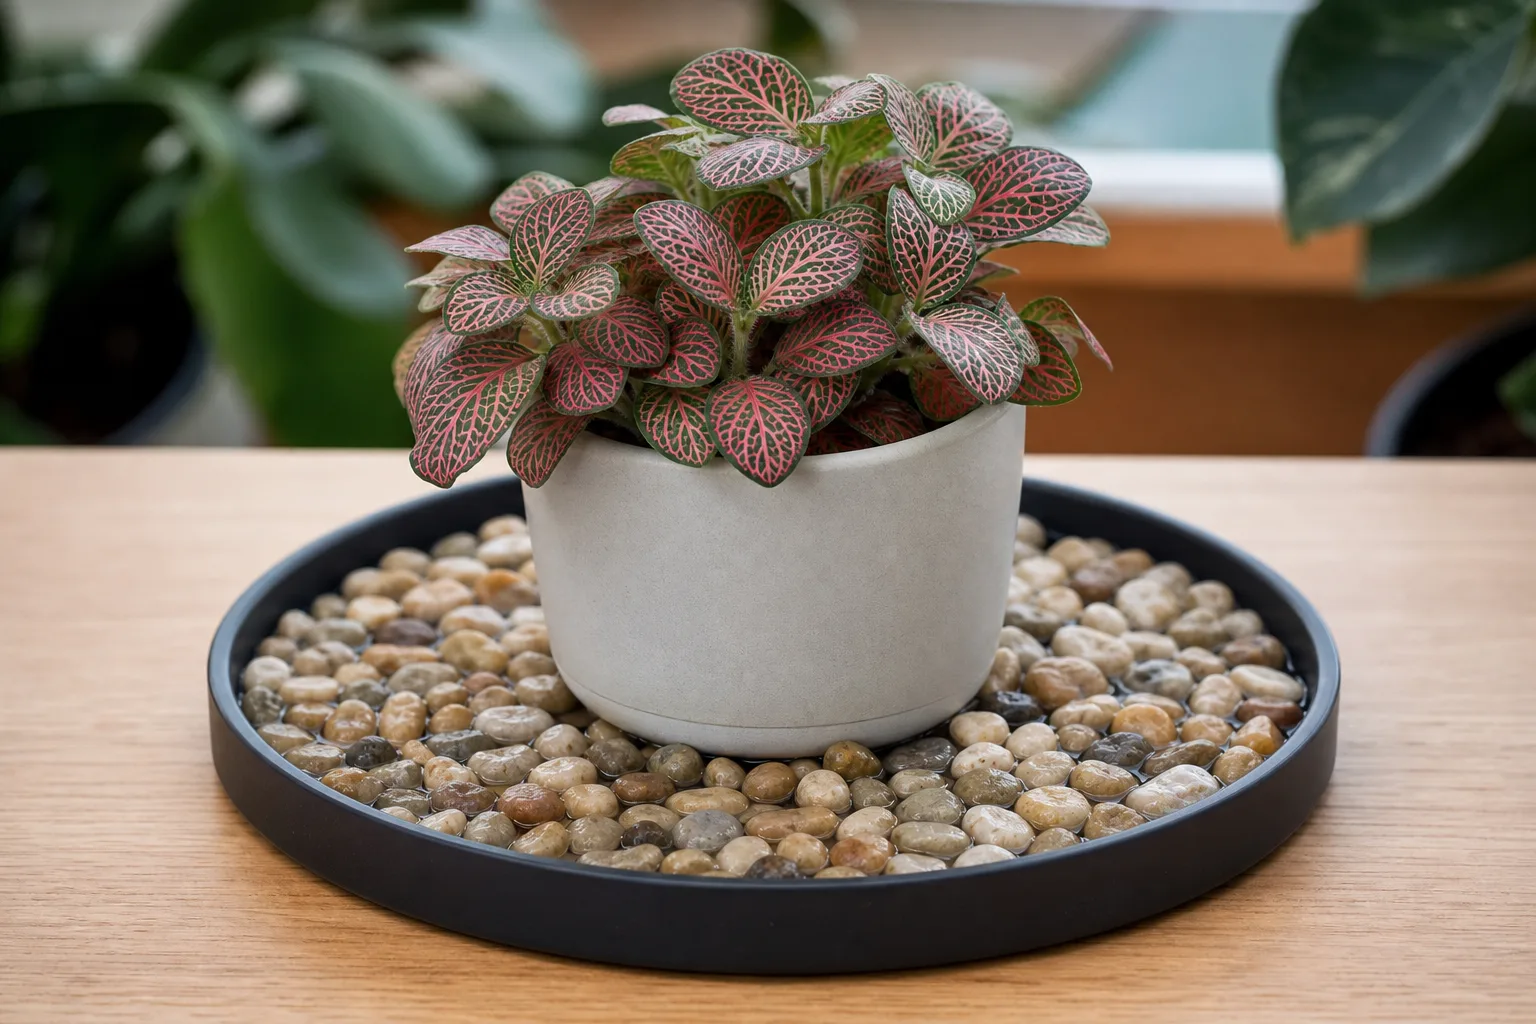
| Fittonia albivenis | 3–4 in. (7.5–10 cm) | 10–12 in. (25–30 cm) | Low, thin leaves; high humidity preference |
| Maidenhair fern (small) | 4 in. | 10–12 in. | Delicate fronds near tray level |
| Calathea roseopicta (compact) | 5–6 in. | 12–14 in. (30–35 cm) | Prayer-plant family; borderline in dry winters |
| Maranta leuconeura (juvenile) | 4–5 in. | 10–12 in. | Low-growing; leaves fold near pot rim |
| Selaginella | 3–4 in. | 10 in. | Creeping habit keeps foliage low |
Better Homes & Gardens, citing Costa Farms horticulturist Justin Hancock, points to fittonia, selaginella, creeping ficus, and hemigraphis as better pebble-tray matches because foliage stays near the humid zone. RHS lists bird’s nest fern among humidity-appreciating houseplants that can benefit from pebble-tray support when room air runs dry.
Link plant choice to symptoms: if fittonia low humidity shows limp, crispy tissue on new growth in winter, a sized tray is a reasonable experiment. If only old tips are brown, fix watering and salts first.
Plants That Need More Than a Tray
Some tropicals tolerate average humidity; others demand stable high RH that passive evaporation cannot deliver:
- Large calatheas and alocasias in dry, heated rooms usually need a humidifier, grouping, or enclosure.
- Mature monsteras and tall ficuses sit too far above a saucer for meaningful leaf-level change.
- Anthuriums and big ferns often want consistent moisture beyond a single tray in winter.
RHS suggests steamy bathrooms or frequent humidity support for tropicals that need more than average room air. When a tray is correctly built but monstera low-humidity damage continues on new leaves, treat the tray as a supporting tool-not the main fix.
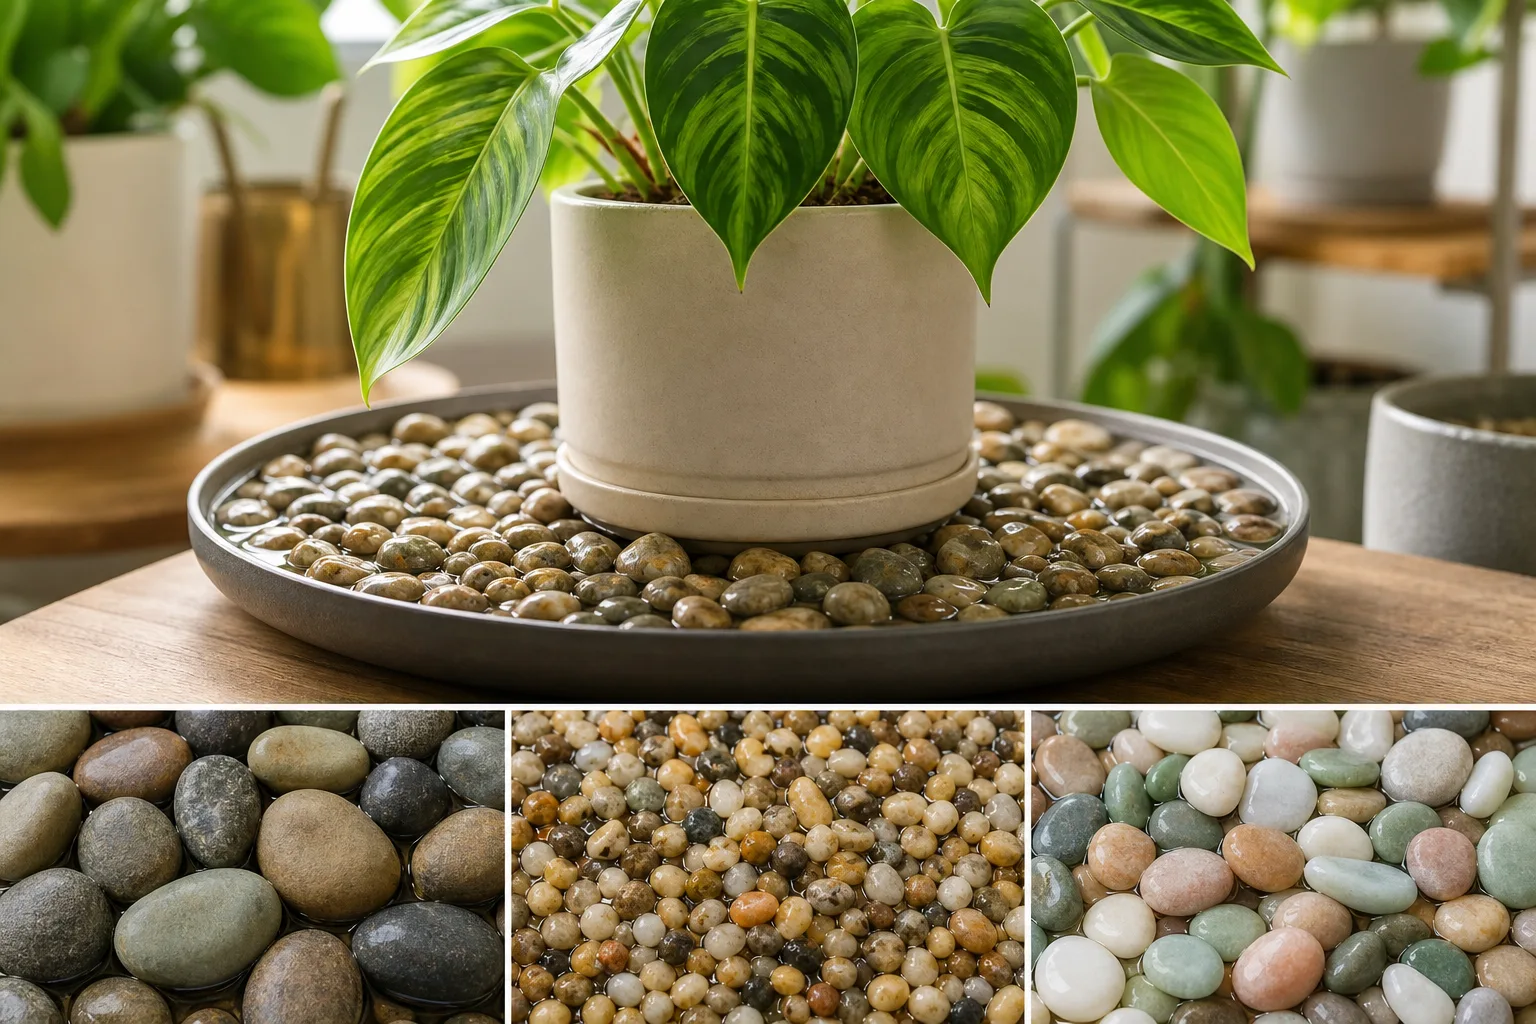
Materials and Sizing for Tropical Setups
Gather a shallow waterproof tray, clean pebbles or LECA, water, a pot with drainage holes, and optionally a digital hygrometer. The tray should be rigid, watertight, and wide enough that you can see open water around the pot after setup.
| Item | Tropical setup note |
|---|---|
| Tray | 1–2 in. deep; 2–3 in. wider than pot on every side |
| Pebbles or LECA | 0.75–1.5 in. layer; rinsed; stable enough to prevent rocking |
| Water | Below pebble tops and below pot drainage holes |
| Hygrometer | Position at lower leaf height, not on wet stones |
Illinois Extension warns that pots on water-filled pebble trays should not sit directly in water. Iowa State University Extension adds that roots held wet for long periods can rot. For tropicals already prone to soggy mix-calatheas, ferns-the waterline rule is non-negotiable.
Example sizing: A 4-inch fittonia pot wants a 10- to 12-inch tray. A 6-inch compact calathea wants a 12- to 14-inch tray. If you cannot see exposed water surface beyond the pot rim, size up or accept that evaporation area is too small to matter.
How to Build It: Four Steps for Tropical Plants
These four steps mirror the DIY pebble tray hub build sequence but add tropical pot-size callouts at each stage. Follow the hub for wash-and-measure details, refill ranges, and the full five-step checklist including side-view photos.
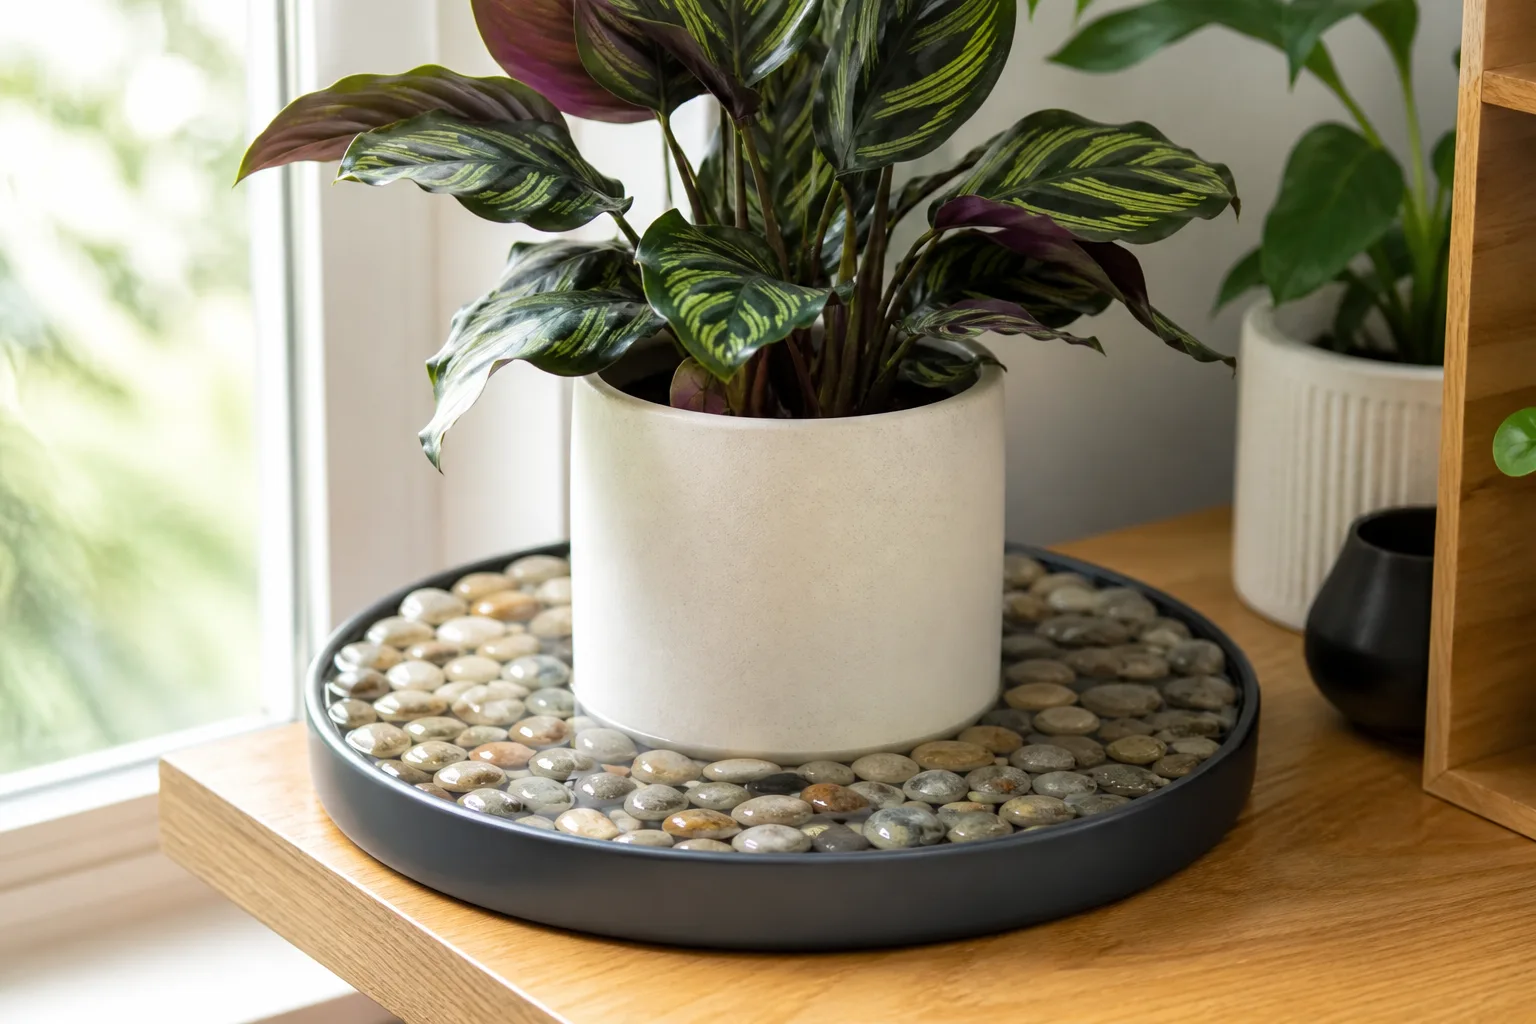
Step 1: Choose Tray Width for Your Pot Size
Pick a tray shallow, waterproof, and at least 2 inches wider than the pot on every side. For a 4-inch fittonia, that means a 10-inch tray minimum; for a 6-inch calathea, 12 inches or more. A tray that merely catches runoff without extending beyond the pot base will not expose enough water to evaporate.
Place the empty tray where the plant will live before you fill it. Tropicals that need bright indirect light-calatheas, fittonia, ferns-should not be sacrificed to humidity; confirm the spot works for both light and stable air.
Step 2: Add and Rinse Pebbles or LECA
Spread a 0.75- to 1.5-inch layer of rinsed pebbles or LECA. RHS mentions hydroleca as a valid humidity-tray medium. Rinse until rinse water runs clear; tropical setups in warm rooms algae faster when stones start dirty.
Press the center gently. The pot must sit level-a rocking calathea pot shifts stones until drainage holes dip toward water.
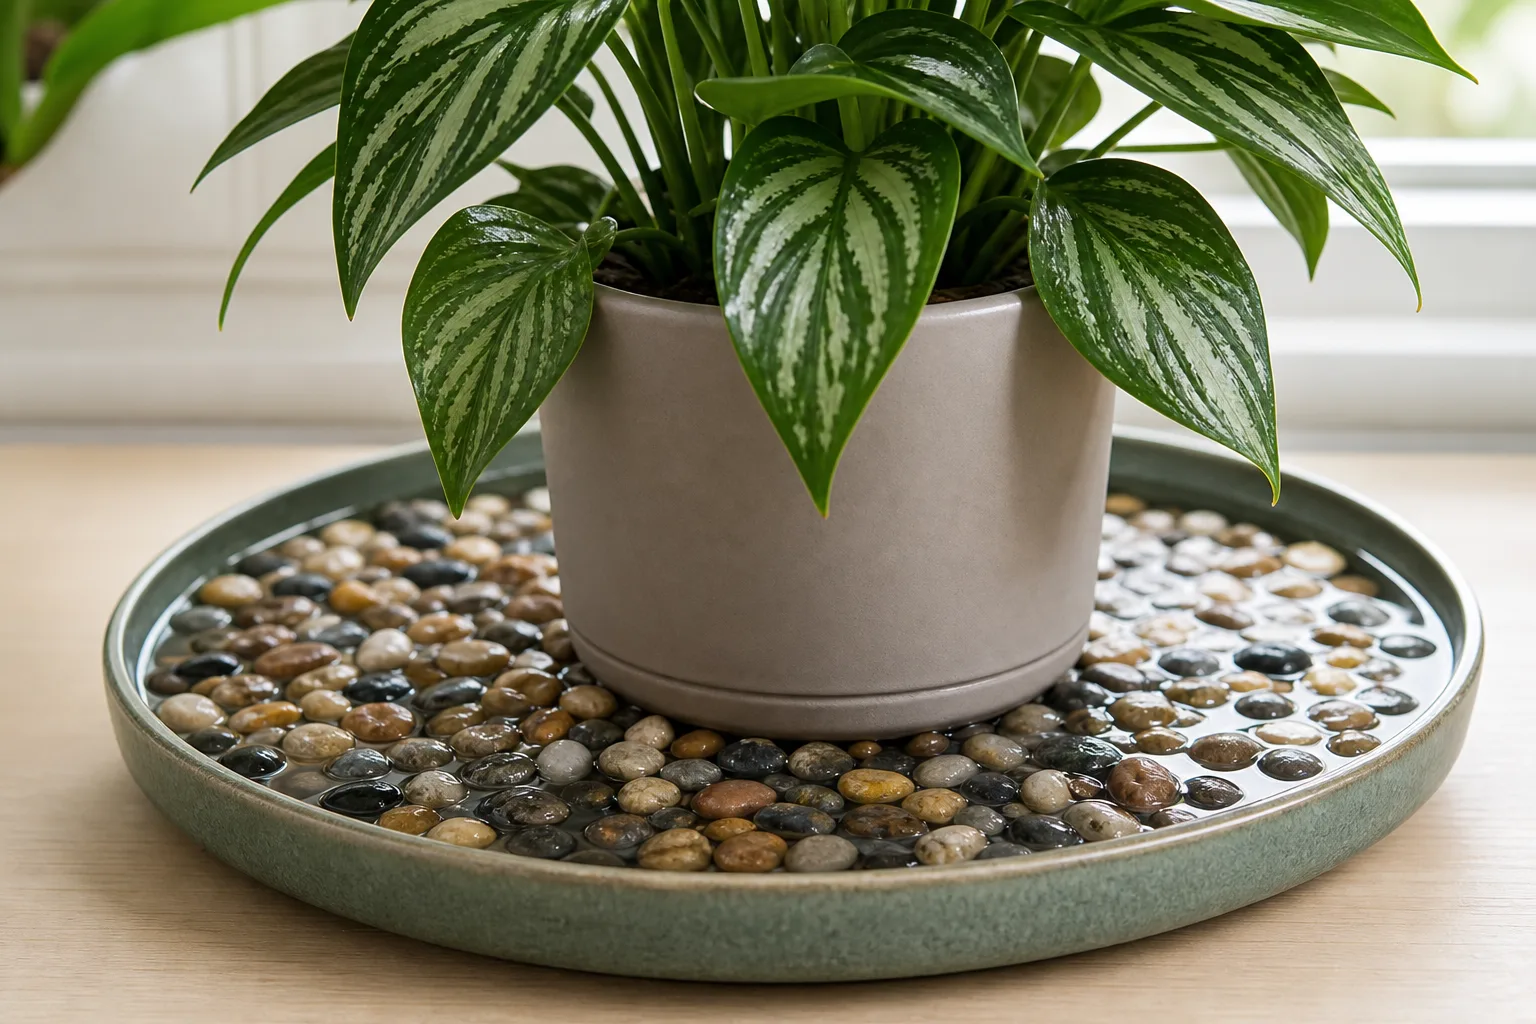
Step 3: Fill Water Below the Pebble Line
Add water until it sits below the top of the stones, never touching the future pot base. Better Homes & Gardens recommends stopping just below the pebble surface. Use a side view or skewer test if the tray is opaque.
For tropicals, the most common failure is overfilling after a rushed refill. Calathea and fern mixes stay wet enough already; bottom water from a high reservoir invites root stress and fungus gnats.
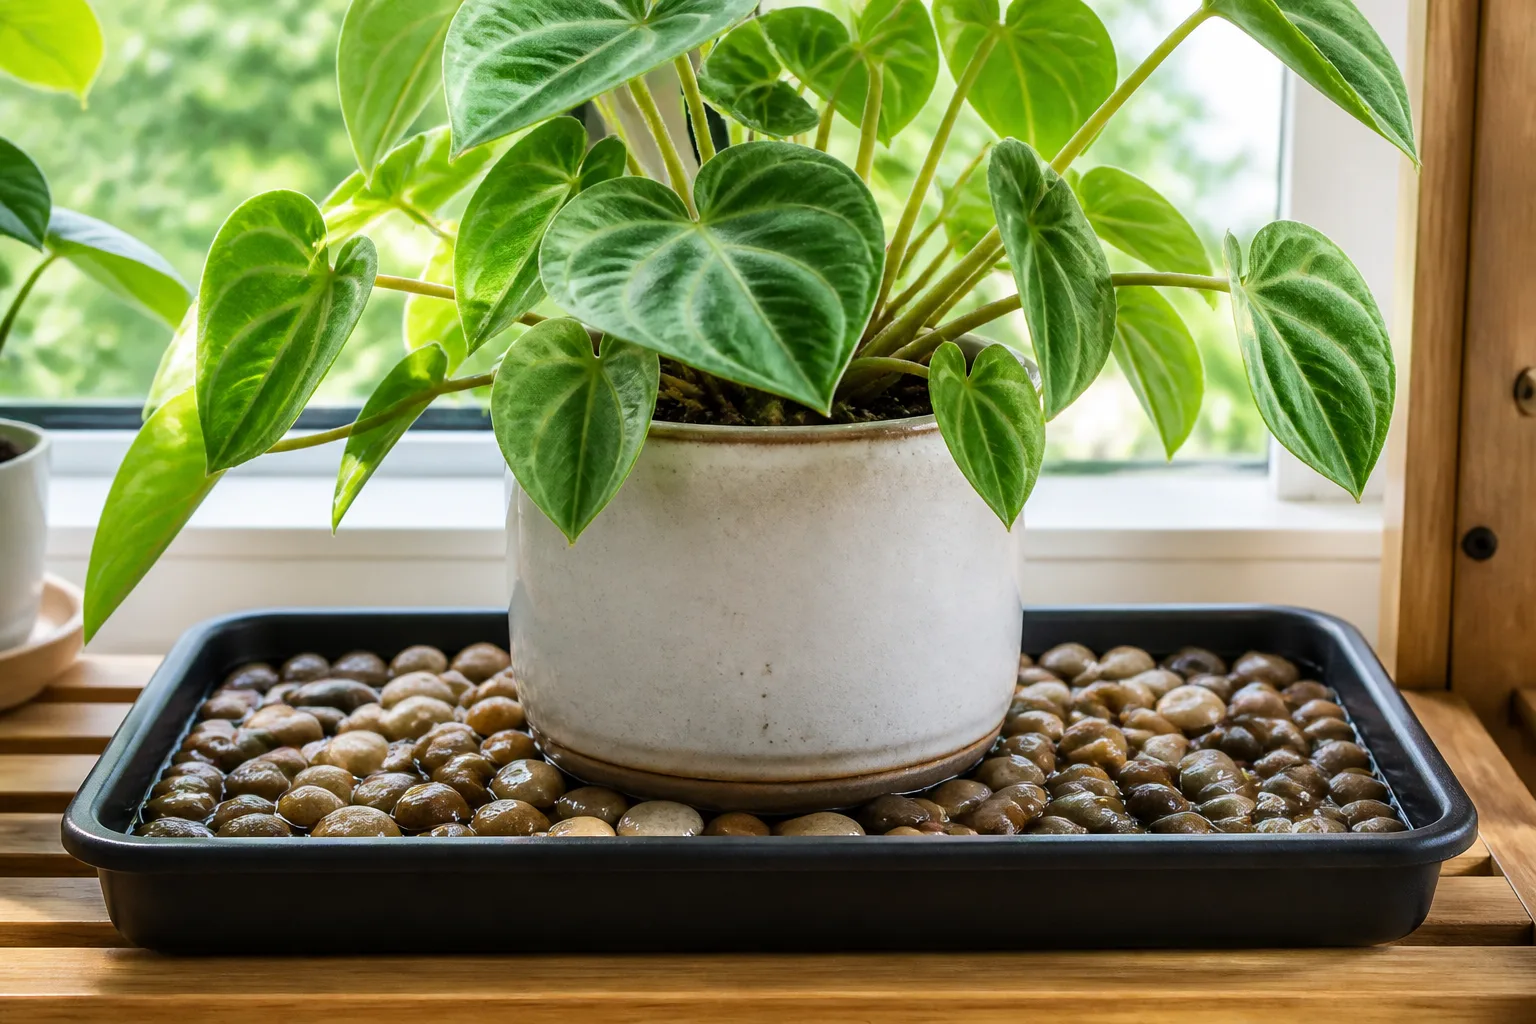
Step 4: Set the Pot Above the Waterline
Center the pot on the stones. Confirm from the side that drainage holes stay dry. Cornell Cooperative Extension is clear: the pot must sit above the tray waterline; roots should not stand in standing water.
After watering the plant at a sink, let it drain fully before returning it to the tray. Fertilizer runoff in the reservoir creates slime faster in warm tropical setups.
Editorial Hygrometer Test: Fittonia on a Sized Tray
LeafyPixels ran a seven-day winter editorial test to see what a correctly sized tropical tray actually changes-not what marketing promises.
Setup: Fittonia albivenis ‘White Anne’ in a 4-inch nursery pot on a 12-inch glazed ceramic tray (tray extends 4 inches beyond the pot on each side) with washed river pebbles (~1 inch deep). Water line kept ¼ inch below pebble tops. Plant on a shelf in a 14 × 12 ft forced-air heated room with thermostat at 68°F (20°C), away from vents, grouped with two other small tropicals.
Sensor: Govee H5075 digital hygrometer positioned at lower leaf height (about 5 in. above tray rim), probe tip level with the lowest fittonia leaves—not resting on wet stones.
Protocol: Logged at 8 a.m. and 8 p.m. for three days before tray install, then seven days after, without moving the plant or changing watering.
| Reading point | Before tray (avg.) | After tray, day 7 (avg.) |
|---|---|---|
| At fittonia leaf height | 33% RH | 39% RH |
| Opposite wall, same room | 31% RH | 32% RH |
That 6-point local gain at the plant-not a room transformation-is consistent with extension guidance that pebble trays help around the plant. University of New Hampshire Extension recommends using a digital hygrometer to judge humidity interventions rather than guessing from feel.
A compact Calathea roseopicta in a 5-inch pot on a 12-inch tray in the same room logged a similar pattern during the same week: 35% → 40% RH at lower leaf height, with wall readings unchanged at 31–32%. That second data point supports the geometry logic but is still one room, one winter—treat both results as local experiments, not universal promises.
Repeat this test yourself: Match pot and tray to the sizing table, log RH at leaf height for 72 hours pre-tray, install the tray, log the same times for 7–14 days, and compare new leaf quality-not old brown edges-to decide if the tray earns its space.
Placement, Maintenance, and Common Mistakes
Placement: Keep tropical trays away from heating vents, radiators, AC outlets, and ceiling fans. University of New Hampshire Extension advises moving humidity-sensitive plants off direct heat paths. A calm bright shelf, plant-cabinet opening, or grouped stand beats an open drafty room.
Maintenance: Refill when water drops low-often every 3–5 days in a dry winter room. Rinse stones and scrub the tray when water clouds or algae appears. Hard tap water leaves white crust faster; that is cosmetic on the tray but signals mineral buildup you should not ignore.
Common mistakes:
| Mistake | Why tropicals suffer | Fix |
|---|---|---|
| Pot touches water | Fern and calathea mixes stay wet; root rot risk | Lower water or raise pebble layer |
| Tray matches pot width | No exposed evaporation surface | Size up 2–3 in. per side |
| Tall plant, tiny saucer | Leaves far from humid pocket | Humidifier or enclosure |
| Tray beside vent | Airflow strips microclimate | Relocate |
| No hygrometer | Crisp tips blamed on humidity when salts or watering are the cause | Measure at leaf height; check brown-tip causes |
Pebble Tray vs Other Humidity Methods
| Method | Best for tropicals | Strength | Limit |
|---|---|---|---|
| Pebble tray | Compact fittonia, ferns, small calatheas | Cheap, silent, local | Leaf height and room size cap the effect |
| Grouping | Multiple humidity lovers on one stand | Free; adds transpiration | Weak in high airflow |
| Misting | Quick leaf surface wetting | Fast | Short-lived; can spread disease if overdone |
| Humidifier | Large calatheas, collections, dry winters | Reliable, measurable | Cost, cleaning, placement |
| Cabinet / terrarium | High-humidity specialists | Strong control | Less flexible |
University of New Hampshire Extension notes that a portable humidifier offers more consistent control when paired with a hygrometer. For borderline tropicals, the practical stack is often sized tray + grouping first; humidifier when measurements stay below target after two weeks.
Related Guides
- DIY pebble tray hub - canonical five-step build, maintenance tables, and measured home example
- What is a pebble tray? - definition, limits, and when the method fits
- Do pebble trays really increase humidity? - evidence and air-exchange context
- Pebble tray vs humidifier - when to upgrade from passive evaporation
- Best low-cost humidity solutions - grouping, misting, and tray combinations
- Pebble tray FAQs - generic setup and safety questions; this guide covers tropical sizing and testing depth
Conclusion
A DIY pebble tray for tropical houseplants is worth building when you match the method to the plant: compact geometry, humidity-sensitive leaves, and a tray wide enough to expose real water surface below the pot. It is not a humidifier substitute for a large calathea in a dry, drafty room, and it is not a bypass for bad watering or vent placement.
Size the tray 2–3 inches beyond the pot on every side, keep the water below the drainage holes, measure RH at leaf height, and judge new growth after two weeks. When the numbers and the leaves still say “too dry,” move to grouping, relocation, or a humidifier-the right tool for the actual gap, not the keyword variant you clicked first.