DIY Tiered Plant Stand: Complete Build Guide
Build a 36-inch step-style tiered plant stand with our cut list, screw schedule, assembly photos, and load-planning tips for herbs, succulents, and houseplants.

When we loaded the finished 36-inch step-style tiered plant stand with three wet 8-inch ceramic pots on the bottom shelf and two 6-inch pots above, the frame flexed less than 1/8 inch at the center of the lowest slats and did not rock on a flat tile floor. That is the bar this guide targets: a loaded structure, not a decorative shelf that only looks good empty. A tiered stand holds wet soil, saucers, trailing stems, and sometimes wind on a balcony. Build for that weight first, then worry about stain color.
This guide centers on one canonical step-style build-36 inches wide, 34 inches tall, 18 inches deep at the bottom shelf-with a fixed cut list, screw schedule, and assembly photos. You can scale to 30 inches (indoor) or 24 inches (balcony) using the variant table below. Design comparisons for ladder, corner, and compact balcony layouts stay in the mix so you pick the right footprint before cutting.
What You’ll Build
The primary project is a three-tier step-style wooden plant stand with slatted shelves, rear diagonal bracing, and optional front lips for outdoor use. Two mirror-image side frames carry three shelf levels that step from 12 inches deep (bottom) to 10 inches (middle) to 8 inches (top). Slats are cut from 1×6 boards; the frame uses 2×2 lumber.
Finished Specs and Load Test Results
| Spec | Primary build (36 in) | Indoor variant (30 in) | Balcony variant (24 in) |
|---|---|---|---|
| Overall width | 36 in | 30 in | 24 in |
| Overall height | 34 in | 32 in | 30 in |
| Bottom shelf depth | 12 in | 10 in | 10 in |
| Middle shelf depth | 10 in | 9 in | 8 in |
| Top shelf depth | 8 in | 8 in | 7 in |
| Bottom shelf height | 4 in off floor | 4 in | 4 in |
| Typical pot load | 3 medium + 2 small | 2 medium + 2 small | herbs / succulents |
Load test (editorial build): Bottom shelf held three watered 8-inch pots (~12 lb each including ceramic) plus two 6-inch pots on upper shelves (~5 lb each) without visible rack or screw loosening after two weeks of daily watering. Pine 1×6 slats at 36 inches will gradually sag under heavy ceramic loads; keep the heaviest pots on the bottom tier and consider oak or a center support if you routinely load three large wet pots per shelf. The USDA Forest Service Wood Handbook treats wood as an engineering material whose stiffness varies by species, moisture, and span-use conservative loading on soft pine spans. (USDA Forest Service)

Choose the Right Design Before You Cut
Pick the design that matches pot weight, floor depth, and location-not the prettiest photo online. Tape the footprint on your floor for a day before buying lumber.
| Design | Best for | Difficulty | Stability | Floor depth |
|---|---|---|---|---|
| Ladder-style | Wall displays, trailing vines | Medium | Medium unless anchored | Low |
| Step-style | Beginners, mixed pots, patios | Easy | High | Medium |
| Corner | Unused corners, small rooms | Medium | High if braced | Low–medium |
| Compact balcony | Herbs, narrow balconies | Easy–medium | Medium–high | Low |
Ladder-style stands lean slightly back with ascending shelves. They look clean indoors but need wall anchoring when loaded or near pets. A modest indoor size is 36 inches tall, 28 inches wide, 16 inches deep at the base, with shelf depths of 12, 10, and 8 inches front to back.
Step-style (this build) distributes weight across a wide base and uses level shelf supports-easiest to keep square. Corner stands fit dead space but make back pots harder to reach for daily herb harvests. Compact balcony units stay under 30 inches tall and 24–30 inches wide; keep resin or fabric pots when balcony weight limits are unknown. The Royal Horticultural Society notes containers work well for brightening small spaces-tiered stands stack that flexibility vertically. (RHS)
Ladder-Style vs Step-Style vs Corner vs Balcony
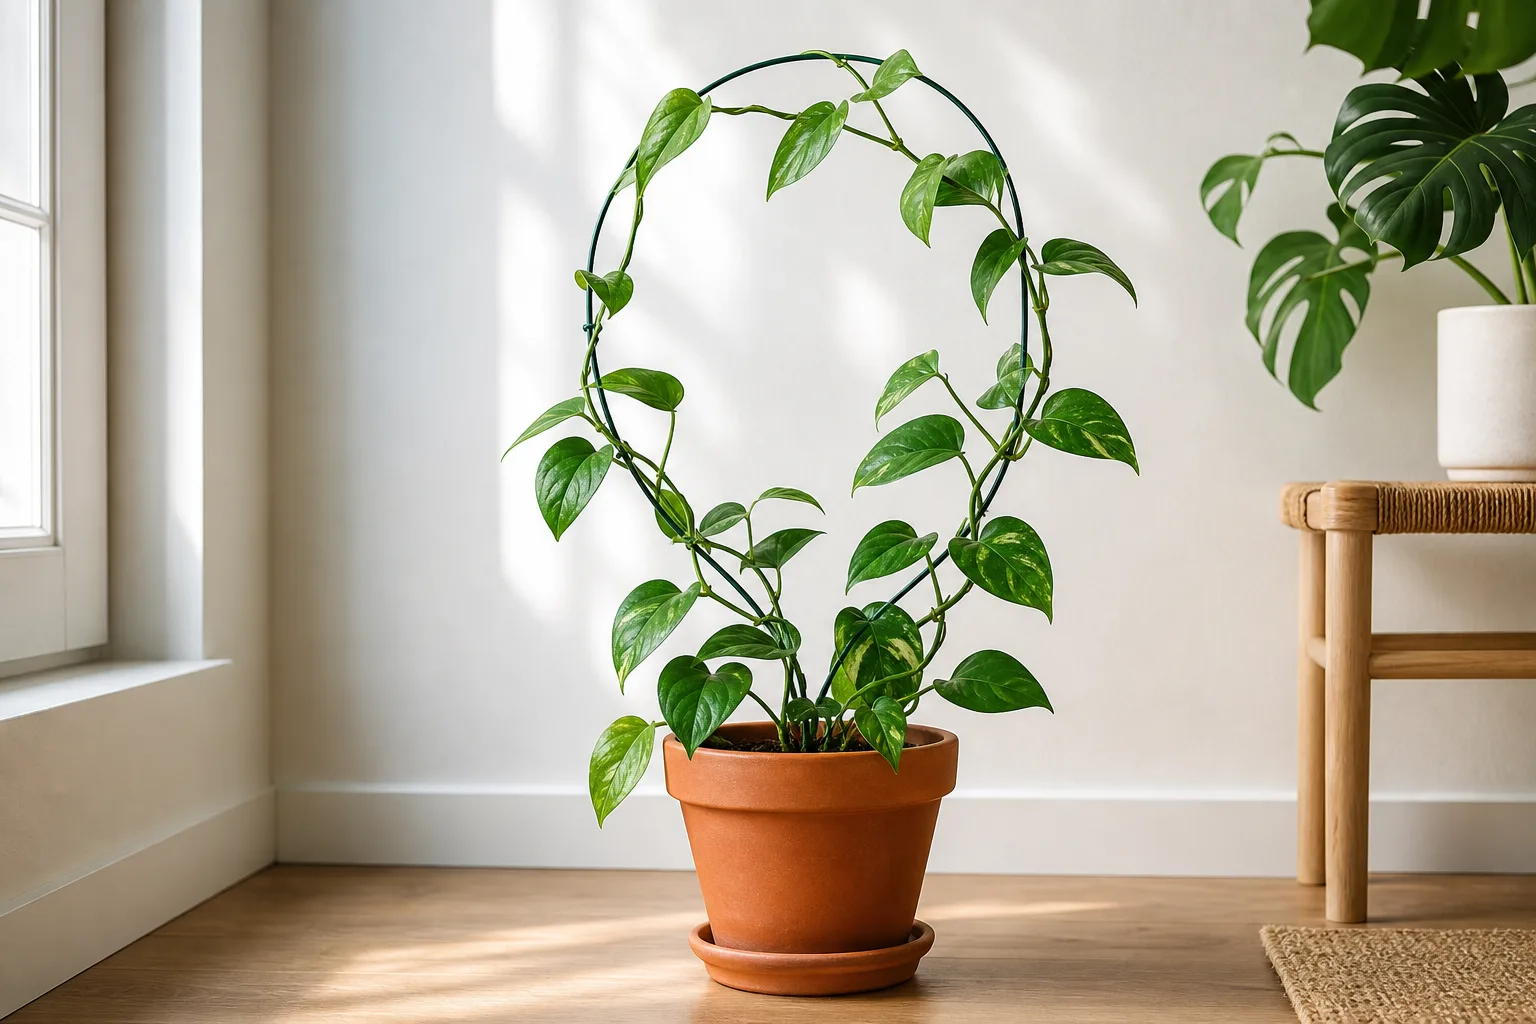
If you have heavy ceramic pots, avoid a tall narrow ladder unless you anchor it. If floor depth is under 14 inches, skip a deep step unit. If you water heavily outdoors, use slatted shelves or drainage gaps-solid shelves pool water. For vining displays, pair a ladder stand with our DIY indoor plant trellis guide instead of forcing long pothos vines across narrow shelves.
Materials, Tools, and Cut List
Bill of Materials and Lumber Math
All lumber is nominal sizing; measure actual widths at the store (1×6 is usually 5½ inches wide; 2×2 is 1½ inches square).
| Item | Qty | Notes |
|---|---|---|
| 1×6 × 8 ft board | 3 | Six shelf slats @ 36 in + scrap |
| 2×2 × 8 ft board | 2 | Legs and depth stretchers |
| 1×2 × 8 ft board | 1 | Rear brace + optional front lips |
| #8 × 2½ in exterior deck screws | 1 box (~50) | Frame joints |
| #8 × 1⅝ in exterior deck screws | 1 box (~40) | Shelf to frame |
| Exterior wood glue | 1 bottle | Indoor optional; outdoor recommended |
| 120- and 180-grit sandpaper | 1 sheet each | Pre-assembly sanding |
| Finish (see below) | 1 qt | Indoor poly or exterior spar urethane |
Estimated lumber cost (2026, U.S. big-box pricing): $45–$75 depending on cedar vs pine and finish choice.
Finish choices: Indoor-water-based polyurethane or paint over primer. Outdoor-exterior paint, solid stain, or spar urethane; seal all cut ends. Pressure-treated lumber is durable outdoors, but the EPA notes wood preservatives control decay and insects-many builders avoid treated boards for edible herb stands or frequent hand contact unless they understand the treatment type. (US EPA) Cedar or sealed untreated pine is often preferable for herb stations.
Tools: Measuring tape, speed square, pencil, drill/driver, 3/32-in pilot bit, #2 Phillips bit, clamps (4 recommended), safety glasses, hearing protection if using power saws. Optional: miter saw or circular saw. OSHA guidance: use the right tool, check for damage, wear eye protection, and follow manufacturer instructions. (OSHA)
Cut List for the 36-Inch Step-Style Plan
Cut in this order: shelf slats first (they set width), then legs, then stretchers.
| Part ID | Qty | Cut length | Material | Purpose |
|---|---|---|---|---|
| A | 6 | 36 in | 1×6 | Shelf slats (2 per level) |
| B | 4 | 34 in | 2×2 | Front and rear legs (each side frame) |
| C | 2 | 16 in | 2×2 | Bottom depth stretchers |
| D | 2 | 12 in | 2×2 | Middle depth stretchers |
| E | 2 | 8 in | 2×2 | Top depth stretchers |
| F | 1 | 28 in | 1×2 | Rear diagonal brace |
| G | 3 | 36 in | 1×2 | Optional front lips (outdoor) |
Shelf heights (mark on all four legs together): Bottom shelf top at 4 in from floor; middle shelf top at 18 in; top shelf top at 30 in.
30-inch width variant: Cut parts A and G to 30 in; reduce stretchers C/D/E by 2 in each. 24-inch width variant: Cut A and G to 24 in; use C = 14 in, D = 10 in, E = 7 in; height = 30 in.
Two 1×6 slats side by side yield roughly 11 in usable shelf depth (actual 11 in minus small gap if you leave ⅛-in drainage spacing outdoors).
Screw Schedule and Pilot Holes
| Joint | Screw | Qty per joint | Pilot |
|---|---|---|---|
| Stretcher into leg | #8 × 2½ in | 2 | 3/32 in |
| Shelf slat into leg | #8 × 1⅝ in | 2 | 3/32 in |
| Diagonal brace | #8 × 2 in | 2 each end | 3/32 in |
| Front lip | #8 × 1⅝ in | 3 per slat | 3/32 in |
Keep screws at least ¾ in from board ends to prevent splitting. Drive until seated flush; do not overtighten pine.
Plan Shelf Spacing and Load for Your Plants
Size the stand around your pots, not arbitrary board lengths. Gather pots, measure diameter and height, and estimate watered weight (wet soil adds roughly 40% mass vs dry).
Width rule: A 36-inch shelf fits three 6-inch pots or two 8-inch pots with margin. Depth rule: 8-inch depth suits succulents; 10-inch handles common houseplant pots; 12-inch fits herbs and medium containers with saucers.
Shelf Clearance for Herbs, Succulents, and Houseplants
| Plant group | Vertical clearance | Shelf depth | Notes |
|---|---|---|---|
| Succulents / cacti | 8–10 in | 8 in top tier | See indoor succulent care for dry-down needs |
| Herbs | 10–14 in | 10–12 in | Best herbs to grow indoors for light and harvest access |
| Compact houseplants | 12–16 in | 10–12 in | Pothos, peperomia, small ferns |
| Trailing vines | 10–12 in + edge space | Upper tiers | Pair with pothos care for light and watering |
Heavy-pots-low rule: Place the largest watered pots on the bottom shelf to lower center of gravity. Never put a 12-inch ceramic planter on the top tier for aesthetics alone. Very large floor plants-mature Monstera deliciosa, fiddle leaf fig, bird of paradise-belong on the floor or a low caddy, not a tiered stand.
University of Maryland Extension emphasizes drainage holes in containers so excess water escapes; saucers indoors catch drips, while outdoor slats need gaps so water does not pool. (University of Maryland Extension)
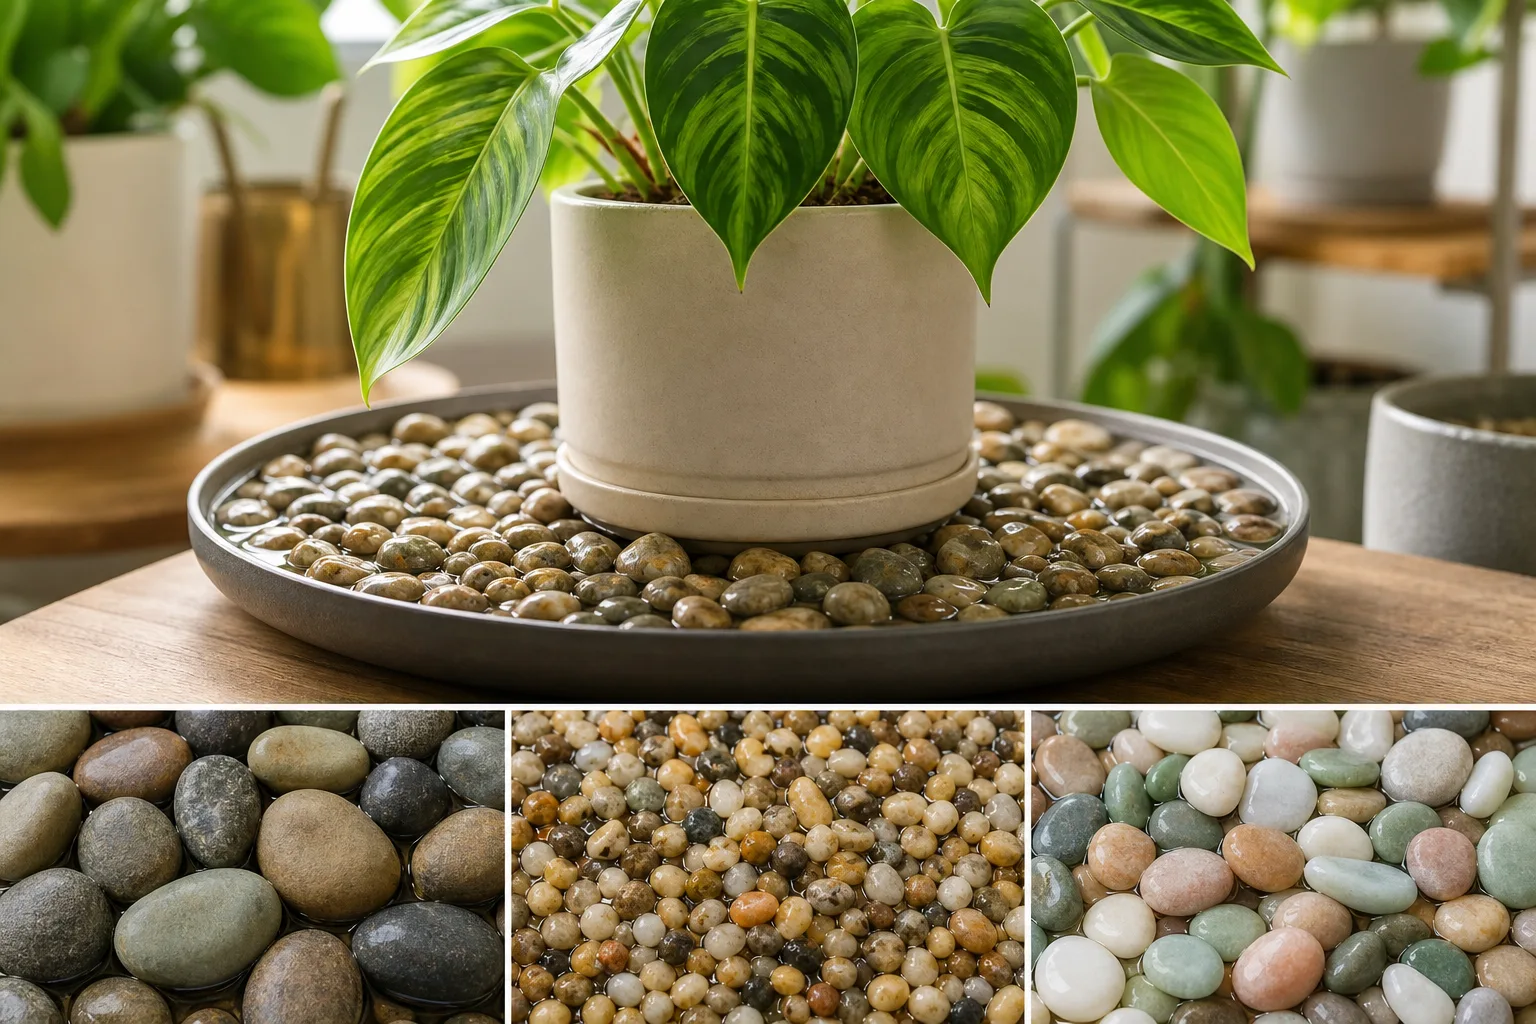
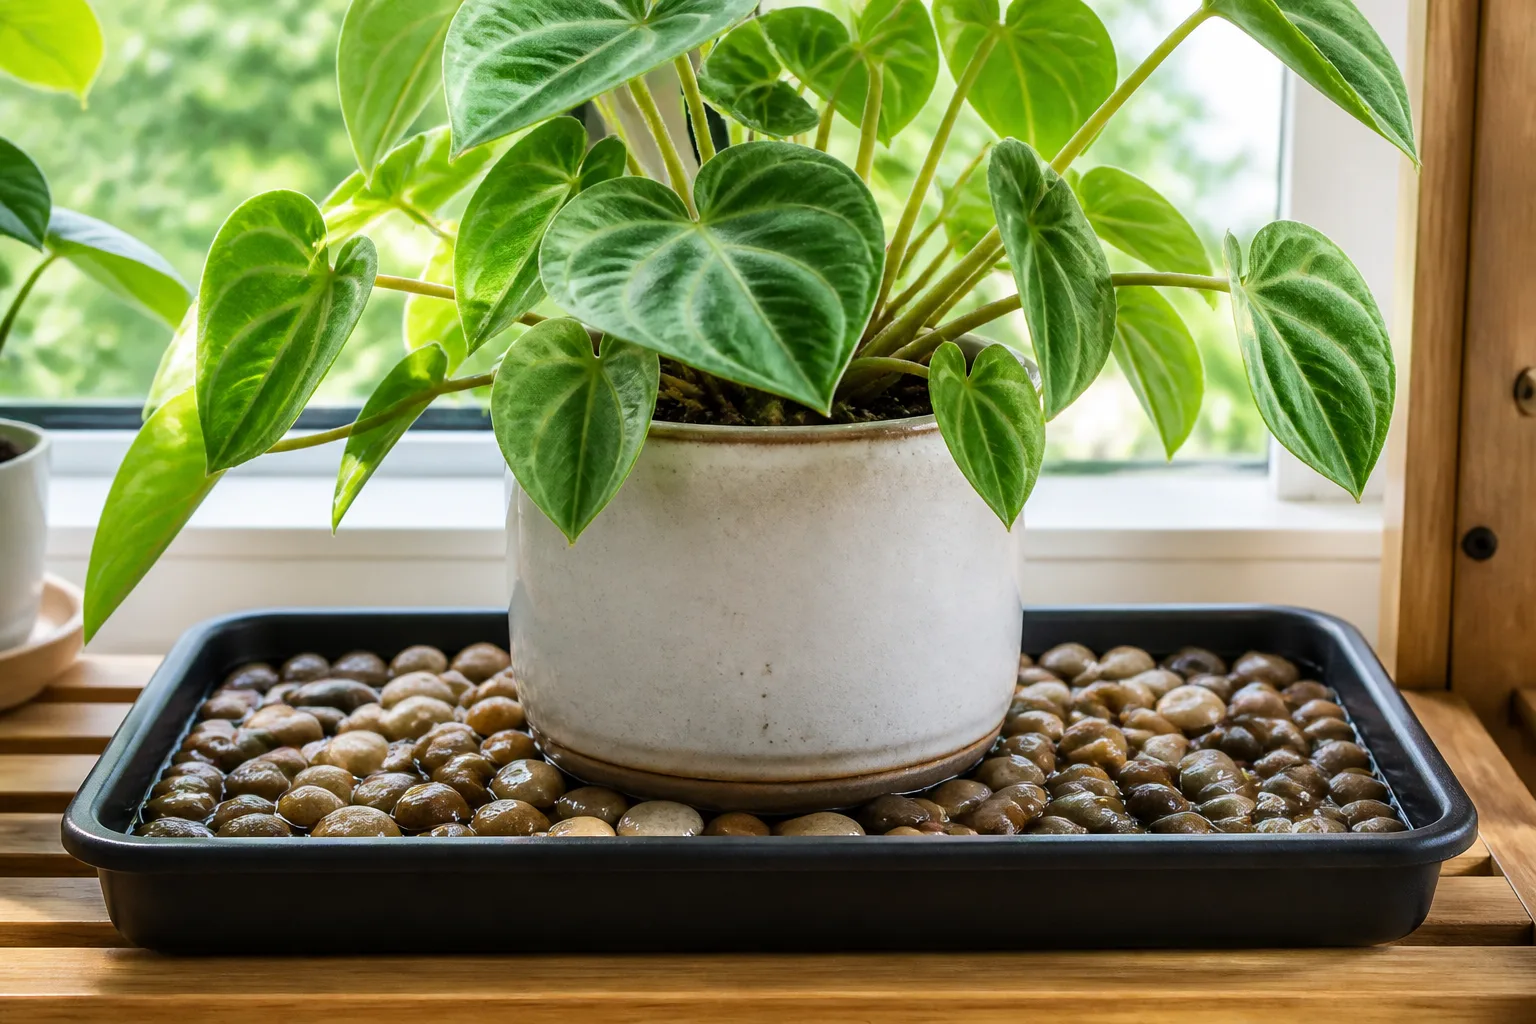
For humidity-loving plants grouped on one tier, a DIY pebble tray under individual pots beats misting alone-but keep pot bases above the waterline.
Build the Step-Style Stand Step by Step
Allow one afternoon for cutting and assembly plus overnight cure time before loading pots.
Build the Side Frames
- Mark shelf heights (4 in, 18 in, 30 in) on all four legs (parts B) using one square reference line across the batch.
- Lay one rear leg and one front leg flat. Align stretchers C, D, and E between them at the marked heights-C at bottom (16 in span front-to-back), D at middle (12 in), E at top (8 in). Front of each stretcher aligns with the front leg; rear ends flush with rear leg.
- Clamp each joint, pilot-drill, drive two #8 × 2½-in screws per stretcher end.
- Repeat for the second side frame. Compare frames; if heights differ by more than 1/16 in, adjust before installing shelves.
Stand frames upright 36 inches apart (outside to outside at the shelf slats). Temporary clamps or a helper keeps them parallel.
Install Shelves, Bracing, and Front Lip
- Install bottom shelf first: two slats (parts A) spanning between frames at the 4-inch height. Two #8 × 1⅝-in screws per slat per leg (eight screws total at this level).
- Check for square by measuring diagonals corner to corner; adjust before adding middle and top slats.
- Install middle and top slat pairs at 18 in and 30 in marks.
- Add rear diagonal brace (part F) from lower rear corner to upper rear corner on the back; pilot and screw into legs, not into slat gaps.
- Optional outdoor front lip (parts G): screw a 1×2 along the front edge of each shelf to reduce pot slide; keep lip under 1 in tall so saucers still slide out.

Finish, Cure, and Load Test
- Sand sharp edges; wipe dust.
- Finish all surfaces including underside of slats and end grain. Horizontal surfaces need the most protection.
- Cure per product label-often 24–72 hours before placing pots.
- Load test: Place empty stand on flat floor. Load bottom shelf with heaviest pots first. Push gently on top corner; if it rocks, add a second brace or anchor to wall.
- Style heavy-to-light, large-to-small. Leave air space between leaves; rotate weekly near windows.
Water using saucers indoors; check our how to water indoor plants guide for soil-check habits that prevent overflow from upper tiers dripping onto sensitive foliage.
Safety, Anchoring, and Common Mistakes
Tip-over: Tall, narrow, or top-heavy stands can injure children and pets. The CPSC Anchor It! campaign recommends anchoring furniture with drawers, doors, or shelves to wall studs when possible-especially in busy homes. (CPSC Anchor It) Use an ASTM F3096-compliant furniture anchor kit; attach to studs, not hollow drywall alone. Renters can use freestanding low step stands or bracket to a stud with landlord approval.
Common mistakes:
- Uneven leg marks → wobbly shelves (mark all legs together)
- Skipping end-grain seal → swelling at shelf edges
- Top-heavy loading → tip risk
- Solid outdoor shelves without drainage → rot
- Skipping pilot holes → split 2×2 ends
Tool safety: Keep blades sharp, unplug saws when adjusting, and clamp workpieces. Balcony use: Keep stands low, avoid trailing plants as wind sails, and use lighter pots when weight limits are unknown.
Related guides
- DIY indoor plant trellis: step-by-step guide - vertical support when vines outgrow shelf tiers
- DIY pebble tray for indoor plants - local humidity under grouped tropical pots
- DIY self-watering system: what actually works - reservoir options for herb tiers you water often
- Repotting houseplants - resize pots before committing shelf spacing
- How to water indoor plants the right way - saucer and drip habits for stacked shelves
Conclusion
You now have a complete step-style tiered plant stand plan: fixed cut list, screw schedule, assembly sequence, and load limits for a 36-inch build with 30-inch and 24-inch variants. Before your first cut, confirm pot sizes, tape the footprint, and buy one extra board for miscuts.
Pre-flight checklist:
- Pots measured; heaviest assigned to bottom shelf
- Lumber cut per table; legs marked at 4 / 18 / 30 in together
- Pilot holes drilled; rear brace installed
- All end grain sealed; finish cured
- Load test passed; anchor planned if children, pets, or wind apply
A well-built stand feels boringly solid before it looks beautiful. Once the frame passes the load test, grouping plants by light and watering needs-and linking to the right care guides-is the easy part.