Crown Rot on Tillandsia: Causes, Checks & Fixes
Quick answer
Crown rot on Tillandsia-what most growers call root rot-is tissue death at the leaf base from water trapped in the rosette after soaking or misting, not failure of anchor roots. First step: stop all soaking, shake out trapped water, and dry the plant upside down in bright airflow before you trim or remount.
Crown Rot on Tillandsia: Causes, Checks & Fixes
This guide covers root rot on Tillandsia. See also the general Root Rot guide, watering, and light pages for this plant.
Crown Rot on Tillandsia: Causes, Checks & Fixes
Quick answer
Crown rot on Tillandsia (Tillandsia spp.)-what most people search as root rot-is tissue death at the overlapping leaf bases where water pools after soaking or misting. Tillandsia roots anchor the plant to mounts; they are not the intake system. Rot starts in the crown, not in wiry brown roots.
First step: stop all soaking and misting, shake out trapped water, and dry the plant upside down in bright airflow. Only after the base feels dry should you trim soft tissue or decide whether pups can be saved. Mounting upright or returning a damp plant to a shell accelerates the failure mode this page addresses.
Judge recovery by firm new center growth, not by outer leaves returning to perfect color. Advanced inner rot-center leaves pulling out with no resistance and a sour smell-is usually fatal for the mother plant.
Why tillandsia gets crown rot (not classical root rot)
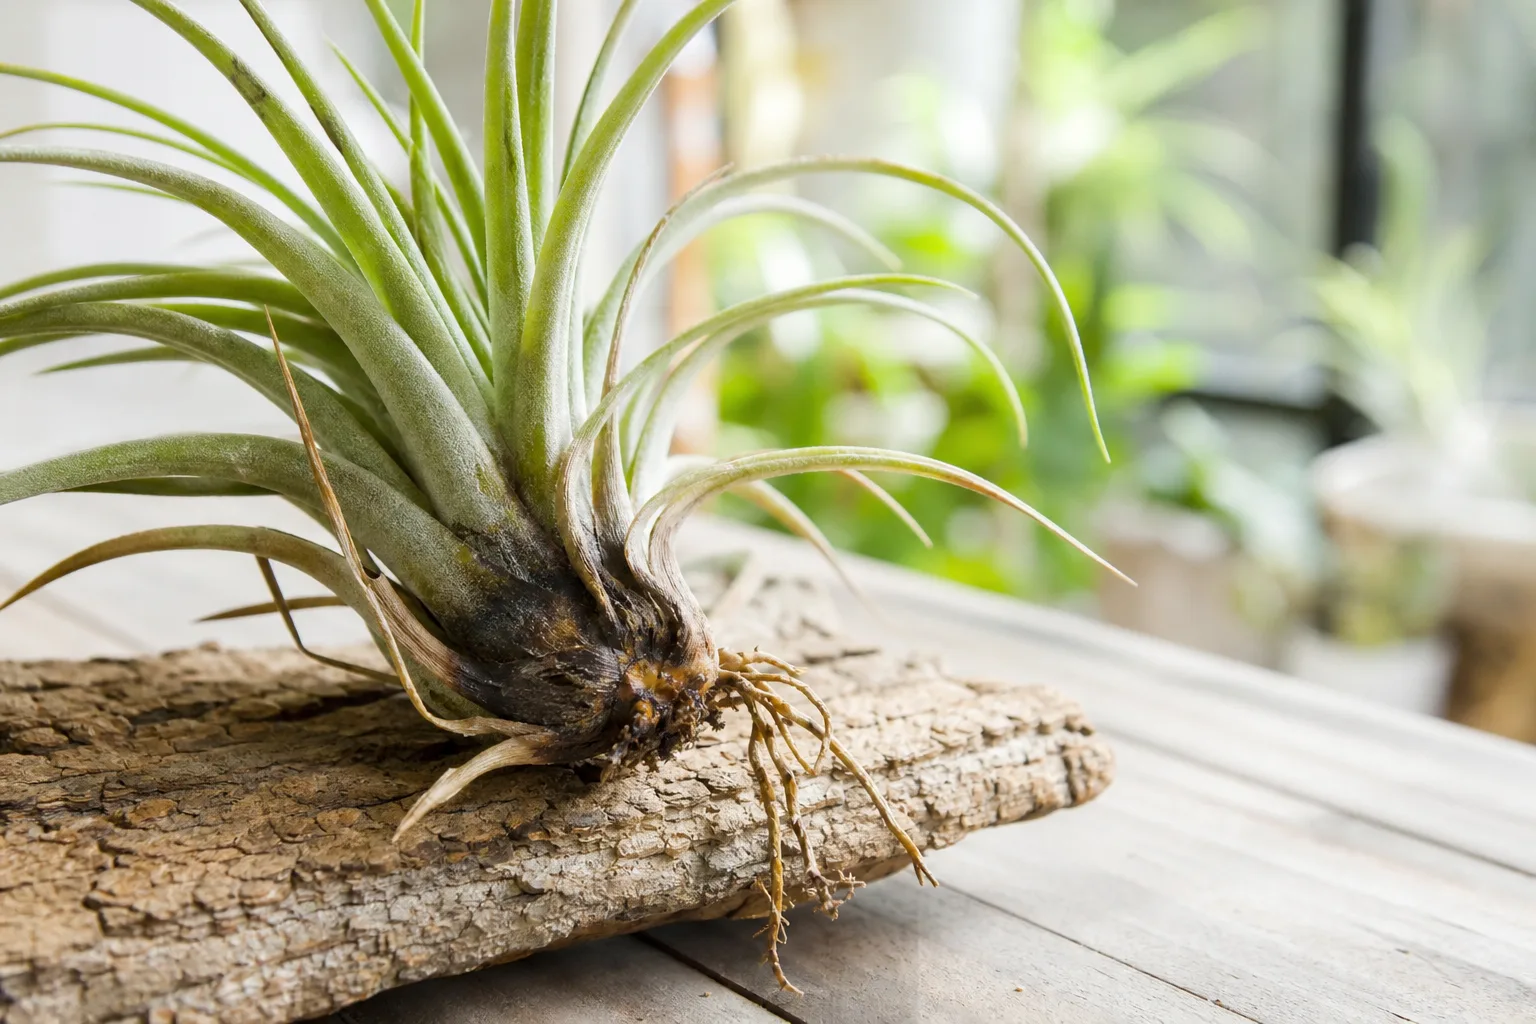
Tillandsia is an epiphytic bromeliad that drinks through trichomes on leaves, not through roots in soil. Indoors, crown rot is almost always a post-watering drying failure, not too much soak time alone. A 20-to-30-minute soak is within normal care. Rot follows when water sits in the rosette because the plant dried upright, returned to a closed globe while damp, or sat in wet decorative moss.
The rosette shape funnels water toward the center. In nature, wind and sun clear that pocket within hours. On a desk, in a terrarium, or upright in a shell, the same water stagnates. University of Minnesota Extension notes that tillandsia crowns rot when water is not well drained after watering-indoors, that means upside-down drying, not checking anchor roots.
How this page differs from sibling guides: Overwatering on Tillandsia covers soak rhythm and schedule mistakes that keep the base wet too long. Stem rot describes the same wet-base tissue death when failure is visible on the lowest leaf junctions. This page is the active rot diagnosis and rescue guide-symptoms, trim protocol, pup salvage, and when rot is too late. Baseline soak-and-dry technique lives in the Tillandsia watering guide.
What crown rot looks like on Tillandsia
Early crown rot on mesic types like Tillandsia ionantha:
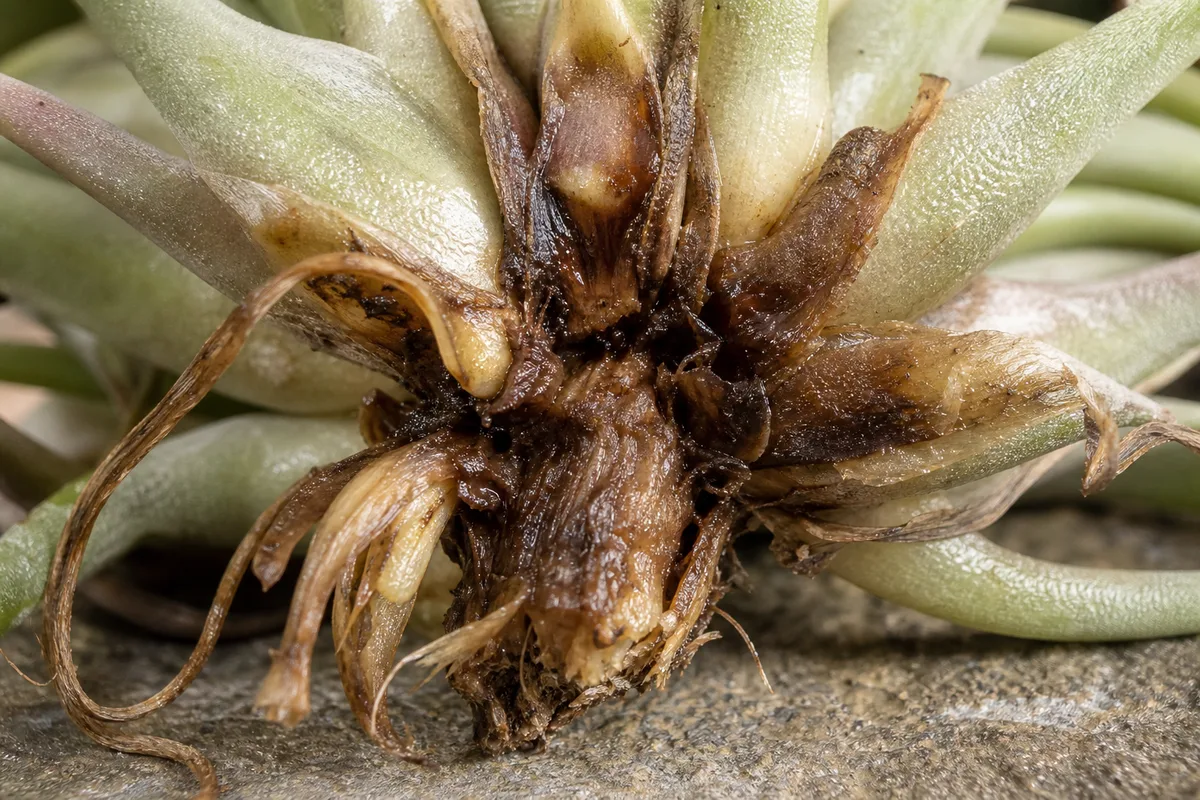
Root Rot symptoms on Tillandsia - compare with healthy tissue on the same plant.
- Darkening base-purple, brown, or black tissue creeping up from the lowest overlapping leaves
- Soft spongy feel when you pinch the leaf bases; contrasts with the firm pale green or silvery texture of a healthy plant
- Inner leaves tug out easily while outer leaves still look green
- Sour or musty smell at the crown when you lift the plant to your nose
Established rot on larger xeric rosettes like Tillandsia xerographica:
- Translucent or yellow-green outer leaves masking a collapsing core
- Whole rosette pulls apart when handled because structural tissue at the center has dissolved
- Black or slimy tissue visible when you peel back the lowest dead sheaths
- Rot often follows soak Sunday, back in globe Monday without upside-down drying
Display-specific patterns:
- Closed glass globes and tight wire mounts trap post-soak moisture at the base
- Moss or gravel beds that wick water upward into the crown-substrate watering kills air plants even when the soak itself was correct
- Vertical wall displays that prevent shaking water out of inner leaf overlaps
Healthy tillandsia bases are firm, dry, and pale. Rot is mush, odor, and pull-out-not cosmetic browning alone.
Lookalike symptoms to rule out
| Clue | Crown rot | Underwatering | Natural dried sheath | Shipping stress |
|---|---|---|---|---|
| Base texture | Soft, mushy, smelly | Firm and dry | Papery, dry, not slimy | Usually firm |
| Leaf posture | Limp flop; center may collapse | Tight inward curl | Normal arch | Outer leaves only |
| Smell | Sour or musty | None | None | None |
| Inner leaves | Pull out easily | Stay attached | Stay attached | May brown at tips |
| Timing | 1–3 days after wet care | After dry spell | Gradual, bottom only | On arrival |
| First action | Stop water; dry upside down; trim | Rescue soak + dry | Leave alone | Acclimate; firm-base soak |
Underwatering shows inward curl and papery trichomes on a firm base-see underwatering on Tillandsia. Wilting can be dry or wet; run the base squeeze test in the wilting guide before soaking again. Papery brown scales at the bottom are normal protective sheaths-dry and crisp, not slimy. Peel one gently: if tissue underneath is firm, it is not active rot.
How to confirm crown rot
Work through one variable at a time so you know what helped:
- Base squeeze test. Pinch the lowest overlapping leaves. Soft, collapsing, or smelly confirms wet rot-do not soak again yet.
- Inner pull test. Tug the center leaves gently. No resistance means meristem damage is advanced.
- Smell check. Sour or musty odor at the crown is a strong rot signal; firm dry bases do not smell off.
- Recent care timeline. Did you soak, mist heavily, or return the plant to an enclosed display within the last 72 hours without upside-down drying?
- Pup inspection. Wiggle offsets at the base-firm pups may be salvageable even when the mother fails.
- Rule out drought misread. Firm base + inward curl points to thirst, not rot-wrong routing soaks a dying crown deeper.
If symptoms match soft base + smell + recent trapped water, treat as crown rot regardless of what the brown anchor roots look like.
First fix for Tillandsia
Stop all soaking and misting immediately. Hold the plant at the base, turn it upside down, and shake until droplets fly from between the leaves. Place it on a towel or hang it inverted in bright indirect light with good airflow. Aim for a fully dry base within about four hours before any trimming or remounting.
Once dry:
- Trim mushy outer tissue only with clean, sharp scissors-remove the lowest soft leaves back to firm tissue. Some growers dust the cut surface with cinnamon; that may help marginally but does not reverse inner mush.
- Separate firm pups if the mother center is lost-twist or cut cleanly, let wounds callus dry upside down for 24 hours.
- Do not remount until the base is bone dry and cool to the touch-no evaporation chill means still damp.
- Make one change at a time after rescue-fix drying posture before adjusting soak frequency.
This is the opposite of “mount upright after soaking.” Upright mounting pools water in the crown. Inverted drying is the mechanical fix for tillandsia anatomy.
Recovery timeline and pup salvage
Outer-leaf softness only, caught early with immediate drying and trim, may stabilize within one to two weeks if the center meristem stays firm. Watch for new clean leaves emerging from the center-that is the recovery marker, not repaired old blades.
Advanced inner rot-center pull-out, strong odor, translucent collapse-usually kills the mother plant. Timeline to total failure can be days, not weeks. Check pups early: a firm offset on Tillandsia ionantha often survives when the parent rosette dissolves.
Pup salvage steps:
- Confirm the pup base is firm and pale, not soft or dark.
- Separate with a clean twist or cut; avoid tearing wet mush.
- Dry upside down 24 hours before the first post-rescue soak.
- Resume weekly 20-to-30-minute soaks with strict upside-down drying per the watering guide.
Old damaged leaves do not turn perfect again. Success means rot stops spreading and new growth stays firm.
What not to do
- Do not rescue-soak a soft, smelly base-water drives rot deeper into the meristem.
- Do not mount upright or return to a globe until the base is fully dry.
- Do not water soil, moss, or gravel around the plant to “help” it recover.
- Do not confuse papery brown sheaths with rot and peel healthy tissue unnecessarily.
- Do not interpret limp outer leaves as underwatering when the base is soft-see wilting routing.
- Do not fertilize a rotting tillandsia; stabilize drying first.
- Do not stack Tillandsia repotting guide, pruning, and pesticide on the same day-one stressor at a time.
How to prevent crown rot next time
Prevention is drying discipline, not shorter soaks alone:
- Soak 20–30 minutes (or per species interval), then shake → flip → dry within four hours before display.
- Remove plants from globes, shells, and tight wire for every soak and dry cycle.
- Never mist into closed containers where droplets run into the crown.
- Keep the base above wet moss in decorative planters-hydrate leaves only.
- Inspect bases weekly during routine care so softness is caught while pups are still healthy.
Match soak frequency to how fast your room dries the plant, not a decorative calendar. Mesic Tillandsia ionantha in dry winter air often needs twice-weekly soaks; xeric Tillandsia xerographica may go every 10–14 days-but every schedule shares the same upside-down dry step.
Related Tillandsia problems
- Watering - full soak-shake-flip-dry protocol and crown-rot prevention baseline
- Overwatering - schedule and rhythm mistakes that keep bases wet too long
- Stem rot - overlapping wet-base failure at the lowest leaf junctions
- Underwatering - firm-base drought that mimics rot stress from the wrong fix
- Wilting - dry vs wet wilt routing before you soak or trim
- Overview - species traits and display basics
When to worry
Treat crown rot as urgent when:
- The base is mushy, dark, or smells sour
- Inner leaves pull out with no resistance
- The rosette collapses within days of a soak or mist into a closed display
- Multiple air plants in the same enclosed holder show soft bases together
Lower urgency: slight softness on one outer lower leaf only, firm center, no odor-trim, dry aggressively, and reassess in 48 hours.
Practical checks
Urgency check
Urgent: mushy base, sour smell, center pull-out, post-soak collapse in a closed globe. Less urgent: single soft outer leaf with firm meristem and no odor.
Best inspection order
Base firmness → smell → inner pull test → recent soak/display timing → pup firmness → anchor roots (informational only) before choosing trim, salvage, or discard.
Severity note
Judge severity by meristem condition and smell, not by how green the outer leaves still look. A plant can look fine from above while the core is dissolving.
Crown rot vs overwatering intent
Use overwatering when the question is “Am I soaking too often or not drying enough between soaks?” Use this page when the question is “My base is soft and smells-is it rot, and what do I do right now?”
When to use this page vs other Tillandsia guides
- Tillandsia watering guide - Use for routine moisture checks before assuming root rot is the main issue.
- Tillandsia problems hub - Browse all 19 common issues on this species.
- Overwatering on Tillandsia - Different entry point when symptoms overlap with root rot.
- Yellow Leaves on Tillandsia - Different entry point when symptoms overlap with root rot.
- Wilting on Tillandsia - Different entry point when symptoms overlap with root rot.