DIY Moss Pole for Climbing Houseplants: Step-by-Step Guide
Learn how to choose, build, and maintain a DIY moss pole for climbing aroids - materials by plant size, training ties, watering, and troubleshooting.

A DIY moss pole gives climbing houseplants a moist, textured vertical surface that mimics the tree trunks they grip in nature. For Monstera, pothos, and climbing philodendron species, that support can redirect sprawling vines upward, give aerial roots something to penetrate, and help the plant grow in a shape that fits indoor spaces. Penn State Extension notes that monstera is a tropical understory climber that uses aerial roots at the base of its leaves to attach to rainforest trees, and indoors it still needs something sturdy to climb. (Penn State Extension)
This guide is the site’s canonical build reference for moss poles. University of Wisconsin Extension specifically recommends a strong moss-covered support sunk into the pot so Monstera aerial roots can attach. (University of Wisconsin Extension) If you want the full story on why fenestration and leaf size change on support, see how to get Monstera leaves to split and grow a giant Monstera deliciosa - here the focus stays on materials, measured steps, installation, and maintenance.
When a Moss Pole Helps (and When It Does Not)
A moss pole helps actively growing climbing aroids with flexible stems, visible nodes, and aerial roots that can reach a vertical surface. Missouri Botanical Garden describes Monstera deliciosa as a climbing evergreen vine that can grow to 70 feet in the wild and typically 6 to 8 feet indoors, with aerial roots on lower stem sections that can root into soil and upper roots that can attach to a moss-like climbing pole. (Missouri Botanical Garden) That climbing habit is why a pole often works better than letting the plant trail across a shelf.
Install support before the plant becomes top-heavy. Young vines bend easily; mature monstera stems can crack if you force a sharp redirect. The pole is less useful for compact rosettes, succulents, stiff woody vines, or plants that already refuse to bend. It also will not replace basic care - light, watering, and repotting still drive leaf quality.

Materials and Tools by Plant Size
Every moss pole build shares the same parts: a rigid core, sphagnum moss as the moisture-holding surface, twine or coated wire to hold the moss, soft plant ties for training, scissors, a bowl of water, and gloves if moss dust bothers you. Optional extras include plastic-coated hardware mesh for filled cylinders, a wooden dowel or PVC pipe as an inner stake, and a second stake for large extensions.
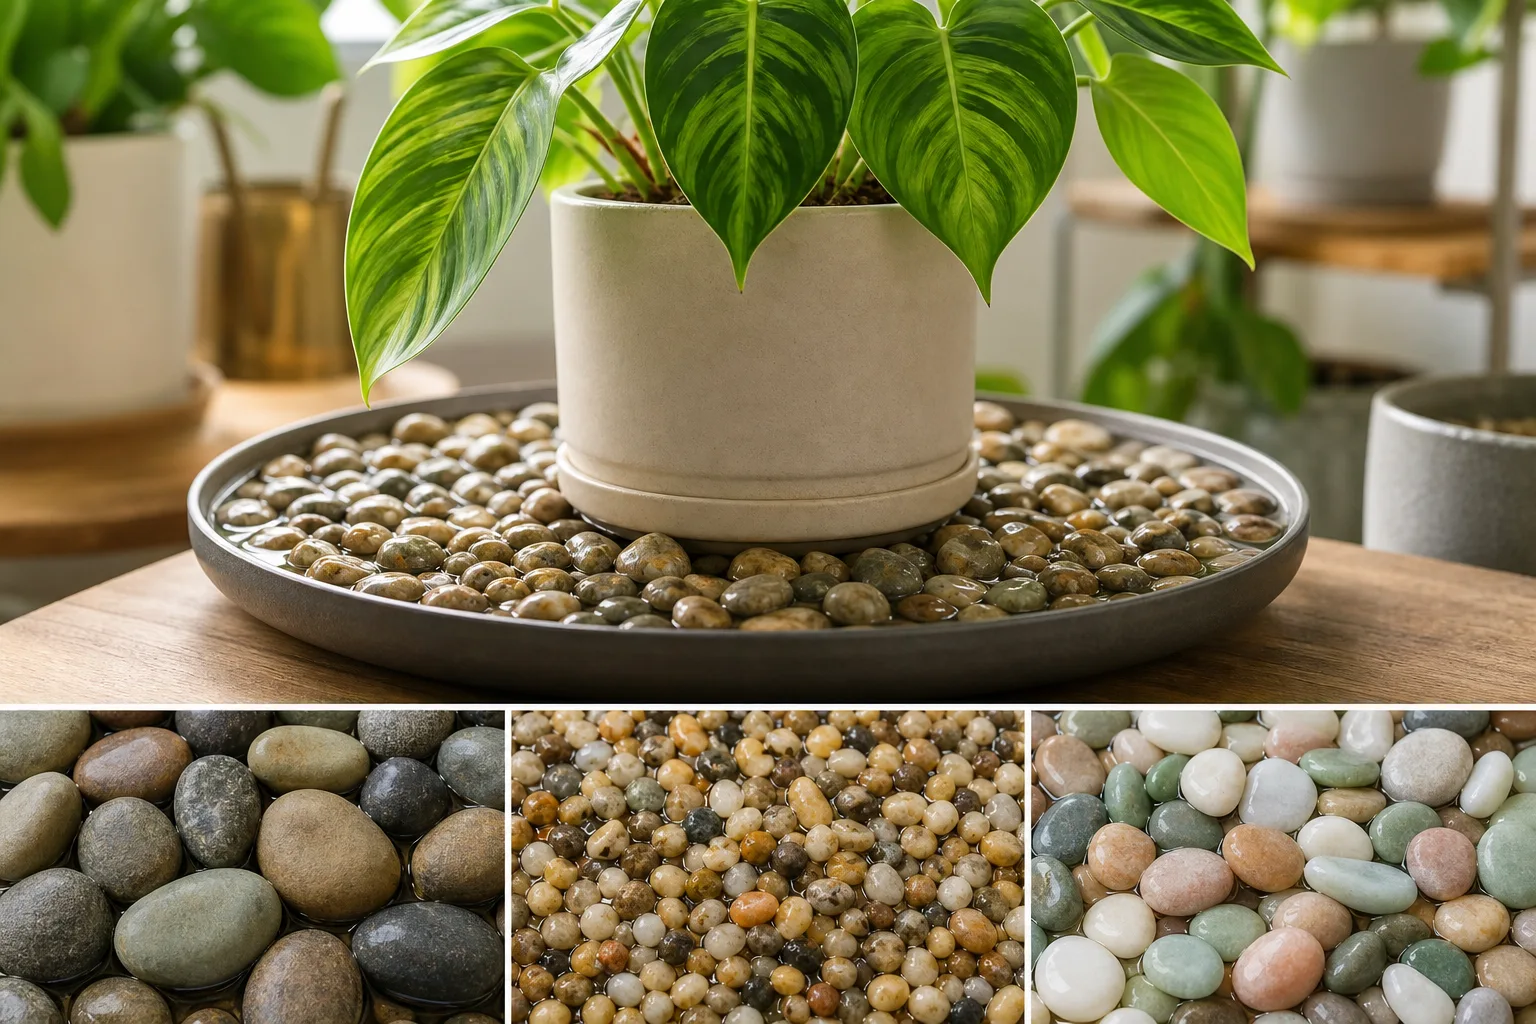
Use preserved or dried long-fiber sphagnum from a reputable supplier rather than foraged moss, which can carry pests. RHS advises obtaining sphagnum moss only from sustainable sources and notes it is highly water-retentive - ideal for humidity-loving climbers. (RHS)
Small build: pothos and compact climbers
For a young pothos, syngonium, or small scindapsus in a 12–15 cm (5–6 inch) pot:
| Item | Quantity / spec |
|---|---|
| Core | 60 cm (24 in) bamboo stake or 2 cm PVC pipe |
| Finished height above soil | 45–60 cm (18–24 in) |
| Moss (loosely packed) | 0.5–1 liter (about half a brick rehydrated) |
| Twine | 3–4 m cotton or jute |
| Soil anchor (bare core below moss) | 10–15 cm (4–6 in) |
Medium build: philodendron and scindapsus
For a medium philodendron or mature pothos in a 18–20 cm (7–8 inch) pot:
| Item | Quantity / spec |
|---|---|
| Core | 90 cm bamboo, cedar stake, or 2.5 cm PVC |
| Finished height above soil | 75–90 cm (30–36 in) |
| Moss | 1.5–2.5 liters rehydrated |
| Twine or coated wire | 5–6 m |
| Soil anchor | 15–20 cm (6–8 in) |
| Optional | 5 cm diameter mesh sleeve for filled pole |
NC State Extension notes that philodendron erubescens grows best with bright filtered light and climbs on a moss pole or trellis - sizing the pole for the next season of growth prevents an immediate rebuild. (NC State Extension)
Large build: monstera and heavy aroids
For Monstera deliciosa or a large climbing philodendron in a 25–30 cm (10–12 inch) pot:
| Item | Quantity / spec |
|---|---|
| Core | 150–180 cm PVC pipe, cedar post, or mesh cylinder over stake |
| Finished height above soil | 120–180 cm (4–6 ft) |
| Pole diameter | 7–10 cm (3–4 in) for root penetration |
| Moss | 4–6 liters rehydrated |
| Twine / coated wire | 8–10 m plus zip ties if using mesh |
| Soil anchor | 20–25 cm (8–10 in) |
| Extension rule | Pole top at least 30 cm (12 in) above tallest stem |
American Horticultural Society guidance for DIY moss poles recommends making the pole about 6 to 12 inches taller than the plant so part of the pole can bury in potting mix for stability. (American Horticultural Society)
Choose Your Core Material
PVC pipe stays rigid when wet, does not rot, and suits heavy monsteras. Choose food-grade or new pipe for indoor use; rinse before wrapping. Bamboo or cedar stakes look natural and work for small to medium plants but can soften or split after months in wet soil - fine for pothos, less ideal alone for a 2 m monstera. Coated metal stakes resist rot but offer little texture unless moss-covered.
Wrapped stake vs filled mesh cylinder
A wrapped pole spirals moist sphagnum around a stake or pipe and secures it with twine - fastest for beginners. A filled cylinder rolls plastic-coated hardware mesh into a tube, packs moss inside, and stitches the seam with coated wire. Filled poles hold more moss, stay moist longer, and give aerial roots more volume to penetrate. Both methods work; choose wrapped for speed and filled for large monsteras you plan to keep for years.
The core must stay rigid after watering and tall enough to support the next season of growth. For a large monstera, extend at least 12 inches above the current tallest stem so you are not rebuilding within a few months.
Build the Pole Step by Step
Work on a tarp or outdoors - rehydrated sphagnum sheds fibers. Budget 30–45 minutes for a small wrapped pole and 60–90 minutes for a large filled cylinder.
Step 1 - Measure and cut the core. Measure your plant’s tallest stem and pot depth. Cut the core so the moss-covered section equals your target height above soil plus 20–25% extra length buried below the soil line.
Step 2 - Soak the sphagnum. Submerge dried moss in lukewarm water for 10–15 minutes until fully saturated. Squeeze out excess water so the moss is damp and pliable, not dripping. Dry moss sheds instead of wrapping; soggy moss compacts and blocks air.
Step 3 - Prepare mesh (filled method only). Cut coated hardware mesh to form a cylinder whose circumference matches your target diameter. Overlap one row of squares and secure the seam temporarily with wire twists.
Step 4 - Pack or wrap moss onto the core. For a wrapped pole, lay a handful of moss against the stake and spiral twine upward from the soil line, overlapping each pass by 2–3 cm. For a filled cylinder, pack handfuls of moss into the mesh tube, tamping firmly every 15 cm so the pole does not collapse when dry.
Step 5 - Secure every 8–10 cm. Spiral jute, cotton twine, or plastic-coated wire from bottom to top. Pull snug enough to hold moss - firm but springy. Avoid strangling the moss into a hard log; aerial roots need texture and air pockets.
Step 6 - Cap the top. Add an extra moss pad at the top and tie it in place so the peak dries more slowly. A dry tip repels roots.
Step 7 - Leave the base bare. Keep the bottom 15–25% of the core free of moss. That section anchors in soil and should not wick constant moisture into the lowest roots.
Step 8 - Test rigidity. Press the finished pole sideways with moderate force. It should flex slightly but not buckle. Add an inner stake inside a mesh cylinder if needed.
Step 9 - Pre-position for install. Mark the “back” of the plant where aerial roots emerge. The pole sits behind the stem with roots facing moss and leaves facing the room.
The six-panel diagram above shows the wrap direction, bare anchor, install position, and correct tie point. For a filled cylinder, keep the same bare-base rule and stitch the mesh seam at roughly 15 cm intervals so the moss does not bulge through the overlap.
Size and Stability in the Pot
Stability failures usually come from poles too tall for the pot, shallow anchoring, or top-heavy foliage in lightweight plastic pots. A general rule: buried anchor depth should be at least one-third of the moss-covered height, and the pole should not exceed roughly 1.5 times the pot height unless the container is heavy ceramic or terracotta.
Move large plants to a heavier pot before installing a 1.5 m pole on a shelf. If the pole wobbles after install, shorten it, add a second stake lashed parallel to the first, or repot with the pole placed behind the root ball during repotting houseplants.
Install the Pole During Repotting
The cleanest install happens during repotting, when you can place the pole behind the root ball without stabbing through roots. University of Minnesota Extension recommends repotting monstera every one to two years in late winter or early spring as the plant grows - the same window works well for adding support. (University of Minnesota Extension)
- Remove the plant and loosen the outer root ball.
- Add fresh potting mix to the new pot.
- Stand the pole upright and hold it while you backfill soil around the anchor section.
- Set the plant in front of the pole with aerial roots facing the moss.
- Firm soil around the base without compressing the entire root zone.
- Water the pot normally and let excess drain.
You can add a pole to an established pot by wiggling the bare base between roots on the back side of the stem, but go slowly. Forcing a thick stake through a dense root ball damages roots and still may not anchor well.
Train Stems and Aerial Roots
Gently tie the main stem to the pole with soft plant ties, Velcro tape, or cotton string. Tie at two or three points on long vines so weight distributes evenly. Never tie leaf petioles - the stalks that hold leaves need to move toward light. RHS guidance for climbers emphasizes tying in stems without rubbing or constriction, using a figure-eight tie for heavier stems when needed. (RHS)
Position the stem so aerial roots touch moist moss. If roots already point sideways, loosely coil them against the pole with a small pad of damp moss and a soft tie until they attach. For detail on what aerial roots do and when to redirect them, see the Monstera aerial roots guide.
Recheck ties every few weeks during active growth. Fast-growing vines thicken quickly; an old tie can scar tissue if left too tight.
Expect visible root gripping in 4–8 weeks during spring and summer if the moss stays lightly moist and the plant is actively growing. Attachment is slower in low light or winter dormancy.
Water and Maintain the Moss
Water the pot normally - the pole is support, not a substitute for root-zone watering. When the moss feels dry to the touch, mist the pole or pour a small amount of water down the top so moisture spreads through the moss. Let excess drain through the pot; do not leave the pole constantly soggy.
A practical rhythm for many homes is weekly pole wetting in active growth and every 10–14 days in winter, adjusted for humidity and heating. If the pole smells sour, grows fuzzy mold, or keeps soil wet for days, reduce pole watering and improve airflow around the plant.
Wipe dust off leaves when you wet the pole so the plant can use available light. Separate pole watering from your normal soil check - dry surface soil with dry moss both need attention, but they are not always on the same schedule.
Extend or Rebuild When the Plant Outgrows the Pole
Extend when new growth reaches within 15 cm (6 in) of the pole top and stems are still flexible enough to train upward. Rebuild when the core rots, moss collapses, mold persists, or the plant has outgrown two extensions and becomes unstable.
Extension method (filled mesh pole):
- Measure the circumference of the existing pole top.
- Cut a new mesh section to match; form a loose cylinder.
- Slip the new cylinder over the old top, overlapping 3–4 mesh squares.
- Secure the overlap with coated wire or zip ties around the perimeter.
- Pack moist sphagnum into the new section, tamping where old and new moss meet.
- Stitch the seam every 15 cm upward; cap the top with extra moss.
- Add an inner stake through the extension if the joint wobbles.
For wrapped poles, lash a new stake to the old one with overlap of at least 20 cm, then wrap fresh moss over the splice before tying stems to the new section. American Horticultural Society describes slipping a new hardware-cloth cylinder over the existing pole top and packing moss into the extension - the same overlap principle applies. (American Horticultural Society)
If extension makes the pole too tall for the pot, repot into a larger, heavier container and consider splitting the plant via Monstera propagation rather than stacking endless sections.
Moss Pole vs Coir Pole vs Trellis
| Support | Best for | Moisture | Root attachment | Maintenance |
|---|---|---|---|---|
| Sphagnum moss pole | Monstera, philodendron, pothos with aerial roots | High retention | Strong when kept damp | Rewet moss regularly |
| Coir pole | Light training, budget setups | Dries quickly | Weak unless constantly damp | Low if used as dry stake |
| Trellis / ladder | Pothos, hoya, scindapsus, display shapes | None | Ties only; roots optional | Lowest |
A moss pole suits epiphytic climbers that naturally grip rough, moist bark. A coir-wrapped store pole often behaves like a dry stake indoors because coir sheds water fast and roots may not penetrate tight wraps. A trellis spreads vines across a frame and is easier to build for flexible trailers - see the DIY indoor plant trellis guide for ladder and hoop builds.
Buy a pre-made pole if you want speed; build one if you need custom height, a wider diameter for large monsteras, or stackable extensions at lower cost.
Troubleshooting Common Problems
| Problem | Likely cause | Fix |
|---|---|---|
| Pole tips over | Pot too light, anchor too shallow | Repot with deeper anchor, heavier pot, or parallel stake |
| Moss dries out overnight | Low humidity, small diameter, top not capped | Wider filled pole, cap top moss, wet more often |
| Fuzzy mold on moss | Over-misting, poor airflow, constant soggy moss | Reduce pole water, increase airflow, remove top layer of moldy moss |
| Roots not attaching | Dry moss, smooth plastic core exposed | Saturate moss, tie roots against pole with damp moss pad |
| Yellow leaves after install | Root damage during install, overwatering | Check soil moisture at root depth; wait before re-wetting |
| Ties scarring stems | Ties left too tight as stems thicken | Loosen or replace ties monthly in growing season |
| Sour smell | Anaerobic wet moss | Replace moss section, water less, improve drainage |
Related guides
- DIY indoor plant trellis: step-by-step guide - when a trellis beats a pole
- Monstera aerial roots guide - redirecting roots during repotting
- Grow a giant Monstera deliciosa - long-term support and fenestration context
- Repotting houseplants - best time to install or upgrade a pole
- How to get Monstera leaves to split - light and maturity beyond support alone
Printable Build Checklist
- Rigid core sized for the plant and pot
- Sustainably sourced long-fiber sphagnum
- Twine or coated wire, plus soft plant ties
- Bare anchor equal to 15–25% of total core length
- Heavy enough drainage pot for the finished height
- Clean scissors, gloves, measuring tape, and a work surface
- Six-panel diagram available above during assembly
Conclusion
A DIY moss pole is a manageable weekend project when you match core size, moss volume, and anchor depth to the plant. Small pothos poles need little more than a bamboo stake, a liter of sphagnum, and careful ties. Large monsteras benefit from filled mesh cylinders, deep anchoring during repotting, and a plan to extend before stems outgrow the top. Keep moss lightly moist - not sour - tie main stems not petioles, and link support to the rest of your care routine: light, watering, and timely repotting.
Build the pole before the plant becomes unwieldy, train gradually, and revisit ties as vines thicken. Done well, the pole becomes the backbone the plant climbs for years, with extensions added instead of full rebuilds whenever possible.