Burro's Tail Pruning: When, How, and Mistakes to Avoid
Burro's Tail Pruning: When, How, and Mistakes to Avoid
Burro's Tail Pruning: When, How, and Mistakes to Avoid
Burro’s Tail pruning is unlike trimming a pothos or ficus. Sedum morganianum grows as cascading chains of water-filled leaves so loosely attached that brushing the pot can shower the floor with blue-green beads. First, trace any brown mushy stem back to firm green tissue and cut out rot with clean sharp snips - before you shorten a single healthy trailer for shape. Once diseased sections are gone, decide whether strands exceed your hanger or you want propagation material.
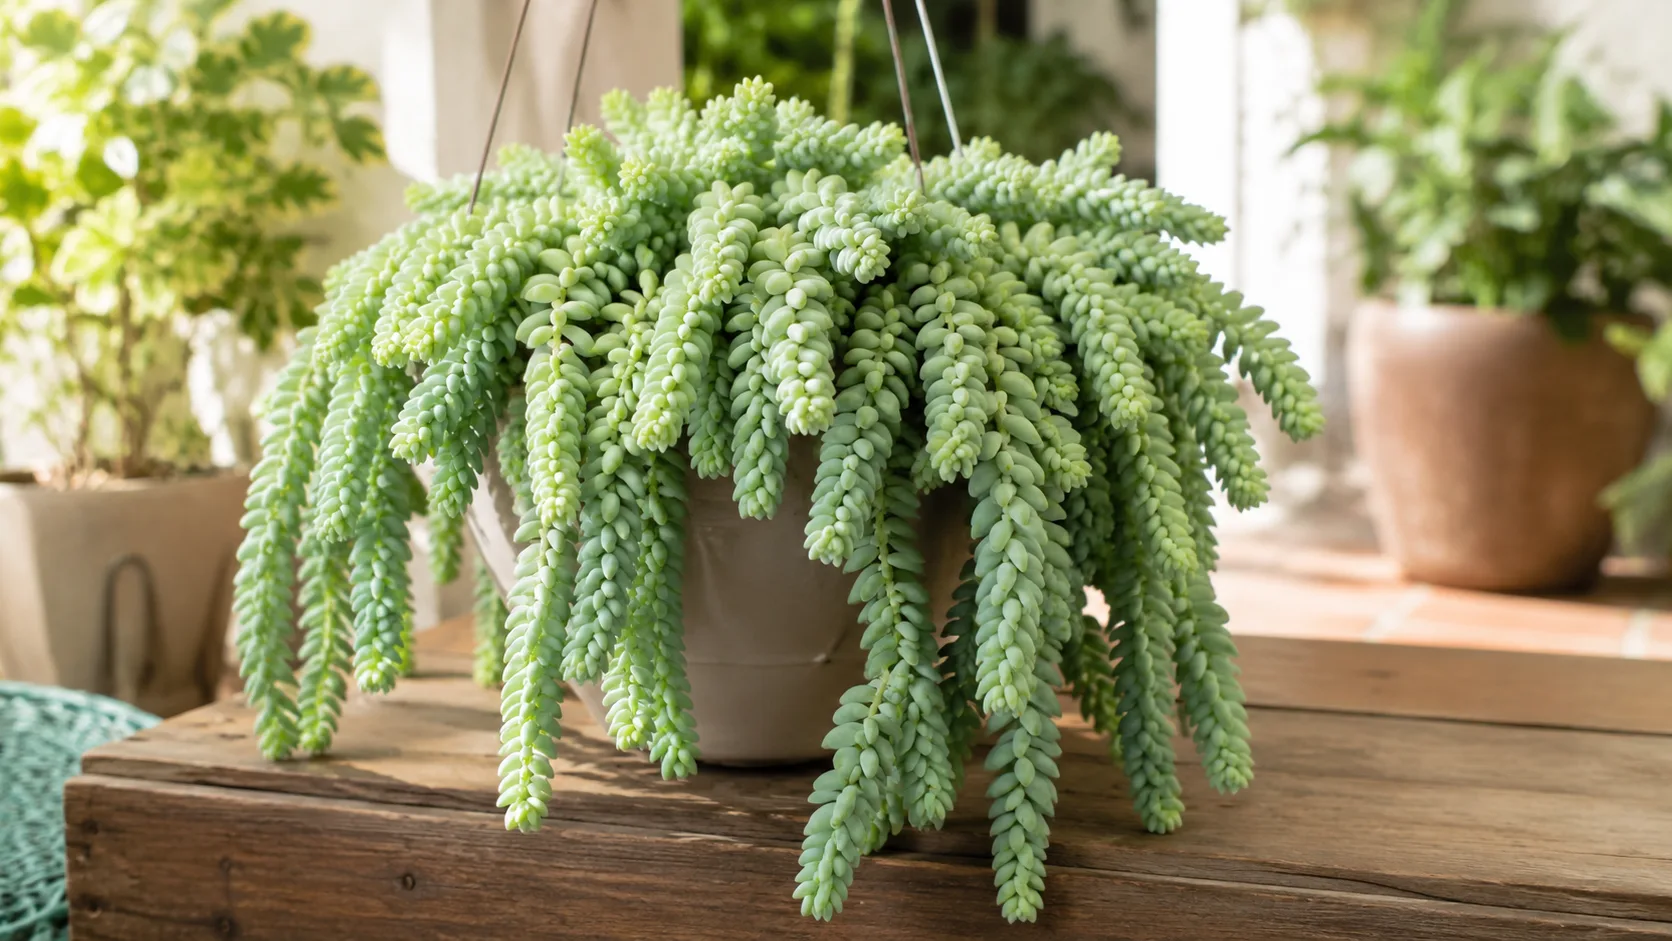
Missouri Botanical Garden describes Burro’s Tail as a trailing succulent native to southern Mexico and Honduras, reaching considerable length in cultivation when conditions suit it. NC State Extension notes that leaves are quite delicate, break off if manipulated, and that cuttings and dropped leaves root easily - the same material you remove when trimming can become new plants.
Unlike vining houseplants, Burro’s Tail does not branch aggressively from a single cut point. Shortening a strand reduces hang length; side shoots may develop near cut ends over time, but fullness comes mainly from multiple strands in one pot or rooted cuttings planted alongside the parent, not from one dramatic chop.
What Pruning Means for a Trailing Succulent
On Burro’s Tail, pruning covers three related jobs:
- Rot removal - cutting out mushy, overwatered stem sections before decay spreads
- Length control - shortening trailers that exceed your display space
- Propagation harvest - taking stem sections or collecting fallen leaves for new plants
Pruning does not fix leggy, sparse strands with widely spaced leaves. That pattern usually signals insufficient light - move the plant gradually to brighter indirect light or morning sun before reaching for scissors. Penn State Extension notes that succulents generally need sharp tools and minimal wound area; crushing stem tissue invites rot in humid rooms.
What to Check Before You Cut
Run your fingers gently down each strand without squeezing. Note:
- Firm green stem versus brown mushy tissue - rot must be traced upward to healthy tissue
- Leaf density - dense clusters near the pot anchor the visual shape; sparse stretched tips are safer to shorten
- Pot stability - jostling the hanger during cuts triggers leaf drop; work over a tray
- Recent care stress - defer cosmetic trimming right after Burro’s Tail repotting guide or during drought-stressed wrinkling
Collect every fallen leaf. Each plump leaf can root on dry succulent mix.
The First Cut to Make
When any strand shows rot, that is always the first cut - not a cosmetic trim. Follow the mushy tissue upward until stem feels firm and leaves look plump and attached. Make one clean slice at the transition from healthy to diseased tissue. Discard rotted sections; do not compost wet succulent rot indoors.
If all strands are healthy, your first cut is optional: remove only the sparse terminal tip of the longest trailer that exceeds your space. Support the strand from below with your palm while cutting.
When to Trim Burro’s Tail
Planned shortening and propagation harvest
Late spring through early summer is the best window for shortening strands and taking cuttings. Warmth and bright light help cut surfaces callus; Wisconsin Extension notes stem cuttings may take several months to root well depending on conditions. NC State Extension lists stem cuttings and leaf cuttings as recommended propagation strategies for Burro’s Tail overview.
Emergency rot removal
Remove rotting stems immediately any time - trace mushy tissue back to firm green stem and cut cleanly. Waiting allows decay to travel up the strand and into neighboring stems in a crowded pot.
When to hold off
Avoid heavy cosmetic shortening in winter when cold, dim conditions slow recovery and wet cut surfaces rot more easily. Winter rot removal is fine; defer length control until growth resumes. Avoid pruning right after repotting or when leaves are drought-wrinkled - stabilize watering first.
Tools and Where to Cut
Use sharp bypass snips or scissors. Sterilize blades with 70% isopropyl alcohol before starting. Nitrile gloves improve grip without squeezing leaves.
Cut placement on the strand
Cut just below a dense leaf cluster or at the transition from healthy to mushy tissue. One decisive slice beats sawing, which crushes succulent stem cells. For overly long trailers, remove the terminal 10–20 cm (4–8 inches) or the full sparse tip section - the dense leaf clusters near the pot are the visual anchor.
What not to cut
Do not strip leaves manually to “thin” the plant - that triggers mass drop without improving shape. Do not cut through bare internodes in the middle of a sparse section when a terminal tip removal achieves the same length reduction with less stress. Do not cut into rot and stop at mushy tissue; always trace back to firm stem.
How Much You Can Safely Remove
Remove no more than one-third of total strand length across the whole plant in one session. Burro’s Tail recovers slowly from severe shortening because each strand is a long photosynthetic chain. Staged trimming every four to six weeks reshapes an overlong specimen without leaving the pot bare through a slow winter.
Dead or rotting sections do not count toward that limit - remove all mushy tissue regardless of percentage.
Using Trimmed Material for Propagation
Place stem cuttings in dry shade for one to two days until the cut end calluses - Wisconsin Extension recommends allowing stem cut ends to dry a day or two before planting in well-drained medium. Insert callused ends into succulent mix with sharp drainage; water lightly after one week, then only when mix is dry. Fallen leaves laid on moist mix - not buried - produce plantlets over several weeks in warm, bright conditions.
Burro’s Tail is non-toxic to cats and dogs per the ASPCA, so trimmings are less hazardous than many succulents, but still keep pots tidy to avoid mess.
After Pruning Care and Recovery
Keep Burro’s Tail light guide to morning sun stable. Do not water immediately after cuts - wait until the normal dry-down cycle. Hold fertilizer until new growth appears at cut ends or on propagated cuttings. Avoid moving the hanger until cut surfaces dry; jostling causes more leaf drop.
Recovery timeline
A single spring tip removal on a healthy strand usually calluses within one to two days. Rooting on stem cuttings typically takes two to four weeks in warm bright conditions. New side growth near cut ends may take several weeks to appear - sparse branching is normal; fullness builds through additional rooted strands over months.
Signs trimming worked
Cut ends dry and callus without turning black. Remaining leaves stay plump and attached. No new mush spreading from old rot sites. Propagation cuttings anchor when lightly tugged. The plant holds its shape without continued leaf shower from normal handling.
Common Mistakes
Handling strands like rope - expect leaf shower; support from below. Cutting into rot without tracing to firm tissue - decay returns. overwatering on Burro’s Tail after trim - wet cut ends rot. Pruning in deep shade - new growth stays etiolated. Stripping leaves to thin the plant - mass drop without shape gain. Discarding dropped leaves - wasted free propagation.
Conclusion
Burro’s Tail pruning means minimal intervention: remove rot promptly, shorten long trailers gently, and turn trimmings into new strands. Match technique to succulent biology - callusing, sharp drainage, bright light - and accept some leaf drop as normal. With patience, one pot becomes a fuller cascade of plump blue-green chains without fighting the plant’s fragile anatomy.
When to use this page vs other Burro’s Tail guides
- Burro’s Tail overview - Start here for whole-plant context before deep-diving this topic.
- Burro’s Tail problems hub - Jump to symptom-specific fix guides when this care topic does not resolve the issue.
- Leggy Growth on Burro’s Tail - Escalate here when pruning adjustments are not enough.
- Slow Growth on Burro’s Tail - Escalate here when pruning adjustments are not enough.
- Brown Tips on Burro’s Tail - Escalate here when pruning adjustments are not enough.