Anthurium Pruning: When, How, and What to Cut First
Anthurium Pruning: When, How, and What to Cut First
Anthurium Pruning: When, How, and What to Cut First
Anthurium (Anthurium andraeanum and close hybrids) is a compact tropical aroid grown for glossy heart-shaped leaves and long-lasting waxy spathes - the colored “flowers” that are actually modified bracts. Anthurium pruning is mostly grooming, not hard cutback: remove spent bloom stalks, cut finished leaves at the petiole base, and occasionally shorten a leggy stem after you have fixed light. The Royal Horticultural Society states anthuriums need no routine pruning beyond removing dead leaves and flower stems at the base.
First action: Inspect the plant in good light, sterilize sharp scissors with 70% isopropyl alcohol, put on gloves, and remove only tissue that is fully dead, diseased, or spent - one finished flower stalk or one yellow leaf at its base. Do not shape, shorten multiple stems, or strip green foliage until you have cleared obvious finished material and confirmed the plant is not wilting from wet soil or cold stress.
What Anthurium Pruning Actually Is
Unlike vining pothos or climbing monstera, anthurium does not branch freely from random stem cuts. New leaves and flower stalks emerge from a central crown. Each healthy green leaf still photosynthesizes even when it sits lower on the plant. Pruning should therefore remove tissue the plant has finished using - not green growth you wish looked tidier.
The practical jobs fall into three categories:
- Deadheading - removing spent flower stalks so energy shifts toward new stalks
- Sanitation - cutting fully yellow, brown, or pest-damaged leaves before they decay against healthy foliage
- Light shaping - shortening one or two leggy stems after improving light, never a full strip-back
NC State Extension describes flamingo flower as a slow-growing epiphyte that prefers Anthurium light guide, 65–80°F, and humidity around 60–80%. Pruning fits that pace: small, deliberate cuts beat aggressive reshaping.
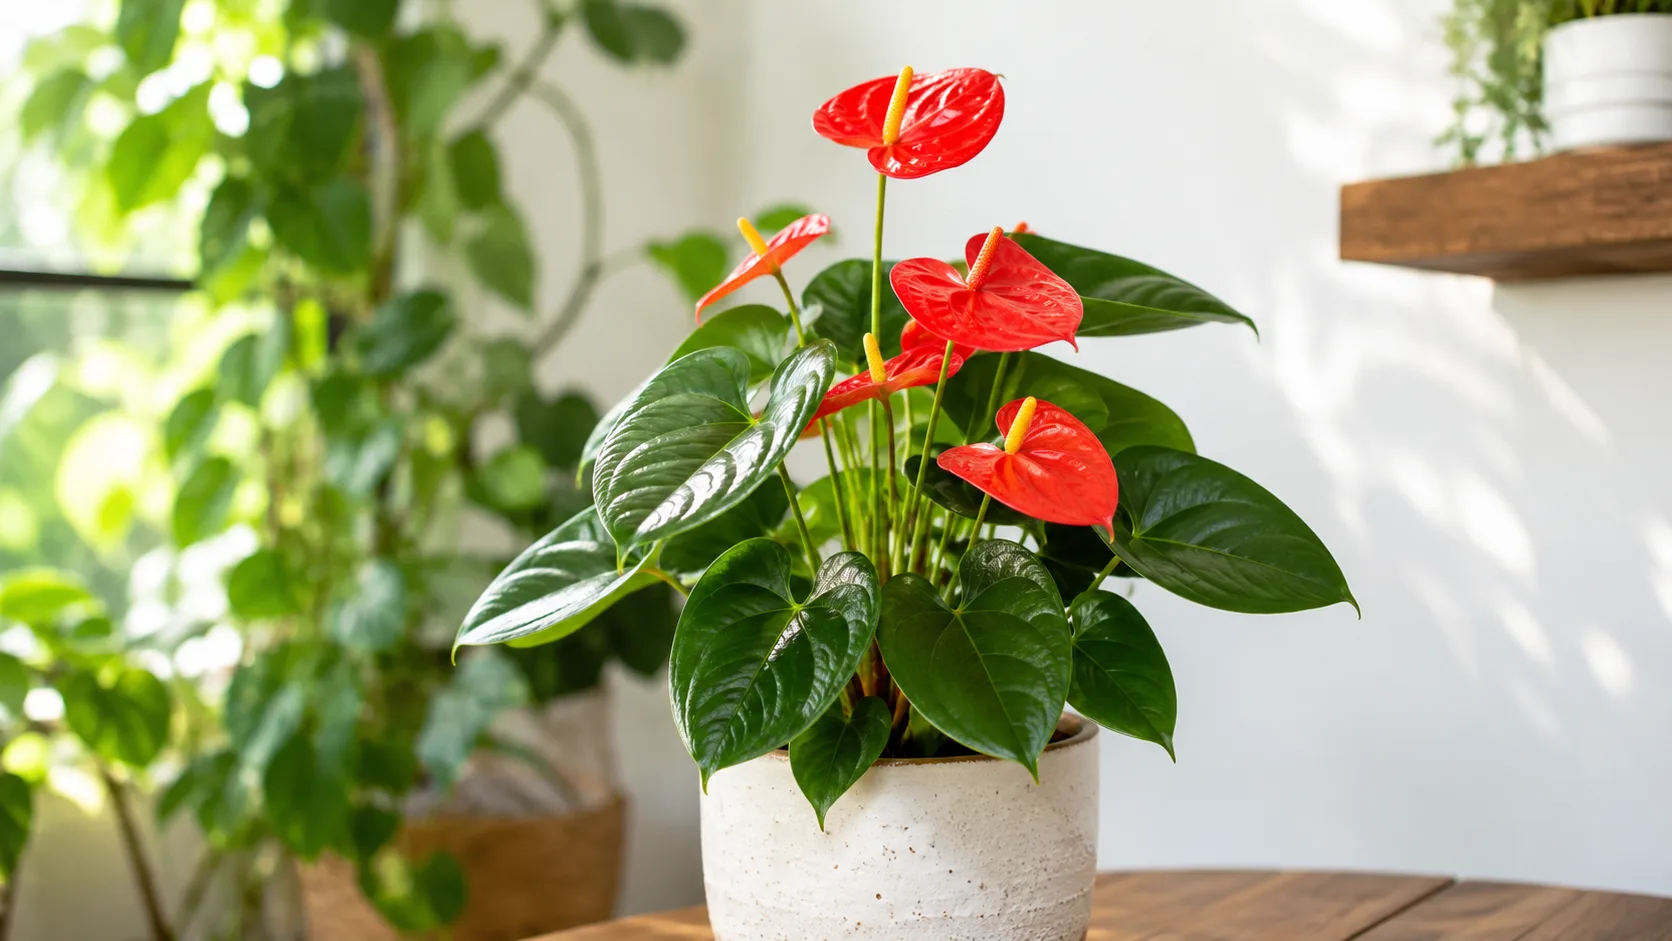
Spathe, Spadix, and the One-Bloom-Per-Stalk Rule
The colorful heart-shaped display is a spathe - a modified leaf bract. Tiny true flowers line the spadix, the finger-like spike in the center. Both sit on a dedicated flower stalk that emerges from the crown separately from foliage petioles.
Critical detail: each flower stalk blooms only once. A new spathe appears on a new stalk. If you snip only the faded bract and leave the bare stem, that stalk will never bloom again - you have added clutter without freeing energy. Proper deadheading removes spathe, spadix, and entire stalk together at the crown junction.
The Missouri Botanical Garden notes spathes are waxy and long-lasting, typically holding strong color for weeks before aging.
When to Prune Anthurium
Timing splits into two lanes.
Urgent removal - fully yellow, brown, mushy, diseased, or pest-heavy tissue can come off whenever you see it. There is no benefit to leaving a rotting leaf attached because the calendar says wait.
Planned shaping - shortening leggy stems or removing several old leaves in one session works best in spring or early summer, when warm stable rooms and bright indirect light push new leaves and stalks within weeks. Indoors, “spring” means when you see new leaves unfurling, not necessarily outdoor March.
Deadheading follows the bloom’s own clock. When a spathe has turned uniformly papery brown, remove the stalk whether that happens in January or July.
Avoid heavy pruning when the plant is stressed: just repotted, recovering from root rot on Anthurium, sitting in a cold draft below 60°F (15°C), or wilting in soggy soil. Fix the environment first; pruning removes leaves the roots may still need for recovery.
Urgent Removal vs Seasonal Shaping
Year-round cleanup includes deadheading finished blooms, cutting leaves that are entirely yellow or brown, and removing obvious damage. A two-minute pass every week or two during active growth keeps the crown inspectable.
Seasonal shaping is heavier work: one or two leggy stem cuts, thinning several senescing lower leaves after assessing total foliage load, or trimming damaged aerial roots that tangle at the pot rim. Cap total green foliage removal at roughly one-third per session. If more correction is needed, wait several weeks between sessions.
What to Inspect Before You Cut
Before any blade touches tissue, scan the whole plant:
- Flower stalks - which spathes are still colorful vs papery brown?
- Leaf color pattern - one yellow lower leaf (aging) vs many soft yellow leaves (often overwatering on Anthurium)
- Stem bases and crown - firm pale tissue is good; brown mush or oozing sap needs diagnosis before routine grooming
- Leaf undersides - mealybug cotton, spider mite stippling, scale shells
- Soil moisture - heavy wet mix with sour smell suggests root problems, not a pruning deficit
- Light exposure - leggy open growth usually means insufficient light, not excess foliage
The inspection matters as much as the cut. Following a flower stalk to its crown is when you notice early crown rot, salt crust, or pests hiding in leaf axils.
The First Cut to Make
Start with the most finished tissue, not cosmetic shaping.
If a spathe is uniformly dry, papery, and brown with a shriveled spadix, deadhead that stalk first - one clean cut at the crown. If no blooms are finished but a lower leaf is fully yellow and dry, remove that leaf at the petiole base instead.
Only after urgent finished tissue is cleared should you consider shortening a leggy stem or trimming brown leaf tips on otherwise green blades. One category per session keeps stress low on a slow-growing plant.
How to Deadhead Spent Spathes
Deadheading tidies the plant and redirects resources toward the next stalk - but only when the bloom is truly finished and only when you remove the whole stalk.
Identify stalks whose spathe has dried to paper and whose spadix has shrunken brown. Stalks still carrying firm color can stay even if an older bloom on the same plant is ready for removal; they are separate structures.
Trace the finished stalk with your finger from spathe to crown. Position sterilized shears at the junction where the stalk meets the main stem. Make one smooth cut removing spathe, spadix, and stalk together. Do not leave a stub above the crown - stubs die back slowly and can hold moisture.
Hold the stalk gently so its weight does not tear adjacent petioles during the cut. After removal, look at the crown: firm tissue is expected; brown mush warrants pausing water and investigating rot before grooming further.
Wait for Papery Brown, Not Early Greening
A common question: why is my anthurium spathe turning green? After weeks of bright red, pink, or white color, many spathes gradually green as chlorophyll returns while the plant reclaims nutrients from the aging bract. That green phase is normal senescence, not a signal to panic-cut.
Cutting during greening removes a bract still returning resources to the crown and can delay the next stalk. Wait until the spathe is uniformly brown, dry, and papery - not merely less vivid than peak bloom.
Exception: soft wet patches, foul smell, or obvious mold on the spathe mean remove the stalk promptly and inspect for crown issues regardless of color.
Cut the Entire Stalk at the Crown
Do not clip only the heart-shaped bract and leave a naked stem standing. That stem will never rebloom. Do not cut halfway up the stalk and leave a stub.
New inflorescences emerge from new growth near the crown - not from old bare stalks. Whole-stalk removal at the base is the only deadheading method that actually helps rebloom timing.
How to Remove Yellow and Brown Leaves
Trace the discolored leaf down its petiole - the slender stalk attaching the blade to the main stem - and cut as close to the crown as possible without nicking neighboring tissue or the central growing point. One clean cut beats sawing through a partly attached leaf.
If a lower leaf is fully yellow, dry, and pulls away with almost no resistance, gentle hand removal may work. Support the main stem with your other hand and stop immediately if you feel twisting or tearing. For partly yellow leaves, scissors are safer.
Brown leaves follow the same rule when most of the blade is dead. If only the tip or margin is crisp brown while the rest stays green, the green tissue still photosynthesizes - trim the dead edge cosmetically or leave it while you fix humidity or water quality. Remove the entire leaf when more than half is brown, when tissue is soft and water-soaked, or when pests occupy the petiole base.
Normal Aging vs a Care Problem
A single yellow leaf at the bottom of an otherwise vigorous plant is usually normal aging. Anthuriums grow outward from the crown; oldest leaves sit lowest and eventually senesce. Wait until the leaf is mostly yellow before removing it - no rush if it remains firm.
Multiple yellow leaves appearing quickly, especially soft and wilted with sour-smelling soil, point to overwatering and possible root rot. NC State Extension notes yellowing often follows excess moisture and poor drainage. Cutting yellow leaves in that scenario is cosmetic unless tissue is already dead; the fix is drying the root zone, checking drainage, and possibly Anthurium repotting guide away from mushy roots.
Other patterns: yellow new growth may indicate insufficient light or nutrient stress; crispy brown edges with general dullness often follow low humidity or salt buildup from tap water; bleaching on the window side may be too much direct sun. Pruning removes the visible symptom - correct the cause or new yellow leaves will follow.
Light Shaping for Leggy Stems
A leggy anthurium has elongated stems, wide gaps between leaves, or sparse foliage concentrated at the top. Legginess is usually a light problem first and a pruning problem second. Move the plant to brighter indirect light - or add a grow light - before shortening stems, or new growth will simply stretch again.
When one stem has grown long with bare lower internodes, you can cut it back to just above a healthy node - the slight bump where leaves attach - if firm tissue remains below the cut. Response varies by cultivar, season, and root health. Do not cut every stem to the soil line at once unless you accept a long recovery on a clearly vigorous root system.
Aerial roots creeping from the stem are normal for a semi-epiphytic anthurium. Trim them only if damaged, in the way, or drying into a tangled mess at the pot rim. Otherwise tuck them into the mix. Removing healthy aerial roots does not improve blooming.
Where to Cut and What to Leave Alone
Cut at:
- The crown junction where a finished flower stalk emerges
- The petiole base where a fully yellow or brown leaf attaches
- Just above a node when shortening a leggy stem (keep at least two-thirds of total foliage)
Leave alone:
- Firm, colorful spathes still in active display
- Green spathes in the greening phase of normal senescence
- Healthy green leaves - even if lower or slightly imperfect at the edges
- The central growing point and firm crown tissue
- Partial green leaves with only tip burn (cosmetic trim optional)
Never seal cuts with wax or cinnamon. Anthuriums heal best when wounds stay clean and open to air.
How Much You Can Safely Remove
Limit any single session to no more than one-third of the foliage. Anthuriums tolerate light grooming well but stall after heavy cuts, especially outside active growth. If major reshaping is needed, spread work across two or three sessions separated by several weeks.
Always keep at least three to four healthy green leaves on a small plant. A specimen with only two leaves should lose nothing but fully dead tissue until new growth appears.
Deadheading finished stalks does not count toward the foliage limit - those structures will not rebloom and are safe to remove whenever fully brown.
Tools, Gloves, and Blade Sterilization
Use sharp bypass pruning shears or fine pointed scissors for fleshy anthurium tissue. Dull blades crush stems and leave ragged edges where bacteria enter.
Disinfect before you start and between cuts when disease is suspected. Iowa State University Extension recommends wiping blades in 70% isopropyl alcohol - remove visible sap first, wipe, let dry briefly, then cut. A diluted bleach solution (one part bleach to nine parts water) is an alternative when bacterial blight is suspected; UF/IFAS warns that Xanthomonas bacterial blight spreads on contaminated tools in commercial anthurium production.
Anthuriums belong to Araceae and contain insoluble calcium oxalate crystals in sap and tissue. Wear garden gloves, keep hands away from your face, and wash exposed skin afterward. The Missouri Botanical Garden lists flamingo flower sap as irritating, and the ASPCA classifies it as toxic to cats and dogs if chewed.
Bag pruned material immediately - fresh cuts leak sap, and trimmings on the floor attract curious pets.
Aftercare and Recovery Timeline
After pruning, prioritize stability over stimulation.
Keep light steady - do not move the pot from a dim corner to harsh direct sun the same day you cut. Hold fertilizer for two to three weeks so you are not pushing tender growth while the plant reallocates resources. Resume weak liquid feed only when a new leaf unfurls or a fresh flower stalk emerges.
Water with care. A recently pruned anthurium has slightly fewer leaves transpiring moisture and may need water less often for a short period. Check the top inch of mix rather than watering on autopilot. Avoid splashing water into the crown when cut surfaces are fresh.
Expect new growth on a reasonable timeline: a new leaf or stalk often appears within two to four weeks during active season, with fuller recovery over six to eight weeks. Out-of-season or heavy cuts take longer. If nothing happens after a month in warm, bright conditions, the limiting factor is likely roots, light, or temperature - not a missed pruning trick.
Mistakes to Avoid
- Pruning instead of fixing overwatering - yellow-leaf removal does not dry soggy soil
- Cutting green spathes too early during the nutrient-reclaim phase
- Snipping only the flower head and leaving a bare stalk that will never bloom
- Removing more than one-third of foliage in one session outside active growth
- Leaving stubs on stalks or petioles where dieback and rot start
- Using dirty or dull tools that crush tissue and spread pathogens
- Pruning a stressed plant the same week as repotting or during root-rot recovery
- Stripping healthy green leaves for appearance - each leaf feeds the next bloom cycle
When Not to Prune
Delay heavy shaping when:
- The plant arrived within the last two weeks and is still acclimating
- You repotted within the past month and growth has not resumed
- More than one-third of leaves are yellow at once - diagnose roots and moisture first
- The crown feels soft, smells sour, or oozes - investigate rot before cosmetic cuts
- Room temperatures drop below 60°F (15°C) or cold drafts hit the foliage
- You cannot identify whether tissue is finished or still greening - wait one week and reassess
Routine removal of a single spent stalk or one fully yellow leaf is fine even during mild stress - the rule applies to bulk foliage removal and stem shortening.
Conclusion
Anthurium pruning is knowing when tissue is finished and where to cut so the crown stays healthy. Deadhead by removing the entire stalk only after the spathe turns papery brown - not when it first fades to green. Cut yellow and brown leaves at the petiole base, but diagnose widespread yellowing before stripping the plant. Use sharp sterilized tools, wear gloves for the sap, keep pets away from trimmings, and limit any single session to about one-third of the foliage. Small, regular grooming beats rare aggressive cutbacks on this slow-growing flamingo flower.
When to use this page vs other Anthurium guides
- Anthurium overview - Start here for whole-plant context before deep-diving this topic.
- Anthurium problems hub - Jump to symptom-specific fix guides when this care topic does not resolve the issue.
- Leggy Growth on Anthurium - Escalate here when pruning adjustments are not enough.
- Slow Growth on Anthurium - Escalate here when pruning adjustments are not enough.
- Brown Tips on Anthurium - Escalate here when pruning adjustments are not enough.