How to Prune Alocasia Amazonica: When, Where, and What
How to Prune Alocasia Amazonica: When, Where, and What to Cut
How to Prune Alocasia Amazonica: When, Where, and What to Cut
Quick Answer: Your First Cut
First, remove only a leaf that is fully yellow, fully brown, mushy, torn, or clearly pest-damaged - and only after you have confirmed the rest of the plant is not showing a wider stress pattern such as multiple simultaneous yellow leaves, soft petiole bases, or sour-smelling soil. Sterilize sharp bypass pruners with 70% isopropyl alcohol, put on gloves, trace the petiole to its base at the crown, and cut in one clean angled stroke without nicking the central growing point or leaving a long stub. If the leaf is only partly yellow while a new spear is unfurling, wait. Alocasia Amazonica is still reclaiming nutrients from that aging leaf into its corm.
What Pruning Means for a Corm Plant
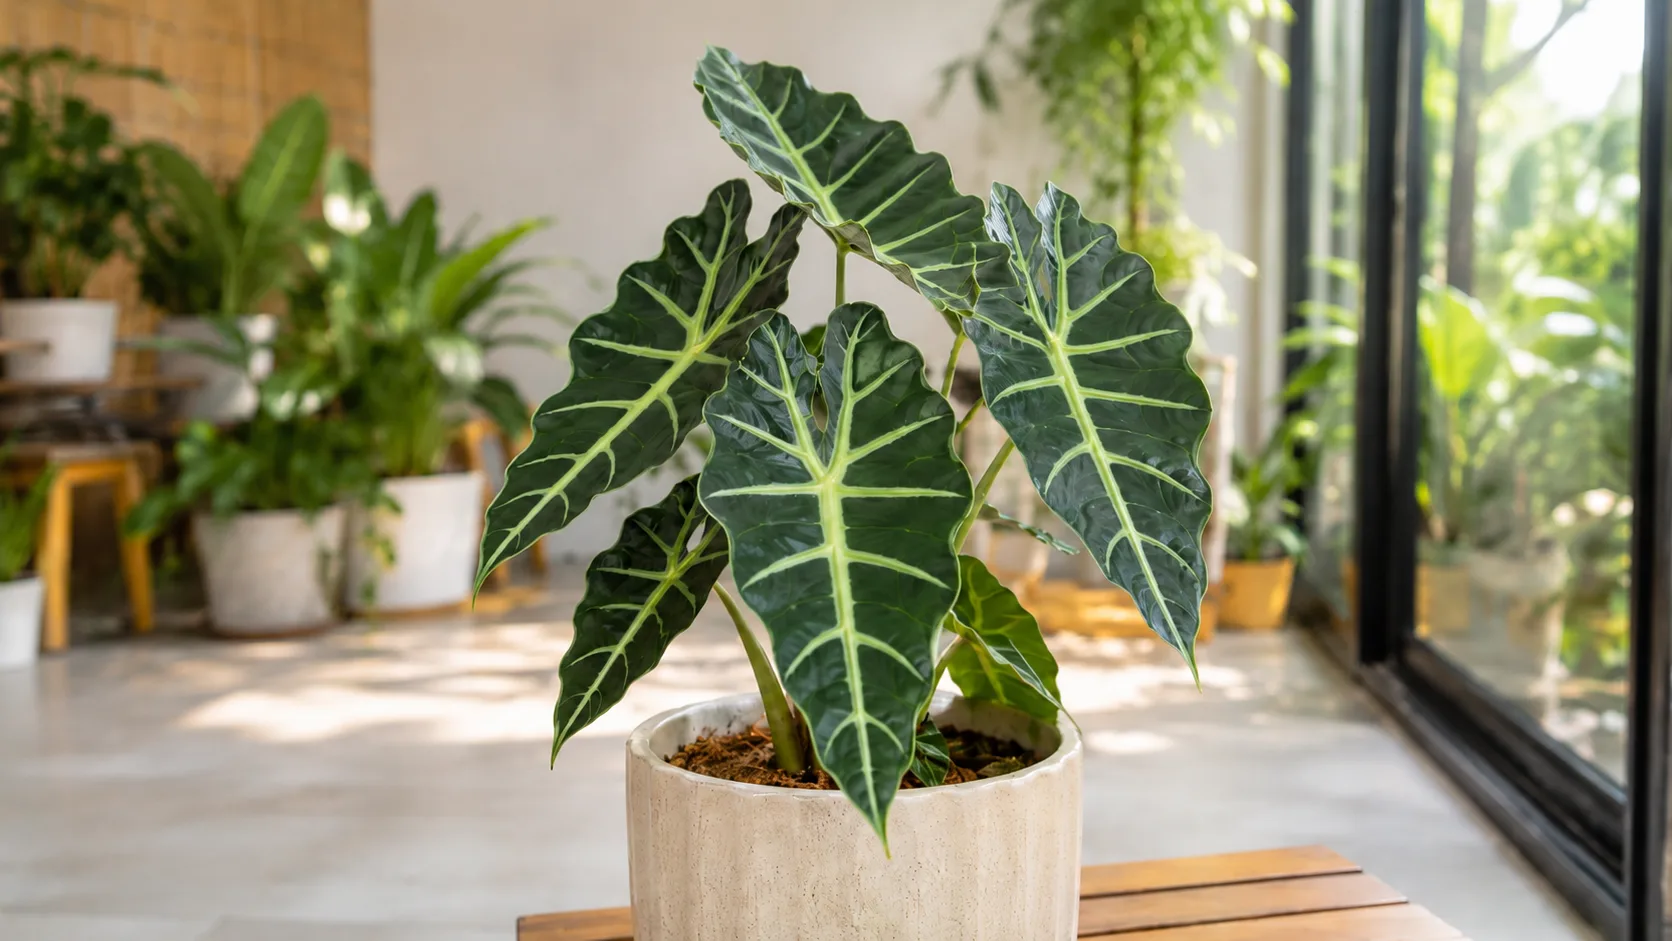
Alocasia Amazonica - also sold as African Mask Plant or Amazonian Elephant Ear - is a hybrid in the Araceae family, often labeled Alocasia × amazonica though NC State Extension lists the accepted name as Alocasia × mortfontanensis. It is a clumping herbaceous perennial grown for bold arrowhead foliage, not a vine or shrub you train into shape. New leaves emerge from a subterranean corm on long fleshy petioles; old leaves senesce from the outside in. Pruning here is almost always leaf cleanup, not canopy shaping.
The Royal Horticultural Society’s Alocasia growing guide states plainly that alocasias need “no pruning or training … other than removing fading or dead leaves, cutting them off at the base.” That single sentence should frame your expectations. You are not making the plant bushier, shorter, or fuller by cutting healthy tissue. You are removing leaves the corm has finished using, plus any damaged tissue that invites rot or pests.
New Growth Comes From the Crown, Not Petioles
Each leaf is a temporary solar panel feeding the corm. When Alocasia Amazonica pushes a new spear, the oldest outer leaf often yellows - a planned nutrient withdrawal called senescence. Cutting that leaf too early removes food the plant was about to bank. Cutting a fully spent leaf frees the crown for the next spear and reduces hiding spots for spider mites and fungus gnats. Because the plant does not branch from petioles the way a pothos does, pruning cannot create side shoots; only the corm produces new leaves.
Why You Cannot Shape or Bush Out This Plant
Beyond dead-leaf removal, the main horticultural guidance is restraint and safe handling. The RHS recommends wearing gloves because alocasia sap can irritate skin. NC State Extension rates poison severity as medium and documents calcium oxalate crystals causing contact dermatitis and eye injury on contact. Those facts matter at the moment of the cut, when sap leaks from a fresh petiole wound.
Inspect Before You Cut
Before you pick up shears, scan the whole plant. Count how many leaves are green, which leaf is oldest, whether a new spear is emerging, and whether yellowing is isolated or spreading. A single lower leaf fading while new growth is active is normal. Three or more leaves yellowing at once, especially with wet soil or a soft corm, points to overwatering on Alocasia Amazonica or root stress - and pruning alone will not fix that.
Press the soil surface with a finger. If the top 2–3 cm stays wet for days, hold off on cosmetic cuts until you understand why the mix is not drying. Inspect petiole bases and leaf undersides for mealybugs, scale, sticky honeydew, or brown mushy tissue. Also note light: pale, stretched petioles often mean the plant is under-lit and dropping older leaves to conserve energy. The cut may be the same either way, but the aftercare is not.
Normal Senescence vs Stress Yellowing
Senescence usually hits one old leaf at a time, often the lowest, while a fresh leaf unfurls above it. The yellowing progresses gradually from the edges inward, and the petiole eventually softens enough to release with a gentle tug. Stress yellowing arrives faster, may involve several leaves, and often pairs with drooping, crispy margins, or collapsed petioles. Proven Winners notes that older leaves naturally turn yellow and die as new leaves emerge, but overwatering and insufficient light are common causes when multiple leaves fail at once. If only senescence is happening, patience is the correct tool. If stress signs dominate, correct watering, light, or humidity first, then remove leaves that do not recover.
Check the Corm and Petiole Bases
Gently brush soil away from the crown if petioles look mushy at the base. A healthy corm feels firm and neutral-smelling. Soft, dark, sour-smelling tissue signals rot that pruning must address aggressively - cut back to firm pale tissue with a sterile blade, then let the wound dry before watering again. Never slice into the central growing point where the next spear emerges; damage there stalls the plant for weeks.
When to Prune Alocasia Amazonica
Minor grooming of fully dead tissue can happen any time of year. A brown, collapsed leaf or a mushy petiole is a liability in winter as much as in summer. Structural decisions - removing a partly green leaf for appearance, taking off multiple leaves, or cutting the plant back for dormancy - belong in the active growing season, generally spring through early fall when temperatures stay above about 16°C (60°F) and the plant is pushing new spears.
The RHS notes that alocasias may lose foliage in winter dormancy but “produce plenty of fresh leaves once they come back into growth in spring.” During that cool, drier period, reduce watering and avoid stripping partially green leaves the corm is still feeding from. If you must choose between pruning in dormancy and waiting six weeks, waiting usually produces a healthier spring recovery.
Active Growing Season
In active growth, the corm seals petiole wounds quickly and redirects energy to the next leaf. This is when routine yellow-leaf removal belongs - one fully spent leaf at a time, spaced two to three weeks apart if several need cleanup.
Dormancy and Winter Hold
In dormancy, metabolism slows, cuts stay open longer, and rot risk rises. Treat winter like a holding pattern: remove only what is unmistakably dead, keep the corm barely moist, and postpone any multi-leaf cleanup until you see a new spear.
Emergency Removal Any Time
Remove immediately when a leaf is fully brown or black, the petiole is mushy, a tear exposes wet tissue, or pests have colonized a leaf base. Bag diseased material in household trash rather than composting it indoors. Re-sterilize blades before touching healthy tissue on the same plant or moving to another pot.
Tools, Gloves, and Sanitation
Use sharp bypass pruners for thick petioles and sharp scissors for small grooming cuts. Dull blades crush fleshy tissue and slow callusing. Wear nitrile or rubber gloves and ideally eye protection - alocasia sap contains oxalate crystals that cause skin and eye irritation. Keep children and pets away from cut material.
Sanitize before the first cut and between plants. The University of Minnesota Extension recommends cleaning visible debris first, then disinfecting blades with 70% isopropyl alcohol and allowing contact time before cutting. Wipe blades again after working on diseased tissue. Let tools air-dry; alcohol works against most bacterial and fungal pathogens on metal surfaces when used on clean blades.
Where and How to Make the Cut
Trace the petiole to where it meets the crown at soil level. Hold the leaf aside with a gloved hand. Position the blade flush against the base without cutting into neighboring spears or the corm itself. Make one smooth angled cut so water runs off the wound rather than pooling. The exposed surface should look clean and pale, not crushed or brown.
Avoid leaving a 1–2 cm stub. Stubs die back slowly, turn brown, and attract fungus gnats. Avoid twisting petioles off by hand - that tears tissue and splashes sap. Avoid cutting into green tissue on a leaf you intend to keep; alocasia blades do not regenerate from partial cuts the way some herbs do.
Step-by-Step Petiole Removal
- Sterilize blades and put on gloves.
- Confirm the leaf is fully spent or damaged beyond recovery.
- Cut at the petiole base with a slight angle, no stub.
- Inspect the wound; if tissue looks mushy, cut lower until firm.
- Bag the leaf, re-sanitize tools, and keep the cut dry for 24–48 hours.
What Not to Cut
Do not cut green or mostly green leaves during senescence. Do not trim healthy leaf tips for shape - the plant gains nothing. Do not attempt to shorten petioles to control height; new leaves emerge at similar lengths from the corm. Do not divide or repot on the same day as a major prune unless rot forces immediate action. Do not fertilize immediately after cutting; salts can irritate fresh wounds and push growth before the corm is ready.
Yellow, Brown, and Mushy Leaves
Yellow leaves drive most pruning sessions. Wait until a yellow leaf is fully yellow or at least 90% yellow/brown and the petiole releases easily before cutting during active growth. A partially yellow leaf is still exporting mobile nutrients to the corm. Brown, crispy dead blades can come off anytime. Mushy petioles signal excess moisture or infection - remove them promptly, inspect the corm, and adjust watering before the problem reaches the crown.
If multiple leaves yellow while soil stays wet, suspect root rot on Alocasia Amazonica. Unpot, trim mushy roots with sterile tools, repot into airy mix, and remove only leaves that do not recover after conditions improve. Pruning ten yellow leaves on a rotting corm removes symptoms without solving the cause.
How Much Foliage You Can Safely Remove
Alocasia Amazonica typically carries three to seven leaves indoors. As a practical limit, remove no more than one fully spent leaf per session during active growth unless several are already dead. If you must take more, space sessions two to three weeks apart so the corm is never stripped of most of its photosynthetic surface at once. Pruning does not make Alocasia Amazonica overview fuller; leaving healthy leaves in place does.
You cannot control mature height by topping petioles. If the plant outgrows its space, brighter indirect light and eventual division at Alocasia Amazonica repotting guide are the realistic options - not repeated hard cutbacks.
Dormancy Cutback on a Leafless Plant
When short days and cool temperatures trigger dormancy, Alocasia Amazonica may drop every leaf while the corm stays alive underground. The RHS describes this as normal; reduce watering and keep temperatures above about 10°C (50°F). Before cutting back, confirm the corm is firm and neutral-smelling, not soft and sour.
If brown petioles remain attached, wait until they detach with a gentle tug or are fully dry, then cut each at the soil line with sterilized tools. Move the pot to a cool, dim spot around 13–18°C (55–65°F) and water sparingly - just enough to prevent corm desiccation. Do not fertilize or repot until a new spear appears in spring. A bald pot in winter is often a resting corm, not a dead one.
Aftercare in the First Two Weeks
Keep fresh cuts dry for at least 24–48 hours. Water at the soil line only; do not mist the crown or splash the wound. Maintain Alocasia Amazonica light guide and stable humidity, but skip foliar feeds and leaf shine. Hold fertilizer until the plant shows stable new growth - usually two to three weeks after a minor cut during the growing season. If you pruned during dormancy, wait until spring regrowth before feeding.
Improve airflow around the pot so the crown dries quickly after watering. A small fan or an open room with moderate humidity helps. Watch for new spears; that is the clearest sign the corm accepted the cut.
Recovery Timeline and Signs Pruning Worked
After removing one spent leaf in active growth, expect little visible change beyond a tidier crown - that is success. Within two to four weeks, a new spear may unfurl if conditions are warm and bright enough. Signs pruning worked: the cut calluses dry and pale, no petiole base rot spreads, and new growth continues. Signs pruning was too aggressive or poorly timed: multiple leaves collapse after one session, the corm softens, or no new spear appears through an entire growing season despite good care.
Common Pruning Mistakes
- Cutting partially yellow leaves too early and wasting corm reserves
- Leaving petiole stubs that rot slowly at the crown
- Using dull, unsterilized blades that spread pathogens
- Skipping gloves and getting sap on skin or in eyes
- Removing many leaves at once and shocking the corm
- Pruning during dormancy except for fully dead tissue
- Confusing dormancy with death and discarding a live corm
- Watering or fertilizing immediately on top of fresh cuts
- Trying to shape or shorten the plant by topping healthy petioles
Conclusion
Alocasia Amazonica rewards restraint. The RHS guidance is the whole story in one line: remove fading or dead leaves at the base, wear gloves, and otherwise leave the plant alone. Your best pruning habit is diagnostic patience - confirm a leaf is finished, sanitize once, cut cleanly at the petiole base without damaging the crown, keep the wound dry, and fix care problems before you treat yellowing as a trimming task. Do that, and the corm will keep sending up the dramatic silver-veined leaves this hybrid is grown for.
When to use this page vs other Alocasia Amazonica guides
- Alocasia Amazonica overview - Start here for whole-plant context before deep-diving this topic.
- Alocasia Amazonica problems hub - Jump to symptom-specific fix guides when this care topic does not resolve the issue.
- Leggy Growth on Alocasia Amazonica - Escalate here when pruning adjustments are not enough.
- Slow Growth on Alocasia Amazonica - Escalate here when pruning adjustments are not enough.
- Brown Tips on Alocasia Amazonica - Escalate here when pruning adjustments are not enough.