ZZ Plant Pruning: When, Where, and What to Cut
ZZ Plant Pruning: When, Where, and What to Cut
ZZ Plant Pruning: When, Where, and What to Cut
Quick Answer - Remove Whole Stalks at the Rhizome Base
First action: in good light, inspect arching stalks for yellowing, mush at the soil line, or stems that pull away easily - then remove one clearly dead, damaged, or rotting stalk with sterilized bypass shears, cutting flush where the stalk meets the rhizome at or just below soil level. ZZ plant pruning on Zamioculcas zamiifolia is stalk removal and cleanup, not tip pinching. Each upright “stem” is a thick petiole bearing glossy leaflets rising from rhizomes; new shoots emerge from tuber-like rhizomes beneath the soil, not from smooth tissue halfway up the stalk. Save major shape cuts for spring through early summer when the plant can push fresh shoots; limit routine removal to roughly one-third of visible stalks per session; and wear gloves because sap contains calcium oxalate crystals that irritate skin and the plant is toxic to pets if chewed.
What ZZ Plant Pruning Can and Cannot Fix
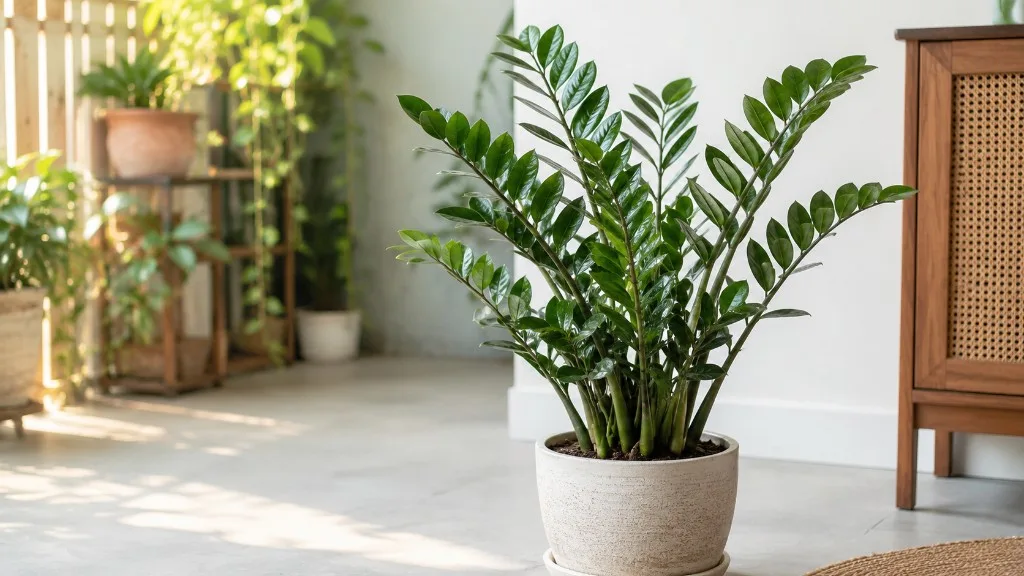
Indoors, ZZ plant is grown for glossy pinnate leaflets on thick arching stalks and a compact, architectural silhouette that tolerates low light and infrequent watering. Without occasional grooming, the same plant often develops uneven height, yellow stalks from chronic wet soil, or a lopsided lean toward the brightest window.
Pruning can remove failed stalks before rot spreads into rhizomes, reduce visual bulk in an overgrown pot, even out a lopsided clump by taking the tallest stalks at the base, and supply clean stem material for propagation. Illinois Extension describes removing healthy stalks at the base with clean snips when taking cuttings - the same cut location applies to grooming cuts.
Pruning cannot make a mid-stem stub leaf out again. Unlike pothos or philodendron, a ZZ stalk cut halfway stays bare. It also cannot fix chronic overwatering on ZZ Plant, root rot on ZZ Plant, or deep-shade legginess on its own - remove failed tissue, then correct light and watering before expecting new upright shoots from the rhizome.
What to Check Before You Cut
Walk through this inspection before structural removal:
- Soil line: gently brush away surface mix and look where each stalk emerges from firm rhizome tissue. Mushy bases, blackened crowns, or stalks that detach with a tug indicate rot - not a cosmetic trim problem.
- Stalk firmness: healthy ZZ petioles feel solid and waxy from base to leaflet tips. Soft, bendable, or collapsing stalks usually trace to wet rhizomes.
- Leaflet pattern: a few dry brown tips may need no stalk removal; entire yellow or brown stalks usually mean the petiole is failing from the base up.
- Recent stress: if the plant was repotted within two weeks, dropped multiple stalks after a watering binge, or sits in a dark corner with new stems stretching apart, postpone bulk shaping until conditions stabilize.
Have 70% isopropyl alcohol, sharp bypass pruners or a clean knife, gloves, and a trash bag for sap-contact tissue. Dull blades crush thick petioles and increase entry points for rot on stressed rhizomes.
When to Prune ZZ Plant
Timing matters because ZZ plant grows slowly and in spurts even under good care. Major removal during dormancy leaves fewer rhizome reserves driving replacement shoots.
Shape control, size reduction, and multi-stalk thinning belong in the active growth window - spring through early summer, roughly March through June in the Northern Hemisphere for indoor plants, adjusted for your room warmth and light. Warm temperatures and brighter days support the slow rhizome push that replaces removed stalks.
Dead, yellow, mushy, or clearly broken stalks come out the day you find them, regardless of month. A rotting petiole should not wait for spring.
Spring Through Early Summer for Shape and Size Control
During active growth, removing entire stalks at the rhizome frees space and light for remaining buds on the tuber. UF/IFAS production guidelines note that rhizome size and shoot count drive how quickly new upright growth appears - a pot with several healthy rhizomes replaces removed stalks faster than a sparse young plant.
Plan one shaping session per growing season for most indoor ZZ plants. A second light pass in late summer is reasonable on large, well-established clumps; avoid back-to-back heavy sessions within four weeks.
Dead or Yellow Stalks Any Time
Yellow or brown whole stalks almost always signal overwatering or rhizome stress, not a need for mid-stem cosmetic trimming. Cut the failed stalk at the base, then let the mix dry completely before the next watering. If multiple stalks yellow within a week, unpot and inspect rhizomes before removing more live tissue.
When Not to Prune
Delay bulk shaping when:
- the plant was repotted within the last two weeks
- soil stays wet and rhizomes feel soft
- the room is cool with short days (late fall through winter)
- active mealybug, scale, or spider mite colonies cover stalk joints - treat pests first, then prune residue
Light removal of one clearly dead stalk is still fine in winter; removing one-third of the clump is not.
The First Cut to Make
After inspection, your first cut should always target the worst dead, mushy, or yellow stalk - not the tallest healthy arching stem and not a cosmetic shorten on firm green tissue. Removing failed petioles reduces rot spread into stored rhizome tissue and tells you how much healthy crown remains before you commit to shape.
Once failed stalks are cleared, pause and reassess the silhouette from eye level. The next cuts depend on your goal: even height takes the tallest firm stalks at the base; overcrowding removes awkward outward arches; size control removes outer stalks while keeping a balanced center.
Where to Cut: Flush at the Rhizome, Not Mid-Stem
The technical heart of ZZ pruning is base placement. Locate where the thick petiole emerges from the rhizome - often just at or slightly below the soil surface. Position the blade flush against the rhizome and remove the entire stalk in one clean slice. Do not leave a half-inch stub above the tuber; do not cut mid-arch expecting new leaflets.
Mid-stem cuts do not branch. A shortened ZZ stalk stays bare along its length. Garden Design notes that pruning will not encourage new growth the way it does on many houseplants - replacement shoots, when they come, arise from rhizome buds, not from cut petiole tissue.
For single damaged leaflets on an otherwise firm stalk, you may snip the individual leaflet where its short petiole meets the main stalk. That cosmetic trim does not stimulate new side leaflets; remove the whole stalk at the base if most leaflets on that petiole are failing.
Step-by-Step ZZ Plant Pruning
- Put on gloves and sterilize pruners with alcohol.
- Remove dead, mushy, or fully yellow stalks first, cutting flush at the rhizome. Discard rot-contact tissue; do not compost mushy stalks indoors.
- Identify your goal - size control, even height, overcrowding relief, or post-rot cleanup - before cutting firm green stalks.
- Remove selected live stalks one at a time at the rhizome base. Step back after every two or three cuts to check balance.
- Stop at roughly one-third of visible stalks removed in one session for routine shaping.
- Wipe sap from tools and wash hands even when wearing gloves.
- Hold conditions steady for two to three weeks - no same-weekend repot, no fertilizer push, no move to harsh direct sun.
Do not apply wound sealants. Cut rhizome faces dry and callus naturally in a well-drained pot.
How Much You Can Safely Remove
For routine maintenance, remove no more than about one-third of visible stalks in a single session. ZZ plants store water and nutrients in rhizomes and recover slowly; stripping half the foliage at once stresses a plant that may take months to replace arching height.
For young or recently propagated plants with only three to five stalks, limit removal to one stalk per session unless the stalk is clearly rotting.
For emergency rot cleanup, remove every soft or discolored stalk back to firm rhizome tissue even if that temporarily leaves a sparse clump - survival beats aesthetics. Repot into dry, gritty mix if rhizomes were sitting in wet soil; that is root rescue, not optional grooming.
Never combine heavy stalk removal with ZZ Plant repotting guide, heavy feeding, and a major location change the same weekend.
Pruning for Shape, Legginess, and Overcrowding
ZZ plant rarely needs hedge-style shaping. Instead, remove entire arching stalks at the base to change the silhouette:
- Uneven height: cut the tallest firm stalks at the rhizome until the remaining tips form a dome you can live with.
- One-sided lean: remove outward-arching stalks on the heavy side and rotate the pot a quarter turn weekly so new shoots grow more evenly toward light.
- Leggy sparse look: pruning alone will not compact internodes. Move to brighter indirect light first; then remove the thinnest, most stretched stalks at the base in spring so replacement shoots emerge closer to the rhizome cluster.
Because growth is slow, expect shape changes to take one to two growing seasons, not one afternoon of aggressive cutting.
Pruning Damaged, Yellow, or Rotting Stalks
Treat yellow or collapsing stalks as diagnostic, not purely cosmetic:
- Cut the affected stalk at the rhizome.
- Inspect the exposed rhizome - firm and tan to light brown is healthy; black mush needs excision with a sterile knife.
- Allow the pot to dry completely before watering again.
- If more stalks yellow within two weeks, unpot, trim all soft rhizome tissue, and repot in very well-draining mix.
Garden Design links yellowing leaves and mushy stalks to overwatering - pruning removes the visible damage, but dry rhizomes and better drainage prevent repeat failure.
Can You Use Pruned Stalks for Propagation?
Yes, when stalks are firm and disease-free. Illinois Extension recommends removing a healthy stalk at the base for leaf-cuttings or rooting an entire petiole in water or moist medium. Allow cut ends to callus a few days before inserting into soil to reduce rot.
Do not propagate from yellow, mushy, or pest-infested stalks removed during cleanup. Stem sections without attached leaflets do not root reliably, per University of Michigan propagation research cited by Illinois Extension.
Propagation is optional - discard grooming cuts if you do not want extra pots.
Aftercare and Recovery Timeline
After base cuts, keep ZZ Plant light guide, stable room temperatures, and your normal dry-between-waterings rhythm. Withhold fertilizer for three to four weeks after major removal so you do not burn recovering rhizomes.
Recovery expectations:
- Dead-stalk removal only: little visible change beyond a cleaner silhouette - correct if the plant was otherwise healthy.
- Spring shape pruning on an established clump: first new shoot tips may appear within several weeks to a few months; full visual fill can take several months to a year because ZZ grows slowly even under ideal conditions.
- Post-rot rescue: replacement depends on how much firm rhizome remains; sparse pots may sit quiet until the next warm season.
Do not increase watering “to help recovery.” Extra moisture is the most common reason newly pruned ZZ plants stall or yellow again.
Signs Pruning Worked - and Signs It Went Too Far
Pruning worked when:
- removed stalks do not continue rotting at the rhizome face
- remaining stalks stay firm and glossy
- new upright shoots emerge from the soil line over the following months
- the pot looks balanced without leaning or crowding
Pruning went too far or was badly timed when:
- multiple remaining stalks yellow within weeks of a heavy session
- rhizome tissue softens after cuts despite dry soil
- the plant produces no new shoots through an entire warm season after removing more than one-third of stalks
- mid-stem stubs stay bare indefinitely - a sign of wrong cut placement, not slow recovery
If the clump keeps declining after conservative base cuts, diagnose watering, drainage, and light before cutting again.
Mistakes to Avoid
- Cutting mid-stem expecting new leaflets along the bare petiole
- Removing more than one-third of healthy stalks in one session on a slow rhizome plant
- Pruning heavily in late fall or winter when growth spurts are unlikely
- Stacking prune + repot + fertilizer the same week
- Skipping gloves on a calcium oxalate–containing Araceae plant - sap can irritate skin; keep cut tissue away from pets and children
- Composting rotted stalks near other houseplants without bagging them first
- Treating yellow stalks as a trim problem while soil stays chronically wet
Keeping ZZ Plant Tidy Between Pruning Sessions
Most indoor ZZ plants need light grooming once or twice a year - usually a spring wellness pass and optional removal of occasional failed stalks. Dust glossy leaflets with a damp cloth so lower leaves receive light; rotate the pot monthly to limit one-sided arching.
When a stalk looks tired, remove the whole petiole at the base rather than shortening it. Pair periodic inspection with dry-soil watering and bright indirect light so new rhizome shoots stay upright and evenly spaced. That rhythm prevents the heavy rescue pruning that slow growers punish hardest.
When to use this page vs other ZZ Plant guides
- ZZ Plant overview - Start here for whole-plant context before deep-diving this topic.
- ZZ Plant problems hub - Jump to symptom-specific fix guides when this care topic does not resolve the issue.
- Leggy Growth on ZZ Plant - Escalate here when pruning adjustments are not enough.
- Slow Growth on ZZ Plant - Escalate here when pruning adjustments are not enough.
- Brown Tips on ZZ Plant - Escalate here when pruning adjustments are not enough.