How to Prune Aloe Vera: When, Where, and What to Cut
How to Prune Aloe Vera: When, Where, and What to Cut
How to Prune Aloe Vera: When, Where, and What to Cut
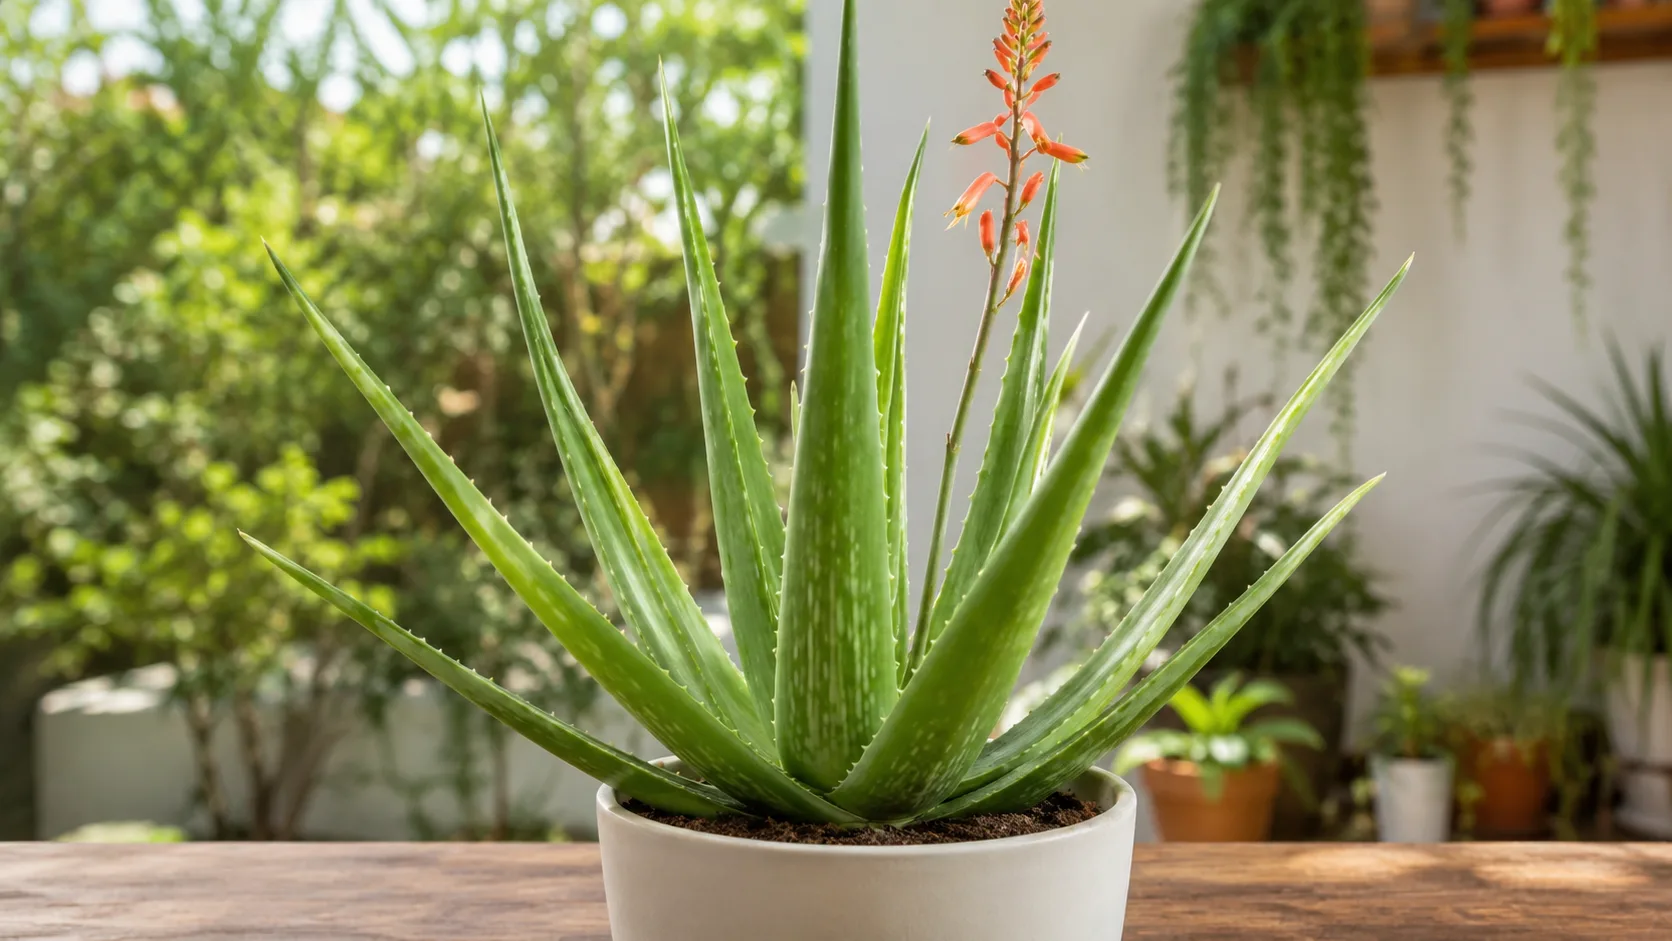
Aloe vera (Aloe vera) grows as a tight rosette of thick, serrated leaves - not a branching vine. First, inspect the outer ring and remove only leaves that are clearly dead, mushy, or fully dried. Use a sterilized knife to slice those at the base, close to where the leaf meets the stem. Once cleanup is done, decide whether you need a gel harvest or size control, and cut mature outer leaves only - never the small upright leaves at the center where all new growth forms.
NC State Extension describes aloe vera as a rosette succulent that spreads by offsets and stores gel in thick basal leaves. Unlike pothos or ficus, you cannot pinch a tip and expect branching. Each cut leaf is gone permanently; the plant replaces it with a new leaf from the rosette center over weeks or months.
What Pruning Means for an Aloe Rosette
On aloe vera, pruning covers three related jobs:
- Cleanup - removing brown, shriveled, or rotting outer leaves
- Harvest - taking one or more mature outer leaves for clear inner gel
- Size control - thinning crowded outer leaves or separating pups when the pot is full
All three use the same cut at the leaf base. The difference is how many leaves you remove and what you do with them afterward. Penn State Extension notes that aloe leaves are soft, easy to break, and contain gel-like sap - which means ragged cuts and dirty blades invite rot at the wound.
Pruning does not make aloe bushier the way tip-pinching works on herbs. Fuller appearance comes from healthy center growth, good light, and occasional pup production at the base.
When to Prune Aloe Vera
Best Season for Routine Pruning
Spring through early summer is the safest window for routine pruning and gel harvest. During the active growing season - early spring to early fall per Penn State Extension - aloe uses water quickly, pushes new center leaves, and seals cut surfaces faster.
A single outer leaf removed from a healthy plant in spring usually calluses within one to three days indoors. Replacement center growth may appear within four to eight weeks, though aloe’s natural pace is slow.
When Not to Prune
Hold off on non-emergency cuts when:
- Winter dormancy - from fall through winter, growth slows and wounds stay wet longer. Penn State Extension recommends reducing water in the dormant period; the same dry conditions help healing cuts seal.
- Very young plants - rosettes with fewer than eight to ten leaves lack stored energy for multiple removals. Wait until the plant looks established.
- Active stress - sunburn, soggy soil, recent Aloe Vera repotting guide, or visible pest infestation. Fix the underlying problem first; adding open wounds on top raises rot risk.
- Crown rot - soft, black tissue at the center cannot be fixed by trimming outer leaves alone. That needs emergency intervention (often beheading and rerooting the healthy top).
The one exception: remove a clearly rotting outer leaf immediately, even in winter. Stopping spread outweighs slow winter healing.
What to Check Before You Cut
Walk the rosette in order:
- Outer ring - which leaves are brown, papery, mushy, or translucent?
- Center - are small inner leaves firm, upright, and lighter green? That confirms the growing point is alive.
- Base - pups, mealybugs, or blackening where leaves attach to the stem?
- Soil moisture - wet mix after a recent soak means wait before cutting multiple leaves.
- Overall count - how many healthy leaves would remain if you took what you planned?
If the center looks soft or smells sour, do not proceed with routine pruning. Address rot first.
The First Cut to Make
Remove one clearly dead or dying outer leaf at the base with a clean knife - not a tug, not a tip trim, not a center leaf.
Dead leaves that have dried fully may detach with a gentle pull. If the leaf resists, slice it at the base instead. Pulling a partially attached leaf tears stem tissue and opens a larger wound than necessary.
Only after dead material is cleared should you consider harvesting gel or removing additional healthy outer leaves.
How to Prune Aloe Vera Step by Step
- Sterilize a sharp knife or pruning shears with 70% isopropyl alcohol. Let the blade air-dry.
- Choose outer leaves only - lowest on the rosette, firm, and plump if harvesting gel.
- Hold the leaf away from the rosette so you can see the junction with the central stem.
- Slice at a slight downward angle as close to the stem as practical without cutting into stem tissue.
- Remove the leaf with a steady pull. Repeat only if you still need more gel and have not exceeded the safe limit.
- Inspect the wound - clear gel seepage is normal briefly; black mush is not.
- Leave the plant dry - no water for at least two to three days after a single cut, longer after multiple cuts.
Avoid crushing leaves with dull scissors. A clean slice heals faster than a ragged crush wound on succulent tissue.
Where to Cut on the Stem
Cut at the base of the leaf, roughly three to five millimeters above where the leaf meets the short central stem. Too high leaves a brown stub that dries slowly and can harbor pests. Too low nicks living stem tissue and invites rot into the crown.
An angled cut - lower edge tucked slightly under the leaf - helps water run off rather than pool on the wound. NC State Extension describes a short stout stem with leaves in a basal rosette; your cut targets that junction, not the leaf tip.
Do not harvest gel by slicing halfway up a leaf and leaving the base attached. The severed base does not regrow, and the stub dies back unsightly.
How Much Foliage Is Safe to Remove
Never remove more than one-third of healthy leaves in a single session. Aloe leaves are the plant’s water and energy storage. Stripping too many at once limits photosynthesis and slows recovery - especially on a slow-growing rosette.
Practical limits:
- Routine gel harvest - one mature outer leaf per session on a medium rosette
- Cleanup plus harvest - dead leaves do not count toward the one-third limit, but still avoid stacking many healthy removals
- Overgrown pots - separate pups at repotting rather than stripping half the mother rosette
If the plant looks sparse after pruning, give it brighter light and stable watering - not fertilizer on day one.
Leaves You Should Never Cut
Leave these untouched:
- Center young leaves - the pale, upright inner leaves are the only source of new foliage. Removing them damages or destroys the growing point.
- More than one-third of the rosette in one session, even if leaves look healthy.
- Leaves still expanding - lighter color, smaller size, or reddish tips often signal active growth.
- All outer leaves to “reset” the plant - that leaves no photosynthetic surface for recovery.
If you need drastic size reduction because the stem is rotting below the rosette, beheading (cutting the healthy top rosette above damaged tissue) is a separate emergency technique - not routine pruning.
Pruning Dead, Yellow, or Damaged Growth
Outer leaves naturally senesce as the rosette ages. NC State Extension lists leaf spot and overwatering on Aloe Vera-related root rot on Aloe Vera as common problems - yellowing or mushy outer leaves often trace to care stress, not a pruning deficiency.
Handle each case differently:
- Dry brown tips only on Aloe Vera - cosmetic; snip the dead tip if it bothers you, or leave it. Tip trimming does not rot the plant but does not fix the underlying cause (often drought, fluoride, or sun stress).
- Fully yellow or brown outer leaves - cut at the base once the tissue is clearly failing. Yellow leaves still photosynthesize weakly; remove them for appearance, not as an emergency.
- Soft, translucent, or mushy leaves - cut immediately at the base and check soil moisture and drainage. This pattern often precedes root rot.
- Broken or torn leaves - remove at the base if more than half the leaf is damaged; small tip breaks can be left to callus.
Fix watering and light after cleanup. Pruning alone will not stop rot driven by wet soil.
Harvesting Outer Leaves for Gel
Harvest uses the same base cut as cleanup pruning. Choose outer, mature leaves that are firm, plump, bright green, and at least eight inches long on a typical indoor plant.
After cutting:
- Stand the leaf upright in a cup with the cut end down for ten to fifteen minutes so yellow latex drains out.
- Discard the drained liquid - it contains aloin and related anthraquinones. NC State Extension notes anthraquinone glycosides in leaves cause abdominal cramping and skin irritation from latex contact.
- Rinse briefly, pat dry, then fillet or scoop the clear inner gel.
Skip squeezing the leaf during drainage - pressure pushes latex back into the gel. Gel should look clear; yellow streaks mean more latex to trim away.
Removing Pups During a Pruning Session
Mature aloe vera produces offsets (pups) on short stolons at the base. NC State Extension recommends propagation by division of offsets. Pruning sessions are a natural time to separate crowded pups:
- Unpot or brush soil from the base to expose stolon connections.
- Cut the stolon with a sterilized knife, keeping at least one inch of stem on the pup and any roots attached.
- Callus the pup in a dry, shaded spot for one to two days.
- Pot in dry cactus mix and wait five to seven days before the first light watering.
Removing old outer leaves can open light and air at the base, which helps small pups you leave in place. Pruning does not magically trigger pup formation - a healthy, slightly pot-bound plant in good light produces more offsets than a stressed one.
Aftercare and Recovery
The wound’s job after pruning is to dry and callus. Do not apply cinnamon, wax, or wound sealant - open air drying is standard for succulent cuts.
Aftercare basics:
- Withhold water for two to three days after one cut; up to a week after multiple cuts or winter pruning
- Skip fertilizer for two to three weeks - aloe is a light feeder and soft new growth into an open wound adds stress
- Aloe Vera light guide - enough for recovery without scorching exposed cut tissue
- Stable temperatures - avoid cold drafts below 10°C (50°F) on a healing rosette
- Watch the cut edge - light browning at the margin is normal; spreading black mush needs a deeper trim into firm tissue
Recovery Timeline
| Season | Callus forms | New center leaf visible |
|---|---|---|
| Spring–summer | 1–3 days | 4–8 weeks |
| Fall | 3–7 days | 6–10 weeks |
| Winter | 1–3 weeks | Often delayed until spring |
Slow winter healing is normal dormancy behavior, not necessarily failure.
Signs Pruning Worked or Failed
Pruning worked when:
- The cut surface dries to a firm, tan callus without softening
- New small leaves emerge from the rosette center within a few weeks (in growing season)
- Remaining leaves stay firm and upright
- No new mush appears at the base
Pruning failed or was too aggressive when:
- The cut turns black and spreads toward the stem
- Center leaves collapse or soften after a heavy removal session
- The rosette leans because too much foliage was stripped from one side
- Pests (mealybugs) appear on fresh wounds - re-sterilize tools and isolate the plant
Mistakes to Avoid
- Cutting center leaves - removes the only growth point
- Harvesting more than one-third of healthy foliage at once
- Watering the same day - keeps wounds wet and invites rot
- Using dull or dirty tools - crushes tissue and transfers bacteria
- Pulling leaves that do not detach easily - tears stem tissue
- Pruning a rotting plant without fixing drainage - new cuts on wet roots fail quickly
- Leaving cut leaves where pets can chew them - aloe is toxic to cats and dogs per ASPCA
Handling Safety During Pruning
Aloe leaves carry latex just under the green skin. NC State Extension classifies the plant as causing contact dermatitis and low-severity poisoning through ingestion, with anthraquinone glycosides as the toxic principle.
Practical precautions:
- Wear gloves if you have sensitive skin or are harvesting multiple leaves
- Drain latex before opening leaves for gel; do not ingest home-prepared latex
- Keep trimmings away from pets - the ASPCA lists aloe vera as toxic to cats and dogs
- Patch-test gel on skin before applying to large areas or children
This is handling guidance for pruning waste and gel prep, not medical advice.
Conclusion
Aloe vera pruning is restraint applied with a sharp knife. Remove dead outer tissue first, cut mature outer leaves at the angled base junction, never touch the center growing point, and let wounds callus before the next watering. Spring cuts heal fast; winter cuts need patience. One leaf for gel is usually enough; pups can be separated when the base is crowded. Get the first cut right - dead material out, stem intact, soil dry - and the rosette keeps producing new leaves from the center for years.
When to use this page vs other Aloe Vera guides
- Aloe Vera overview - Start here for whole-plant context before deep-diving this topic.
- Aloe Vera problems hub - Jump to symptom-specific fix guides when this care topic does not resolve the issue.
- Leggy Growth on Aloe Vera - Escalate here when pruning adjustments are not enough.
- Slow Growth on Aloe Vera - Escalate here when pruning adjustments are not enough.
- Brown Tips on Aloe Vera - Escalate here when pruning adjustments are not enough.