Monstera Propagation Guide: Choose Your Method
New to Monstera propagation? Pick water, soil, or air layer with a comparison table, cut rules, and 30-day aftercare for healthy roots.
Monstera propagation means creating a new plant from part of an existing one-usually a stem cutting with a node, rooted in water, an airy medium, or through air layering while the stem is still attached to the parent. This guide is the beginner method picker for the Monstera cluster: it helps you decide water vs soil vs air layer before you cut, then gives enough step-by-step detail to start. For deliciosa-specific timelines, moss workflows, and fenestration expectations, use the Monstera deliciosa propagation hub. For a deep water-vs-soil comparison after you have chosen a medium, read Monstera water vs soil propagation.
What Monstera propagation actually means
Propagation is controlled stress. You remove living tissue, ask it to form roots, then move it into a new home. The whole process hinges on one anatomical detail: the node. A node is the swollen joint on the stem where leaves and buds emerge-the only place Monstera can reliably push new roots and shoots. University of Minnesota Extension is explicit: cuttings that lack a node and axillary bud will not produce new growth, and leaves or petioles alone eventually rot (University of Minnesota Extension).
Think of the leaf as the solar panel and the node as the engine room. A pretty leaf in a jar may stay green for weeks, but without node tissue it is not a propagation-it is a decoration heading toward mush. Once you internalize that filter, method choice gets simpler because every valid workflow starts the same way: healthy parent, clean cut below a node, warm bright indirect light.
Node vs petiole vs aerial root
A petiole is the leaf stalk. An aerial root is the cord-like root Monstera sends above the soil for climbing. Only the node can restart growth. UConn recommends taking stem cuttings 3 to 5 inches below a node and including aerial roots when present-they help but do not replace the node (UConn Home & Garden).
Use this quick filter before you pick a medium:
- Leaf only? No viable propagation.
- Leaf plus petiole, no node? No.
- Node plus stem segment? Yes.
- Node plus aerial root? Even better.
Choose your propagation method
There is no universal winner-only the method that fits your cutting type, risk tolerance, and patience. The table below is the hub view. Detailed water-vs-soil trade-offs live on the dedicated comparison guide; deliciosa step photos and moss timelines live on the species propagation page.
| Method | Best for | Speed (typical) | Visibility | Rot risk | Transplant stress |
|---|---|---|---|---|---|
| Water | First-time propagators, top cuttings with a leaf | Roots often visible in 2–6 weeks | High | Medium if water stays stale | Higher at pot-up |
| Perlite / airy mix | Single-node cuttings, growers who want pot-ready roots | Similar to water; roots hidden | Low–medium in clear cups | Lower with good drainage | Low |
| Soil / moss | Cuttings you plan to keep in mix long-term | Steady; less exciting to watch | Low | Medium if mix is dense | Low |
| Air layering | Leggy vines, variegated sections, thick stems | Slower setup; high success at separation | Medium (unwrap to check moss) | Low while attached to parent | Very low |
| Division | Multi-stem pots with separate root systems | Fastest establishment | N/A | Low | Minimal |
Water propagation - best for beginners who want visibility
Choose water when you want to see roots form and catch rot early. It suits healthy top cuttings with one or two leaves and a clear node. Iowa State notes that water-formed roots are coarser and less adapted to potting soil, so the handoff to mix can cause temporary wilting-that is normal, not failure (Iowa State Extension). Water is the easiest learning lab; for whether it beats soil for your cutting, read the water vs soil guide next.
Soil and perlite - best for smoother pot transitions
Choose perlite, sphagnum moss, or a chunky aroid mix when you want roots that already match pot life. Idaho Master Gardener guidance describes the ideal rooting medium as sterile, low in fertility, well-draining, and moisture-retentive (Idaho Extension). Perlite in a clear cup gives a middle path: more oxygen than water, less transplant shock than a long water soak.
Air layering - best for valuable or leggy stems
Choose air layering when the section is expensive, variegated, or attached to a large mature vine you do not want to gamble on. Roots form while the stem still receives support from the parent plant, so separation happens only after you have proof of roots. Better Homes & Gardens notes air layering can take longer but often delivers higher success because roots are established before you cut (Better Homes & Gardens).
Division - best when multiple stems share one pot
Division means separating two or more already-rooted stems from one container. UMN Extension lists division alongside cuttings and air layering as valid for Monstera deliciosa (University of Minnesota Extension). It is the fastest route when your pot truly holds independent plants-not when you hope to split one stem without roots.
Before you cut: timing, tools, and parent-plant health
Best timing is spring through summer, when Monstera is actively growing. Iowa State recommends early spring for stem cuttings while noting many houseplants root year-round indoors with adequate light and warmth (Iowa State Extension). Winter propagation works under grow lights and stable warmth, but rooting stays slower and rot windows stay open longer.

Gather before you cut:
- Sharp bypass pruners or a knife, wiped with 70% isopropyl alcohol or dilute bleach
- Clear jar (water), moist perlite or moss (airy mix), or moss plus plastic wrap (air layer)
- Nitrile gloves if sap sensitivity is a concern-Penn State Extension notes calcium oxalate crystals in Monstera can irritate skin (Penn State Extension)
- A warm spot with bright indirect light-Missouri Botanical Garden recommends bright indoor light without strong direct sun (Missouri Botanical Garden)
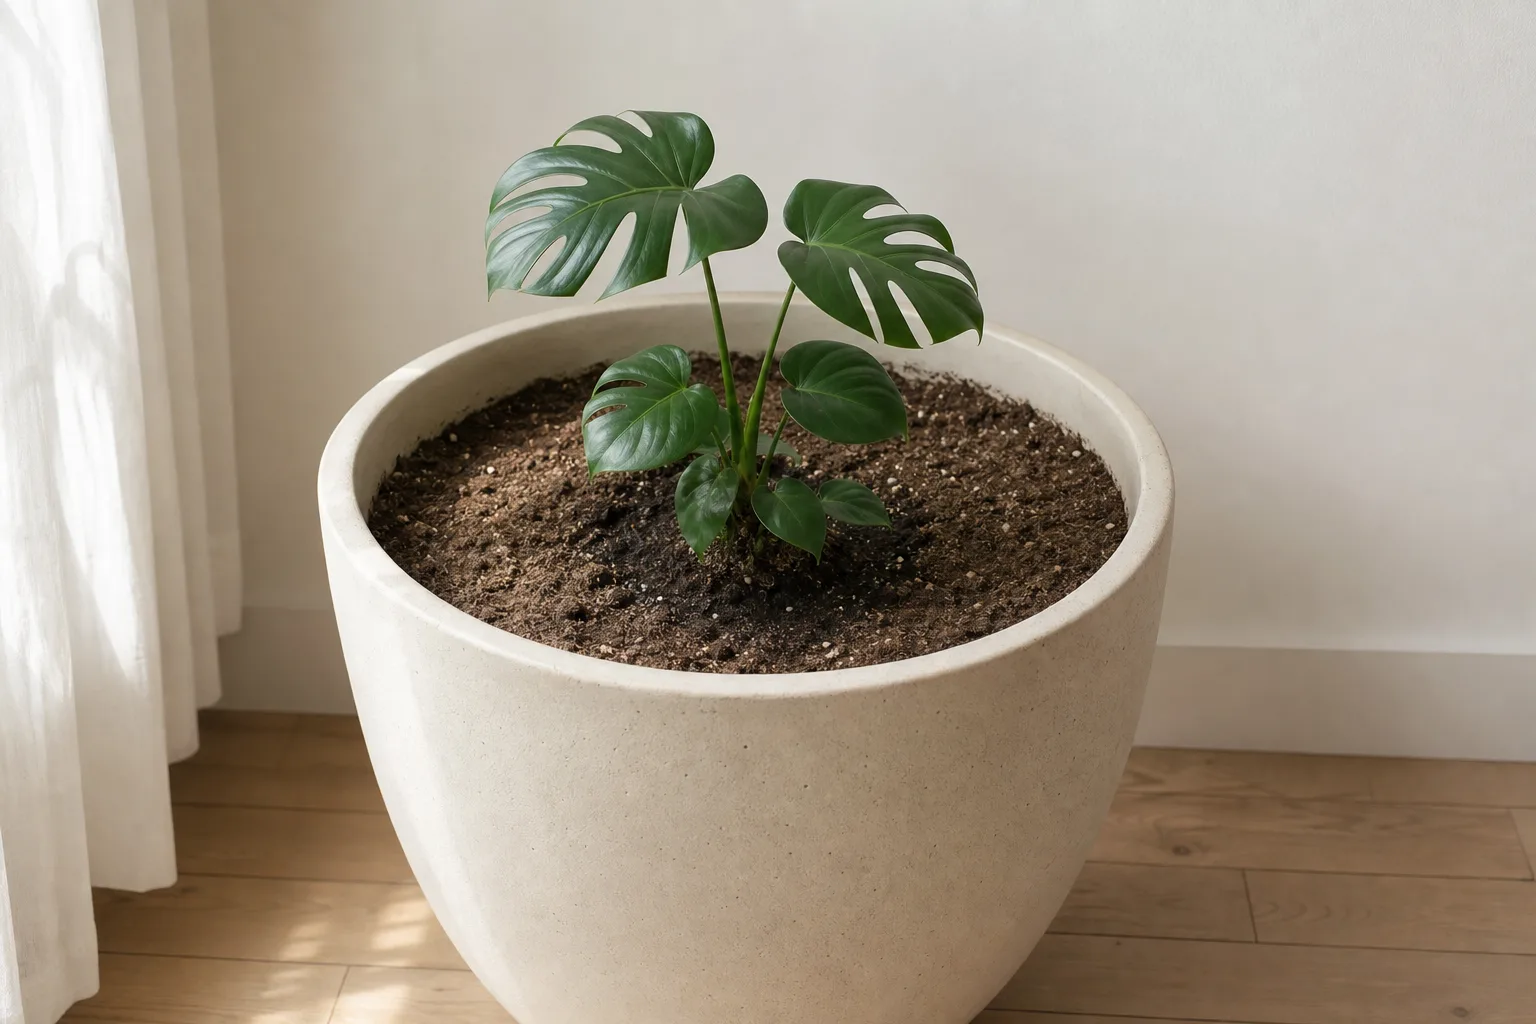
Propagate from healthy, vigorous tissue. Yellowing leaves, active pests, or recent repot stress on the parent plant produce weaker cuttings. Water the parent the day before so tissue is fully hydrated, and never take material from a plant you would not trust to recover from pruning.
Where to cut on the stem
Cut 1 to 2 inches below a node so the node stays on the propagation piece, not the parent stub. UMN and UConn both emphasize below-node placement; the exact inch count matters less than keeping the node and any aerial root on your cutting (University of Minnesota Extension).
For beginners, a top cutting with one or two leaves and a growth tip is the most forgiving. Single-node wet sticks can work but need more humidity control and patience. If you take multiple segments from a leggy vine, orient each piece right-side up-Iowa State warns inverted stem segments fail to root (Iowa State Extension).
Step-by-step: propagate Monstera in water
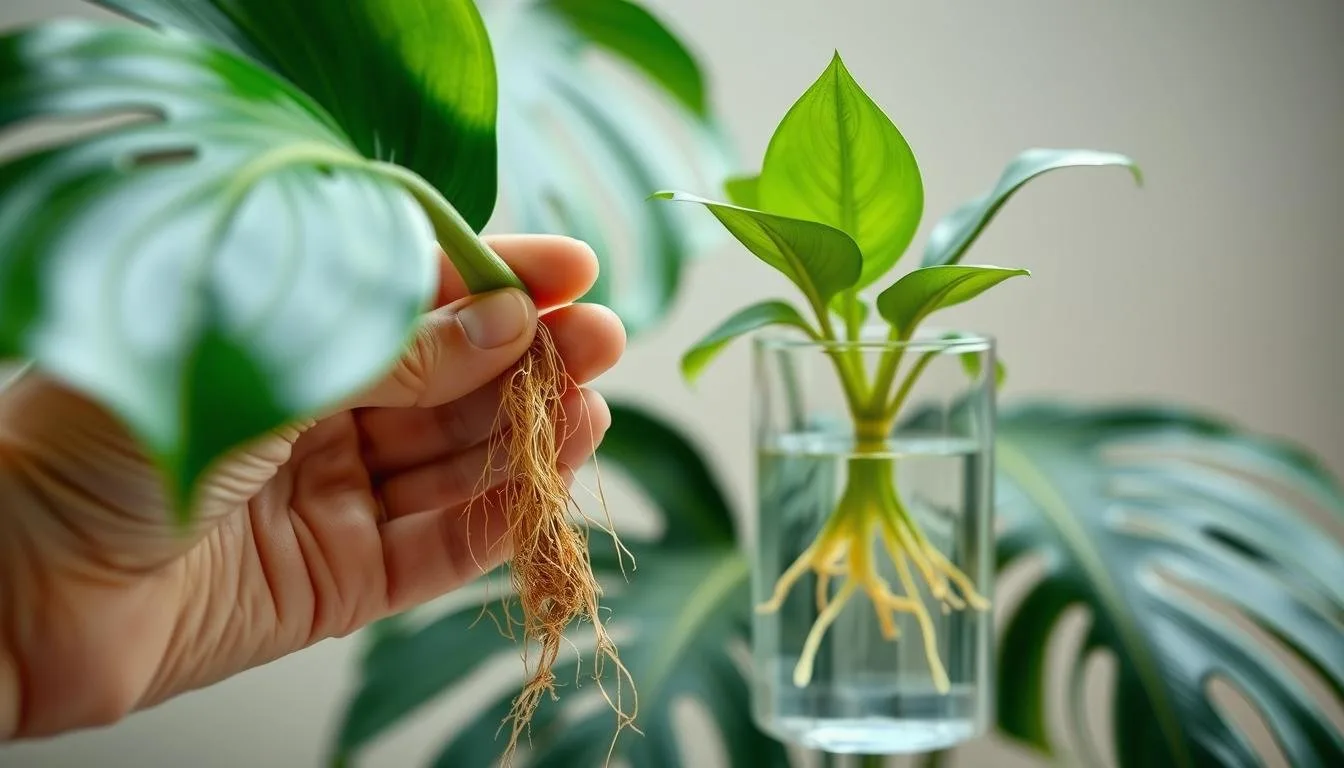
- Select a healthy stem with at least one node and ideally an aerial root. Sterilize your blade.
- Cut cleanly below the node. Remove any leaf that would sit underwater.
- Place the cutting in a clean jar with the node submerged and foliage above the water line.
- Set the jar in bright indirect light at warm room temperature. Change water when cloudy or weekly.
- Transplant when roots are roughly 1 to 3 inches long with firm white tissue-The Spruce suggests about an inch, while the deliciosa propagation hub recommends 2–3 inches with secondary branching for thicker stems. When in doubt, wait until roots look substantial, not just nubs.
- Pot into chunky, well-draining mix, keep evenly moist for the first one to two weeks, and avoid direct sun or heavy fertilizer until new growth stabilizes.
Water propagation is forgiving to learn but demands a clean handoff. If wilting after pot-up worries you, the water vs soil guide explains what normal transplant stress looks like versus rot.
Step-by-step: propagate in perlite or airy mix
- Moisten perlite, coarse sphagnum moss, or a chunky aroid mix before inserting the cutting.
- Take a node-bearing cutting as above. Apply a light dusting of rooting hormone if you have it-Iowa State notes hormone helps but is not mandatory for many houseplants.
- Make a planting hole so you do not scrape hormone off the cut surface (Idaho Extension).
- Bury at least one node; keep leaves above the surface. A clear cup or humidity dome raises moisture around thin cuttings.
- Keep the medium evenly moist, not saturated. Warmth and bright indirect light speed rooting.
- Gently check for roots after several weeks-UMN suggests lifting carefully with a small tool-then pot up when roots hold the medium together.
This path skips the water-to-soil transition that causes many beginners to panic. For deliciosa-specific moss-box photos and timeline tables, continue on the species propagation page.
Step-by-step: air layering on a mature vine
Air layering is the confidence play for long bare stems, variegated sections, or plants too large to sacrifice a blind cutting.
- Choose a healthy node on the stem you want to keep. Optionally score the bark lightly above the node to encourage rooting-do not sever the stem.
- Soak sphagnum moss until damp, not dripping. Wrap a generous handful around the node and any aerial roots.
- Cover the moss with clear plastic wrap and seal top and bottom with twist ties or string, keeping the node enclosed in moist moss.
- Check every 7 to 10 days. Remist moss if it dries. Roots should appear through the moss in several weeks to a few months, depending on warmth and light.
- When roots are dense and white through the plastic, cut below the new root ball with a sterile blade and pot the rooted section in well-draining mix.
- Keep humidity moderate and light bright but indirect while the separated plant adjusts.
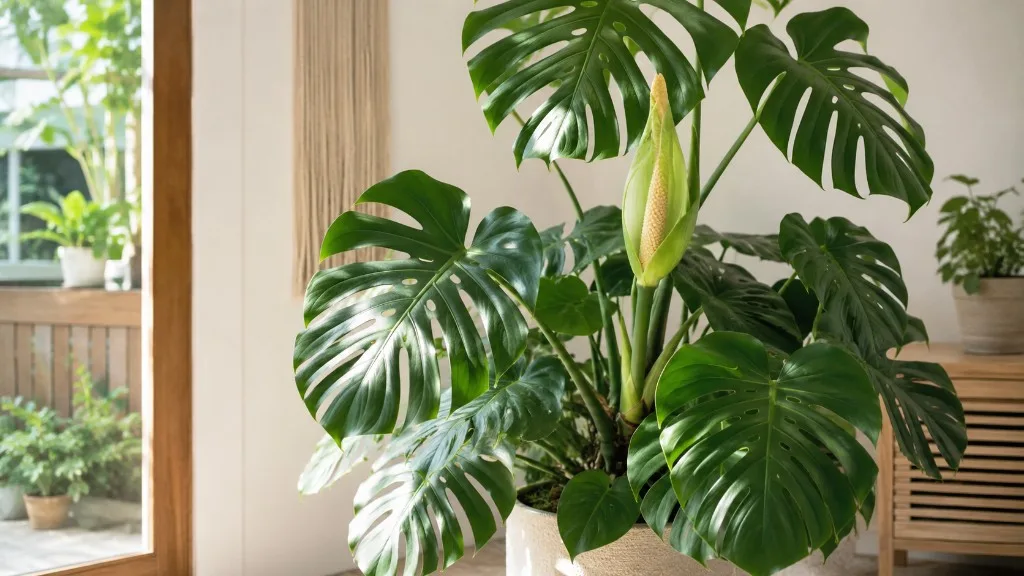
For fenestrated deliciosa stems and sap-safe cutting technique on thick vines, pair these steps with the Monstera deliciosa propagation hub-that page covers moss poles, pot sizing, and cultivar-specific cautions this primer deliberately does not duplicate.
First 30 days: light, humidity, watering, and transplant
The first month decides whether propagation compounds or collapses. Unrooted cuttings have limited water uptake, so your job is reducing leaf stress while roots form (Iowa State Extension). Aim for bright indirect light, stable warmth, and even moisture-not swampy stagnation.
In water, refresh when cloudy. In medium, keep dampness consistent. Large deliciosa leaves lose water fast; trimming oversized leaves on small cuttings can reduce transpiration while roots catch up. Better Homes & Gardens cites one to four months for full establishment depending on conditions (Better Homes & Gardens).
Do not expect fenestrated splits on the first new leaves-juvenile foliage is often smaller and solid until the plant matures and climbs. UMN notes propagated nodes may take two to three months before pushing visible new leaves under good conditions (University of Minnesota Extension). Plan moss pole support once the plant is actively vining again; see Monstera care basics for ongoing support and light needs.
Common propagation problems and fixes
Rot shows as black, mushy stem tissue and foul odor. Fix: trim to healthy tissue if possible, sterilize tools, move to a cleaner airier setup, and reduce excess moisture. Stalled cuttings usually mean weak light, cool temperatures, or an undersized single-node piece-improve conditions before assuming failure. Wilting after water-to-soil transfer is common while roots adapt; keep mix lightly moist and humidity slightly elevated rather than repotting again immediately.
Pests clone with cuttings. UConn flags mealybugs as a persistent indoor pest on Monstera (UConn Home & Garden). Treat the parent before you propagate, or you copy the infestation into every jar and pot.
Special cases: adansonii, variegated plants, and wet sticks
Monstera adansonii follows the same node rule but has thinner stems that dehydrate faster than deliciosa. Give adansonii cuttings higher humidity and avoid letting moss or perlite dry completely. The Spruce’s adansonii profile reinforces standard aroid cutting logic with smaller, faster-climbing growth (The Spruce).
Variegated monsteras carry less photosynthetic tissue in white sections, so rooting can stall. Air layering is often safer: roots first, cut second. Wet sticks-node sections with little or no leaf-can root in very airy moss or perlite but need warmth, patience, and strict moisture control; beginners should start with a leaf-plus-node top cutting instead.
Mistakes that ruin Monstera propagation
The biggest mistake is propagating a leaf without a node. The second is dense, soggy medium or stagnant water with buried leaf tissue. The third is taking cuttings from a stressed parent and expecting propagation to rescue the plant. The fourth is method hopping-switching from water to soil mid-rooting because of impatience. Pick a valid method, set stable conditions, and let biology work.
Pet safety and sap handling
Monstera deliciosa is toxic to cats and dogs because of insoluble calcium oxalates. ASPCA lists oral irritation, drooling, vomiting, and difficulty swallowing among possible signs (ASPCA). Keep cuttings, pruned leaves, and propagation jars out of reach. If a pet ingests plant material, contact your veterinarian or ASPCA Animal Poison Control at (888) 426-4435.
Wear gloves when cutting thick stems if sap irritates your skin-Penn State Extension documents contact dermatitis from calcium oxalate in Monstera sap (Penn State Extension). Wash tools and surfaces after pruning.
Related guides
- Monstera deliciosa propagation hub - deliciosa step-by-step, moss method, timeline tables, fenestration FAQ
- Monstera water vs soil propagation - medium choice deep dive after you pick water or soil
- Monstera care 101 - light, water, and support after pot-up
- Monstera deliciosa plant hub - full species care cluster
- Types of Monstera plants - deliciosa vs adansonii and other common species
Conclusion
Monstera propagation becomes repeatable when you stop debating hacks and start with node-first cut placement, then match the method to your cutting. Use water to learn with visibility, perlite or airy mix for smoother pot transitions, air layering when the stem is valuable or leggy, and division only when separate rooted stems already exist. This guide is the cluster entry point-not a duplicate of the deliciosa propagation hub. When your medium choice is settled, continue with water vs soil propagation or the species page for cultivar-specific depth.