Monstera Soil Mix Recipe and Step-by-Step Guide
Learn how to mix Monstera soil, choose each ingredient, adjust for humid or dry rooms, and test drainage before repotting.
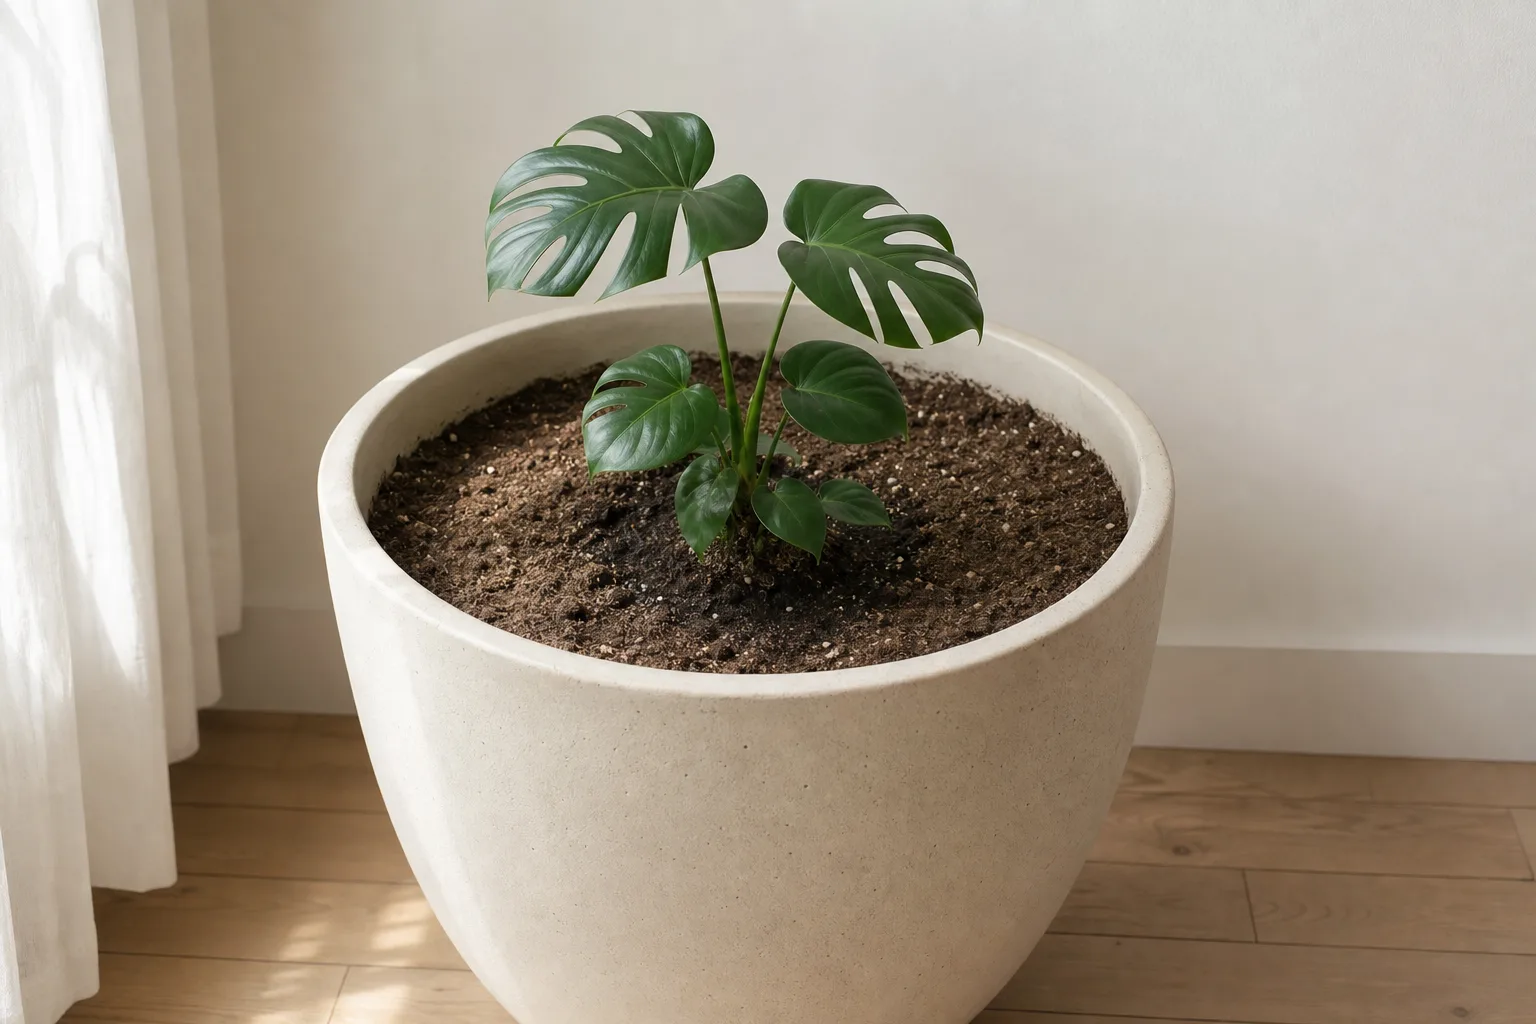
A useful Monstera soil mix is not defined by a fashionable ingredient list. It is a container substrate that holds enough moisture for the roots while leaving pore space for air and allowing excess water to leave the pot. For most indoor plants, the simplest starting blend is six parts quality houseplant potting mix, two parts perlite or pumice, and two parts medium orchid bark.
Treat that 60:20:20 ratio as a starting point, not a law. Your window, pot size, container material, room temperature, and watering habits change how quickly the same mix dries. The goal is to tune the texture until a thoroughly watered pot drains promptly and the root zone dries at a manageable pace.
The quick Monstera soil mix recipe
For one medium batch, combine:
- 6 cups indoor potting mix based on peat or coco coir
- 2 cups medium orchid bark
- 2 cups perlite or pumice
Lightly moisten dusty ingredients, mix them until the bark and mineral particles are distributed evenly, then perform the squeeze and drainage tests described below. Penn State Extension recommends a well-draining, organic-rich soilless medium for Monstera and specifically notes that bark, charcoal, or perlite can be added to a purchased mix. That supports the functions in this recipe, but it does not establish one universal percentage for every home.
If you need a species-level reference covering large pots, pH, moss-pole stability, and long-term soil management, use the deeper Monstera deliciosa soil guide. This guide stays focused on choosing, mixing, testing, and adjusting a practical DIY batch.
What a Monstera soil mix must do
Monstera deliciosa is a climbing tropical plant, not a plant adapted to dense garden soil in a sealed container. NC State Extension lists good drainage and high organic matter among its soil requirements, while Wisconsin Horticulture recommends a rich mix and enough root room for vigorous container growth. Indoors, those requirements translate into four jobs: retain some water, admit air, resist compaction, and release runoff.
The mix cannot do those jobs alone. A pot without a drainage hole, a root ball sitting in runoff, or a plant kept in weak light can stay wet even when the ingredients look chunky. Soil, container, light, and watering technique operate as one system.
Drainage is not the same as drying instantly
“Well-draining” does not mean water should pass through without wetting the root ball. A mix made almost entirely of bark and perlite may drain quickly but force frequent watering, especially in a small terracotta pot near a bright window. A mix made almost entirely of fine peat may stay wet long after the plant has used the available oxygen.
Aim for a middle ground: water should spread through the substrate, wet the organic fraction, and then leave the drainage holes without pooling on the surface for several minutes. After watering, use the Monstera watering guide to decide when the next irrigation is due rather than following a fixed weekday schedule.
Air space matters after the mix settles
A fresh bag of potting mix can look fluffy and still collapse after months of watering. Fine organic particles migrate downward, bark decomposes, and repeated wetting compresses the substrate. That is why the long-term structure matters more than the appearance of a newly mixed batch.
Perlite, pumice, and medium bark create larger pores that persist after watering. Roots still need a moisture-holding base around those particles, but a mix that remains open gives you more tolerance for ordinary variation in watering and season.
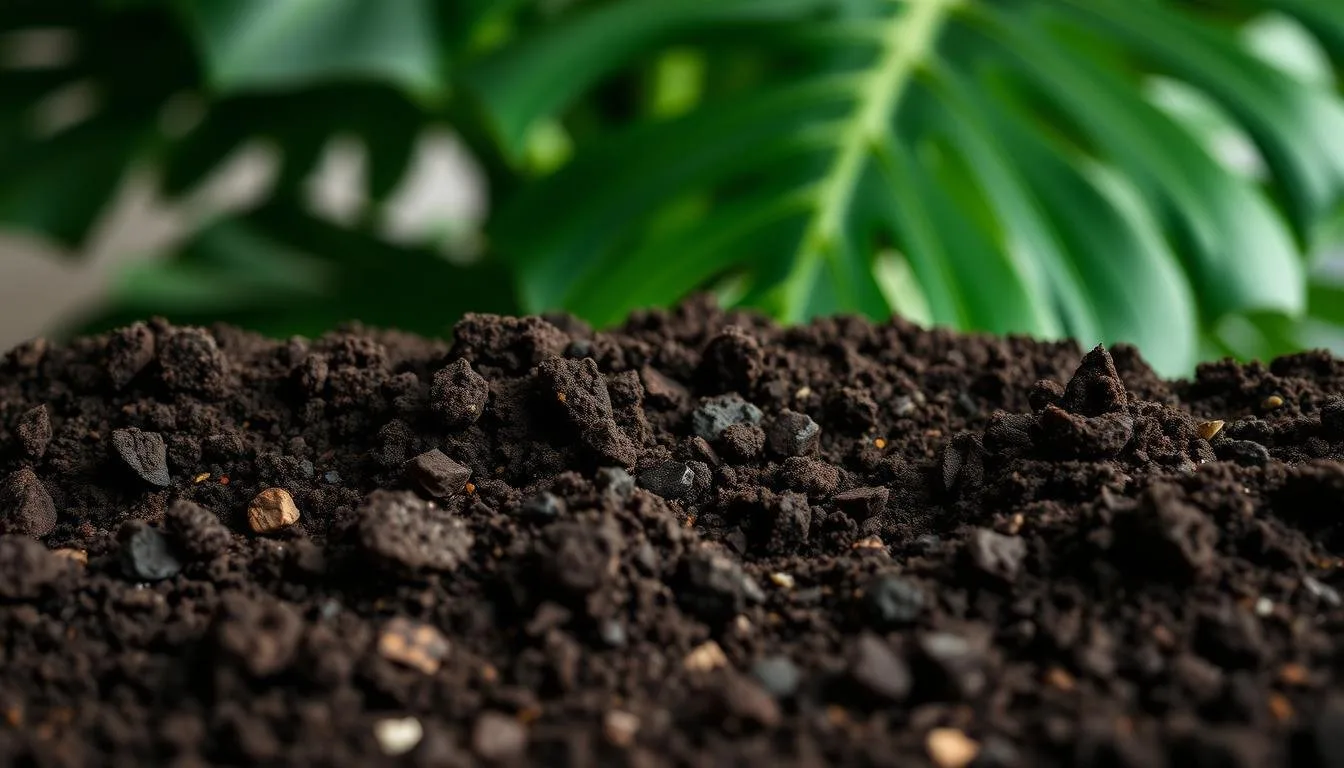
Ingredients and the job of each one
You do not need every amendment sold for “aroid mixes.” Cover three functional roles first: an organic base, a stable mineral aerator, and a coarse structural ingredient. Optional additions should solve a specific problem rather than make the recipe more complicated.
Before mixing, wear a dust mask when handling dry perlite and work where loose particles are easy to clean. Moisten perlite lightly to reduce airborne dust. Keep all potting materials away from children and pets, and wash your hands after handling stored composts or soil products.
Potting mix or coco-based substrate
The base holds water and nutrients between irrigations. A standard indoor potting mix usually contains peat, coco coir, composted bark, or a combination. Choose a product intended for containers rather than garden soil or topsoil, which can become dense inside a pot.
Coco coir can replace part of a peat-heavy base if you prefer its wetting behavior, but it does not remove the need for bark or mineral aeration. The label “coco” does not guarantee drainage; particle size and the full recipe determine the result.
Perlite or pumice
Perlite is light, widely available, and useful for opening a fine potting base. Pumice performs a similar structural role but adds more weight, which can help stabilize a top-heavy Monstera and moss pole. Either material can work; choose based on availability, pot weight, and how often the container is moved.
The University of Minnesota Extension describes perlite as a medium that provides support plus oxygen and moisture to developing Monstera roots. Propagation media are not identical to a mature plant’s potting mix, but the physical role of perlite remains relevant.
Orchid bark
Medium orchid bark adds coarse voids and slows the collapse of a peat- or coir-based mix. Pieces that are extremely large can leave awkward dry gaps in a small pot, while very fine bark behaves more like the base substrate. Medium pieces are the easiest general-purpose choice for common 15–25 cm indoor pots.
Bark decomposes over time. If an older mix has lost its visible chunks, drains slowly, or smells sour even after you correct your watering, the substrate may need replacement rather than another surface layer of perlite.
Optional amendments
Use optional ingredients sparingly and for a defined reason:
- Worm castings: a small amount can add organic nutrition, but too much fine material reduces air space.
- Horticultural charcoal: optional rather than essential; Penn State lists charcoal as a possible addition, not a cure for poor drainage.
- Coco chips: a bark alternative where orchid bark is unavailable, provided the pieces are clean and appropriately sized.
- Pine bark fines: useful in a base blend, but not equivalent to coarse orchid bark when you need larger pores.
Avoid putting gravel in the bottom of a pot as a substitute for drainage. Penn State Extension’s review of container drainage myths explains why a coarse layer under finer media does not improve drainage in the way many growers expect. Use a drainage hole and an appropriate mix throughout the root zone.
Three adjustable recipes
Measure by volume, not by weight. Bark, perlite, and potting mix have very different densities, so a kitchen scale can produce misleading proportions. A scoop, cup, or small nursery pot works as long as you use the same measure for every component.
The three recipes below deliberately overlap. They are starting profiles for different conditions, followed by observation and adjustment over two watering cycles.
Standard indoor recipe
Use 60% potting mix, 20% perlite or pumice, and 20% orchid bark for a Monstera in moderate-to-bright indirect light, a pot with drainage, and an average indoor environment. This profile retains enough moisture to avoid daily watering while remaining visibly coarse.
For a 10-cup batch, that is six cups base, two cups mineral aerator, and two cups bark. If the finished handful stays compressed as a firm ball, add another half-cup of bark or perlite and test again.
Humid-room or overwatering recipe
Use 50% potting mix, 25% perlite or pumice, and 25% orchid bark when a pot routinely remains wet for a long time, the room is humid, the plant receives less light in winter, or you tend to water early. This is also a reasonable trial for large, deep plastic pots that dry slowly.
Do not use a chunkier recipe to justify watering more often. Check moisture at mid-depth and empty the cachepot after every soak. If roots already smell foul or feel mushy, follow the Monstera root-rot guide rather than assuming a new mix alone will reverse damaged tissue.
Dry-room recipe
Use 70% potting mix, 15% perlite or pumice, and 15% orchid bark for a small terracotta pot in strong filtered light or a warm, dry room where the root ball becomes dry too quickly. The extra base extends moisture availability without removing all coarse structure.
Before changing the recipe, confirm that the pot is genuinely drying through the root zone. Water running down a gap between a shrunken root ball and the pot wall can make the container appear to drain fast while the center remains dry. Rehydrate a water-repellent root ball slowly, then reassess.
How to mix Monstera soil step by step
- Inspect every ingredient. Do not use a bag that smells rotten, contains visible mold growth, or has been contaminated outdoors.
- Choose one measuring scoop. Calculate the batch from the pot volume, with extra mix available for settling around the roots.
- Lightly dampen the base and perlite. The ingredients should be barely moist, not wet or muddy.
- Combine the base and mineral aerator. Fold until no dense pockets of plain potting mix remain.
- Add bark last. Distribute chunks through the full batch instead of leaving them on top.
- Run the squeeze test. Compress a handful and release it. The mass may hold briefly but should break apart with a light touch.
- Run a trial drainage test. Fill a spare nursery pot, water thoroughly, and observe how the surface and drainage holes behave.
- Adjust in small increments. Add half a part of bark or perlite if the sample stays dense; add half a part of base if it dries almost immediately.
When the mix passes those checks, repot into a container only modestly larger than the root ball. The dedicated Monstera repotting guide covers root inspection, support placement, and post-repot care in more depth.
Test the mix before repotting
The squeeze test is a useful screening tool, not proof of future performance. A mix can crumble in your palm and still behave poorly in a deep pot. Follow it with a small container test before committing a large, established plant.

Fill a drainage pot with the mixture without packing it down. Water slowly across the surface. The water should enter rather than sit as a long-lived puddle, and runoff should emerge from the drainage holes. Let the sample stand in the same room as the plant and check its weight and moisture over several days.
Record how long it takes the upper layer and center to shift from wet to lightly moist. There is no universal correct number because light, temperature, pot volume, and root uptake differ. What matters is that the profile changes steadily rather than remaining saturated or becoming bone-dry before you can water again.
Match the mix to the pot and room
A large plastic pot holds moisture longer than a small terracotta pot containing the same recipe. A plant beside a bright east window usually uses water faster than one several metres into a dim room. Winter growth can slow while the old watering habit continues, turning a workable summer mix into a slow, wet system.
Change the biggest mismatch first. If the container has no drainage hole, correct the pot. If light is very low, improve placement using the Monstera light guide. If the pot is much larger than the root ball, downsize during the next appropriate repot. Do not keep adding amendments while leaving the main constraint untouched.
Moss poles add another variable: water applied to the pole can drain into the pot. Secure the support during repotting and account for that extra moisture. The guide to building and using a moss pole helps with support construction without duplicating the soil process here.
Diagnose a mix that is not working
Look for patterns across the pot, roots, and leaves rather than diagnosing from one symptom:
| Observation | Likely soil or setup issue | Next check |
|---|---|---|
| Surface puddles and water enters slowly | Compacted or overly fine mix | Squeeze a mid-depth sample; inspect drainage holes |
| Pot stays heavy while lower leaves yellow | Slow dry-down, oversized pot, low light, or damaged roots | Check root smell and firmness; review pot size and light |
| Water exits immediately but center remains dry | Hydrophobic root ball or side channeling | Insert a wooden skewer; rehydrate slowly |
| Mix dries throughout in one or two days | Too much coarse material, small pot, heat, or strong light | Add base at next repot; verify root-bound status |
| Sour smell or mushy roots | Oxygen-poor conditions and possible rot | Stop routine watering and inspect roots |
Yellow leaves alone do not prove overwatering, and brown tips alone do not prove dry soil. Use the Monstera problems hub to compare lookalike causes after you check the substrate.
When to refresh soil or fully repot
Refresh the entire root-zone mix when it has collapsed, drains unpredictably, smells sour, or remains wet despite appropriate light and watering. Also repot when roots circle densely, emerge from drainage holes, or lift the root ball out of the container. Wisconsin Horticulture notes that container-grown Monstera may need frequent repotting to accommodate vigorous roots.
Top-dressing can replace lost surface material, but it cannot repair a compacted lower root zone. If the plant is extremely large and healthy, partial replacement may be the least disruptive option; if drainage has failed or roots are diseased, full inspection is more useful. Avoid automatically moving up several pot sizes. Extra substrate around a small root ball extends wet time without providing an immediate benefit.
After repotting, water to settle the mix and let all runoff escape. Then wait for the substrate to approach the normal moisture threshold before watering again. Do not add fertilizer simply because repotting caused temporary droop; disturbed roots need stable moisture and light more than extra salts.
Related Monstera guides
- Monstera deliciosa overview - the main care hub and starting point for the full plant cluster.
- Monstera soil guide - deeper soil physics, large-pot ratios, pH, and moss-pole considerations.
- Monstera watering guide - how to decide when the adjusted mix is ready for water.
- Monstera repotting guide - container sizing, root inspection, and support placement.
- Monstera root-rot guide - what to do when the issue has progressed beyond slow drainage.
Conclusion
Start with 60% indoor potting mix, 20% perlite or pumice, and 20% orchid bark, then adjust from evidence in your own pot. A mix that drains promptly, stays open after settling, and dries at a manageable rate is more useful than any recipe copied without context.
Test a small batch, correct the pot and light before chasing more amendments, and observe two watering cycles after repotting. Those checks turn a Monstera soil mix from an ingredient list into a root environment you can manage.