Norfolk Island Pine Pruning: When, How, and Mistakes
Norfolk Island Pine Pruning: When, How, and Mistakes to Avoid
Norfolk Island Pine Pruning: When, How, and Mistakes to Avoid
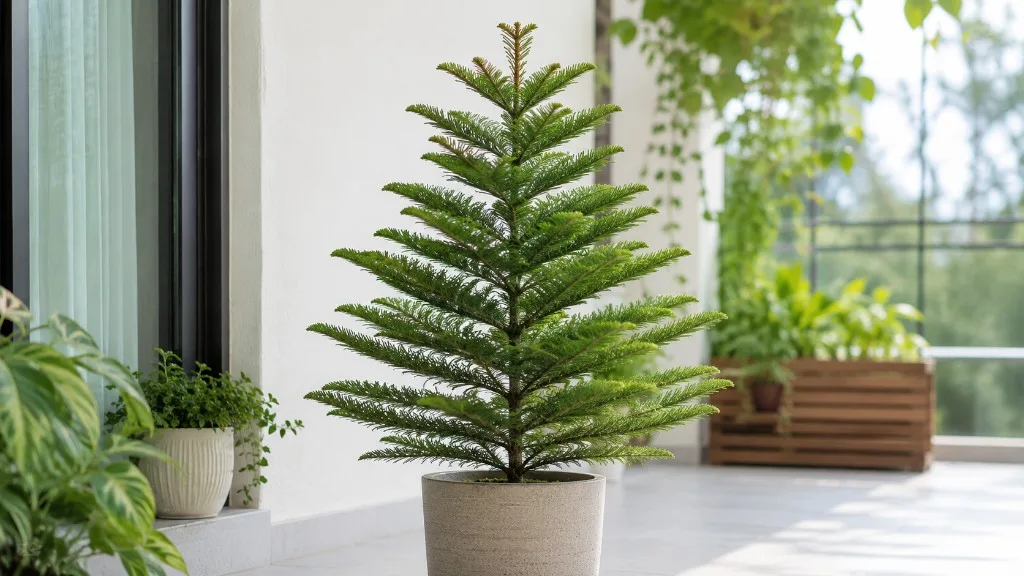
Norfolk Island Pine pruning on Araucaria heterophylla is almost always deadwood cleanup, not shaping. This upright indoor conifer grows from a single terminal leader on each stem and forms symmetrical whorls of side branches. Unlike ficus, dracaena, or pothos, it does not sprout new branches from random trunk cuts - a live cut leaves a permanent gap. Missouri Botanical Garden notes the species reaches tree size in nature but is widely grown in containers indoors, where lower branch loss from dry air and uneven light is common.
First action: scan from the base upward and identify branches that are fully brown, dry, and brittle. Remove only those at their junction with the trunk. Do not cut the top, do not shear live green branches for width, and do not strip partially yellow tiers until you confirm they are dead.
How Norfolk Island Pine Grows (and Why That Limits Pruning)
Understanding growth habit prevents irreversible cuts. Norfolk Island Pine is monopodial - one dominant vertical stem with a terminal bud driving upward growth. Side branches emerge in whorled tiers at set intervals. NC State Extension describes Araucaria heterophylla as a symmetrical conifer commonly used as a houseplant; that symmetry depends on an intact leader and undamaged whorls.
The Central Leader and Whorled Tiers
The terminal bud at the top of the tree is the only growing point for height on that stem. Hormones from this bud suppress random branching along the trunk. Each whorl holds a ring of horizontal branches; when one dies, the tier above and below remain, but nothing fills the empty slot from a trunk cut.
What Happens When You Cut Live Wood
Cutting a live side branch back to bare stem does not trigger new needles or replacement shoots from that point. New York Botanical Garden Plant Information Service warns that cutting off the top stops growth from that point; maintaining symmetry afterward would require repeated graduated trimming of lateral branches, and most growers dislike the result. Topping destroys the delicate pyramid form permanently.
What to Inspect Before You Cut
Work through this checklist before opening pruners:
- Color and texture: Dead branches are uniformly brown, stiff, and snap easily. Green-flexible tissue is still alive.
- Branch base: Trace each dead branch to where it meets the trunk or a larger whorl member.
- Terminal bud: Confirm the top growing point is intact, green, and undamaged.
- Pattern of loss: One or two brown lower branches on an older indoor tree may be normal senescence. Many tiers yellowing at once suggests watering swings, low humidity, root stress, or poor light - fix culture before aggressive cutting.
- Trunk health: Scratch a small patch of bark on the main stem. Firm green cambium under the surface means the tree is still viable even if lower whorls look rough.
Pruning removes what is already lost. It does not replace bright light, even moisture, or adequate humidity.
When to Prune Norfolk Island Pine
Anytime: Fully dead, brittle branches - they will not green up.
Late spring through summer: Best window for catching up on accumulated dead lower tiers after dry winter indoor air, or trimming a clearly broken tip on an otherwise dead side branch.
Avoid: Topping the leader; shearing live branches for shape; removing many live green tiers in winter when growth is slow.
There is no required annual pruning schedule. Many healthy specimens need only occasional deadwood removal.
Tools and Sanitation
Use sharp bypass pruners or snips for small branches up to pencil thickness. Larger dead wood may need loppers. Wipe blades with 70% isopropyl alcohol between cuts when removing many branches or when disease is suspected, per Iowa State University Extension guidance on sanitizing pruning shears.
Wear gloves if handling many fallen needles. ASPCA lists Norfolk Island Pine as toxic to cats and dogs if ingested - bag and discard trimmings where pets cannot reach them.
Where to Cut - and Where You Must Not
Cut placement matters more on Norfolk Island Pine overview than on most houseplants because bad cuts never heal with new growth.
Dead Branch Removal at the Trunk
Cut dead branches at the branch collar - the slightly swollen junction where the branch meets the trunk. Make one clean cut just outside the collar without gouging into live bark on the trunk. Do not leave a long stub, and do not cut flush into the trunk so deeply that you damage the cambium ring.
If a side branch is dead only at the tip but the base still shows green when scratched, leave it unless the entire branch is clearly declining. Partial green tissue still photosynthesizes.
Never Touch the Terminal Leader
Do not cut the central leader - the topmost vertical growing point. Removing it ends primary upward growth on that stem and ruins the natural Christmas-tree silhouette. Height control means choosing a smaller specimen, improving placement, or accepting mature size - not topping.
Do not hedge-trim live side branches to reduce width. Flat cuts across green whorls create bare gaps that persist for the life of the plant.
Step-by-Step Dead Branch Removal
- Inspect from base to crown. Mark only branches that are fully brown and brittle.
- Sterilize pruners if you removed diseased material previously or are cleaning many tiers.
- Cut at the collar in one smooth motion. Support the branch with your free hand so bark does not tear downward.
- Collect needles and debris immediately - dry fallen needles attract dust and pests in carpeted rooms.
- Assess remaining structure. Note whether loss is isolated or spreading up the trunk week by week.
- Improve conditions if lower branches keep dying: brighter indirect light with some morning sun, 50–60% humidity, and consistent moisture without soggy roots. University of Wisconsin-Madison Extension emphasizes bright light and even watering for indoor success.
Do not apply wound paint. Allow cuts to air-dry naturally.
Yellow or Partially Brown Branches
Yellowing on a still-flexible branch is often stress, not a pruning cue. Lower whorls on long-held indoor trees gradually senesce as the crown grows taller - a few brown lower branches on an otherwise healthy top can be normal.
Remove a branch only when it is fully brown and dead along its length, or when the connection to the trunk is dry and cracked. If the branch is mostly green with brown tips, address humidity and watering first; tip browning alone does not require branch removal.
When many branches yellow simultaneously, pause pruning and check for overwatering, root rot on Norfolk Island Pine, drafts from heating vents, or a plant pushed into a dark corner after the holidays.
Can Pruning Make It Bushier or Shorter?
No - not in the way pruning works on leafy houseplants. Norfolk Island Pine does not backbud along the trunk. Bushiness comes from a young plant with an intact leader, even light on all sides, and stable humidity - not from shearing.
You cannot shorten the tree by cutting the top. NYBG Plant Information Service explains that pruning is not a good solution when the plant outgrows its space; the natural shape is the main appeal, and topping stops vertical growth from that point.
Rotate the pot a quarter turn every few weeks for symmetrical tier development instead of trying to trim your way to fullness.
How Much You Can Safely Remove
Remove all fully dead branches - they serve no function and harbor dust.
For live green tissue, the safe amount is essentially zero except minor correction of a clearly broken tip on a side branch that is already dying back. Never remove the central leader. Never strip multiple live lower whorls to expose a “trunk” - those branches still feed the tree.
If more than one whorl of live branches yellows in a month, treat it as a culture problem, not a pruning project.
After Pruning - Recovery and Prevention
Deadwood removal gives immediate cosmetic improvement, but gaps do not fill in. Recovery means the remaining leader and whorls stay green and produce new growth at the top each season.
Recovery Timeline
Immediately: Cleaner silhouette once dead tiers are gone.
Weeks to months: Watch whether branch loss stops at the lowest removed tier or continues upward. Continued dieback signals unresolved stress.
Seasonally: New whorl development appears at the leader when light and moisture are stable - often most visible from spring through summer indoors.
Signs Pruning Worked vs. Went Too Far
Pruning worked: Dead material is gone, the leader stays green, no further whorls brown out, and new soft growth appears at the top during active months.
Pruning went too far or was mis-timed: Live green branches were removed and bare trunk sections remain permanently; the leader was damaged and growth stalls or becomes lopsided; yellowing spreads after live cuts.
Prevention beats repeated cleanup. Target Norfolk Island Pine light guide for several hours daily, 50–60% humidity, even watering when the top 2–3 cm of mix dries, and monthly rotation. Keep the plant away from hot dry vents - the same conditions that cause lower branch drop in the first place.
Mistakes to Avoid
- Topping to control height - permanently ends upright growth and ruins symmetry.
- Shearing live side branches - creates bare tiers that never regrow.
- Removing green lower branches for aesthetics - weakens a plant already struggling for light.
- Pruning and Norfolk Island Pine repotting guide the same week - stacks stress when roots and canopy are both disturbed.
- Displaying far from windows then trimming repeatedly - scissors cannot replace photons.
- Expecting cuttings from pruned branches to root easily - terminal stem cuttings are difficult and not a routine byproduct of deadwood cleanup.
Bottom Line
Norfolk Island Pine pruning means removing dead lower branches at the trunk while protecting the central leader. Shape, fullness, and height come from light, humidity, youth, and an intact terminal bud - not hedge cuts. When in doubt, cut less, inspect the leader first, and fix the growing conditions that caused the brown tiers.
When to use this page vs other Norfolk Island Pine guides
- Norfolk Island Pine overview - Start here for whole-plant context before deep-diving this topic.
- Norfolk Island Pine problems hub - Jump to symptom-specific fix guides when this care topic does not resolve the issue.
- Leggy Growth on Norfolk Island Pine - Escalate here when pruning adjustments are not enough.
- Brown Tips on Norfolk Island Pine - Escalate here when pruning adjustments are not enough.