How to Prune Calathea Roseopicta: When, Where & What to Cut
How to Prune Calathea Roseopicta: When, Where & What to Cut
How to Prune Calathea Roseopicta: When, Where & What to Cut
Quick Answer
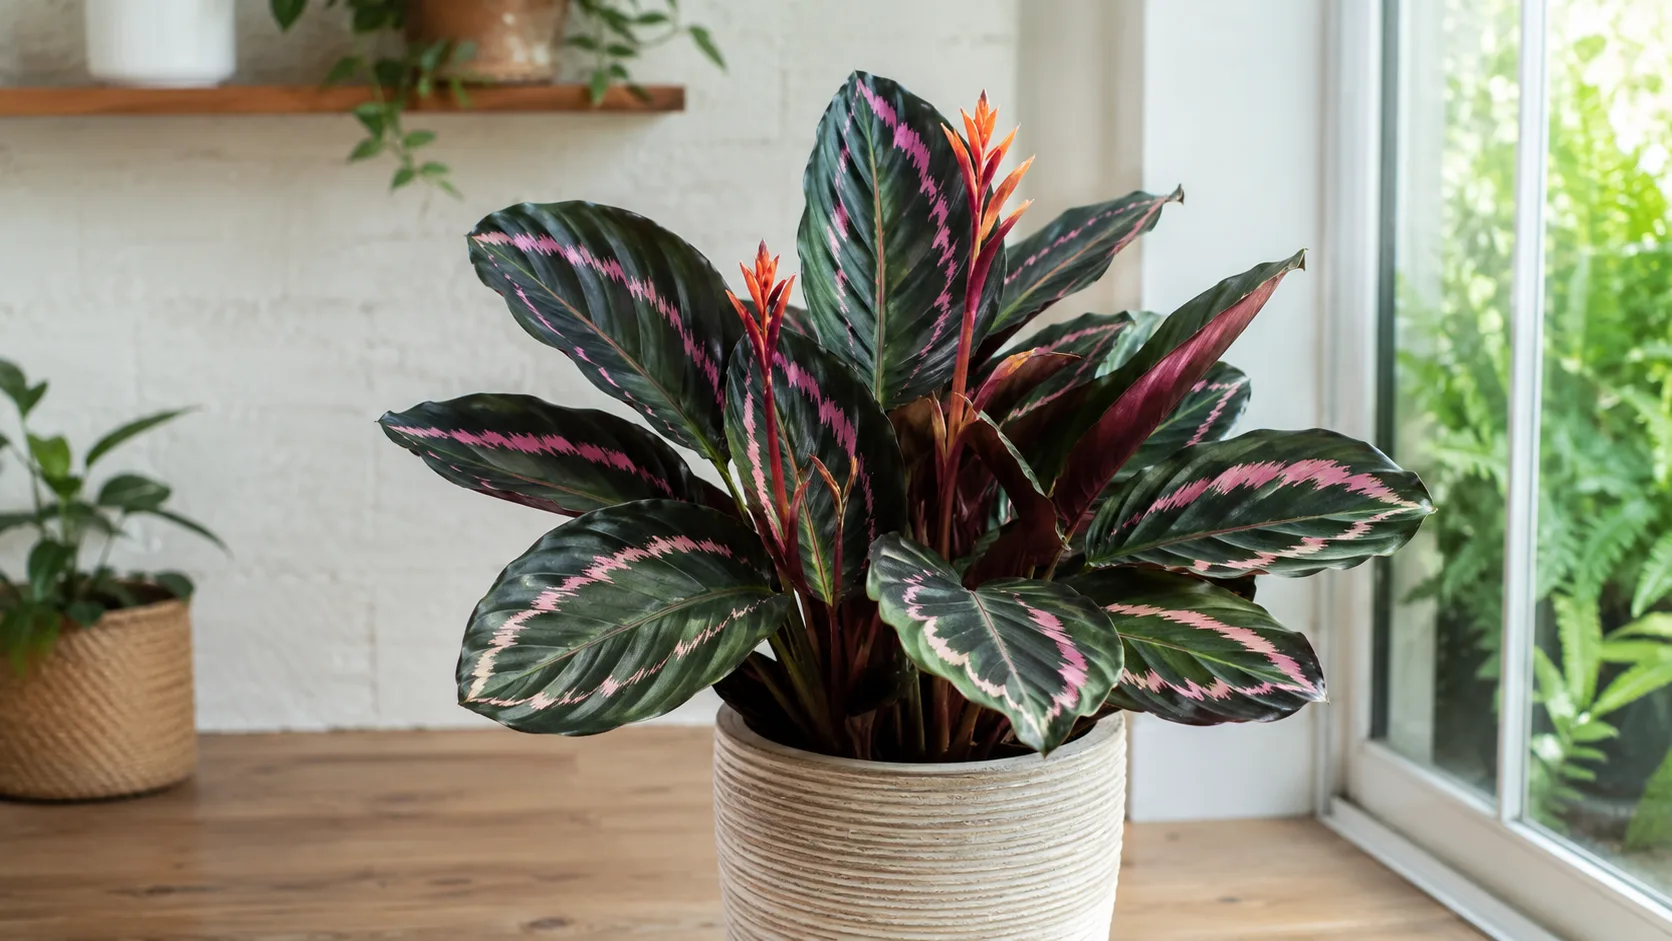
First, remove only fully dead, rotting, or heavily pest-damaged leaves - cut each petiole flush at the rhizome crown where it emerges from the soil line. Calathea Roseopicta (Goeppertia roseopicta) is a pattern-first foliage plant: rounded leaves with pink, cream, and green painted bands that do not regrow from mid-blade cuts. Pruning here means crown hygiene and occasional spring division, not vine pinching or cane topping. Missouri Botanical Garden and NC State Extension describe the species as a rhizomatous tropical grown for ornamental foliage in warm, humid conditions.
After dead-leaf removal, decide whether any partly green leaves are worth keeping. Minor dry edges may be trimmed cosmetically; widespread crisping on the colored panels means remove the whole leaf and fix filtered water, 60%+ humidity, and even moisture - scissors cannot repaint a faded band.
What Pruning Does for Roseopicta
Roseopicta is grown for painted leaf markings, not flowers or branching structure. Pruning serves three practical jobs:
- Sanitation - Remove tissue that cannot recover and may harbor spider mites or fungal spores in the humid crown Calathea Roseopicta overview needs
- Visibility - Clear damaged outer leaves so you can inspect new rolled spears and catch care problems early
- Clump management - Reduce overcrowding through rhizome division in spring, not repeated defoliation
Pruning does not restore faded pink or cream pattern on existing leaves, increase humidity, or remove fluoride from tap water. If new spears open dull or edges crisp on every fresh leaf, the growing conditions - not more cutting - need correction. Clemson HGIC notes that calatheas indoors require consistent moisture and warm, humid air; pruning is a cleanup step after culture stabilizes.
Roseopicta is less forgiving of visible trim damage than some prayer plants because one crisp pink band makes the whole pot look tired. That is why whole-leaf removal often beats chasing brown edges across every painted blade.
What to Check Before Cutting
Walk the plant in this order before reaching for scissors:
Newest rolled spears at the crown center. Firm, colorful emerging leaves mean recent care is working. Stuck, torn, or pale spears signal humidity or water stress during formation - fix that before stripping older leaves.
Undersides of patterned blades. Fine pale stippling suggests spider mites; cottony clusters point to mealybugs. Prune only after you decide whether pest treatment is needed alongside removal.
Moisture and light context. Repeated brown margins on multiple leaves usually trace to tap-water minerals, dry air, uneven watering, or direct sun bleaching the colored panels - not a need to bare the crown.
Rhizome firmness. After removing a yellow leaf, check the crown surface. Firm cream or white tissue is healthy; mush or sour odor means inspect roots before removing more foliage.
When to Prune Calathea Roseopicta
Dead and damaged leaves - anytime
Fully brown, collapsed, soft, or rotting leaves come off whenever you find them. Lower-leaf yellowing on an otherwise healthy clump is normal senescence - one basal yellow leaf every few months is not an emergency.
Planned cleanup and division - spring
Remove multiple stressed but still attached leaves, perform major crown cleanup, or divide the rhizome during late spring through early summer when warmth, humidity, and active unfurling align. RHS recommends dividing overcrowded calatheas at Calathea Roseopicta repotting guide in spring and snipping faded brown leaves for appearance.
Cosmetic brown-edge trimming can happen any time, but pause if many leaves brown simultaneously - that pattern suggests systemic stress, not a trimming schedule problem.
When not to prune
Avoid heavy live-leaf removal in autumn and winter when indoor heating drops humidity and remaining leaves crisp faster after any insult. Do not prune on the same day you repot, move homes, or correct a watering crisis - Roseopicta stacks stress visibly through leaf curl and drop. Skip aggressive trimming during active root rot on Calathea Roseopicta; yellow leaves return weekly until moisture is corrected.
The First Cut to Make
Remove one clearly dead leaf at the petiole base with a clean, sharp cut. Trace the stem to where it meets the rhizome crown at or just above soil level and snip in one motion without leaving a wet stub.
If the leaf releases with almost no resistance and the tissue is fully desiccated, you may pull it gently while supporting neighboring petioles - stop if you feel twisting force on healthy stems. This single sanitary cut clears the worst tissue without shocking a plant that stores limited reserves in its rhizome.
Only after that first removal should you assess whether additional green or partly green leaves need cosmetic edge work or whole-leaf removal.
Tools and Sterilization
Use sharp fine scissors or snips for petioles and edge trimming. Roseopicta petioles are soft but fibrous; dull blades crush tissue and leave ragged wounds that brown at the base.
Wipe blades with 70% isopropyl alcohol before starting and between cuts on spotted or mushy tissue to limit disease spread among houseplants sharing the same space.
ASPCA lists calathea as non-toxic to cats and dogs. Still wash hands after handling many cut leaves and dispose of trimmings if pets chew plants.
Where to Cut Roseopicta Leaves
Whole-leaf removal at the petiole base
For any leaf past recovery - mostly brown, widely crisped colored panels, advancing soft spots, or heavy pest damage - follow the petiole to the crown and cut flush at the rhizome. Do not shorten the petiole halfway or cut through the leaf blade expecting regrowth.
New leaves emerge from the central rhizome crown, not from nodes along a vine. A mid-petiole stub stays visible and may rot in a humid rosette.
Cosmetic edge trimming on painted blades
For minor dry tips or edges on an otherwise firm green leaf, snip only the dead tissue following the natural leaf contour. Leave a 1–2 mm margin of brown to avoid opening a fresh wound across green painted cells.
Roseopicta shows every trim line on its patterned surface - a staircase of edge cuts across pink and cream bands often looks worse than one clean whole-leaf removal. When more than one-fifth of the blade is damaged, or brown keeps advancing after you trim, remove the entire leaf at the base.
What not to cut
Never cut through the center of a healthy leaf, shorten active central spears unless clearly rotted, or shear the clump for shape like a hedge. Roseopicta does not branch from stem cuts; fullness comes from healthy crown growth and division, not tip pinching.
How to Prune Calathea Roseopicta Step by Step
- Inspect the crown center for stuck spears and leaf undersides for mites or mealies
- Remove dead leaves first - petiole cut flush at the rhizome crown
- Evaluate partly damaged leaves - keep if most painted panels are firm; remove whole leaf if colored bands are mostly crisped
- Trim minor edges only where the pattern still reads cleanly afterward
- Cap live-leaf removal at about one-third of foliage per session during active growth
- Stabilize culture - filtered or rainwater, 60%+ humidity, medium to Calathea Roseopicta light guide, and even moisture without waterlogging
Do not water heavily into folded new growth immediately after trimming nearby leaves - trapped moisture can mark pale panels.
How Much You Can Safely Remove
Remove all dead or rotting leaves immediately - they help no one and may invite decay in the crown.
For green or partly green foliage, limit removal to about one-third per session during active growth. Roseopicta needs leaf area to tolerate humidity swings; aggressive defoliation after stress often triggers more edge damage on the leaves you kept.
If half the plant has yellowed after overwatering on Calathea Roseopicta, correct drainage and let soil dry appropriately before removing more than a few leaves at a time. The pattern of decline matters more than the count of scissors cuts.
Division - When the Clump Needs More Than Leaf Removal
When the pot is overcrowded, outer leaves chronically fail despite good care, or you want multiple plants, division beats endless leaf stripping. RHS advises dividing the clump in spring, cutting the rootball into sections each with several leaves, and keeping divisions warm, humid, and moist until growth resumes.
At spring repotting:
- Water the day before and gently unpot the clump
- Identify natural rhizome sections with healthy roots and at least two to three leaves each
- Separate with a sterilized knife if roots resist gentle teasing
- Repot in moisture-retentive, well-draining mix at the same depth as before
- Place divisions in warm, humid, filtered light with evenly moist - not soggy - soil
Roseopicta divisions wilt dramatically in dry air. A humidifier or clear humidity tent for the first two to three weeks prevents collapse while roots settle.
Aftercare and Recovery
Maintain 60%+ humidity, filtered or rainwater, and medium to bright indirect light - no direct sun on cut surfaces or unfurling spears. Water when the top 2 cm of soil begins to dry; reduce frequency slightly if you removed many leaves and transpiration dropped.
Hold fertilizer briefly after substantial cleanup, then resume quarter-strength liquid feed during spring and summer active growth. Do not feed a stressed or recently divided plant until new growth appears stable.
Recovery timeline
A single dead-leaf removal shows immediate visual improvement. Expect new rolled spears in four to eight weeks during active season if humidity and water quality hold. Off-season pruning produces little visible progress until spring - maintain culture instead of repeated cuts.
Signs pruning worked
The crown looks cleaner, decline stops spreading, and new spears open with sharper pink or cream contrast once light and moisture stabilize. Stable firm petioles at the base and no new yellowing on lower leaves within a few weeks are positive signals.
Signs pruning was too aggressive or badly timed: widespread curl on remaining leaves, advancing crisp edges within days, stalled central spears for more than a month during warm weather, or repeated yellowing that outpaces your removal rate.
Mistakes to Avoid
Stripping green leaves to fix faded pattern. Light and filtered water fix color on new growth; scissors only remove evidence.
Visible edge trimming on every leaf. Trim traces remain forever on painted foliage and often look worse than the original brown margin.
Pruning during drought or rot stress. Crisping accelerates on survivors; yellow leaves return until the root environment is corrected.
Cutting petioles mid-stem. Permanent stubs with no regrowth.
Expecting bushiness from leaf cuts. Roseopicta fills from crown growth and division, not lateral branching.
Overwatering after heavy removal. Fewer leaves use less water; soggy mix after cleanup invites rhizome rot.
Pruning without fixing tap water. Brown edges on new leaves after every trim session mean dissolved minerals, not a need for more scissors.
Conclusion
Calathea Roseopicta pruning is crown hygiene and honest cosmetic trimming on painted foliage - remove failing leaves at the rhizome base, trim edges only when damage is minor and the pattern still reads well, and divide in spring when the clump - not individual blades - needs rejuvenation. Treat scissors as a cleanup tool once filtered water, steady humidity, and indirect light are in place, so the next rose-painted leaf opens clean instead of crisscrossed with trim marks.
When to use this page vs other Calathea Roseopicta guides
- Calathea Roseopicta overview - Start here for whole-plant context before deep-diving this topic.
- Calathea Roseopicta problems hub - Jump to symptom-specific fix guides when this care topic does not resolve the issue.
- Leggy Growth on Calathea Roseopicta - Escalate here when pruning adjustments are not enough.
- Slow Growth on Calathea Roseopicta - Escalate here when pruning adjustments are not enough.
- Brown Tips on Calathea Roseopicta - Escalate here when pruning adjustments are not enough.
Related Calathea Roseopicta guides
- Calathea Roseopicta overview
- Calathea Roseopicta watering
- Calathea Roseopicta light
- Calathea Roseopicta soil
- Calathea Roseopicta propagation
- Calathea Roseopicta fertilizer
- Leggy Growth on Calathea Roseopicta
- Slow Growth on Calathea Roseopicta
- Brown Tips on Calathea Roseopicta
- Calathea Roseopicta problems