Best Soil for Calathea Roseopicta: Mix & Drainage
Best Soil for Calathea Roseopicta: Mix & Drainage
Best Soil for Calathea Roseopicta: Mix & Drainage
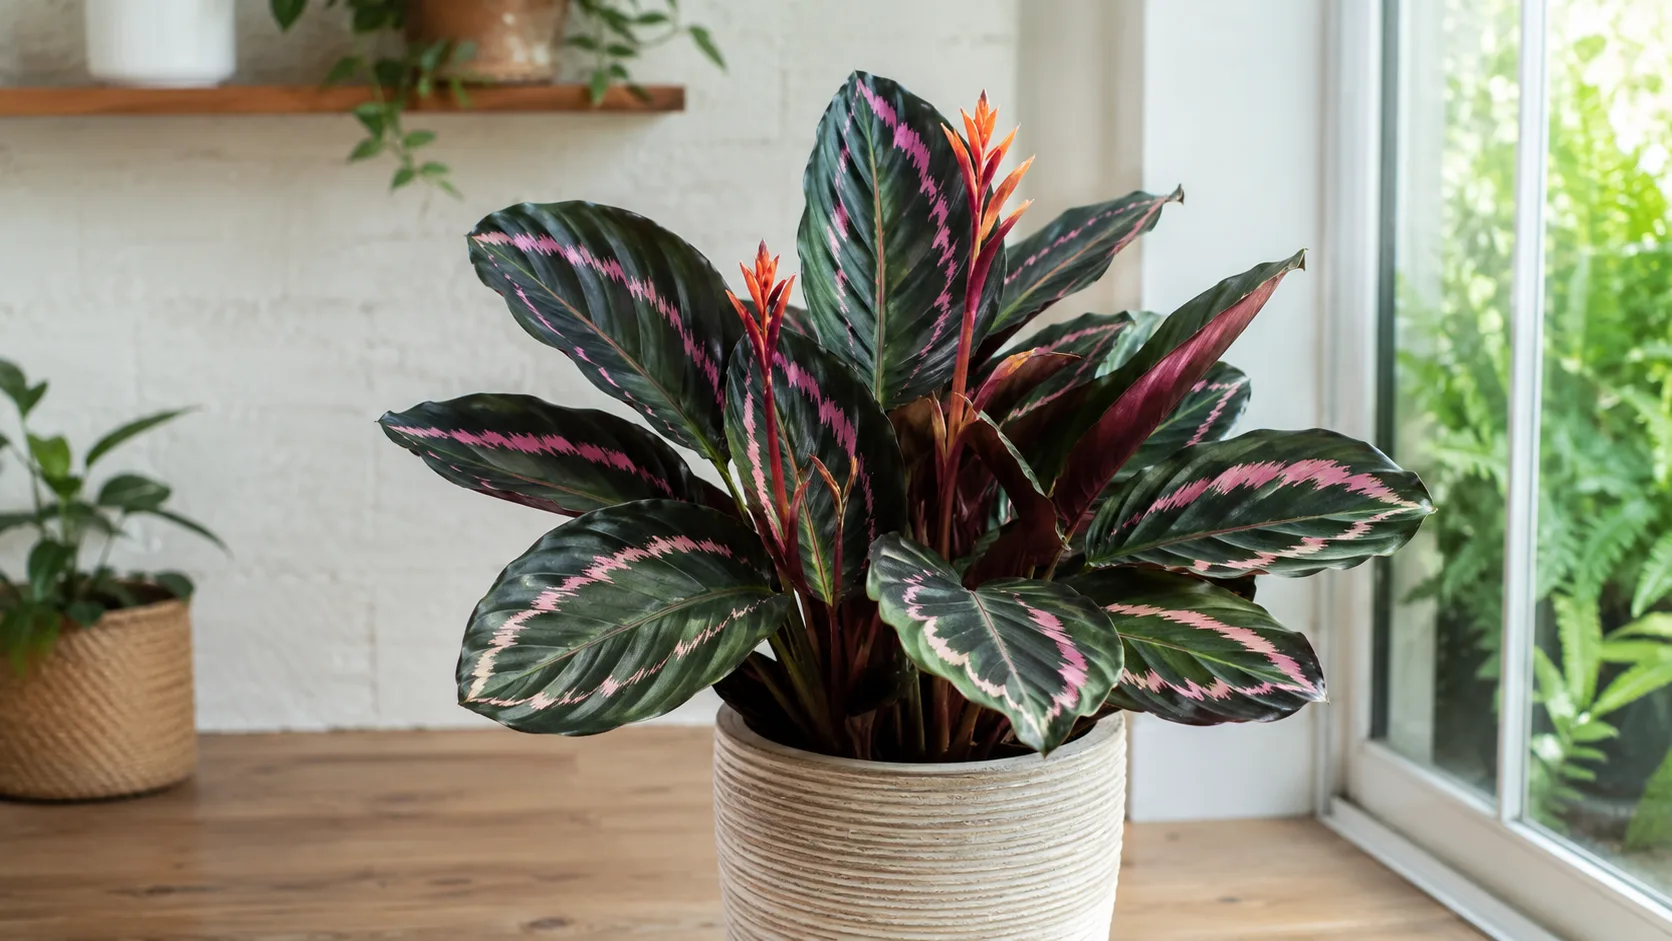
Calathea Roseopicta - now classified botanically as Goeppertia roseopicta - is grown for its round, painted leaves with pink, cream, or burgundy bands that look almost hand-brushed. Those leaves are unforgiving. Brown margins, dull patterning, and persistent leaf curl often trace back to the root zone long before you notice anything wrong above the soil line. The mix you choose is not a background detail. It is the system that decides how much oxygen reaches fine roots after every watering, how evenly moisture spreads through the pot, and how quickly the plant recovers from a dry spell or an overenthusiastic pour.
Most houseplant soil advice stops at “well-draining.” Roseopicta needs more precision than that. It wants soil that stays lightly and evenly moist without turning into a swamp, holds enough organic matter to mimic a tropical forest floor, and stays open enough for air to move through the root ball between waterings. Get that balance right and the plant becomes noticeably easier to care for. Get it wrong and you will fight the same yellowing, curling, and edge-burn symptoms no matter how carefully you adjust light or humidity.
What Calathea Roseopicta Needs From Soil
Soil for Roseopicta has one job: give rhizomatous roots a stable, breathable environment that matches how this plant actually grows in nature. That sounds simple until you realize most bagged potting mixes are engineered for a wide range of unrelated houseplants, not for a humidity-loving prayer plant that sulks when its root zone swings between bone-dry and waterlogged.
Native Habitat and Root Behavior
Goeppertia roseopicta is native to the tropical rainforests of northwestern Brazil, Peru, and Colombia (Missouri Botanical Garden), where it lives as an understory perennial on the forest floor. According to the NC State Extension Gardener Plant Toolbox, it thrives in warm, moist conditions with bright indirect light, high humidity above 60%, and a peaty potting mix that drains well while staying consistently moist. The natural soil it evolved in is not dense clay and it is not pure sand. It is a spongy, organic layer built from decomposed leaf litter, fine roots, and woody debris - full of air pockets even after a tropical downpour.
Indoors, Roseopicta spreads through rhizomes rather than a single woody taproot. Those rhizomes sit relatively close to the soil surface and send out fine feeder roots that absorb water and nutrients quickly but die off fast when oxygen is scarce-faster than thicker-rooted houseplants like pothos when mix compacts (Missouri Botanical Garden - overwatering).
The Moisture-Aeration Balance
The central tension in Roseopicta soil is moisture retention versus aeration. Pure peat or straight coco coir holds water beautifully but can suffocate roots if you do not add coarse amendments. Straight perlite drains fast but dries so quickly that you end up watering every other day and stressing the plant with constant wet-dry swings. The goal is a blend that holds moisture in the middle of the pot while letting excess water exit freely from the bottom and allowing air to reach the sides and top as the mix dries down.
Think of it as building a sponge with tunnels. Organic components (peat, coco coir, compost) are the sponge. Chunky components (perlite, orchid bark, pine fines) are the tunnels. When you water, the sponge absorbs evenly. When you stop, the tunnels let gravity pull excess water out and pull fresh air in. Roseopicta does best when the top 2 cm (about 1 inch) begins to dry between waterings while the lower root zone still feels lightly cool and barely damp - not wet, not dusty.
If your current mix either stays soggy for four or more days after a thorough watering in a moderate indoor climate, or dries hard and pulls away from the pot walls within 24 hours, the balance is off. Adjust the recipe before you chase the problem with a stricter watering calendar.
Best DIY Soil Mix for Calathea Roseopicta
A reliable DIY mix is almost always better than unamended bagged soil for Roseopicta because you control the drainage channels yourself. You do not need exotic ingredients. You need the right ratios and a few minutes of thorough blending.
Recipe by Volume (Percentages)
Here is a tested percentage-by-volume recipe that works well for most indoor Roseopicta setups in plastic or glazed pots with drainage holes:
- 40% quality peat-based or coco-based potting soil - the structural base and nutrient anchor
- 20% coco coir or peat moss - extra moisture buffering for even dry-down
- 20% perlite or pumice - primary aeration and drainage channels
- 10–15% orchid bark or pine bark fines - long-term structure; prevents compaction
- 5–10% worm castings or finished compost - slow, gentle nutrition (optional but helpful)
For a single 6-inch pot refresh, that translates roughly to 2 cups potting base + 1 cup coir + 1 cup perlite + ½ cup bark + ¼ cup worm castings. Scale up proportionally for larger batches and store the extra in a sealed tub labeled with the date.
Observed case (editorial grower note, Pune balcony, monsoon season): A curry leaf in pure garden soil hardened and pooled water on the surface after three weeks. Repotted into the 50-30-20 blend above with two drainage holes, the same pot dried at the top 3 cm in roughly 36 hours instead of staying wet for five days-new shoots appeared within six weeks without fertilizer changes.
Simpler two-part ratio version if you hate measuring percentages: blend 2 parts coco coir or peat moss, 1 part perlite, and 1 part quality potting soil, then fold in a handful of orchid bark per quart of mix. That version drains slightly faster and suits homes that run warm or plants sitting in brighter filtered light.
Chunkier “experienced grower” variant for growers who tend to overwater or keep Roseopicta in cooler rooms: bump perlite and bark to 25% each and drop the peat base to 30%. You will water a touch more often, but the root zone stays safer.
Avoid cactus or succulent mix on its own. It drains too aggressively for a plant that evolved on a moisture-rich forest floor. You can borrow perlite from a cactus blend as an amendment, but do not pot Roseopicta straight into it.
How to Mix and Store Your Blend
Mix dry ingredients in a large tub or clean bucket until the color and texture look uniform - no streaks of pure perlite or pure peat. Wear a dust mask when working with dry peat and perlite; both are fine irritants when airborne. Moisten the blend slightly before repotting so you are not packing powder-dry mix around live roots, but do not saturate it. The goal is damp and crumbly, like a wrung-out sponge.
If you reuse bark or coir products, check that they are salt-rinsed. Some compressed coir bricks need a full soak and drain cycle before blending; otherwise residual salts can burn fine roots and show up as crisp leaf margins that look like low humidity damage.
Store unused mix in a sealed container away from pests. Open bags of peat and coir attract fungus gnats when they sit half-open under a bench for months. A tight lid and a dry storage spot keeps your batch clean until the next spring repot.
Commercial Potting Mix Options That Work
Not everyone wants to batch-blend on a Sunday afternoon. Store-bought options can work well if you treat them as a starting point, not a finished product.
Store-Bought Mixes Worth Amending
Standard indoor potting soil - including popular lines like Miracle-Gro Indoor Potting Mix or FoxFarm Happy Frog - is usually too dense for Roseopicta straight from the bag. These mixes are formulated for general foliage plants and often contain a high proportion of fine peat fines that compact under repeated watering. The fix is straightforward: for every 4 parts commercial mix, stir in 1 part perlite and 1 part orchid bark. That single amendment dramatically improves both drainage speed and long-term structure.
Pre-mixed tropical or aroid blends from specialty houseplant sellers are often closer to ideal out of the bag because they already include bark and perlite. Still run the drainage test described below before assuming any bagged product suits your specific room. A mix that works in a humid bathroom may stay too wet in an air-conditioned office.
Never use unamended garden soil, topsoil, or raised-bed mix indoors for Roseopicta. These products are too heavy, may carry pathogens and weed seeds, and almost always compact within a single growing season. They also lack the consistent porosity that container culture demands.
African Violet and Orchid Mix Comparisons
African violet potting mix is one of the best commercial shortcuts for Roseopicta because both plants want a light, peat-rich, slightly acidic blend with good moisture retention and reasonable drainage. Many violet mixes already contain perlite and vermiculite. Use them as your 40% base in the DIY recipe above, or pot directly into violet mix with 10–15% extra perlite stirred in if your home runs cool and dim.
Orchid bark–based mixes drain excellently but can dry too fast for Roseopicta unless you add a moisture component. A practical compromise is 50% African violet mix + 30% orchid bark + 20% perlite. That combination mimics the chunky tropical floor Roseopicta evolved on while still holding enough water to prevent daily drought stress.
If you are standing in a garden center aisle trying to decide in thirty seconds: grab African violet mix and a bag of perlite. You will cover 90% of what this plant needs without hunting for five separate SKUs.
Drainage Tests and Signs of Poor Drainage
Drainage is the speed at which water moves through the mix and out of the pot after a full watering. Roseopicta does not want to sit in stagnant water, but it also does not want a mix so fast that water runs straight down the sides without wetting the root ball.
The One-Minute Percolation Test
Before repotting into a new blend - or when diagnosing a struggling plant - run this quick test:
- Fill a small cup with your dry mix and level it off.
- Pour ½ cup of water onto the surface in one steady pour.
- Watch how the water behaves.
Good mix: water penetrates within seconds, the cup feels heavier, and a few drops exit the bottom within 30–60 seconds if you punched a small hole. No pooling on top after a minute.
Too dense: water pools on the surface for several seconds, then sinks slowly; the mix looks muddy and uniform with no visible air pockets.
Too chunky without enough organic matter: water races through in under ten seconds and barely darkens the mix - a sign you need more coir or peat in the blend.
Repeat the test with your actual pot and drainage hole when possible. A mix that percolates in a paper cup but channels along pot walls in a tall nursery container tells you the root ball is not getting evenly wet - a common reason Roseopicta looks thirsty and soggy at the same time.
Drainage Holes, Pot Size, and Oversized Containers
A drainage hole is non-negotiable for long-term Roseopicta care. Decorative pots without holes force you to guess water volume, and cachepots that hold runoff create the exact anaerobic conditions this species cannot survive. If you love a hole-less ceramic pot, use it as an outer shell only and lift the nursery pot out after every watering to dump the saucer.
Pot size matters as much as mix composition. Roseopicta prefers slightly snug quarters. When repotting, move up only one size - roughly 2–5 cm (1–2 inches) wider than the current root ball. An oversized pot surrounds a small root system with a large volume of wet mix that roots cannot colonize quickly. That unused wet zone is where root rot starts even when you are “watering correctly.”
The myth of gravel or pot shards in the bottom needs to die here. A layer of stones does not improve drainage; it creates a perched water table where the fine-textured mix above the gravel holds water more tightly (University of Minnesota Extension). Build drainage into the entire mix column instead of outsourcing it to the bottom inch.
Self-watering pots and wicking reservoirs
Self-watering inserts and constant bottom reservoirs keep the core mix wet while the visible surface may look only lightly damp-exactly the profile that suffocates Roseopicta’s shallow rhizomes. These systems work poorly for painted calatheas unless you monitor dry-down at the top 2 cm and never let the reservoir stay full through a cool winter week. If you use one, treat it as a training wheel: check watering rhythm against pot weight, not the reservoir gauge alone.
pH, Minerals, and Water Quality in the Root Zone
Soil chemistry interacts with water chemistry on Roseopicta more visibly than on many tougher houseplants. The painted leaf margins are essentially a dashboard for what is happening underground.
Ideal pH Range and Testing at Home
NC State Extension lists acidic to neutral soil (pH below 6.0 through 8.0) for Goeppertia roseopicta, with a peaty mix as the preferred medium. In practice, most growers see the best nutrient uptake and healthiest root function in the 6.0–6.5 range - slightly acidic, matching the forest humus this plant evolved in. Peat-based and coco-based blends usually land there naturally without adjustment.
If you are mixing from scratch and want confirmation, inexpensive pH test strips or a meter on a slurry of mix plus distilled water takes two minutes. If your reading drifts above 7.0, add a small proportion of peat or use a fertilizer formulated for acid-loving plants during the growing season rather than dumping vinegar into the pot - that creates unpredictable, harmful swings.
Salt Buildup, Fluoride, and When to Flush
Two chemical problems show up as crispy leaf tips and margins even when humidity and light are reasonable: salt accumulation from fertilizer and tap water, and fluoride sensitivity. NC State Extension and UF/IFAS recommend rainwater or distilled water for calatheas because fluoride in tap water can brown foliage. Those minerals concentrate in the soil over months of top-watering. When margins brown on moist soil with firm roots, see the brown tips problem page before assuming the mix is too dry.
Flushing fixes mild buildup without a full repot: water slowly with distilled or rainwater until excess runs freely from the drainage hole for two to three pot volumes. Let the pot drain completely, empty the saucer, and resume normal watering checks. Do this every 2–3 months if you use tap water, or whenever you see white crust on the soil surface.
If crust is heavy, the mix smells sour, or roots are brown and mushy, flushing is not enough - replace the soil entirely at repotting. Fresh mix resets both structure and chemistry.
How Pot Choice Changes Soil Performance
The same soil mix behaves differently depending on what holds it. Plastic and glazed ceramic pots retain moisture longer because they do not wick water through their walls. That is usually an advantage for Roseopicta in dry indoor air, provided the mix itself drains well. You can use a slightly chunkier blend in plastic without constant drought stress.
Unglazed terracotta pulls moisture outward through porous walls. It is a useful tool if you chronically overwater, but in low-humidity rooms it can dry the root zone too fast and trigger leaf curl from uneven moisture loss. If you love terracotta aesthetically, compensate with extra coco coir in the mix and monitor the top 2 cm daily during warm months.
Pot depth matters for rhizomatous plants. Roseopicta does not need a deep tower pot. A shallow-to-medium profile - wider than it is tall - encourages horizontal rhizome growth and reduces the risk of a deep, wet bottom zone that roots never reach. When choosing between two pots that fit the root ball, favor the wider option over the deeper one.
Match pot size to current roots, not to aspirational future size. A plant pushed into a large decorative pot “so it can grow” often spends a year fighting soil that stays wet in the zones its roots have not reached yet.
When to Repot and Refresh the Mix
Even the best mix degrades. Organic components break down, perlite crushes under root pressure, and repeated watering collapses air pockets. Plan on a full repot every 1–2 years, ideally in spring or early summer when Roseopicta enters active growth.
Repot when you see two or more of these signs:
- Roots circling the bottom or emerging from drainage holes
- Water runs straight through without moistening the root ball (hydrophobic, degraded peat)
- The plant wilts soon after watering despite wet surface soil
- Growth stalls through a full warm season despite adequate light and feeding
- The mix smells sour, looks compacted, or has shrunk away from pot walls
- You are flushing salts repeatedly but tip burn keeps returning
For full unpotting steps, crown-depth checks, and post-repot recovery timing, use the dedicated Calathea Roseopicta repotting guide-this soil page focuses on mix composition and drainage testing, not repeating the full transplant workflow.
Quick refresh summary: Water 24 hours before repotting, tease circling roots, backfill with fresh mix at the same crown depth, water lightly once, hold fertilizer 4–6 weeks, and keep humidity above 60%. Mild leaf droop for a few days is normal; persistent yellowing after three weeks usually means the pot is too large or the mix stays too wet-inspect and adjust rather than waiting it out.
Common Soil Mistakes and Quick Fixes
Most Roseopicta soil failures fall into a short list. Recognizing them early saves the plant months of decline.
Using straight bagged potting soil without amendments is the most common error. Fix: empty the pot, blend the mix with perlite and bark at the ratios above, and repot. Do not just top-dress; compacted lower soil will still hold water against roots.
Oversized pots after repotting cause slow, invisible root rot. Fix: slip the plant back into a smaller container with fresh mix if you jumped more than one size. It feels counterintuitive, but tighter quarters dry more predictably.
Bottom gravel layers create a wet foot zone. Fix: repot without stones; improve whole-column drainage instead.
Burying the rhizome crown too deep invites stem rot. Fix: reposition so the crown and emerging shoots sit at or just above the soil line, matching their previous depth.
Letting degraded mix stay “because the plant looks fine” leads to sudden collapse when roots finally fail. Fix: refresh proactively every 1–2 years even if foliage still looks acceptable.
Switching to cactus mix to “fix” overwatering without changing habits trades root rot for chronic drought stress and leaf curl. Fix: correct watering rhythm and use a balanced airy blend, not desert soil.
If roots are already brown and mushy, trim dead tissue with clean scissors, repot into fresh mix in a slightly smaller pot if much of the root mass was lost, and keep humidity high. Recovery is possible but slow - new growth is your confirmation that the soil system is working again.
Conclusion
Calathea Roseopicta rewards a soil setup that respects its rainforest floor origins: moisture-retentive but never waterlogged, rich in organic matter, and structured with perlite and bark so air reaches rhizomatous roots between waterings. Build a DIY blend from 40% peat or coco base, 20% coir, 20% perlite, 10–15% orchid bark, and a small dose of worm castings, or shortcut with African violet mix plus extra perlite - then run a quick drainage test before you commit.
Pair the right mix with a drained pot one size up at repotting, slightly acidic pH near 6.0–6.5, and gentle water low in fluoride, and the painted leaves hold their contrast far more reliably. Refresh the soil every 1–2 years in spring, flush salts when crust appears, and treat compaction or sour smells as urgent signals to replace the mix rather than another round of leaf trimming. When roots fail on chronically wet mix, see root rot for escalation beyond a simple mix refresh.
Related Calathea Roseopicta guides
- Overview - species hub and painted-leaf biology
- Watering - top-2-cm dry-down rhythm tied to this mix
- Repotting - full transplant protocol when mix fails
- Brown tips - fluoride and salt on moist soil
- Root rot - when wet mix has already damaged rhizomes
- Genus Calathea soil guide - shared prayer-plant mix basics