Compacted Soil on African Violet: Causes, Checks & Fixes
Quick answer
Compacted soil on African Violet starves fine roots of air and traps moisture in the center of the pot. First fix: repot into fresh, loose soilless mix with extra perlite, then bottom-water only after the top inch dries.
Compacted Soil on African Violet: Causes, Checks & Fixes
This guide covers compacted soil on African Violet. See also the general Compacted Soil guide, watering, and light pages for this plant.
Compacted Soil on African Violet: Causes, Checks & Fixes
Quick answer
Compacted soil on African Violet suffocates the fine, shallow roots African Violet overview depends on. When peat breaks down or salts cement the surface, water lingers in the root zone and oxygen drops-symptoms then look like overwatering on African Violet even when you water less. First fix: repot into fresh, porous soilless mix with added perlite and pause watering until the top inch of mix feels dry.
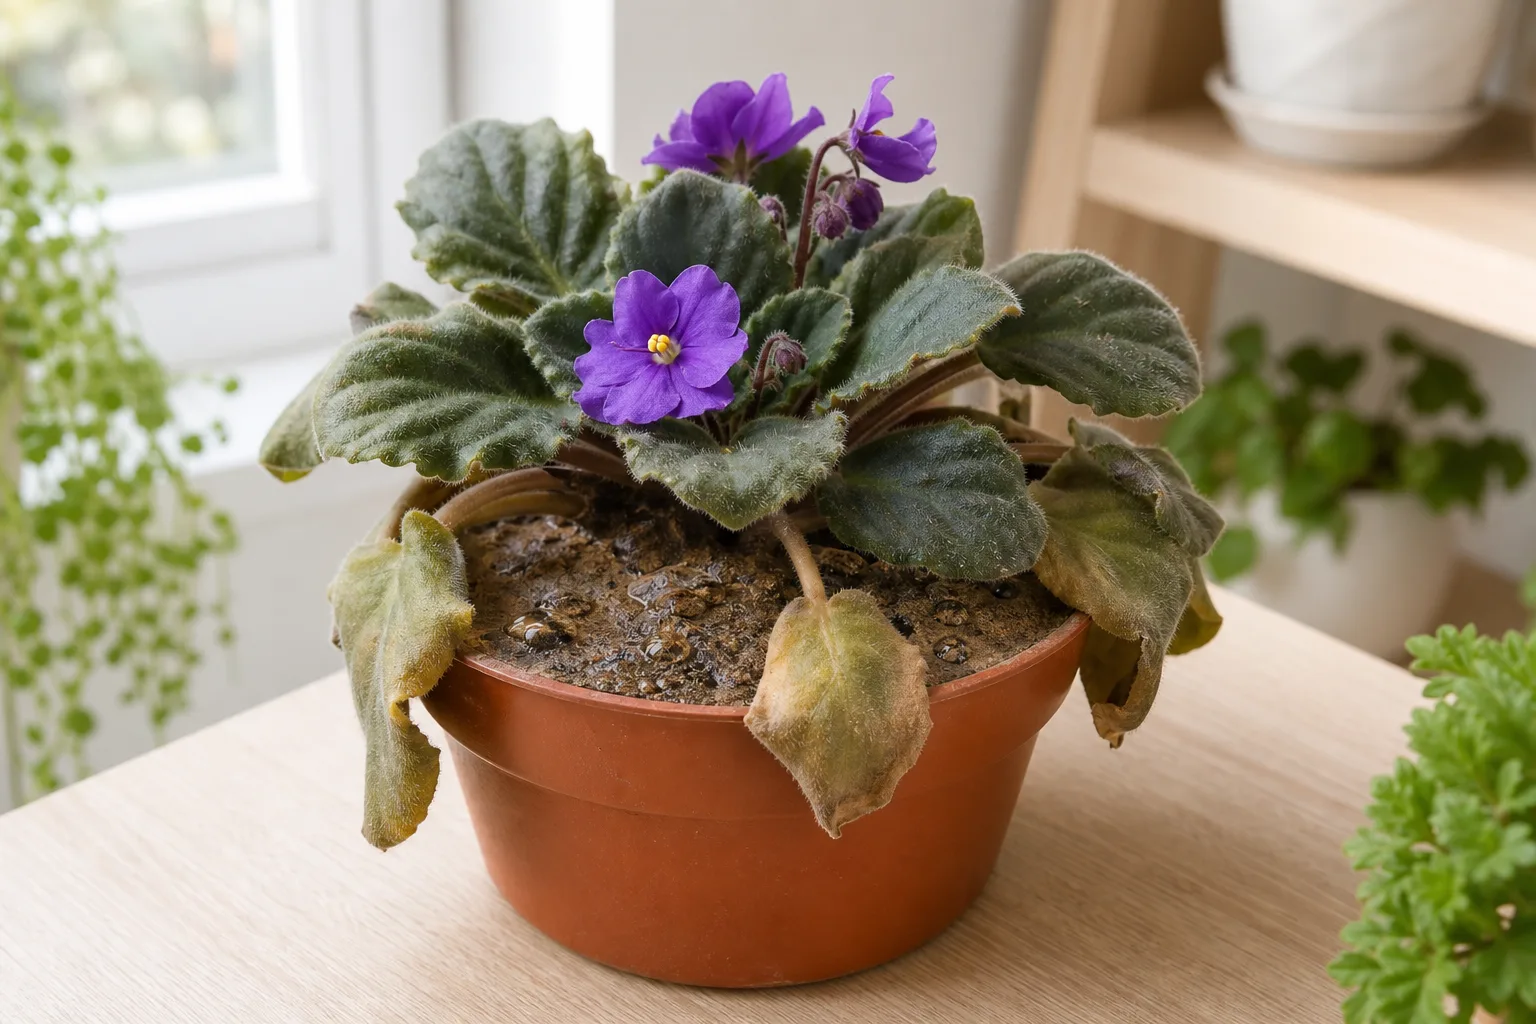
What compacted soil looks like on African Violet
Surface water may pool or slide down the pot wall without wetting the center. The pot feels heavy several days after watering while outer leaves wilt or yellow from the bottom up. Blooms stall, buds drop, and new crown leaves stay small or pale.
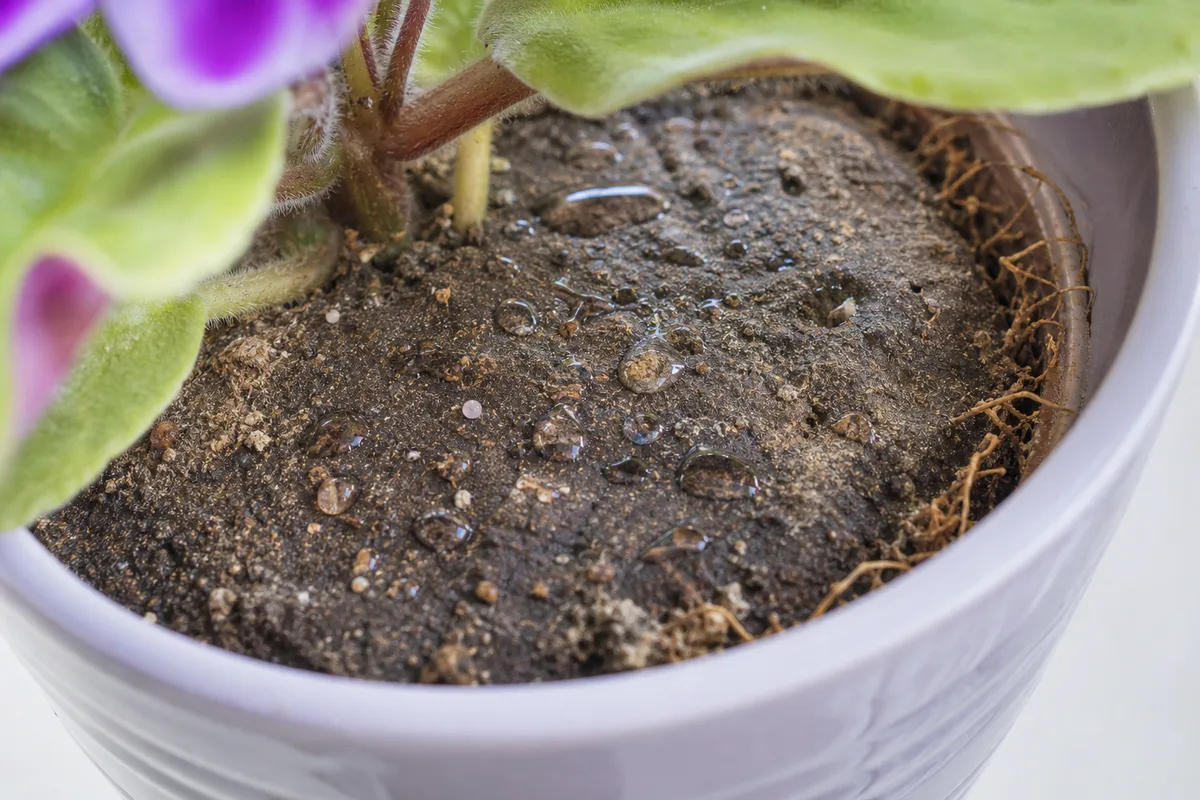
Crusty, dense potting mix surface that repels water - a sign of aged, collapsed peat rather than healthy airy African violet mix.
On a healthy violet, the top inch should dry within a few days in normal room conditions. With compaction, that surface can stay wet while the mix below turns brick-like. When you slide the plant out, roots may circle the pot wall in a tight mat and the old mix smells stale or sour. Dry-looking soil that repels water-beading instead of absorbing-is a classic sign of aged, collapsed peat.
Why African Violet gets compacted soil
African Violet roots evolved in loose forest debris and mossy crevices, not dense garden soil. They need air pockets as much as moisture. Over time, [peat-based mix decomposes](https://africanvioletsocietyofamerica.org/learn/violets-101/tips-for-successful-[African Violet repotting guide](/plants/african-violet/repotting/)/), particles shrink, and the pore spaces that roots breathe through disappear. Mineral salts from tap water and fertilizer can crust the surface and accelerate breakdown.
Common triggers on violets include skipping scheduled repotting, using an oversized pot that stays wet in the unused center, bottom-watering without ever flushing salts from the top, and letting the pot sit in saucer water so the lower profile never dries. African violets bloom well slightly root-bound in fresh mix-but tight roots in old, dense soil are not the same as healthy root-bound growth.
How to confirm the cause
Work through these checks before you repot:
- Press a finger into the top inch after several days without water. Hard, crusty, or hydrophobic surface that repels water points to mix breakdown, not simple drought.
- Lift the pot. Persistent heaviness with limp foliage suggests waterlogged compacted mix rather than underwatering on African Violet-a dry pot feels light.
- Tap the plant out gently by inverting the pot. Abundant fine white roots are healthy; brown, slimy tips mean compaction has already led to rot.
- Note pot size relative to the rosette. A small plant in a large pot almost always compacts and stays wet in the center.
- Smell the root ball. A sour or musty odor confirms anaerobic conditions in old mix.
If roots are mushy throughout, treat root rot on African Violet as the active problem-compaction is often the upstream cause.
First fix for African Violet
Repot into fresh, airy soilless mix. Many growers mix commercial African violet potting mix with perlite for extra drainage. Pre-moisten the mix until it is crumbly-not dusty and not dripping-before you pot. Tease away the outer third of old compacted mix without bare-rooting a stressed plant. Set the crown at the same depth in a shallow pot one size up at most, with open drainage holes.
Pile mix loosely around the roots; do not pack it down. Water once from below with plain room-temperature water, then allow the top inch to dry before soaking again. Hold fertilizer for two weeks while roots re-establish.
Recovery timeline
Expect one to two weeks before wilt stops spreading. New center growth in three to four weeks signals that roots are working again. Lower yellow leaves will not recover-remove them after the plant stabilizes. If buds were removed during a hard repot, flowering may pause until the next growth cycle.
Lookalike symptoms
- True overwatering in fresh mix - wet cycle without physical compaction; repotting alone may not be needed if mix crumbles easily and roots are white.
- Root rot - mushy roots are the primary problem; compaction may have caused it. Trim rot before repotting.
- Salt burn - white crust with tip browning often overlaps with compaction and needs flushing plus fresh mix.
- Low light stall - pale, leggy growth with a light pot and dry surface soil; mix texture stays loose when probed.
What not to do
Do not poke a drainage hole through the center of old compacted mix and backfill-the core still suffocates roots. Do not repot into heavy potting soil or garden mix. Do not pack mix firmly around the crown. Do not let the plant sit in standing water after bottom-watering.
How to prevent compacted soil next time
Repot on schedule-roughly every two to three months for pots under three inches, and every six to twelve months for four-inch and larger pots. Choose a loose, porous, fertile soilless mix and add coarse perlite if the bag feels dense. Bottom-water, drain saucers fully, and occasionally top-water with plain water to leach salts. Match pot diameter to leaf span; shallow pots suit the shallow root habit better than deep containers.
When to use this page vs other African Violet guides
- African Violet watering guide - Use for routine moisture checks before assuming compacted soil is the main issue.
- African Violet problems hub - Browse all 52 common issues on this species.