How to Prune Calathea: When, Where & What to Cut
How to Prune Calathea: When, Where & What to Cut
How to Prune Calathea: When, Where & What to Cut
Quick Answer - Your First Cut
First, remove only leaves that are fully yellow, brown, collapsed, or clearly rotting - cut each petiole cleanly at the rhizome crown near soil level, not mid-stem. Calathea (Calathea ornata and related prayer plants sold under the Calathea name) grows as a tight foliage clump from underground rhizomes. Scissors tidy spent tissue and improve inspection access; they do not replace filtered water, steady humidity, or correct watering when brown tips keep appearing on new leaves.
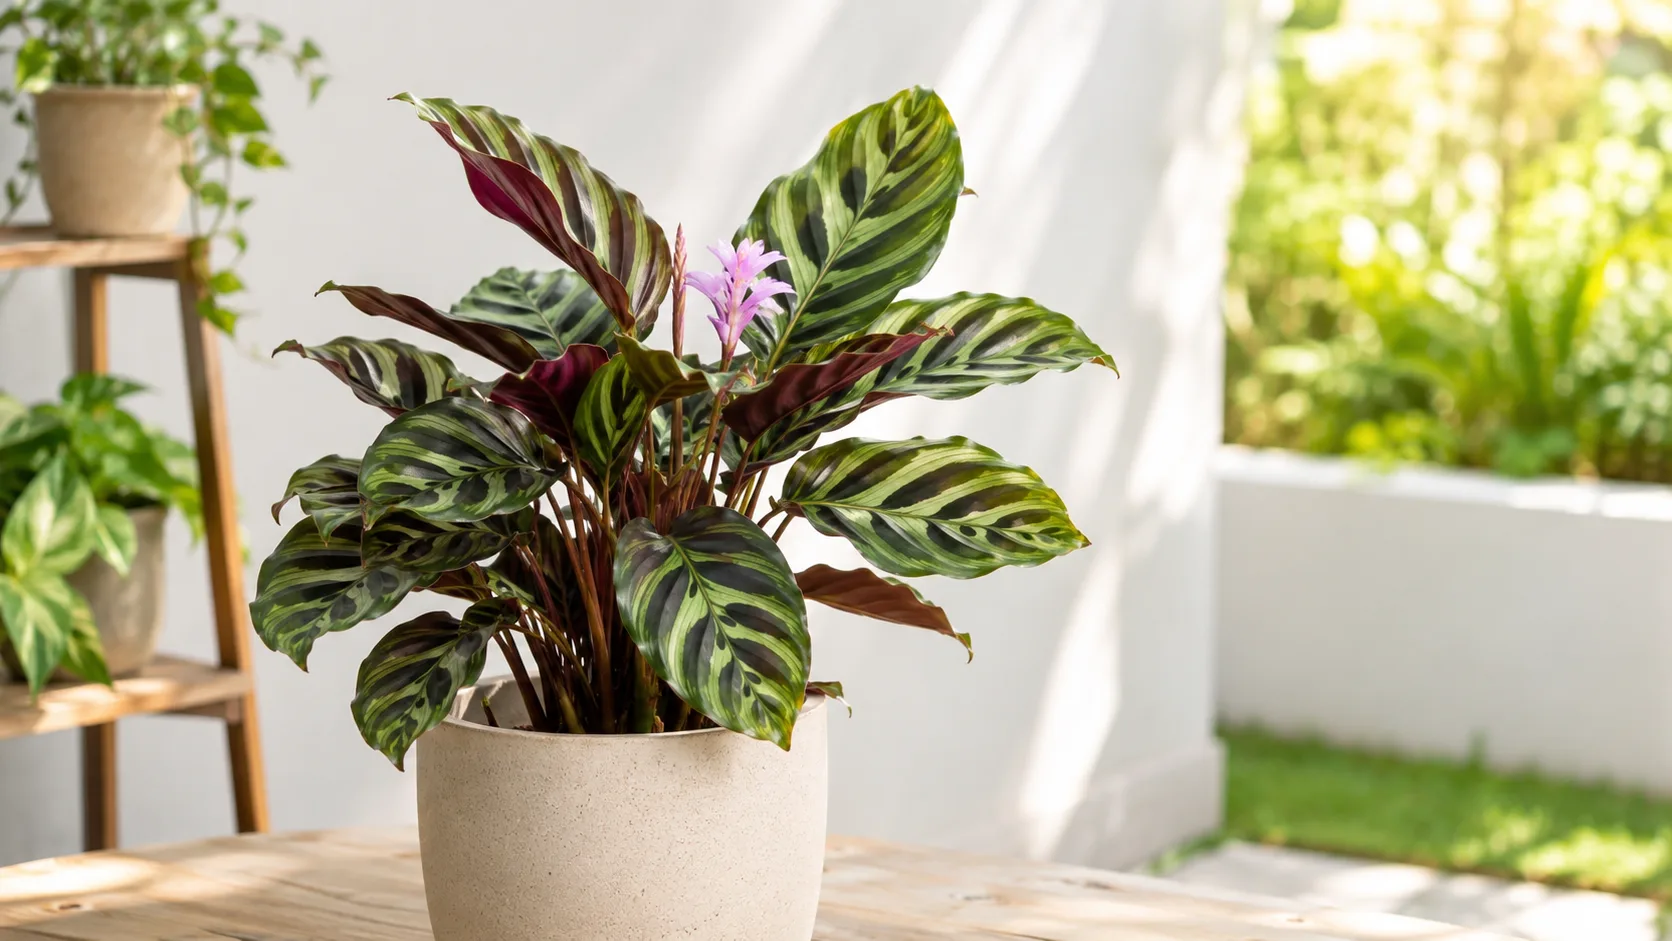
Calatheas are grown for patterned leaves that fold at night - a nyctinastic trait shared with other Marantaceae prayer plants. Royal Horticultural Society describes them as clump-forming perennials with leaves on tall thin petioles, needing warm humid conditions and Calathea light guide. They do not branch from nodes like pothos. Meaningful pruning happens at the petiole base near the rhizome, as conservative cosmetic edge work on green blades, or through division when the whole clump outgrows its pot.
What Pruning Means for Calathea
Calathea pruning is sanitation and grooming, not structural shaping. You will not shear a calathea into a dome, pinch tips to force bushiness, or cut a cane back to bare wood expecting fresh lateral shoots.
Three tasks cover nearly every home situation:
- Remove spent or diseased leaves at the rhizome to stop decay in the crown
- Trim stable brown tips or edges on leaves still worth keeping
- Divide the rhizome clump in spring when size - not individual leaves - is the problem
Pruning cannot raise humidity, remove fluoride from tap water, or fix soggy soil. If damage keeps showing up on new unfurling leaves after you trim old ones, adjust culture first.
Rhizome Clumps and Where New Leaves Form
New Calathea leaves emerge as rolled spears from the center of the clump, attached to horizontal rhizomes just below the soil surface. Missouri Botanical Garden classifies calatheas as rhizomatous tropical foliage plants suited to humid indoor environments. Cut petioles do not sprout replacement leaves. A mid-stem stub stays visible permanently and can hold moisture against the crown in a humid pot.
What to Check Before You Cut
Walk through this quick inspection before reaching for scissors:
- Is the leaf fully yellow or still partly green? Lower-leaf yellowing with firm green upper foliage is often normal senescence. Yellow spreading up the plant or from the center suggests watering, light, or root problems.
- Are brown tips stable or advancing? on Calathea Stable dry margins on older leaves may be cosmetic. Tips browning on every new spear point to water quality, humidity, or moisture rhythm.
- Does the rhizome feel firm? Mushy crowns, sour soil smell, or blackened rhizome tissue mean rot - fix moisture before removing more than a few leaves.
- Are you stacking stress? Avoid heavy pruning the same day you repot, move homes, or correct a watering crisis. Calatheas react to combined insults with dramatic curl and drop.
When to Prune Calathea
Anytime: Fully yellow, collapsed, or rotting leaves; blades with spreading soft spots; pest-infested tissue beyond spot treatment.
Spring through early summer: Removing multiple stressed but attached leaves, post-repot cleanup, or division when the clump has filled its pot. RHS calathea guidance recommends dividing overcrowded calatheas in spring, cutting the rootball into sections each with several leaves.
Pause planned live-leaf removal in late fall and winter when indoor humidity drops and remaining leaves crisp faster after any cut.
Do not treat scissors as the first response to sudden mass yellowing after overwatering on Calathea. Let soil dry appropriately, inspect roots if needed, then remove leaves in stages as the plant stabilizes.
The First Cut: Remove Fully Spent Leaves at the Base
Trace the petiole of the worst leaf - fully yellow, brown, or hanging limp - down to where it meets the rhizome at or just above soil level. Make one clean cut with sharp scissors or fine bypass pruners. Do not twist or tear petioles by hand; rhizome wounds in a wet crown invite rot.
If a dead leaf releases with almost no resistance while you support neighboring petioles, gentle hand removal is fine. Stop if you feel twisting force on healthy tissue.
After removal, glance at the exposed rhizome surface. Firm cream or white tissue is healthy. Mush, foul odor, or black spreading tissue means unpot and address rot before continuing cleanup.
How to Prune Calathea Step by Step
Removing Dead or Yellow Leaves
Work from the outermost fully spent leaves inward. Sterilize blades with 70% isopropyl alcohol before starting and between plants if you share tools across a collection. Penn State Extension notes that clean tools help limit disease spread among houseplants in shared care spaces.
Cut flush at the base without leaving a stub above the rhizome. Stubs stay damp in crowded crowns and can harbor fungus gnats or soft rot.
Leave partly green leaves in place unless more than half the blade is failing and the plant is otherwise stable. Calatheas reclaim nutrients from aging lower leaves before they drop naturally.
Trimming Brown Tips on Otherwise Green Leaves
For minor tip or edge browning on an otherwise healthy patterned leaf, snip only the dead tissue following the natural leaf contour. Leave a 1–2 mm margin of brown to avoid cutting into living green cells. The trimmed edge will not turn green again, but the leaf continues photosynthesizing.
When more than one-fifth of the blade is damaged, or brown keeps advancing after you trim, remove the whole leaf at the base for a cleaner result. Chasing dieback across a shrinking blade leaves a staircase of cut marks.
Never slice through the center of a healthy leaf expecting repair - internal cuts do not heal on calathea foliage.
Division When the Clump Outgrows the Pot
When a calathea is too wide for its spot or roots circle the pot, division at spring Calathea repotting guide is the correct size tool - not repeated leaf shearing. Unpot the clump, identify natural rhizome sections with roots and several leaves each, and separate with a clean knife. Replant divisions in fresh, moisture-retentive but well-draining mix and keep humidity high while they settle.
Each section needs a piece of rhizome, healthy roots, and at least one or two leaves. Divisions stay warm, humid, and evenly moist until new growth resumes.
How Much Foliage You Can Safely Remove
During active growth, limit live or partly green leaf removal to about one-third of the foliage in one session. Calatheas store limited reserves relative to their humidity and water demands; aggressive defoliation after a stress event can stall new spears for weeks.
Remove all clearly dead or diseased leaves promptly - that is sanitation, not stress pruning. The one-third cap applies when you are choosing among leaves that still carry green tissue.
If half the plant has yellowed after root stress, fix the underlying moisture or rot issue first, then remove a few leaves at a time across several weeks rather than one heavy session.
What Not to Cut
- Healthy rolled central spears unless clearly rotted - damaged spears sometimes recover if humidity rises
- Petioles mid-stem - leaves permanent stubs with no regrowth
- Multiple leaves on the same day you repot or move - stack stress carefully on this genus
- Green tissue hoping for bushier branching - calatheas do not activate lateral buds from blade or petiole cuts
The ASPCA lists Calathea as non-toxic to cats and dogs, which makes cleanup around pets less hazardous than with many tropical foliage plants. Still dispose of trimmings and use clean tools - chewing shredded leaves stresses the plant and your furniture.
After Pruning: Recovery and Maintenance
Hold steady culture after cleanup:
- Humidity: Target 50–70% relative humidity; many cultivars look best above 60% during recovery
- Water quality: Filtered or rainwater limits fluoride and chlorine tip burn on new leaves
- Light: Medium to bright indirect light - no direct sun on cut surfaces or unfurling spears
- Calathea watering guide: Water when the top 2 cm of mix begins to dry; fewer leaves mean lower transpiration, so adjust downward after heavy removal
- Fertilizer: Hold feed briefly after substantial cleanup, then resume quarter-strength liquid during spring and summer active growth
New leaves emerge from the center of the clump, not from cut petioles. Expect three to six weeks for visible new rolls after a stressful cleanup if humidity and water quality are correct.
Signs Pruning Worked vs. Went Too Far
Pruning worked: Removed tissue stays gone without spreading rot; new spears unfurl from the center; remaining leaves hold color without fresh widespread crisping.
Too aggressive or badly timed: Continued yellowing weekly despite cleanup; central spears stall or rot; remaining leaves curl tightly and drop after a single heavy session; stubs at the crown turn black.
Maintenance between major sessions means removing the occasional basal yellow leaf, trimming stable tips only when culture is stable, and dividing every one to two years when the pot fills - not chasing every brown edge on a plant still adjusting to your home.
Common Calathea Pruning Mistakes
Pruning without fixing tap water and humidity - tips brown again on every new leaf.
Removing partially green leaves too early - wastes nutrients the plant is reclaiming.
Cutting petioles mid-stem - leaves permanent stubs with no regrowth.
Pruning during active root rot on Calathea - yellow leaves return weekly until moisture is corrected.
Expecting bushier growth from tip cuts - fullness comes from healthy rhizome growth and division, not shearing.
Overwatering after pruning - fewer leaves use less water; soggy mix after cleanup invites rhizome rot.
Conclusion
Calathea pruning is base-level sanitation and honest cosmetic trimming, supported by filtered water, steady humidity, and indirect light. Cut fully yellow leaves at the rhizome, trim brown tips only when damage is minor and care is stable, and divide in spring when the clump - not individual leaves - needs downsizing. Treat scissors as a cleanup tool after conditions are right, not a substitute for the humid, mineral-light environment prayer plants require.
When to use this page vs other Calathea guides
- Calathea overview - Start here for whole-plant context before deep-diving this topic.
- Calathea problems hub - Jump to symptom-specific fix guides when this care topic does not resolve the issue.
- Leggy Growth on Calathea - Escalate here when pruning adjustments are not enough.
- Slow Growth on Calathea - Escalate here when pruning adjustments are not enough.
- Brown Tips on Calathea - Escalate here when pruning adjustments are not enough.