How to Prune Bird of Paradise: When, Where & What to Cut
How to Prune Bird of Paradise: When, Where & What to Cut
How to Prune Bird of Paradise: When, Where & What to Cut
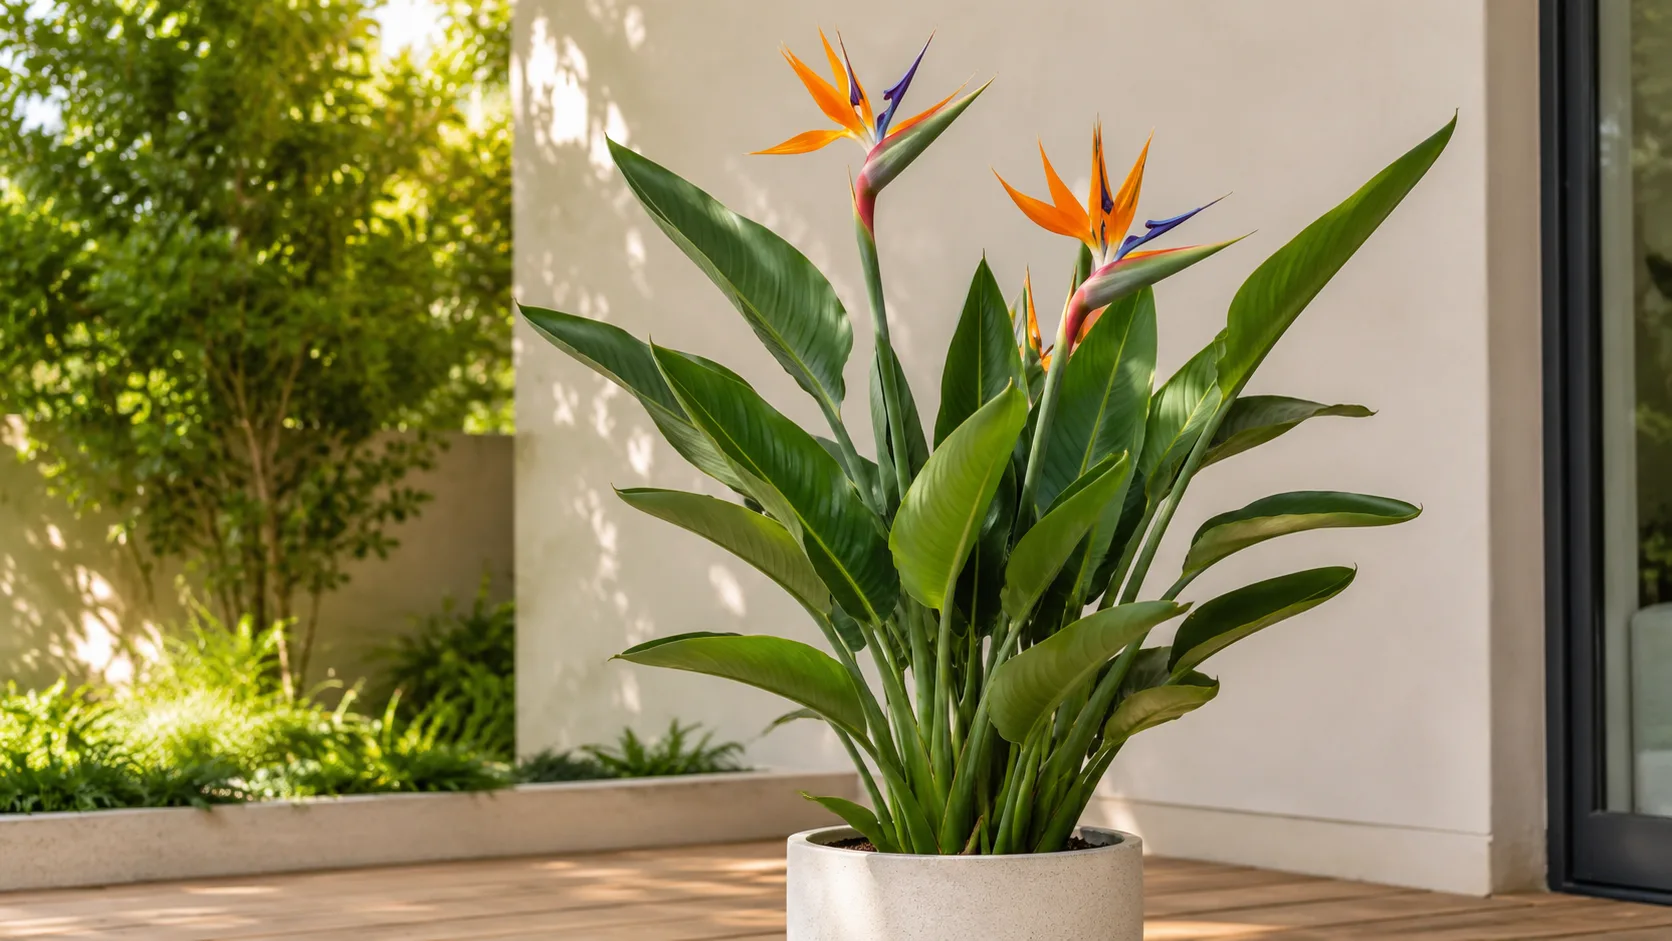
First, cut every fully brown or clearly dead leaf petiole at the base where it emerges from the rhizome - not halfway up the paddle blade. Bird of Paradise (Strelitzia reginae) is a clumping tropical perennial whose large gray-green leaves arise from underground rhizomes, not from a single woody trunk or vine. NC State Extension describes it as multi-stemmed and clump-forming; each upright fan is a cluster of paddle leaves with a central emerging spear. Pruning is closer to palm cleanup than to pothos tip-pinching: you remove whole petioles at soil level, deadhead spent flower stalks, and occasionally thin entire outer fans - you do not shorten individual leaves and expect regrowth.
Indoor plants often carry a skirt of dead brown petioles, torn leaf margins, and split blades long before they bloom. Split edges are usually cosmetic - the giant leaves tear easily in tight rooms - but dead petioles waste visual space and can harbor pests. Base-level cleanup is the routine job. Structural work - removing weak fans or dividing an overcrowded clump - belongs in active growth season and should stay conservative on a plant that may take years to flower indoors.
How Bird of Paradise Grows - and Why Pruning Differs From Vines
New leaves unfurl from the center of each fan as a folded spear. That central emerging leaf is the growth point for that fan; injuring it stalls the entire cluster for months. Outer petioles age and brown from the bottom up while the center keeps producing spears. Because leaves do not branch from mid-blade cuts, trimming a paddle in half leaves a permanent stub that browns at the cut edge and never fills in.
Missouri Botanical Garden notes mature clumps can reach substantial size with age. Size control means removing whole fans at the rhizome or dividing the clump in spring - not shearing blades shorter. Understanding that limit prevents the most common indoor mistake: cutting leaves in half to reduce height.
Pruning improves hygiene and appearance but does not substitute for the bright light and maturity flowering requires. UF/IFAS Gardening Solutions recommends removing dead leaves and spent flower stalks to keep plants neat and reduce fungal problems - not as a bloom trigger.
What to Check Before You Cut
Walk each fan from rhizome to tip before touching tools.
Dead petioles feel dry, pull slightly away from the crown, or show fully brown blades with no green remaining at the base. These are safe to remove immediately.
Split green leaves still photosynthesize. A torn margin on an otherwise healthy paddle does not require removal unless more than half the blade is damaged or the petiole is failing. Trimming the torn edge to follow the natural leaf shape is optional cosmetic work - not a health requirement.
Spent flower stalks turn tan and papery after bloom. Trace them to the rhizome and plan a base cut once color fades.
Crowding shows when outer fans block light from inner spears or the pot cannot hold another season of growth. That signals fan removal or division - not repeated leaf stripping.
Yellowing with soft bases across multiple fans suggests root stress from overwatering on Bird of Paradise or poor drainage - root rot can occur from overwatering or poorly drained soils. Fix watering and soil before mass defoliation.
When to Prune Bird of Paradise
Dead material anytime
Fully brown petioles, broken blades detached except at the base, and clearly spent flower stalks can come off whenever you notice them - dead leaves and old flower stalks should be removed to maintain plant quality. Waiting for spring does not help a dead leaf photosynthesize.
Live-tissue work in active season
Removing multiple green leaves, whole outer fans, or dividing the clump belongs in late spring through early summer, when warmth and longer days support recovery. Avoid major live-tissue removal in late fall and winter unless rot or breakage demands emergency cuts. Indoor growth slows in cooler months; the plant will not replace removed leaf area quickly.
Deadhead spent blooms once stalks turn tan and papery - cut at the base where the stalk meets the rhizome, the same depth as a dead petiole.
Tools, Sanitation, and Handling Safety
Use sharp bypass pruners for small petioles and a clean serrated knife or hand saw for thick fibrous bases on mature clumps. Dull tools crush tissue and leave ragged cuts that slow drying. Sterilize blades with 70% isopropyl alcohol before work and between fans if disease is suspected.
Wear gloves - paddle edges are sharp and sap may irritate skin. ASPCA lists Bird of Paradise as mildly toxic to cats and dogs if ingested. Bag trimmings and keep tools away from pets.
The First Cut to Make
After a quick fan-by-fan inspection, remove all fully dead petioles at the rhizome before considering any live green tissue. This single pass often transforms an indoor clump from shabby to presentable without stressing the plant. Only once dead material is cleared should you evaluate spent flower stalks, weak outer fans, or cosmetic split-leaf trimming.
Where to Cut - Petiole Base, Not Mid-Leaf
The correct cut for a dying leaf is at the petiole base where it meets the rhizome - essentially at soil line on that fan. Remove the whole structure; do not trim individual leaflets along a dead blade.
For an entire fan, trace outer petioles to the rhizome and cut the cluster at the base while preserving neighboring fans. Never cut the central emerging spear - the newest folded leaf at the fan center.
If you trim a cosmetic split on a green leaf, follow the natural paddle contour with sharp scissors. Large mid-blade shortening usually looks worse than leaving a functional split leaf intact.
Step-by-Step Bird of Paradise Pruning
- Inspect each fan and mark dead petioles, spent stalks, and any fans targeted for removal.
- Sterilize tools. Remove all dead material at the base first - this alone often transforms the plant’s appearance.
- Deadhead spent flower stalks at the rhizome once they are fully tan.
- If thinning, choose the oldest outer fans with mostly brown leaves or weak growth. Remove one fan at a time and reassess balance before the next cut.
- Limit live leaf removal to about one-third of total foliage per session unless you are removing clearly failing fans entirely.
- Water normally after cleanup if soil is dry; do not overwater a freshly thinned plant. Hold heavy fertilizer until new spears unfurl.
How Much Foliage Is Safe to Remove
All fully dead leaves can go in one session - they no longer contribute energy. For live green tissue, stay near the one-third guideline during active growth. Removing more than that on a struggling indoor plant in dim light can stall recovery for a full season.
Never remove the central spear on a fan you intend to keep. If an entire fan is weak, removing the whole fan at the rhizome is cleaner than stripping individual green leaves from it.
Size Control Through Fan Removal and Division
When the pot is root-bound and multiple fans compete for space, division in spring solves size better than endless leaf removal. Lift the clump, separate rhizomes with a clean knife, and pot each section with several healthy fans. UF/IFAS describes propagation through division of mature clumps in late spring or early summer - the same window as structural pruning.
Height reduction without division means removing entire outer fans at the rhizome, not shortening blades. Plan to keep enough fans that the clump still looks balanced and can photosynthesize in your available light.
Aftercare and Recovery Timeline
Dead-leaf cleanup shows immediate visual improvement with no recovery wait. Fan removal may pause outward growth on that section for several weeks; new spears typically resume during active season within four to eight weeks on healthy rhizomes. Off-season cuts may look static until spring.
Signs pruning worked: new spears unfurling from fan centers, no soft rot at cut bases, and stable leaf color on remaining green tissue. Signs of over-pruning or bad timing: stalled spears, widespread yellowing after a heavy session, or soft rhizome tissue at cut sites.
Maintain shape by clearing dead petioles as they appear rather than waiting for a major annual strip. A quick base-level pass every few months keeps indoor clumps presentable without shock.
Common Pruning Mistakes
Cutting leaves in half for height. Mid-blade cuts do not regrow; they brown permanently at the edge.
Removing mostly green lower leaves for tidiness. Lower green leaves still feed the rhizome; premature removal slows growth on a plant that already grows slowly indoors.
Damaging the central spear. The newest leaf on each fan is the growth point; injuring it stalls that fan for months.
Pulling dead petioles instead of cutting. Tugging can tear rhizome tissue if the base is not fully detached. Cut cleanly at the base.
Pruning instead of fixing root rot. Widespread yellowing and soft bases need drainage and watering changes, not mass defoliation.
Expecting blooms after a hard cut. Flowering depends on bright light, slight root constriction, and maturity - not pruning shock.
Conclusion
Bird of Paradise pruning means base-level removal of dead petioles anytime, conservative live-tissue thinning in spring, deadheading spent stalks at the rhizome, and whole-fan cuts or division for size - never hedge-style mid-leaf shortening. Match sharp tools to fibrous petioles, protect central spears, and let bright light and stable watering support the slow path toward indoor maturity.
When to use this page vs other Bird of Paradise guides
- Bird of Paradise overview - Start here for whole-plant context before deep-diving this topic.
- Bird of Paradise problems hub - Jump to symptom-specific fix guides when this care topic does not resolve the issue.
- Leggy Growth on Bird of Paradise - Escalate here when pruning adjustments are not enough.
- Slow Growth on Bird of Paradise - Escalate here when pruning adjustments are not enough.
- Brown Tips on Bird of Paradise - Escalate here when pruning adjustments are not enough.