How to Lay Sod to Start a New Lawn: Prep to Water
Learn how to lay sod, prepare soil, stagger seams, and water the root zone so a new lawn knits in without dry edges or soggy patches, plus when to mow.
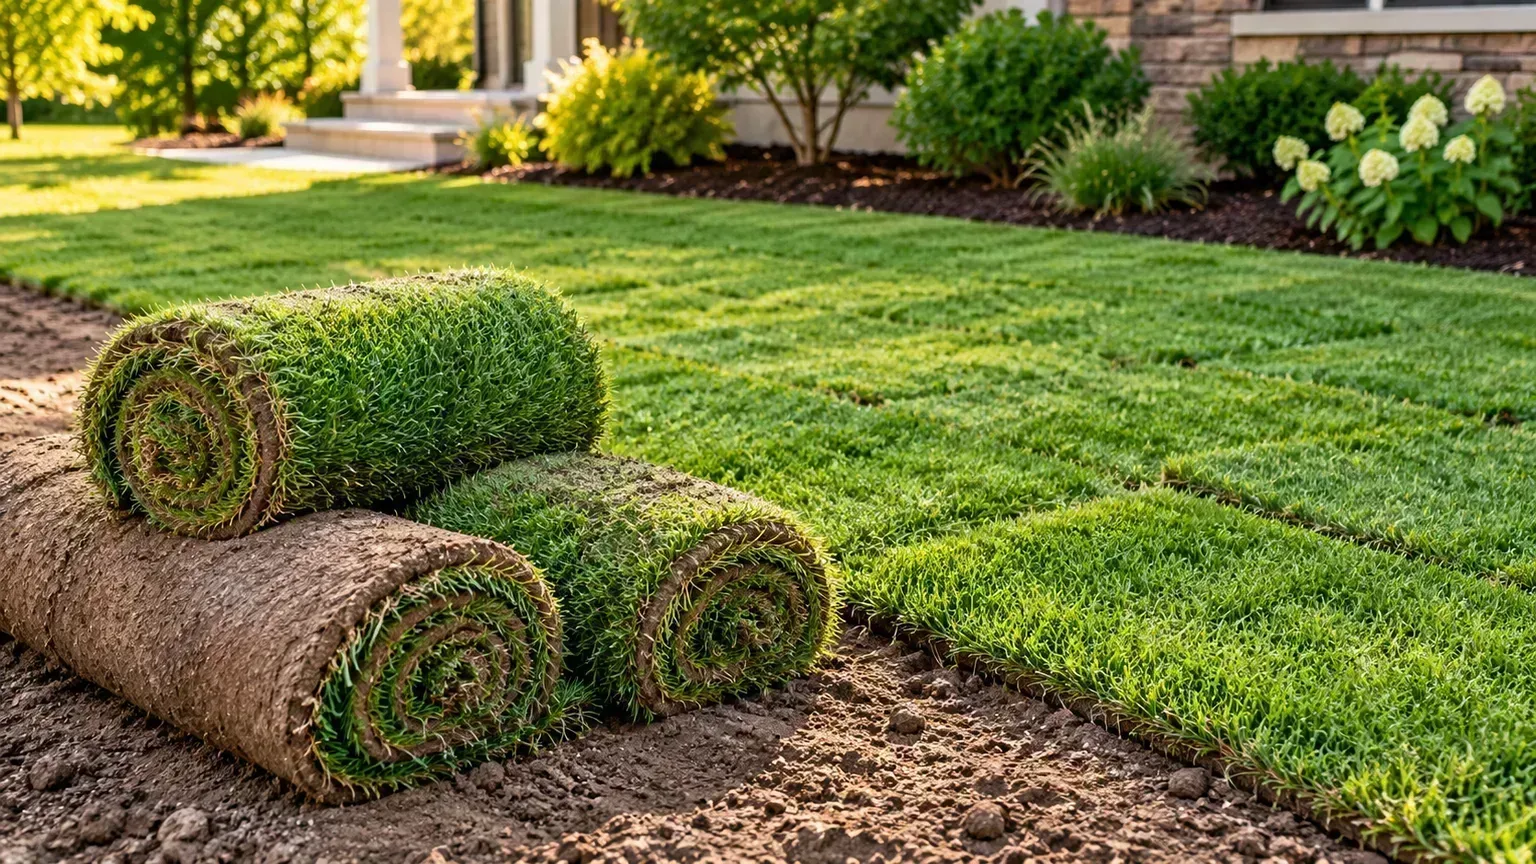
Laying sod gives a bare yard a finished green surface quickly, but the grass is not established just because the rolls look like a lawn. The roots still have to cross the seam between the sod and the soil below it. Your most important jobs are to prepare a firm, well-drained bed, fit each piece tightly, and keep the root zone moist while it knits in.
The work is easiest when planned backward from delivery. Choose the grass for your climate and site, correct grading and compaction before ordering, then have tools and water ready so fresh sod does not sit in a hot stack while you finish the ground. After installation, check the soil beneath the turf and the strength of the roots instead of relying on a fixed watering or mowing calendar.
Is Sod the Right Way to Start a Lawn?
Sod is a good fit when you want immediate ground cover, need to stabilize exposed soil, or cannot wait for seed to germinate and fill in. Because the grass is already mature, it can create a usable-looking surface much sooner than seed, but it usually costs more and still needs careful watering and limited traffic while roots establish. “Instant lawn” describes its appearance, not its readiness for games, pets, or a mower.
Seed may be a better choice when budget matters most, the area is difficult to reach with a delivery truck, or you want a wider choice of grass species for a challenging shade or soil condition. BBC Gardeners’ World Magazine frames the basic trade-off similarly: turf costs more but covers the ground quickly, while seed takes patience and can offer more flexibility. Compare the actual grass varieties and local prices before treating speed as the only factor.
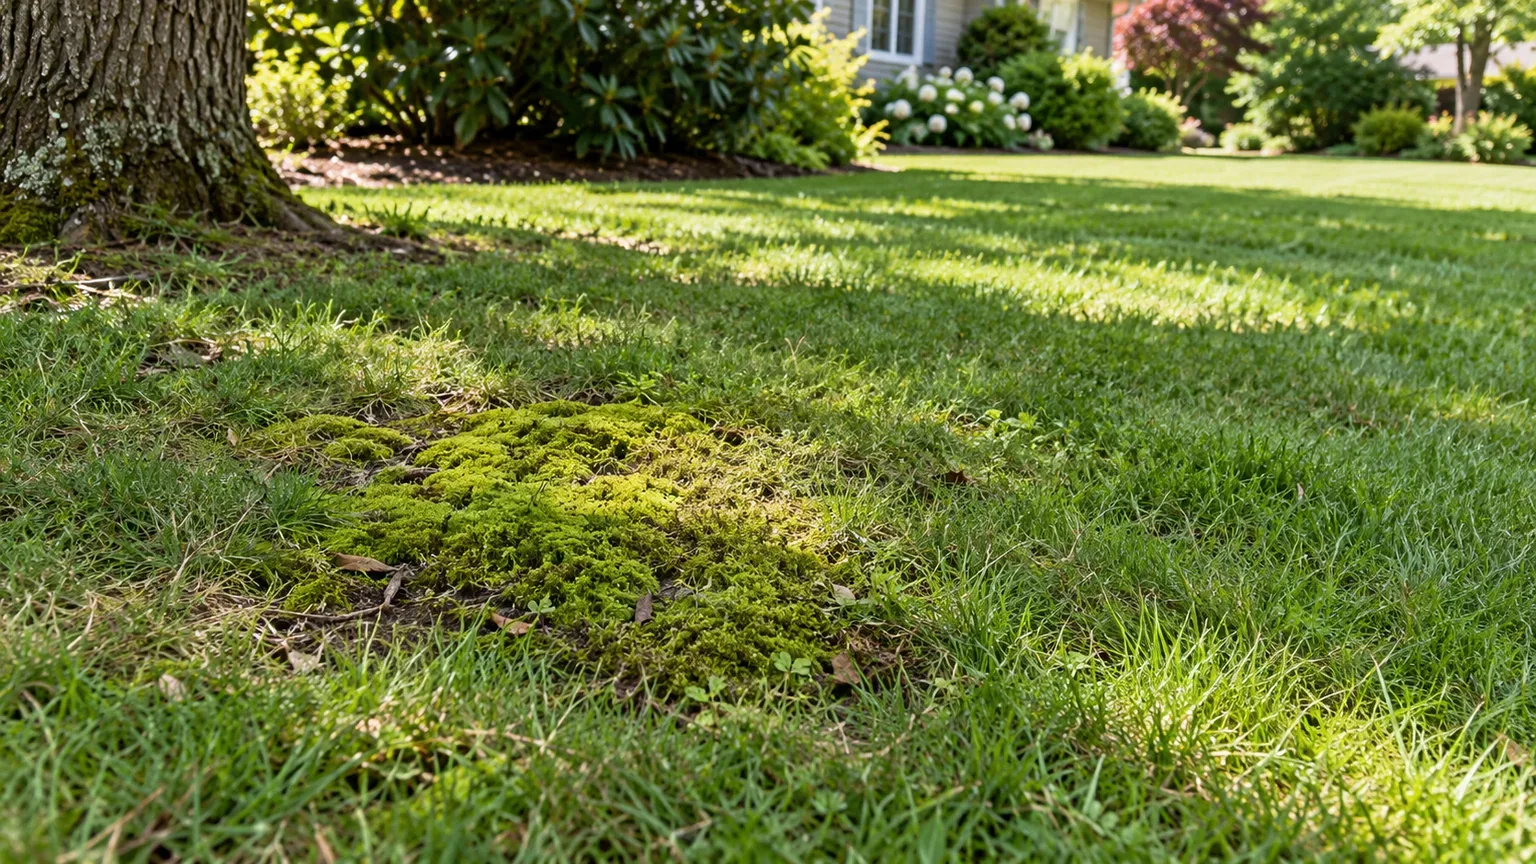
Sod also cannot correct a site that is fundamentally wrong for grass. If the yard stays shaded most of the day, drains poorly, or is compacted by construction, choose a suitable ground cover or solve those conditions first. New sod laid over a bad grade inherits the same puddles and thin spots as the old lawn, only with a larger delivery bill.
Choose Sod That Fits Your Climate, Soil, and Use
Ask the local sod farm or supplier which species and cultivars are grown for your region, and tell them how much sun the area gets, how the soil drains, and whether the lawn will see play or heavy foot traffic. Cool-season grasses such as Kentucky bluegrass, tall fescue, and perennial ryegrass suit different climates and site conditions than warm-season grasses such as Bermudagrass and Zoysia. A variety that thrives in one region may thin out, brown, or fail to survive winters in another.
Think about light and maintenance as well as climate. A sunny sports lawn and a shaded strip under mature trees should not automatically receive the same sod; shade tolerance, mowing height, irrigation demand, and wear tolerance vary by grass type. WSU Extension’s lawn chapter emphasizes matching grass to local climate, drainage, shade, and expected use rather than assuming one species is right for every yard.
If you are replacing only part of an existing lawn, ask what species and cultivar are already there before ordering. A visually close match can still differ in leaf texture, green color, growth rate, and seasonal dormancy, so a replacement patch may stand out even when it roots successfully. For a new lawn, write down the variety, delivery date, and supplier’s establishment directions; you will need the grass name when making later choices about mowing and fertilizer.
Pick a Weather Window and Plan Delivery
The best installation window depends on whether the sod is cool-season or warm-season turf and on local weather. Penn State Extension lists spring, late summer, and fall as favorable periods for cool-season turf, while noting that sod can be installed outside those windows when soil is not frozen. Warm-season sod is generally best installed during its active warm-weather growth, but your local extension office or supplier can narrow the window for your species and region. A Melbourne turf supplier, Lilydale Instant Lawn, likewise stresses having the ground ready before delivery; its seasonal recommendations, however, apply to its local climate.
Avoid working on frozen or saturated soil. Wet soil smears underfoot, compacts easily, and can leave the sod sitting over slick, airless surfaces; dry, hot soil can pull moisture from the roots before they make contact. A mild, overcast day is helpful, but having water, labor, and the prepared bed ready matters more than waiting for perfect clouds.
Schedule delivery only after the area is finished and accessible. Sod is perishable: Penn State Extension says it can deteriorate within 24 to 48 hours in warm weather, and recommends using it promptly. If a delay is unavoidable, unroll the pieces turf-side up in a cool, shaded spot and keep them moist; leaving rolls stacked in direct sun can heat and damage the grass inside the pile.
Measure the Yard and Stage the Tools
Measure the area before ordering, splitting an irregular yard into rectangles or other simple shapes and adding their areas. Subtract beds, paths, and other areas that will not receive turf. Ask the supplier how many square feet each roll or pallet covers and what allowance they recommend for your layout; curves, narrow strips, and obstacles create more cut waste than a simple rectangle.
Have a sharp sod knife or sturdy utility knife, spade, rake, hose, and sprinkler ready. A lightweight lawn roller can help press the sod into the bed after installation, but it should not be used to compress wet soil or force water out of it. For a large or steep site, arrange enough help to keep the delivery moving and check whether a sod cutter or grading equipment is worth renting for preparation.
Make a simple layout plan before the truck arrives. Identify the straight edge where you will begin, the route for moving rolls, and the places where trimmed pieces can go without leaving tiny, exposed scraps along the lawn perimeter. Put the pallets as close to the work area as access safely allows, since repeatedly carrying heavy rolls wastes time while the sod dries.
Prepare the Ground for Root Contact
Good preparation is the part you cannot fix cheaply after the grass is down. The bed needs to be free of competing turf and major debris, drain without ponding, and feel even and firm enough that sod roots can touch it across the whole surface. Penn State Extension treats preparation for sod as the same foundation work used for other turf establishment: soil, grade, and compaction deserve attention before installation.
Remove old turf, weeds, and debris
Do not lay new sod directly over an existing lawn. Old grass, thatch, and weed crowns separate the new roots from prepared soil, and the buried vegetation can settle unevenly as it decomposes. Cut and remove the old turf with a sod cutter or shovel, and remove rocks, sticks, construction scraps, and perennial weed roots that would interrupt grading or create air pockets.
Avoid simply tilling persistent weeds into the bed. Penn State Extension notes that root fragments, crowns, and seeds from some weeds can regrow after tilling, so remove difficult perennial weeds thoroughly and identify a control approach appropriate for your site before ordering sod. If you consider any herbicide, follow its label and local guidance about use before turf installation; never improvise a product, rate, or waiting period.
Test soil, correct drainage, and set the grade
If you are starting on construction fill, correcting a chronically weak lawn, or considering lime or fertilizer, take a soil test before adding amendments. A lab can identify pH and nutrient needs that are not visible by looking at the soil; Penn State Extension recommends using test results to guide lime, fertilizer, and organic matter. Skip the habit of adding a high-phosphorus starter fertilizer automatically, since the correct product and timing depend on the test, grass, and local rules.
Check where rainwater flows. Grade the surface so water moves away from the house without creating a steep, hard-to-mow slope or sending runoff toward a neighbor. Correct low areas and drainage problems across the site, rather than trying to disguise a basin with a thin layer of topsoil just before laying turf.
Imported topsoil is useful when the site lacks suitable soil, but it is not a universal six-inch recipe. Penn State Extension describes four to six inches of settled, good-quality topsoil for a new lawn and recommends blending part of that layer into the subsoil; WSU Extension warns that shallow imported soil over a hardpan can leave roots and drainage constrained. Those recommendations underscore why construction fill, native clay, sandy soil, and well-drained garden soil need different corrections.
Firm and smooth the bed without compacting it
Loosen compacted soil enough for roots and water to move through it, especially where trucks or construction equipment have crossed the yard. You do not need to deeply till healthy, workable soil simply because a tiller is available. If the soil is wet enough to smear, wait; heavy machinery and repeated foot traffic can press wet soil into a dense layer that drains poorly.
Rake away clods and stones, then firm the surface lightly so it will not settle into deep ruts under the sod. WSU Extension describes a prepared surface where a 160-pound person leaves a footprint about half an inch deep: firm enough to support turf, but not hard-packed. Use a roller only when needed and with restraint; if the roller leaves deep tracks or water squeezes up, the bed is too wet or the pass is too heavy.
Set the finished soil level slightly below adjacent pavement or edging to account for the thickness of the sod. Walk the area in several directions and look across it from the side; small humps become scalp points during mowing, while shallow depressions collect water. Finish with the bed slightly moist, not muddy, so it can support the sod while still allowing good contact.
Lay Sod with Tight, Staggered Seams
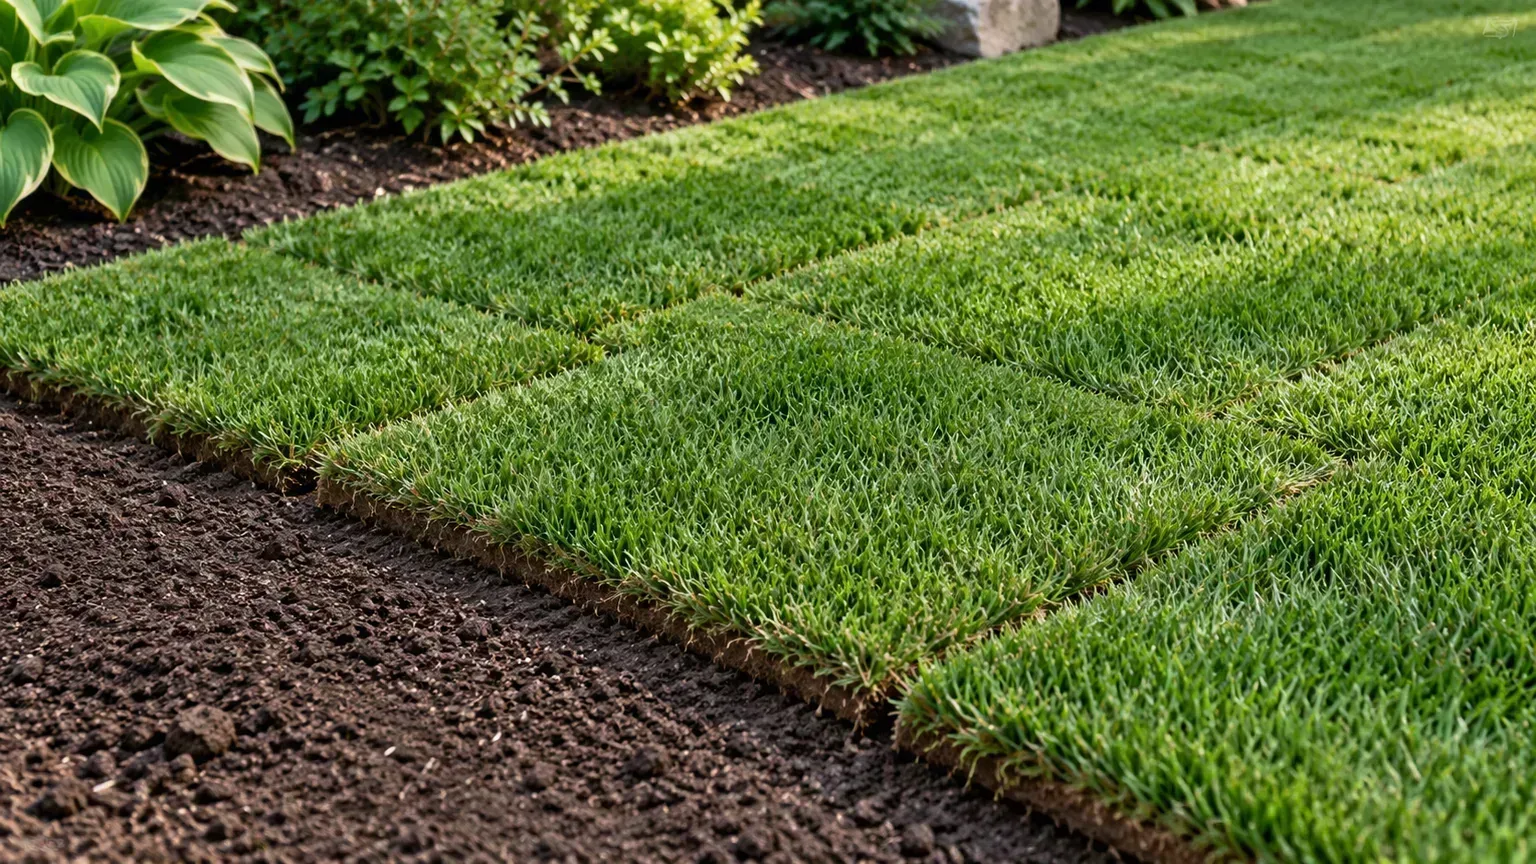
Start along a straight edge such as a sidewalk, driveway, or taut string line. Unroll each piece without stretching it, press it against the previous piece so the edges meet, and stagger the end joints in the next row like brickwork. Penn State Extension recommends this staggered arrangement because it supports the edges and avoids a continuous seam that can dry or separate.
Do not overlap the strips or leave channels between them. Overlaps create ridges that dry unevenly and can be scalped later; gaps expose soil, dry quickly, and slow the lawn from knitting together. If a strip does not meet its neighbor, move the entire piece into position rather than pulling on it until it stretches.
Fit edges, curves, and slopes
Use larger pieces along exposed edges and put cut sections toward the middle of the lawn where neighboring sod protects them from drying. Cut cleanly around beds, trees, sprinklers, and paths with a sharp knife; avoid tiny slivers that can curl or shrink. A leftover piece trimmed to fit is better than stretching a strip across a gap.
On a slope, lay the strips across the slope rather than running long seams straight downhill. Secure them with landscape staples or suitable stakes if they might slide, especially before watering or during a storm, and remove the supports once the sod is anchored. For a steep or erosion-prone bank, ask the supplier or a landscape professional whether sod is an appropriate choice and how it should be secured.
Once the whole area is down, check for lifted corners, bridges over hollows, and uneven joins. A light pass with a roller can settle the turf against the bed, but avoid rolling if the soil is saturated or soft. Water immediately after installation so moisture reaches through the sod and into the soil beneath it.
Water New Sod Through Rooting
Watering is not finished when the blades look wet. The soil beneath the sod has to stay moist enough for roots to grow into it, while still holding air and draining excess water. Penn State Extension identifies lack of water as a common cause of sod deterioration and advises watering until the soil underneath is wet; its guidance says daily irrigation may be needed until the turf is well rooted, sometimes up to four weeks depending on weather and site conditions.
After the first thorough watering, lift a corner in a few locations and feel the underside of the sod and the soil below it. They should be damp through the contact layer, not dry and dusty or so saturated that the surface turns muddy. Check sunny edges, slopes, and areas near pavement first because these often dry faster than the lawn center.
Adjust irrigation to soil and weather
Check moisture at least once a day during the early establishment period, but let the check decide whether to irrigate. Heat, wind, full sun, sandy soil, slope, and poor sprinkler coverage can require more frequent watering; cool cloudy weather and rain can reduce it. Clay or compacted soil may absorb water slowly, so shorter cycles with pauses can prevent runoff while giving moisture time to sink in.
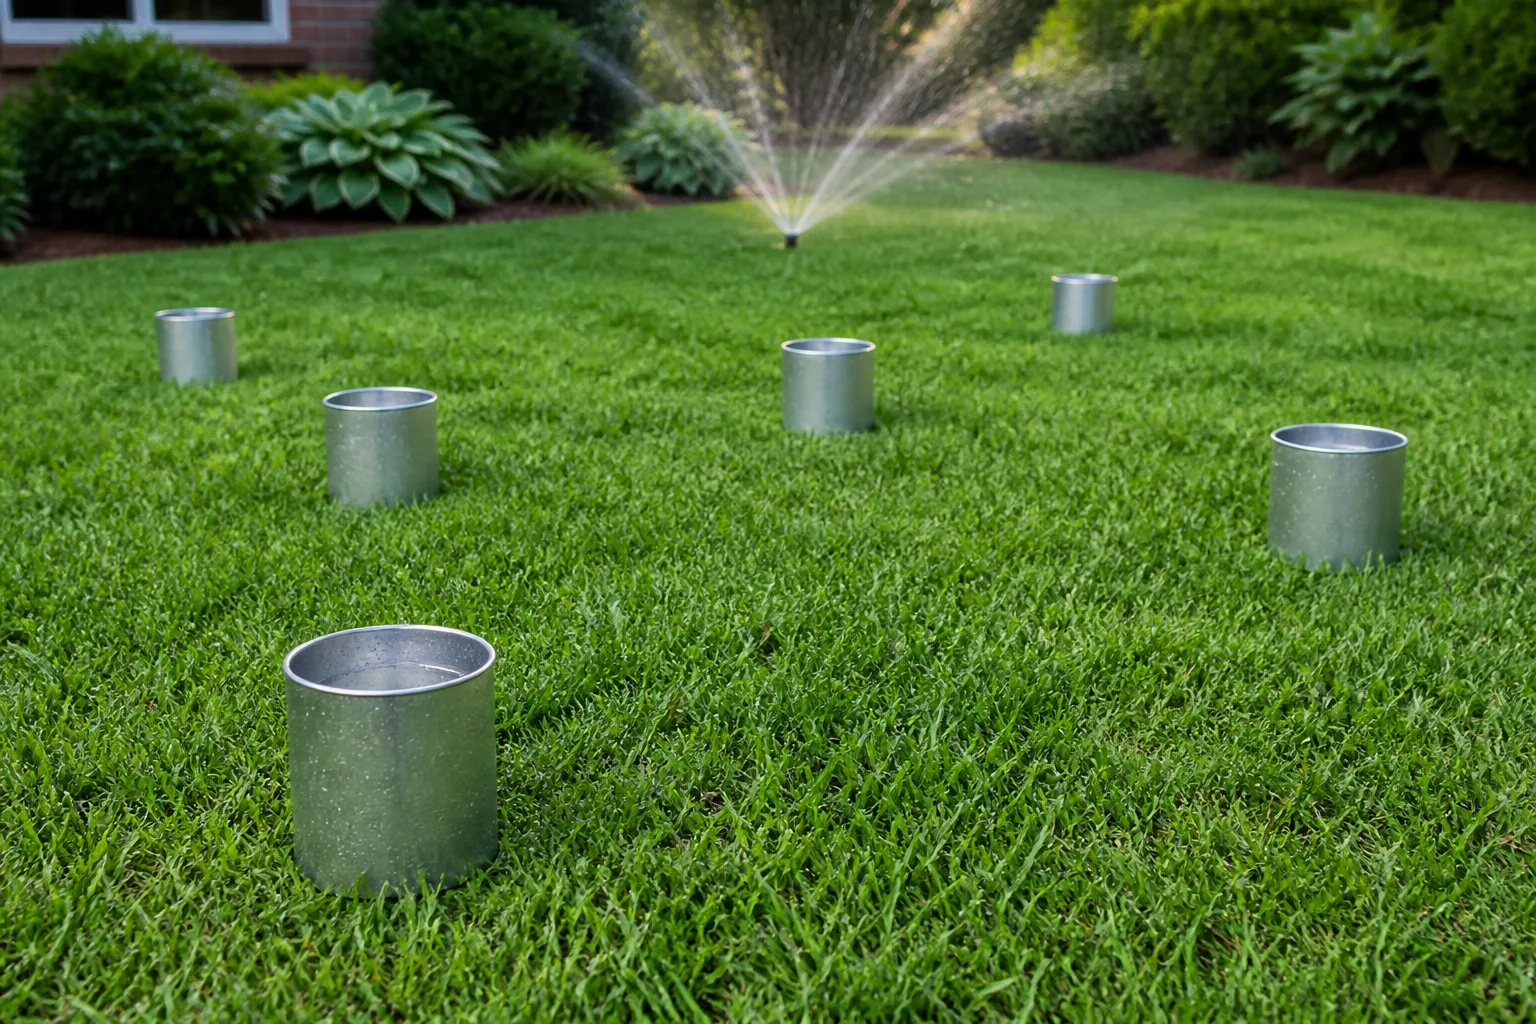
Water slowly enough that it passes through the turf instead of running across it. Penn State Extension’s irrigation guidance explains that application faster than the soil can absorb wastes water and encourages runoff, and recommends checking sprinkler distribution with several containers placed across the area. If one catch can fills quickly while another stays nearly empty, reposition the sprinkler or divide the yard into zones rather than watering the entire lawn longer and flooding the wet spots.
As roots anchor, gradually reduce the frequency and encourage deeper watering appropriate to the grass and soil. To check progress, tug gently on a corner in several parts of the lawn; resistance means the roots are beginning to hold, while sod that lifts freely needs more establishment time. The transition is uneven across a large yard, so keep watering the slowest-drying or slowest-rooting sections according to their actual condition.
Know When to Mow, Fertilize, and Allow Traffic
Do not mow by the calendar alone. Wait until the sod resists a gentle lift and the grass has grown enough that a light cut will remove no more than about one-third of the leaf blade. Penn State Extension’s guidance for new turf similarly recommends beginning mowing before grass grows more than one-third above the desired cutting height; a sharp blade and light walk-behind mower reduce stress while the roots are still shallow.
Mow when the surface is dry enough to support the mower without leaving tracks. Set the blade at the normal height for the grass variety, or slightly higher for the first cut if you are unsure, and avoid sharp turns that can peel up an edge. If the lawn is tall because mowing was delayed, lower the height over several cuts instead of scalping it in one pass.
Ask the sod supplier whether the turf received fertilizer before harvest, and use the soil-test recommendation and product label to decide what comes next. A blanket application immediately after laying is not a substitute for the right nutrient diagnosis, and extra nitrogen can encourage top growth when the roots still need to establish. Likewise, postpone weed-control products until the grass is established and the label specifically permits use on that turf; hand-pull isolated weeds in the meantime.
Keep children, pets, furniture, and heavy equipment off the lawn until the strips resist lifting and mowing does not shift them. Penn State Extension warns that traffic during establishment can restrict root development and thin the turf. Light access for watering is unavoidable, but use the same path and avoid walking on wet, soft areas where footprints can become permanent hollows.
Fix Dry Edges, Gaps, and Soft Patches
When a section looks pale, curled, or dry at the edge, check the underside before applying more water. If both the sod and soil are dry, water slowly until the contact layer is damp; if the soil is wet but the grass still declines, investigate drainage, heat, damaged turf, or poor soil contact rather than adding another irrigation cycle. Color alone is not enough to diagnose the cause.
For a gap between pieces, fit a small sod scrap into the opening instead of stretching the neighboring rolls. If the pieces are newly installed and a section bridges a hollow, lift it carefully, smooth and firm the soil beneath, reset the turf, and water it back in. Once the roots have knitted, avoid peeling up large areas casually; a persistent depression may need a planned repair rather than repeated spot watering. After establishment, transition to an efficient routine; our guide to watering a lawn without being wasteful covers how to tune an established lawn’s schedule.
Soft, muddy patches often point to overwatering, runoff collecting in a low spot, or soil that cannot absorb water fast enough. Pause irrigation, let the surface drain, and check whether the sprinkler is applying water faster than the site can take it. If water continues to stand after rain or the lawn repeatedly fails in the same place, correct the broader grade or drainage problem before trying to replace more sod.
If the whole lawn is drying in streaks, test the sprinkler pattern with catch cans and inspect its reach at the edges. If the lawn remains yellow or brown despite appropriate moisture and soil contact, contact the sod supplier or a local extension office with the grass type, installation date, watering pattern, and photos. That information is more useful for diagnosing disease or nutrient problems than applying fertilizer or fungicide by guesswork.
Conclusion: Prioritize Soil Contact and Moisture
Successful sod installation depends on more than rolling out green strips. Choose turf adapted to your climate and yard, finish drainage and soil work before delivery, lay pieces tightly with staggered joints, and water until the soil below the sod is damp. Then protect the lawn from traffic and use root resistance—not a date on the calendar—to decide when mowing can begin.
The best next step is to inspect your site while it is bare: test the soil if amendments are being considered, check how rain drains, and remove old turf before ordering. A well-prepared bed and a few careful moisture checks prevent more common sod failures than extra fertilizer or a heavier roller ever will.