How to Grow Tulips Indoors: A Forcing Guide
Force tulips indoors with a step-by-step plan for potting, 35–45°F chilling, refrigerator storage, light, watering, and what to do after bloom.
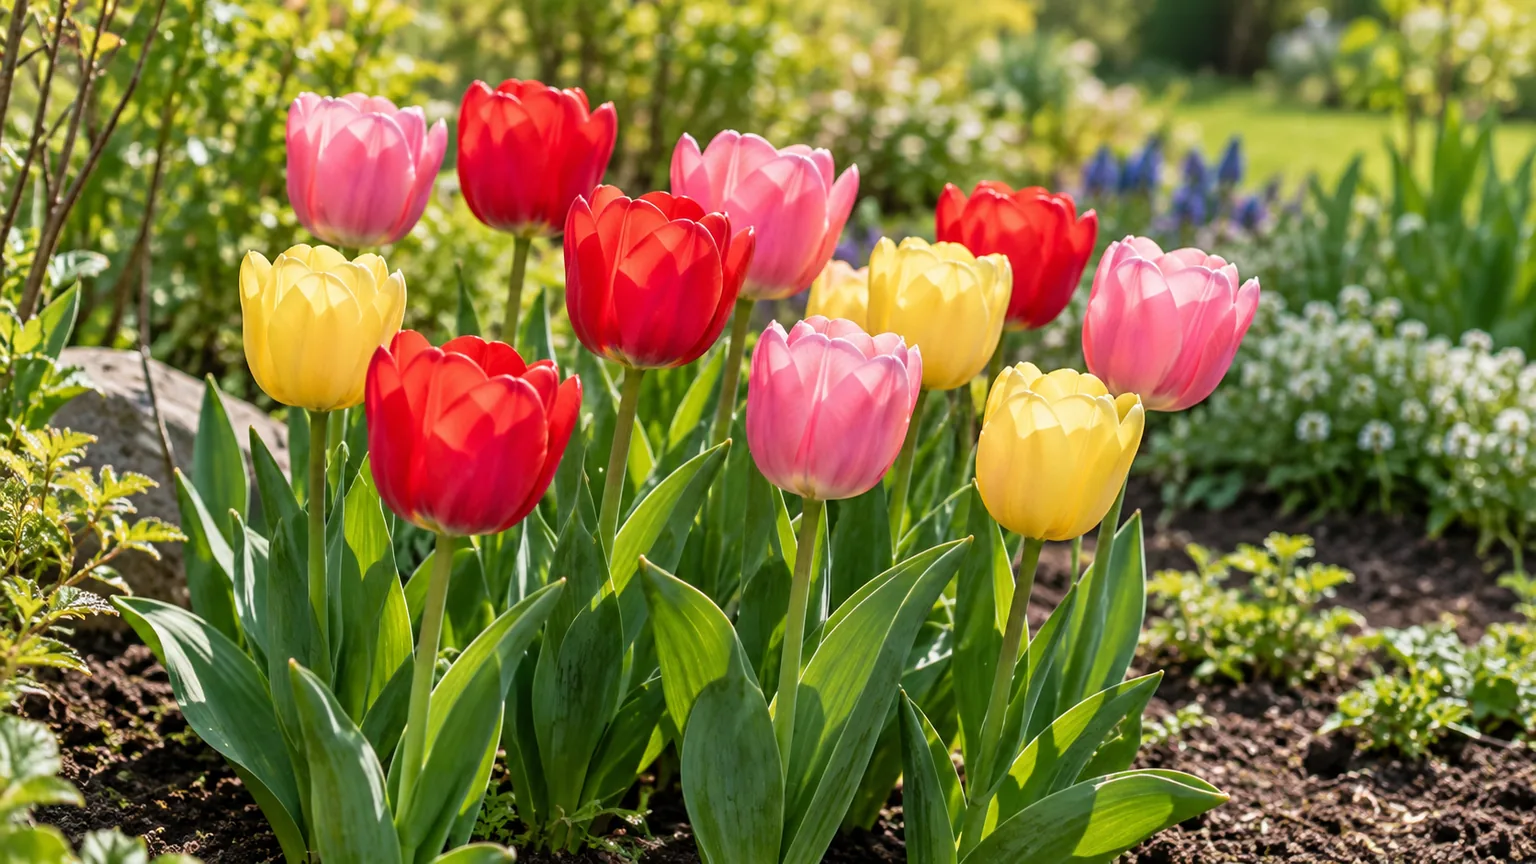
Tulips can bloom indoors, but they do not behave like ordinary houseplants. The reliable method is forcing: pot healthy bulbs, give them a long cool period so roots can form and the flower can develop, then move the pot into light and moderate warmth. The display is seasonal; most forced bulbs are not dependable repeat performers in a living room or garden.
The part that takes planning is the wait. A tulip may need roughly 12 to 16 weeks of cold, followed by a few weeks to grow and open. Start with the target date, count backward, and use a thermometer to manage the cold stage. That simple order prevents the common disappointment of buying bulbs in December and expecting flowers for a midwinter event.
What Growing Tulips Indoors Really Means
An indoor tulip is usually a garden bulb temporarily brought into bloom, not a permanent indoor plant. Tulips evolved to grow through a cool dormant season before flowering; a warm windowsill cannot replace that sequence. Forcing recreates part of that outdoor cycle in a pot, which is why light and water alone will not make an unchilled bulb flower well. Gardening Know How’s explanation of tulip forcing likewise describes the cold period as a prerequisite to starting indoor growth.
Plan on one main bloom display. The bulb spends stored energy building leaves, stem, and flower, and indoor conditions do not give it the long outdoor growing season it would ordinarily use to replenish that reserve. You can plant a spent bulb outside after its foliage ripens, but consider that an experiment rather than a promise of next spring’s flowers.
Choose Bulbs That Can Finish the Job
Buy large, firm, unblemished bulbs sold for forcing or early flowering. A bulb with soft spots, mold that has penetrated the scales, or a dried, hollow feel is a poor bet. If the supplier lists a cultivar-specific chill requirement, follow it; different tulips do not all reach bloom on exactly the same schedule.
Single Early, Double Early, and Triumph tulips are commonly recommended for forcing. Early types are a practical choice when you want a shorter route from cold storage to bloom, while sturdy-stemmed varieties are less likely to lean in a bright but warm home. Longfield Gardens’ forcing guide also points to species tulips as an option; choose a named variety with a clear forcing description rather than relying on a mixed bag with different bloom times.
If you can buy pre-chilled bulbs, read the label before adding another full chilling period. Some have already received part or all of the treatment, so chilling them for many extra weeks can delay your display unnecessarily. A potted tulip purchased in bloom has already been forced by a grower; enjoy it as a temporary flowering plant and do not treat it like a newly dormant bulb.
Buy dry, dormant bulbs in fall from a supplier that names the variety and explains whether it is pre-chilled. Avoid bulbs that have already started making long, pale shoots while sitting in a warm shop; those shoots may be stressed before you begin. If a bag contains bulbs of noticeably different sizes, sort them into separate pots so the smaller bulbs do not lag behind the largest ones.
Plan Backward From the Bloom Date
Use the supplier’s instructions first. As a planning estimate, many home guides give tulips 12–16 weeks at about 35–45°F, then around 2–4 weeks in cool, bright conditions for stems and buds to develop. Longfield Gardens recommends allowing at least 14 weeks of chill for reliable results, while Gardening Know How describes 12–16 weeks as a common range. That spread is a reason to plan with a buffer, not a reason to expect a guaranteed date.
For a target bloom around February 14, count back about 16 weeks for chilling and another 2–3 weeks for the warm-up stage. That puts potting and cold storage in early October. If you start later, the likely result is a later bloom—not necessarily failure. If a precise date matters, begin more than one pot a week or two apart so the display is spread over time rather than relying on one container to hit the day.
Write the bulb variety, potting date, and cold-storage start date on a label. Set a calendar reminder for the earliest date to check roots, then decide whether to give the bulbs more chill based on the supplier’s range and the pot’s condition. A calendar estimates readiness; it does not override weak root growth or an unusually warm storage area.
| Approximate display target | When to begin a 14–16-week chill |
|---|---|
| Early January | Late August to early September |
| Mid-February | Early to mid-October |
| Mid-March | Late October to early November |
These are planning windows for bulbs that still need the full cold treatment; the extra grow-out period means potting usually starts earlier than the calendar date suggests. A pre-chilled bulb can shorten the schedule, but only use the label’s stated remaining chill rather than guessing how much cold it received before purchase. If the display must be ready for a particular day, keep a later-blooming backup plan such as a fresh cut-flower bouquet instead of forcing the bulb with excess heat.
Pick a Pot and Mix That Drain Well
Choose a stable container with drainage holes and enough depth for roots, commonly around 6–8 inches for a small group. A broad pot gives tall leaves and flowers a steadier base. If you want a decorative bowl without holes, keep the bulbs in a nursery pot and set it inside the bowl only after watering and draining; standing water trapped at the bottom is an easy way to rot bulbs.
Use a fresh, lightweight container potting mix that holds some moisture but lets excess water escape. Avoid dense garden soil, which compacts in a pot and stays wet longer than a bulb container should. Longfield Gardens’ container guidance also favors a well-drained, soilless mix. Fertilizer is not needed for a one-season forced display: the bulb already stores the energy needed to produce its first flower, and extra feeding will not correct inadequate chilling.
Pot Bulbs So Roots Can Develop
Moisten the mix slightly before filling the pot, then set the bulbs with the pointed nose facing up and the flat root plate down. Tulips can be arranged close together for a full “bouquet in a pot,” but leave a small gap so bulbs are not pressed against each other or the pot wall. If you want foliage to fan over the rim, face each bulb’s flatter side outward.
Cover the bulbs with potting mix so the tips are just visible or under roughly an inch of mix, depending on pot depth. Leave watering space below the rim. Water thoroughly once, let the pot drain, and discard any water sitting in the saucer before placing it into storage.
Give Tulips a Real Winter
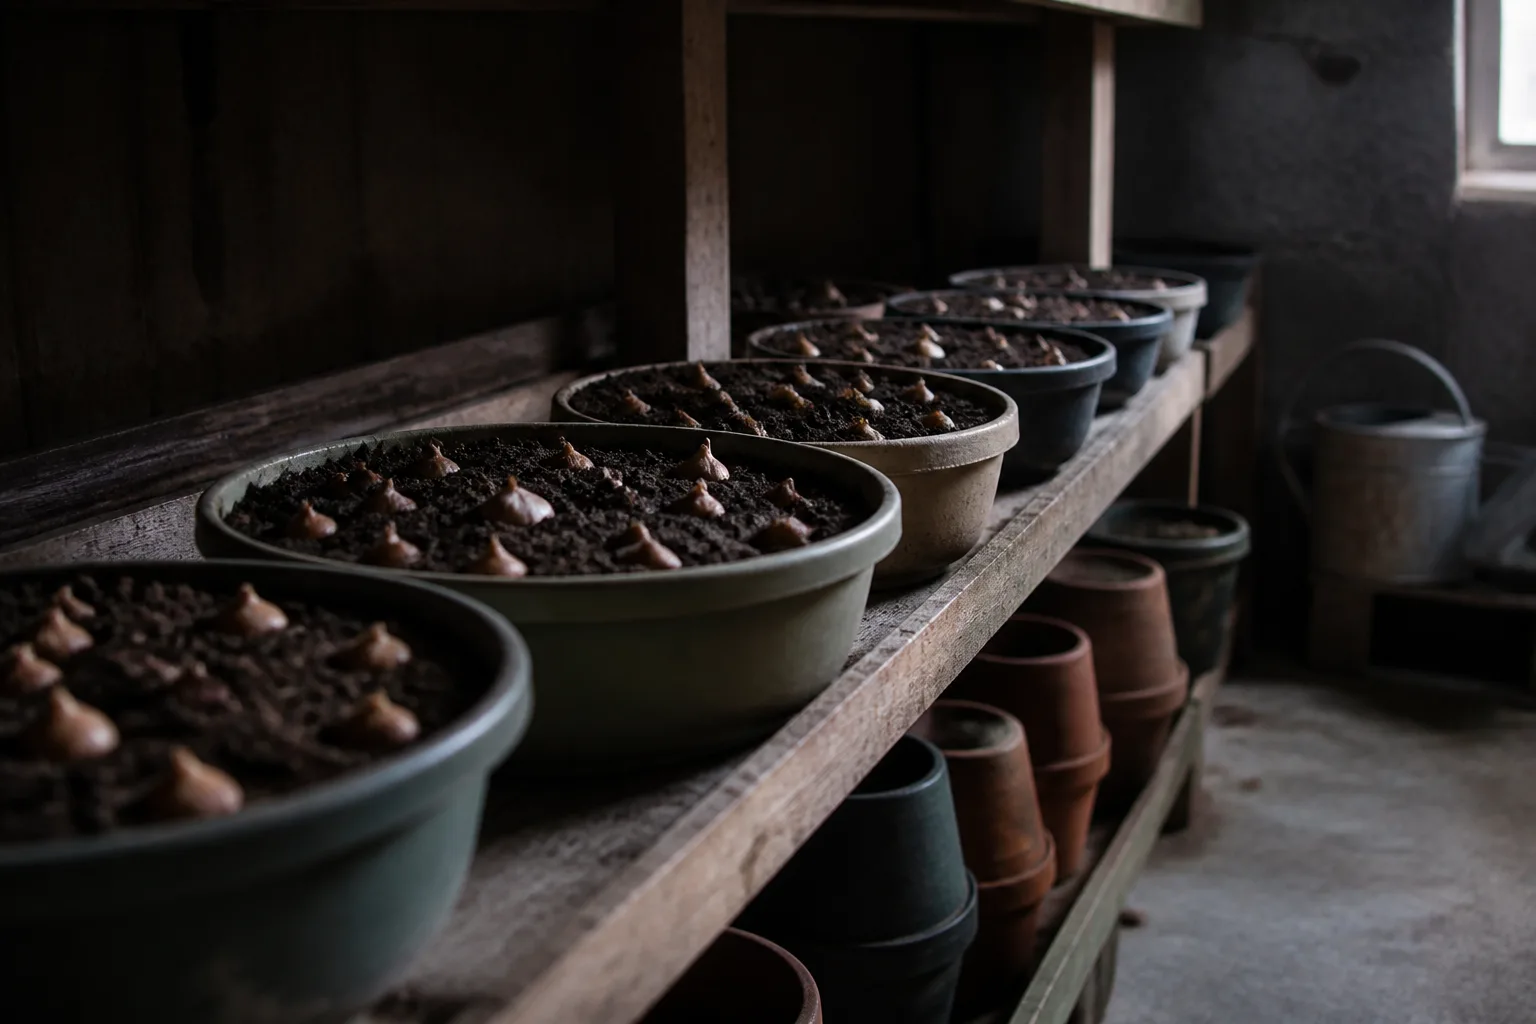
Put the planted pot in a consistently cool place, ideally around 35–45°F, and keep the mix lightly moist. This chill period is when the root system develops and the bulb’s prepared flower proceeds toward growth. If the storage site is too warm, shoots may start before the bulb has received enough cold; if the pot freezes hard, roots and bulbs can be damaged.
A dark location is convenient because it keeps pale shoots from stretching toward stray light while they are still cold. Darkness itself is not the substitute for chilling—the temperature and duration are the critical conditions. Check the pot every week or two: water only if the mix is drying, and make sure the drainage hole is not blocked.
If you are unsure whether to bring the pot out, look under the container first. White roots visible at the drainage holes show that the bulbs have established; small shoots may also be present. If the chill window has passed but roots are scarce, give the pot another week or two rather than putting it straight into a heated room. This root check is more informative than judging readiness by the calendar alone.
Do not keep the soil saturated. A pot that stays soggy in a cold room is at greater risk of rot, while a bone-dry pot can injure developing roots. Aim for evenly damp mix, similar to a wrung-out sponge, and let the container drain freely after any watering.
Choose a Refrigerator or Another Cold Space
A refrigerator can work if it stays in the right temperature range and you can protect the bulbs from ethylene, a gas released by ripening produce that can damage developing flower buds. Keep the pots away from apples, pears, and other ripening fruit; a separate refrigerator or a cool, fruit-free compartment is the simplest choice. Longfield Gardens and Gardening Know How both flag ethylene exposure as a risk during bulb chilling. Do not rely on a refrigerator’s dial setting—place a thermometer near the pots and check the actual temperature.
An unheated basement, cold cellar, or garage can be suitable if it remains cool without freezing. Temperatures in an attached garage can swing widely, so use a minimum-and-maximum thermometer before trusting it for a months-long chill. If the only available space regularly drops below freezing or stays above the recommended range, a temperature-controlled refrigerator is safer than guessing.
Wake the Pot Gradually After Chilling
When the chilling period is complete and roots are visible at the drainage holes, move the pot to a cool, dim-to-bright room for several days. Pale shoots are normal after darkness. Let them green gradually rather than setting them immediately beside a radiator or in hot direct sun.
After this transition, place the pot where it gets bright light and stays cool. A room near 60–65°F is a reasonable target while buds develop; cooler conditions generally slow the opening and give the flowers a longer display. Longfield Gardens suggests beginning in a cooler 50–60°F space before moving tulips into brighter conditions. Use the plant’s pace and your room temperature as guides rather than forcing rapid growth with heat.

Manage Light, Water, and Room Temperature
Give growing tulips strong window light, ideally bright daylight for much of the day. Turn the container a quarter turn every day or two if the stems lean toward the window. Weak light is not the only cause of floppy growth, but a dim, warm room encourages stretched stems and an uneven display.
Water when the upper layer of mix begins to dry, then let extra water drain away. The roots need moisture, not a permanently wet saucer. During rapid stem growth, check the pot more often because a small container can dry quickly near a sunny window or heat vent. Do not let the bulb completely dry while leaves are actively growing.
Keep the pot away from radiators, fireplaces, and hot air vents. Warmth speeds flower development and fading; it cannot make an under-chilled bulb produce a strong stem. If the room is hot, move the pot to the coolest bright area available overnight and return it to display during the day.
Keep Stems Upright and Blooms Longer
The easiest way to reduce leaning is to prevent it: start with sturdy varieties, give the pot bright light, and avoid placing it in a warm corner. Rotate the pot so stems do not all bend toward one direction. If a few stems still need support, use a discreet narrow stake and tie loosely; pulling a stem upright too tightly can crease it.
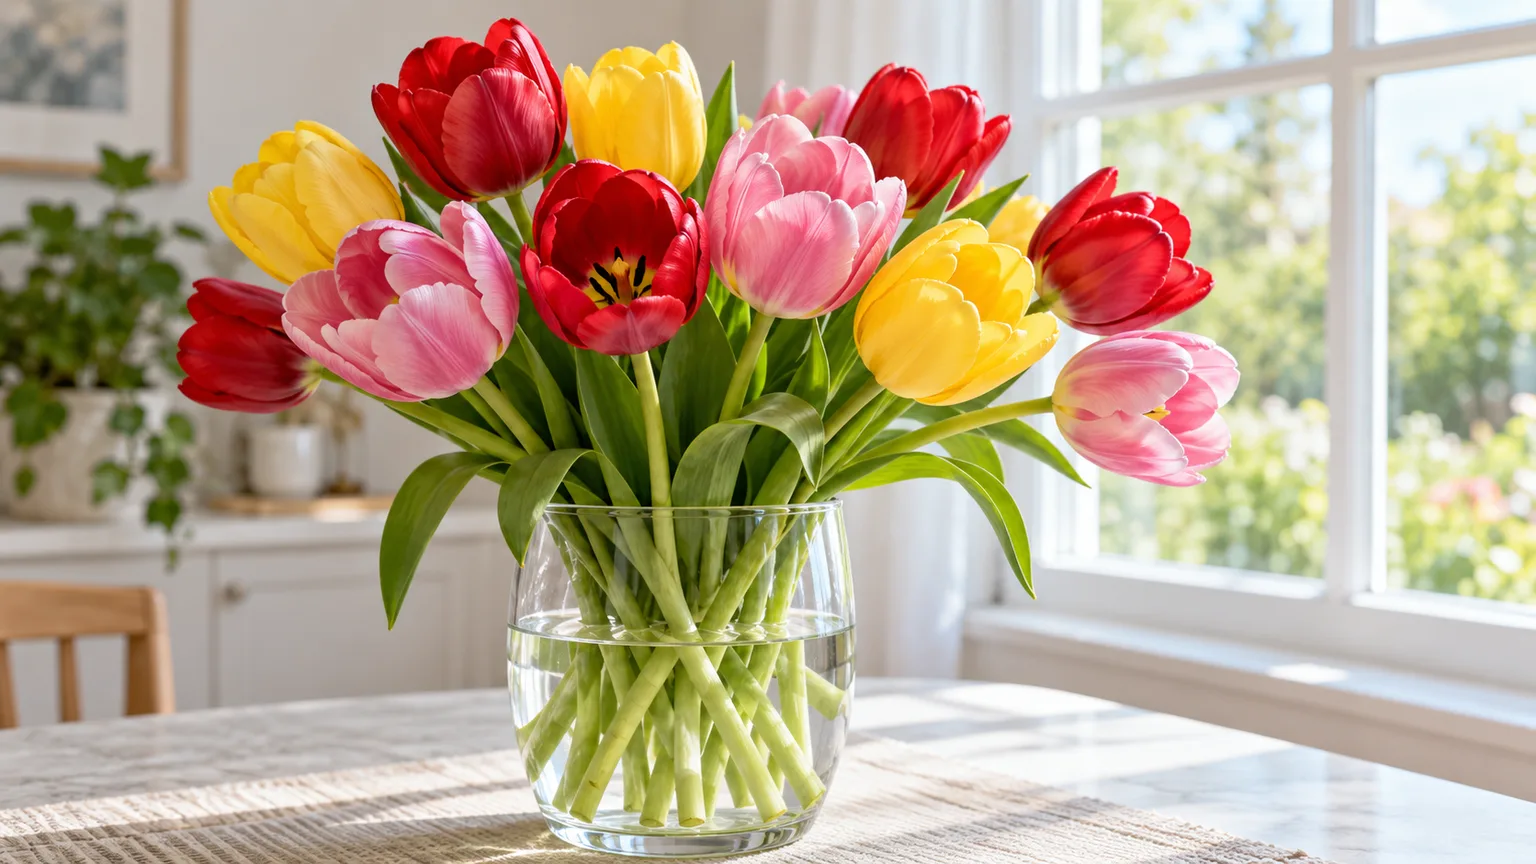
Once the flowers open, move them out of harsh midday sun and away from heaters. A cooler room slows petal aging, although it cannot freeze the flowers at the same stage. Tulip heads also keep shifting as they open and respond to light, so a slight curve is normal. If you want to use the blooms as cut flowers, cut them when buds show full color but have not opened widely, then place the stems into clean water.
Troubleshoot No Flowers, Short Stems, and Rot
When forced tulips disappoint, work backward through the sequence instead of changing everything at once. The main checkpoints are bulb quality, cold duration, temperature stability, moisture, and the transition to light. The pattern of the failure usually narrows the cause:
| What you see | Likely cause | What to do now |
|---|---|---|
| Leaves grow but no flower appears | Chill may have been too short; bulb may be small, spent, or affected by ethylene | Do not expect extra warmth to make a missing or damaged flower bud appear. For the next batch, use fresh large bulbs, keep fruit away, and provide the full cultivar-specific chill. |
| Flower opens very low or stems stay unusually short | Incomplete chilling or a variety poorly suited to forcing | Let this display finish; next time extend the cold period within the supplier’s guidance and choose a recommended forcing variety. |
| Stems stretch, lean, or flop | Room is too warm, light is weak, cultivar has tall stems, or bulbs are crowded | Move the pot to a cooler brighter spot, rotate it, and add light support only if needed. |
| Bulbs smell sour or turn soft and mushy | Waterlogged mix, poor drainage, or a bulb that was already damaged | Remove the rotten bulb and any saturated mix touching it. Improve drainage and discard bulbs that are soft throughout. |
| A little surface mold appears | High moisture and poor air movement; the bulb may still be firm | Wipe off superficial mold, improve airflow, and reduce watering. If the bulb itself is soft or the mold returns with a sour smell, discard it. |
| Shoots appear pale before the chill ends | Normal growth in darkness, or storage that is too warm | Pale shoots are not automatically a problem. Check the temperature and complete the required chill before moving the pot into warmth. |
A cold spell cannot be made up by placing the pot outside briefly or adding ice to the soil. The bulb needs a sustained period in the appropriate range. Record what happened, then adjust only the likely cause in the next planting so the result teaches you something useful.
For the next attempt, change one variable at a time. If the roots were strong but the flower failed, investigate bulb size, prior forcing, and fruit exposure; if roots were sparse, check temperature and moisture first. Keeping a simple note of the variety, start date, weekly temperature, and bloom date turns an uncertain winter project into a repeatable routine in your own home.
Soil, Water, and Mixed-Pot Choices
Soil is the most forgiving way to force tulips because it anchors the bulbs and provides a moisture buffer around the roots. Gardening Know How describes water forcing with a specialized bulb vase or pebbles, while Longfield Gardens favors soil for tulips because prolonged contact between bulb and water can lead to rot. If you try a vase, keep water at the root zone and below the bulb base; never submerge the bulb itself.
For a first attempt, use soil and a pot with drainage. It is easier to control moisture, see whether the pot is drying, and keep several bulbs upright. Mixed pots can be attractive, but different varieties or bulb species may need different chill lengths and may flower at different times. A single variety per pot is the more predictable choice; if you mix, label every component and accept that the display may open in waves.
Decide What to Do After the Flowers Fade
When petals fade, snip off the spent flower so the plant does not spend energy making seed. Keep the leaves in bright light and continue moderate watering while they remain green. Those leaves are how the bulb replenishes some of its reserves; cutting them off early or pulling the bulb while foliage is green reduces the chance of recovery.
If outdoor soil is workable and the weather suits the bulbs, you can plant the pot’s bulbs outside with their foliage intact, then let the leaves yellow naturally. Do not expect a strong bloom the following spring. Forcing uses stored resources and some cultivars are selected for display rather than dependable repeat performance. Many gardeners compost forced bulbs and start with fresh ones the next season; that is the reliable way to plan another indoor show.
Do not dig bulbs out and store them warm and dry while the leaves are still green. If you cannot plant outside, keep the pot in bright light and water sparingly until the foliage yellows, then compost the bulbs or store them only if you have a clear, dry, cool place and understand that recovery is uncertain. Soft bulbs, bulbs with spreading rot, or bulbs that never produced a healthy root system are not worth saving. A healthy-looking bulb can be planted outdoors after the leaves finish, but it may spend a season rebuilding before it flowers again.
Keep Bulbs and Cuttings Away From Pets
Tulips are toxic to cats and dogs, and the bulb contains the highest concentration of the compounds identified by ASPCA Animal Poison Control. Store unplanted bulbs in a closed container, keep the pot out of reach of pets that chew plants, and discard spent bulbs and foliage where animals cannot get to them. If a pet may have eaten any part, contact a veterinarian or animal poison-control service promptly rather than waiting for symptoms.
People who handle many tulips can develop an irritating skin reaction sometimes called “tulip fingers.” Poison Control recommends nitrile gloves when handling bulbs and advises keeping bulbs, seeds, and plants away from children and pets. Treat the bulbs as ornamental planting material, not food; if someone has swallowed one, contact a poison center for situation-specific guidance instead of trying a home remedy.
Conclusion
Growing tulips indoors is a calendar project built around a real winter. Choose fresh bulbs suited to forcing, pot them in a draining container, keep them around 35–45°F for the period their supplier recommends, and move them gradually into cool light after roots form. Then maintain even moisture, avoid heat, and let the flowers open at their own pace.
Expect one seasonal display, not a permanent houseplant or guaranteed return bloom. If you protect the bulbs from fruit ethylene, keep the pot from freezing or sitting wet, and plan backward with a few weeks of flexibility, indoor tulips can give you a vivid bloom when the garden outside is still asleep.