Identifying Plant Pests and Diseases by Their Signs
Holes, spots, sticky leaves, or wilt? Use this plant pest and disease guide to inspect the whole plant, narrow the cause, and choose a safe next step.

Holes, spots, sticky leaves, and wilting tell you that a plant is under stress; they do not, by themselves, name the cause. The same yellow patch can follow insect feeding, a root problem, drought, cold, nutrient trouble, or disease, so a treatment chosen from color alone can waste time or injure healthy tissue.
Start with a short investigation instead: identify the plant, note where the damage begins, look for the organism or residue that could explain it, and compare what changes over the next few days. That approach narrows the possibilities without turning every blemish into an emergency.
What to check first when a plant looks sick
Before treating, ask whether the damage is new, spreading, and serious enough to threaten the plant. A few old holes on a vigorous shrub are different from fresh chewing that is removing a seedling’s only leaves, or a wilt that is advancing across a bed while the soil stays wet.
Take one photo of the whole plant and one close-up of the newest damage. Write down the plant name, when you first saw the change, recent weather or watering, and whether nearby plants are affected. Penn State Extension’s plant-problem diagnosis method uses these kinds of observations because plant symptoms can come from pests, pathogens, environment, or care practices—and sometimes from more than one factor at once.
Use the pattern to narrow the cause
Look at the distribution of damage before you focus on a single leaf. A problem limited to one host can point toward a host-specific pest or disease; similar injury across unrelated plants often raises the likelihood of a shared condition such as frost, heat, a watering change, drift, or soil trouble. Neither pattern is proof, but it tells you where to investigate next.
| What you notice | Possible causes | Confirming check |
|---|---|---|
| Ragged holes, missing edges, or skeletonized leaves | Caterpillars, beetles, slugs, snails, or other chewers | Inspect at dusk and look for larvae, eggs, slime trails, or fresh frass |
| Tiny pale dots, bronzing, and fine webbing | Spider mites | Turn the leaf over; tap it above white paper and look for moving specks |
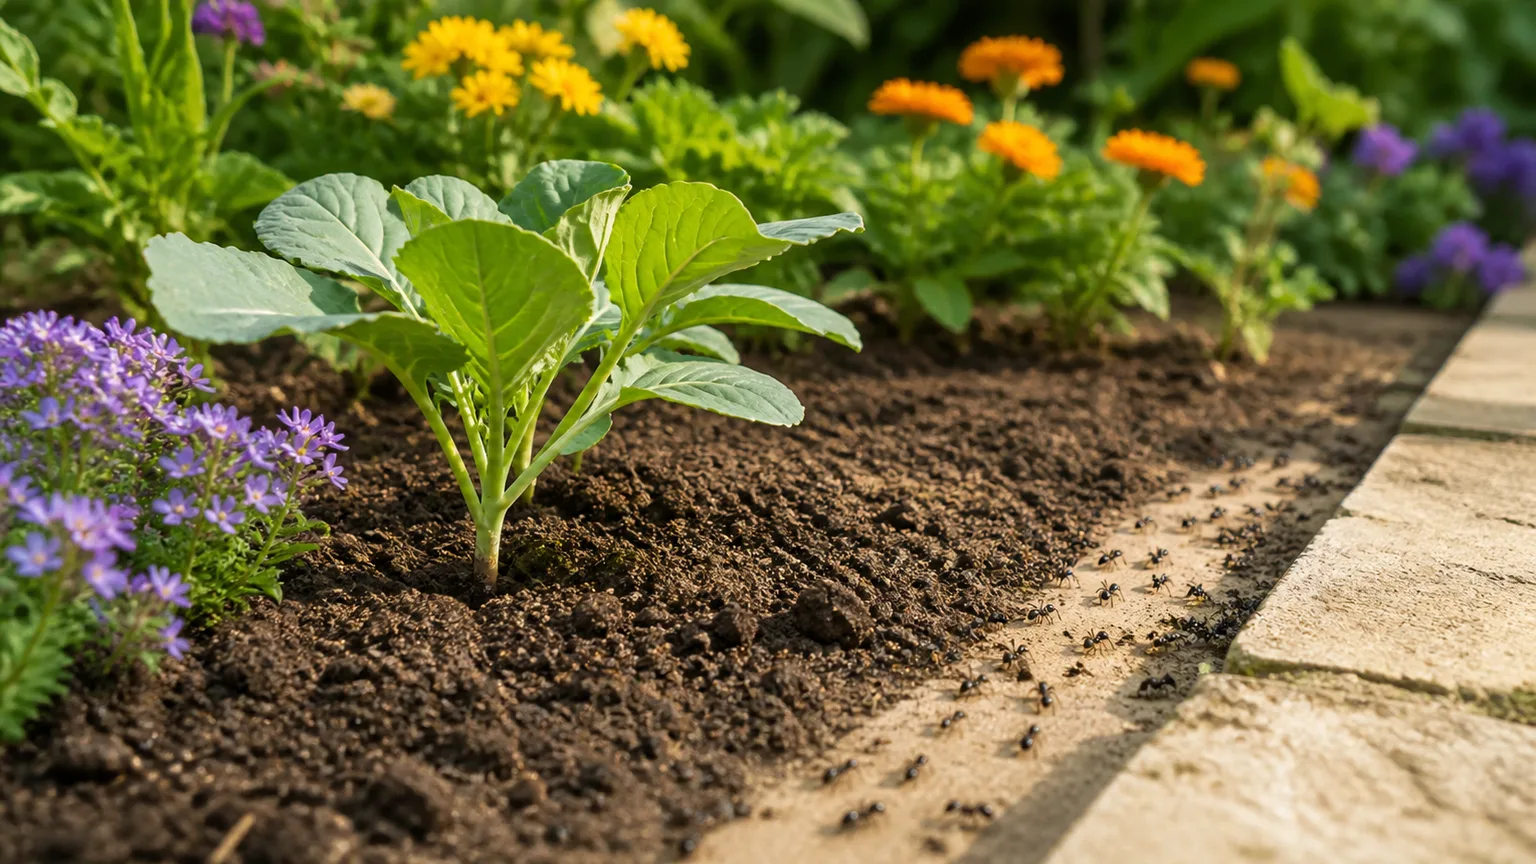
| Sticky leaves, ants, or black surface film | Aphids, whiteflies, or soft scale | Check young stems and leaf undersides for insects, cast skins, or honeydew |
| Silvery scars with black specks | Thrips or other rasping insects | Inspect folded new growth and flowers with a hand lens |
| White powder or gray fuzzy growth | Powdery mildew, Botrytis, or another surface growth | Check whether it is attached to living tissue and whether nearby leaves are affected |
| Expanding brown or water-soaked spots | Fungal or bacterial leaf disease, splash injury, or other stress | Compare new lesions, leaf wetness, weather, and the plant species |
| Mottled green-and-yellow leaves or twisted new growth | Virus, mites, nutrition, herbicide injury, or temperature stress | Look for pests and check whether the pattern is consistent on new leaves |
| Whole-plant wilt, especially with wet soil | Root damage, root rot, drainage trouble, or a vascular disease | Check soil moisture, drainage, roots, and whether the decline is spreading |
Treat this as a sorting key, not a diagnosis chart. One plant can have both a pest and a care problem, and old holes remain after the insect has left. The useful question is whether you can find direct evidence or fresh injury that matches the pattern.
Run a five-step inspection before treating
Work from the plant outward. You are looking for a chain of evidence: the host and its normal appearance, the location of the first symptoms, a pest or pathogen sign, and a condition that could have triggered the decline.
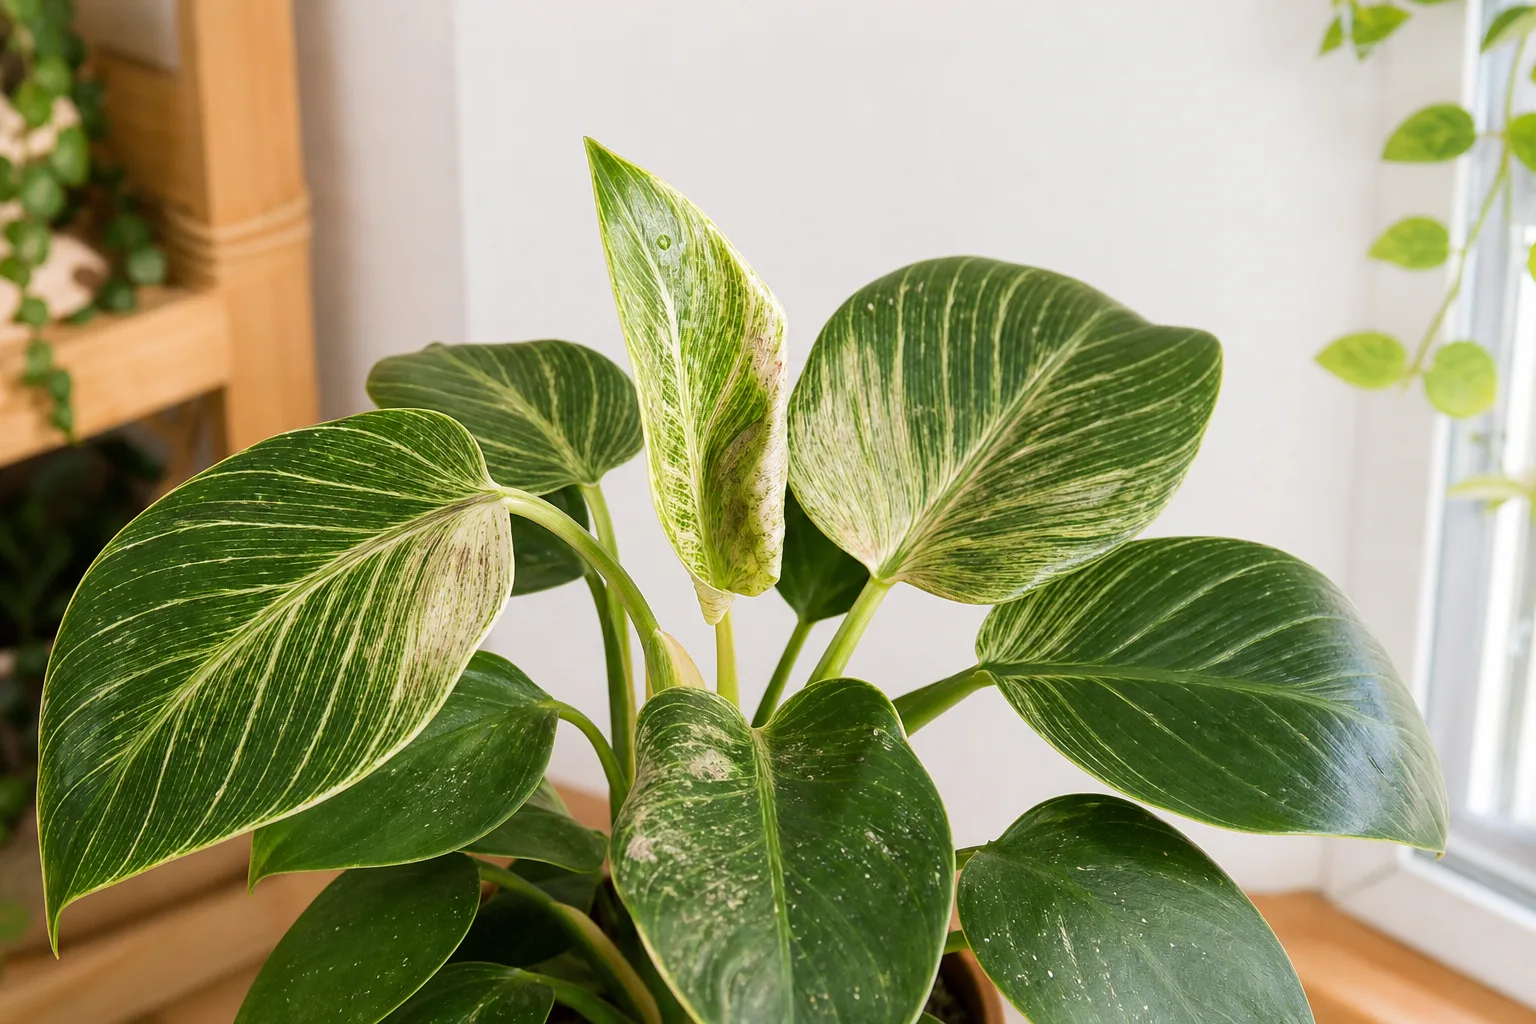
- Name the plant and its normal look. Check the cultivar if you know it. Variegated foliage, seasonal leaf drop, and natural aging can resemble disease on a plant you have not grown before.
- Map the damage. Is it on old leaves, new growth, the sun-facing side, the lowest leaves, one branch, or every plant of one type? Mark a few affected leaves or photograph them so you can tell what is new at the next check.
- Search for direct evidence. Use a hand lens if available. Look for insects, eggs, shed skins, webbing, honeydew, frass, spores, slime, or a burrow rather than relying only on leaf color.
- Check the growing conditions. Review watering, drainage, recent heat or cold, fertilizer, light exposure, root disturbance, and any recent spray or construction nearby.
- Recheck before escalating. Compare the same parts of the plant after a few days. Fresh injury that continues to appear supports an active problem; damage that stays unchanged may be old or cosmetic.
Read the whole plant, not just the worst leaf
Walk around the plant and compare healthy and affected areas. Check whether the issue starts on the newest leaves or older lower leaves, whether it forms a patch along a bed edge, and whether the pattern follows a sprinkler, shaded corner, or exposed side. Plants of several unrelated species declining together are more likely to share an environmental cause than one host-specific pathogen.
Also consider the plant’s age and value. A mature ornamental can often tolerate a small amount of insect feeding while predators catch up; a young vegetable transplant, newly planted tree, or prized specimen may need closer monitoring. The right threshold depends on how quickly the plant is losing vigor, not on whether the foliage looks perfect.
Inspect leaf undersides, stems, soil, and roots
Turn over leaves and check veins, petioles, buds, flowers, and the junctions where stems meet. Aphids, whitefly nymphs, spider mites, scale crawlers, and many eggs hide below the canopy. On vegetables, inspect the newest growth and the underside of leaves where moths and beetles may have laid eggs.
Look at the soil line, pot rim, drainage holes, and nearby mulch as well. Soil pests may damage roots or seedlings without leaving a clear mark on the leaves. If a plant wilts while the mix is persistently wet, inspect drainage and roots rather than assuming it needs more water.
Record what changes and when
A quick dated note can prevent repeated treatment for a problem that is not active. Record the number of new spots, new holes, live insects, or affected shoots—not just the total amount of old damage. If the plant is outdoors, note recent rain, humidity, irrigation, and temperature; leaf diseases and some pests change with weather.
Fine Gardening’s field guidance on whiteflies, mites, and scale emphasizes regular scouting because small pests and immature stages are easy to miss. A monitoring card can help track flying adults, but it will not reveal every life stage or replace a close inspection of the plant.
Recognize the pest signals
Insects and mites usually leave a feeding pattern, live stages, eggs, or waste that matches the damage. Look for the organism on the affected plant, then check whether the amount of fresh injury increases. The pest name matters because a chewing caterpillar, a sap-feeding aphid, and a mite do not respond to the same control.
Chewing pests: holes, missing edges, and frass
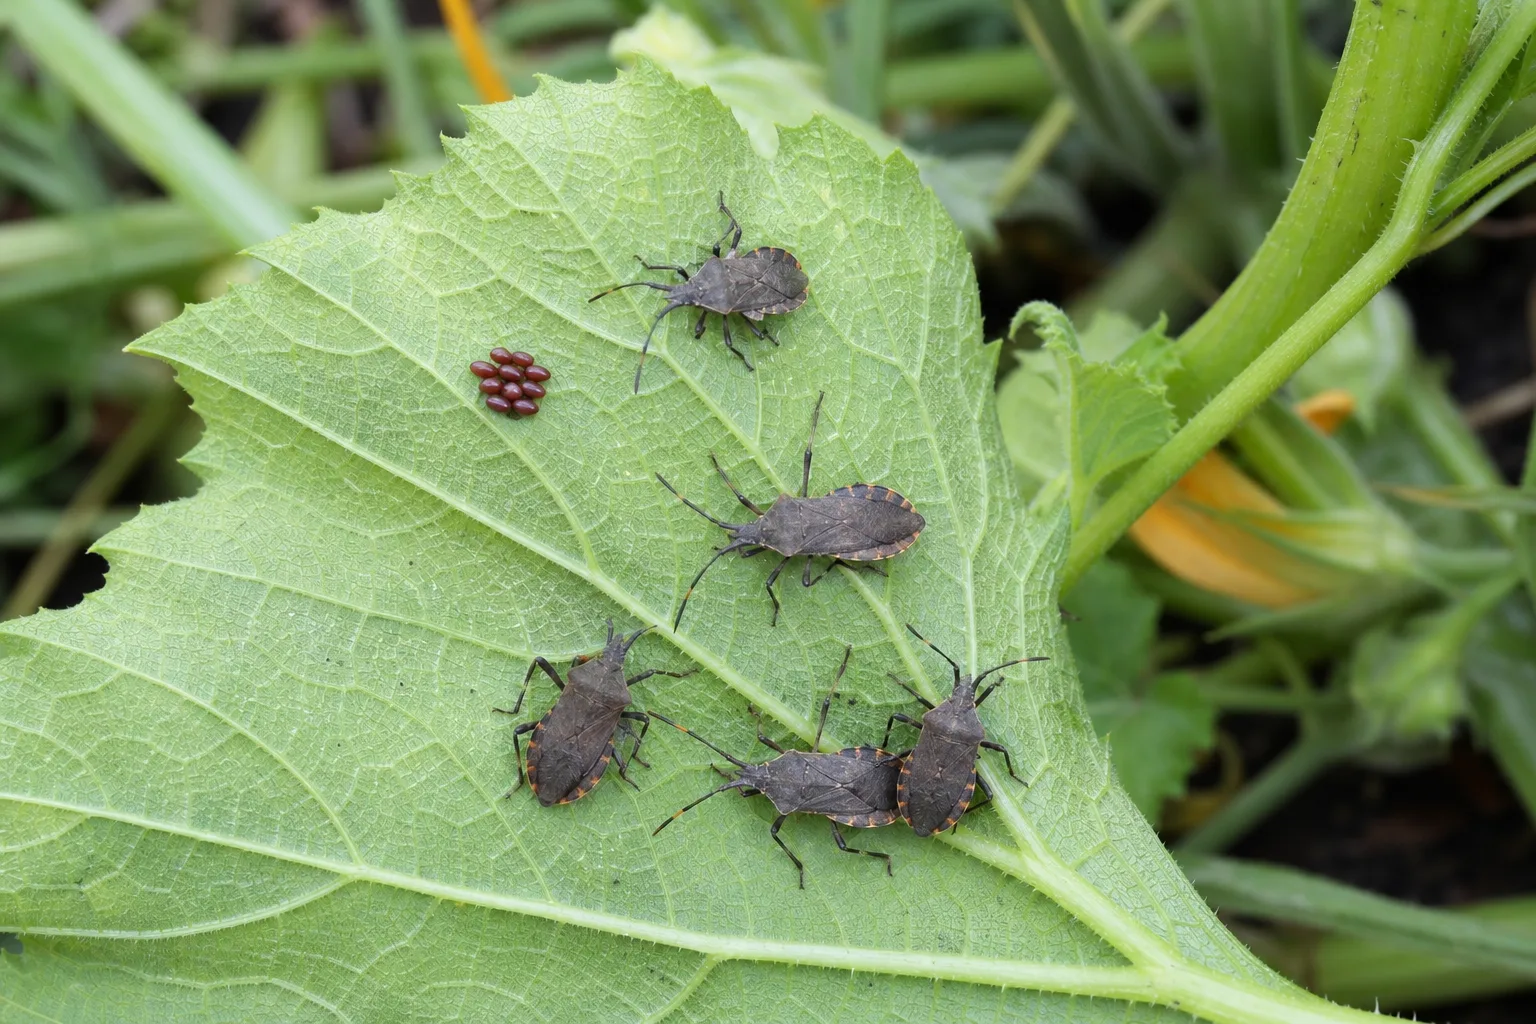
Large irregular holes and ragged leaf edges point toward a chewing animal, but they do not identify which one. Cabbageworms feed on brassicas and leave green droppings; tomato hornworms can remove large sections of tomato foliage and are often easier to find by looking for frass and then tracing upward; cucumber beetles chew leaves, flowers, and fruit on cucurbits; and squash bugs leave eggs and clustered nymphs on leaf undersides. Slugs and snails are more likely when damage appears overnight and a shiny trail or sheltered hiding place is nearby.
Check early and late in the day if you do not find a suspect immediately. Some caterpillars blend into the foliage, while slugs hide under pots, boards, or mulch by daylight. A plant can also show old holes long after feeding stopped, so check for new edges, droppings, eggs, or live pests before choosing a response.
Root-feeding pests create a different pattern: weak growth, poor establishment, or plants that pull up easily even though the leaves have no obvious chewing. Wireworms live in soil and can injure roots or seeds; do not diagnose them from general yellowing alone. Confirm soil-dwelling suspects with a careful root and soil inspection or a local diagnostic service.
Sap feeders: stippling, honeydew, and white flecks
Sap-feeding pests puncture plant tissue, so damage often looks like pale stippling, yellow specks, curling, bronzing, or distorted new leaves rather than missing chunks. Aphids cluster on soft shoots and may leave sticky honeydew or shed skins; whiteflies flutter from leaf undersides when disturbed; scale insects sit like small fixed bumps; and mealybugs appear as cottony clusters in protected joints.
Spider mites are arachnids, not insects. They are tiny and often hide on the underside of leaves, where feeding creates many fine pale dots that can merge into bronze or dry-looking patches. Delicate webbing is a useful clue when present, but its absence does not rule mites out; tapping a leaf over white paper and watching for moving specks can help confirm activity. Fine Gardening also notes that mites can be difficult to see because they hide under leaves, in buds, and in crevices.
Sticky foliage often points to honeydew-producing insects, especially aphids, whiteflies, or soft scale. Check the leaf above the sticky patch and the branches over it; the insects may be feeding higher up, while ants or black sooty mold are secondary clues. Sticky residue alone does not tell you which pest is present.
Soil and root-feeding pests: decline below the canopy
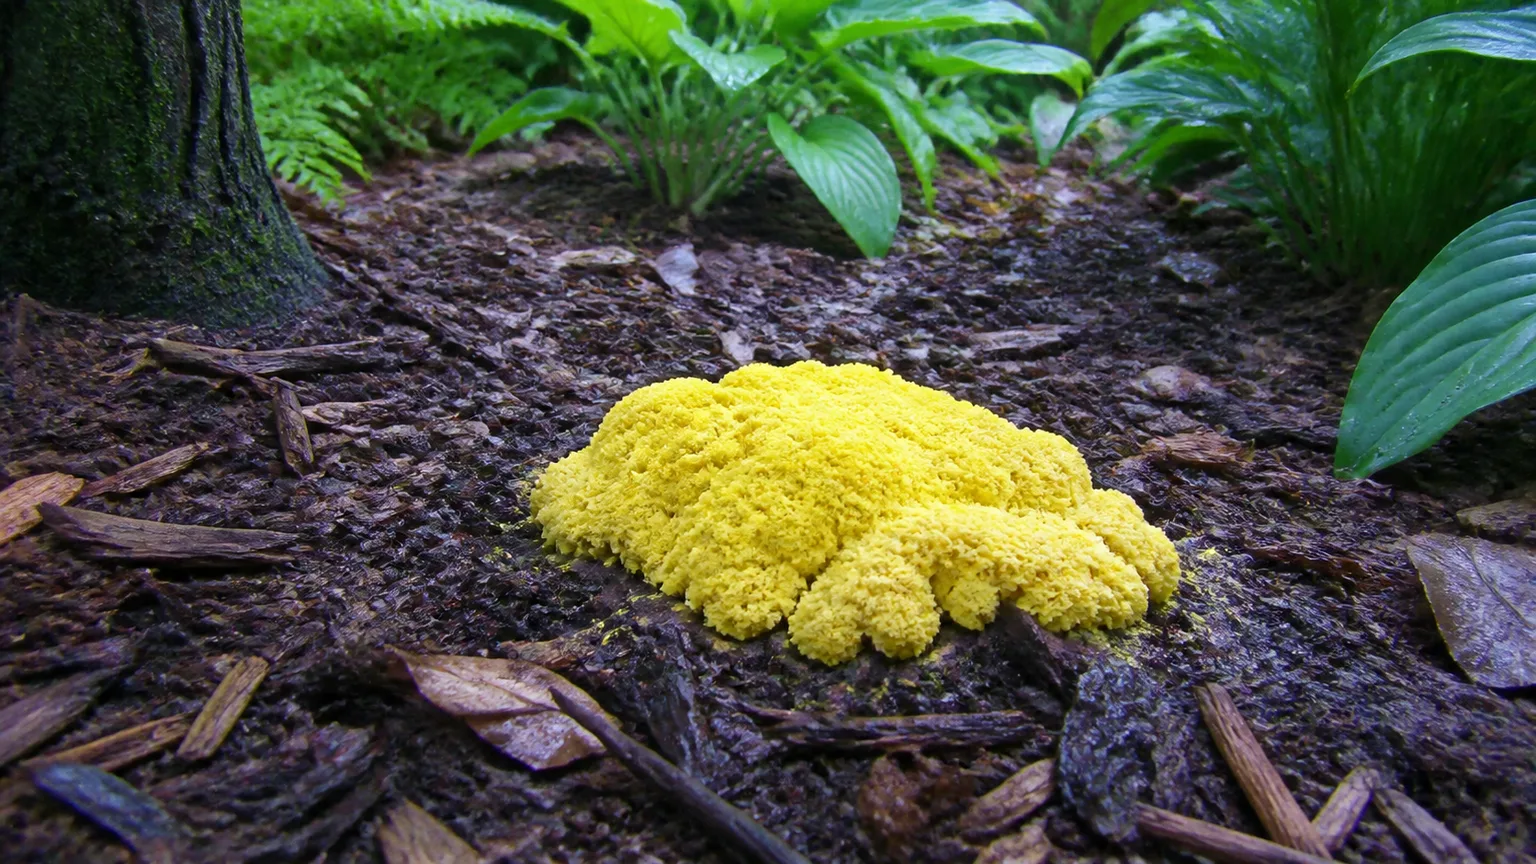
Not every pest will be visible on the leaves. A plant that remains stunted, wilts despite moist soil, or fails to establish may have root damage, a soil-dwelling pest, or a drainage issue. Slide a potted plant from its container when symptoms warrant it; look for healthy firm roots versus soft, dark, foul-smelling roots, and check for insects or feeding scars.
Adult fungus gnats hovering over wet potting mix are a clue about the soil surface, but a few adults do not prove that they are causing severe root injury. Wireworms and other larvae need direct confirmation in the soil or around the roots. If roots are badly damaged or a whole planting is declining, take a sample or clear photos before applying a drench.
Recognize disease signs and symptoms
Plant pathologists distinguish a sign—the pathogen or its structure that you can see—from a symptom, which is the plant’s response. White fungal growth is a sign; yellowing, wilt, and dead tissue are symptoms that can have many causes. Penn State Extension explains that both living disease agents and nonliving conditions can produce similar-looking plant problems, so a visible symptom should start an investigation rather than end it.
Fungal and water-mold diseases
Powdery mildew often forms a superficial white or gray powdery growth on leaves and stems. Gray mold, or Botrytis, can produce gray fuzzy growth on damaged or aging tissue, particularly where foliage stays crowded and damp. These clues are more useful than a yellow leaf alone, but mildew-like residue can also be dust, spray deposits, or another surface growth.
Leaf spots are harder to name by sight. Fungal and bacterial diseases can both create brown or black lesions, sometimes with yellow margins, and different pathogens affect different hosts. A close-up may show the shape of a spot, but its position on the plant, rate of spread, weather, and host are part of the diagnosis.
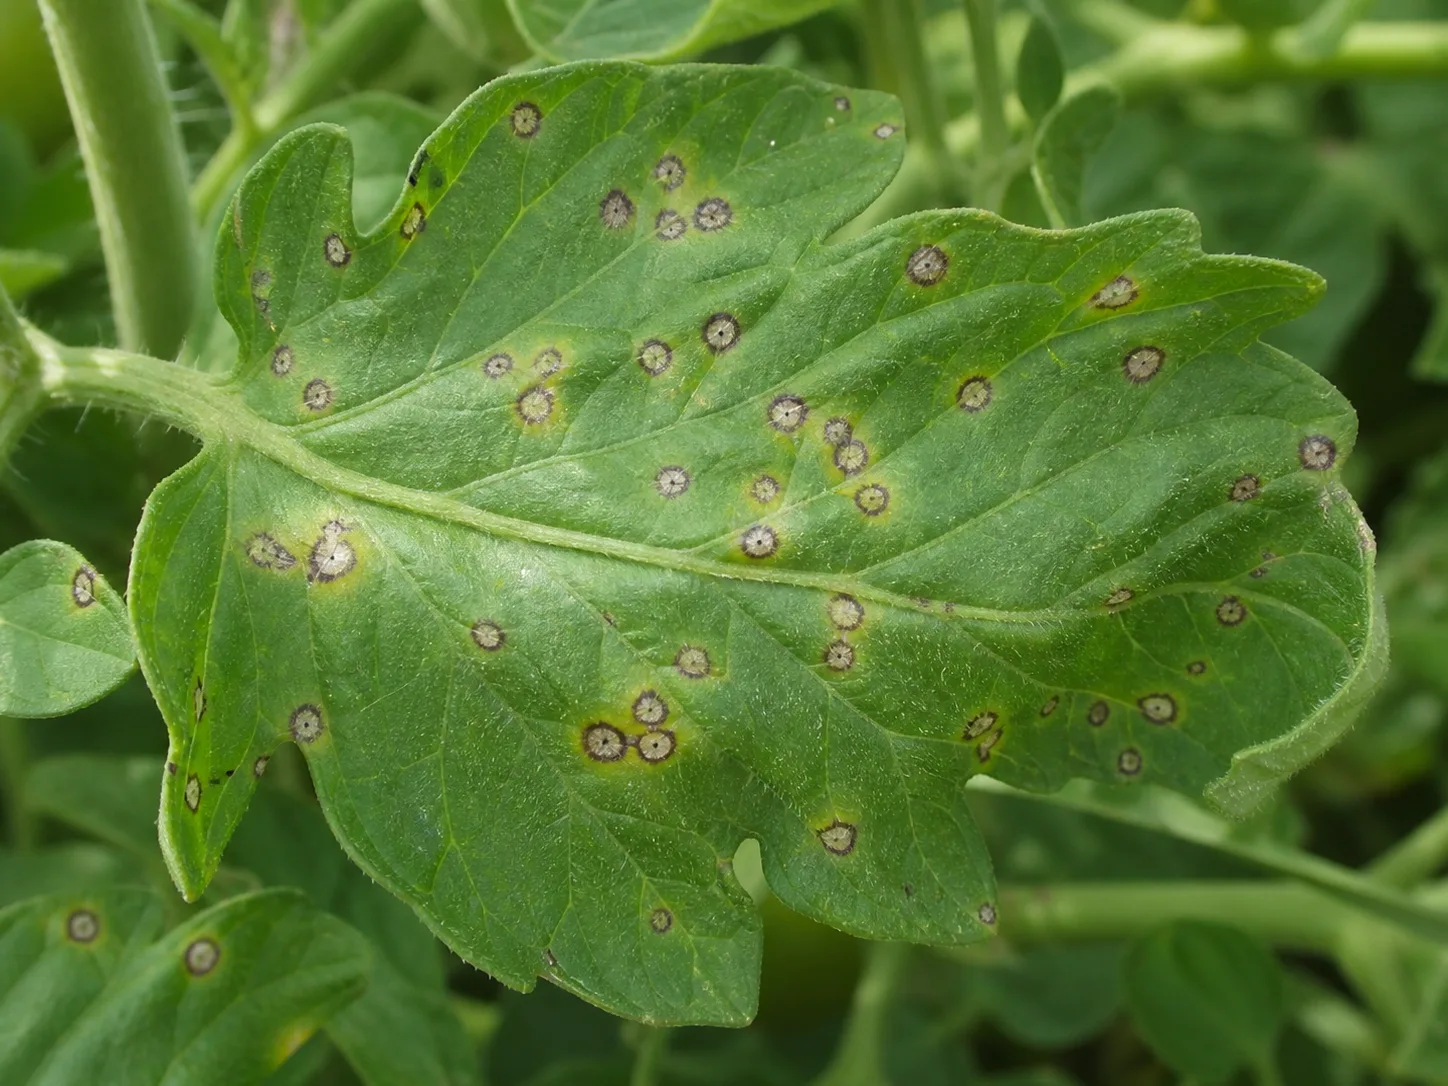
If leaf spots are spreading, remove only tissue that is badly affected or already dead, keep leaves from remaining wet overnight when practical, and avoid splashing soil onto foliage. Do not assume that a fungicide will fix every spot: it cannot repair old damage, and the wrong product will not solve a bacterial, viral, or environmental problem. The RHS guidance on managing pests and diseases without chemicals explains that disease management often focuses on reducing spread through monitoring, spacing, sanitation, and removal of infected material when appropriate.
Bacterial leaf spots and blights
Bacterial problems may start as small water-soaked or translucent-looking areas, then darken or enlarge; some lesions are angular because leaf veins limit their spread. But appearance varies by plant and pathogen, and fungal spots can look similar. The pattern may be more revealing: new lesions appearing after rain or overhead irrigation suggest that splashing water and prolonged leaf wetness deserve attention.
Avoid handling wet, symptomatic plants and moving from them to healthy ones without cleaning tools. Remove badly affected leaves only if doing so will not strip the plant, and avoid overhead watering while you are investigating. If the diagnosis changes whether a crop is kept or destroyed, or a disease is spreading despite reasonable sanitation, seek a plant diagnostic clinic instead of guessing from a photograph.
Mosaic patterns and distorted growth
Irregular light-and-dark green mottling, rings, streaks, or distorted new leaves can occur with plant viruses, including mosaic viruses. The pattern deserves attention because some viruses move between plants through infected material or insect vectors, but a mosaic appearance does not prove that a virus is present. Nutrient problems, herbicide injury, temperature stress, and mites can create overlapping discoloration or distortion.
Check whether new growth repeats the pattern, whether the same cultivar is affected, and whether you can find mites, thrips, or other likely vectors. Keep a suspicious plant separate from healthy plants while you investigate, especially in a greenhouse or indoor collection, and clean tools between plants. If a virus would change what you do with the plant, ask a diagnostic laboratory for confirmation; a spray cannot cure an infected plant.
Separate infection from growing-condition stress
Environmental injury often appears on several plant types at once or follows a clear exposure pattern. Sunscald is usually strongest on the side facing intense light; drought may affect the most exposed plants first; cold injury can track a frost pocket; and a watering or fertilizer error may affect plants that share the same bed, container mix, or care routine. These patterns can still overlap with infection, so use them to shape—not finish—your diagnosis.
Check the root zone before correcting a wilt. Dry soil and a light container support a water-shortage hypothesis; persistently wet soil, poor drainage, and soft roots suggest oxygen stress or decay. Do not automatically water a drooping plant: adding water to saturated soil can worsen root trouble.
Compare damage on old and new growth. Chemical scorch, sun injury, and physical tears will not keep producing the same kind of fresh marks once the exposure stops, while an active pest or pathogen may continue to affect new tissue. A one-time event can also leave scars that remain after the plant has recovered, so judge progress by what happens next rather than expecting damaged leaves to turn green again.
Choose the next action only after you have a likely cause
If the plant is vigorous and the injury is minor, monitoring may be enough. The RHS recommends patience when damage is cosmetic and scouting before populations grow; insects also support predators and other garden wildlife. Mark the plant, preserve helpful predators, and reassess for fresh damage rather than trying to make every leaf flawless.
When the pest is confirmed, begin with the least disruptive response that fits it: hand-pick large larvae, rinse a sturdy plant with water, prune a small heavily infested tip, remove a diseased leaf that is already collapsing, or adjust a condition that is supporting the outbreak. These are not universal cures; match the step to the confirmed pest or disease and avoid removing more healthy growth than necessary.
If you choose a pesticide or fungicide, identify the target first and check that the product label covers the plant, pest or disease, and site where it will be used. Follow the label’s application, protective-equipment, harvest, and re-entry directions, and avoid broad treatment over open flowers or where it can reach non-target organisms. Oils and soaps can also injure foliage, especially on heat-stressed or sensitive plants, so a small test and label directions matter.
Get expert help when symptoms spread quickly, several valuable plants are declining, a tree or large shrub may pose a structural risk, the plant is part of a commercial crop, or an incorrect diagnosis could lead to destroying a valuable plant. Penn State Extension and the University of Minnesota Extension both provide plant-diagnostic resources; the University of Minnesota’s plant diagnostic tool helps narrow problems by plant group. A local extension office or plant clinic can explain what sample, photographs, or fee information it needs before you send anything.
Take photos of the whole plant, the affected area, and a close-up with scale; include the plant name, location, recent weather, watering, and when symptoms began. If a sample is requested, follow the clinic’s packing instructions rather than mailing a wet, sealed leaf that may decay before arrival.
Conclusion
Plant-pest and disease identification works best when you pair the symptom with its pattern and a confirming clue. Inspect both sides of the leaves, stems, soil, roots, and nearby plants; record what is new; and check whether weather or care could explain the same damage.
Treat only when the likely cause and the level of harm justify it. If the signs do not fit, or the problem is spreading faster than you can sort it out, a local plant clinic is a better next step than another guess.