When to Harvest Mint for the Best Flavor and Regrowth
Learn when to harvest mint for the best flavor, where to cut each stem, how much to take at once, and the easiest ways to keep fresh leaves or preserve a larger crop.
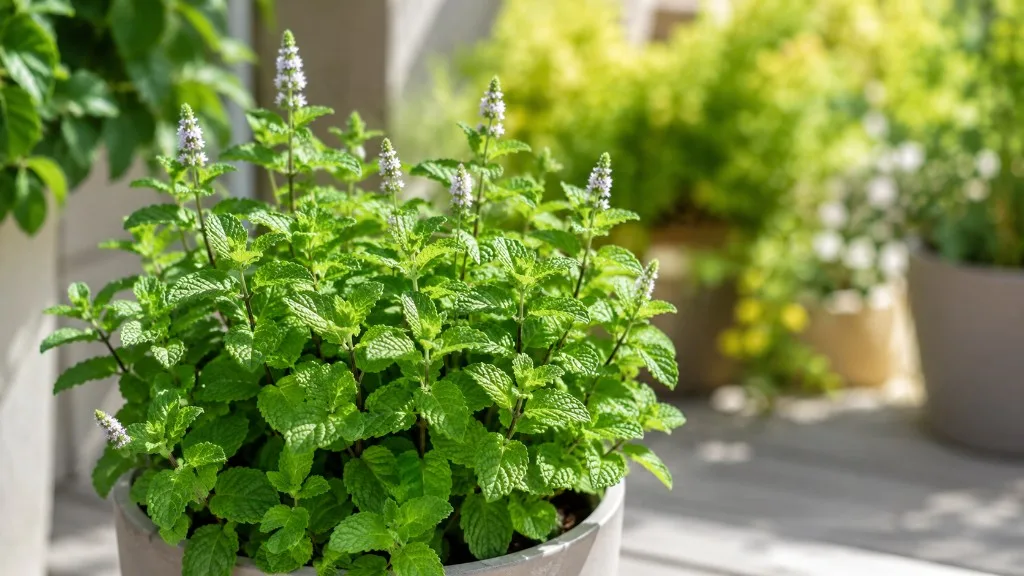
Mint is ready for small harvests throughout active growth, not on one special date at the end of summer. For the most aromatic young leaves, cut healthy shoot tips before most stems flower; for a plant that branches well, take whole stems just above a pair of leaves instead of plucking leaves at random.
The right cut depends on what you need. A few sprigs for dinner call for a light, selective harvest, while a crowded patch after flowering may benefit from a larger midseason trim. Read the plant first, then choose the smallest cut that solves your problem.
The quick answer: when and how to cut mint
Harvest mint once it has several leafy stems sturdy enough to cut without leaving the plant bare. In most temperate gardens, that means beginning in late spring or early summer and continuing while the plant is actively producing green shoots. The Royal Horticultural Society describes harvesting mint from late spring through autumn, before stems die back for winter, and recommends regular picking of young shoot tips to keep plants compact and productive (RHS mint growing guide).
Choose a cool part of the day after surface moisture has dried, especially if the leaves are headed for storage. Use clean, sharp scissors, follow a stem down to a healthy pair of leaves, and snip just above that pair. Start by taking about one-third or less of the leafy growth from a vigorous plant; reduce the amount if it is small, newly established, dry, wilted, or recovering from another hard cut.
The percentage is a cautious working limit, not a biological law. University of Connecticut Extension notes that the amount herbs can tolerate varies by species and that fast-growing herbs such as mint can generally take more foliage than slower-growing herbs; that does not mean every mint plant should be cut back heavily. A gardener who wants a steady kitchen supply usually gets more from repeated light cuts than from stripping the plant in one session (UConn Extension herb-harvesting guidance).
When mint is ready to harvest
The first harvest from a young plant
Do not use a fixed height as the only test. A 6-inch seedling with two weak stems is not as ready as a bushy nursery plant of the same height. Look for several firm, leafy shoots and enough growth below the proposed cut that the plant will retain useful leaves and branching points.
If mint was recently divided, transplanted, or rooted from a cutting, give it time to settle and make new growth before taking a meaningful harvest. You can pinch a tender tip for tasting, but wait on a basketful until the plant has begun branching and the root system is supporting more than one small shoot. This is especially important for supermarket herb pots, where many crowded seedlings may be packed together and the top can look fuller than the roots really are.
Once the plant has filled out, regular picking becomes part of its maintenance. You do not need to wait until every stem reaches a particular number of inches: harvest the tallest healthy shoots while leaving enough leafy growth to keep the plant photosynthesizing and filling in. If no stem can be cut above a node without leaving a bare stub, the plant needs more growth before a larger cut.
The best time of day and weather
For leaves you plan to use fresh or preserve, harvest after morning dew has dried and before strong afternoon heat makes the foliage limp. The practical benefit is straightforward: dry leaves are easier to inspect and handle, and cool, hydrated shoots are less likely to wilt on the walk from the garden to the kitchen. UConn Extension also recommends harvesting aromatic herbs after dew dries and before the heat of the day (UConn Extension).
Do not cancel a needed harvest because the clock says afternoon. If a stem is about to flop onto soil, a flower spike is setting seed, or a rainstorm is coming, a clean cut is still useful; get the mint into shade and water promptly if the plant itself is dry. The morning window is a quality preference, not a rule that makes later-picked mint unusable.
Avoid taking a large harvest from a plant that is already wilting in intense sun. A wilted mint plant may need water or relief from heat before it can replace the leaves you remove. Water the root zone if the soil is dry, let the plant recover, and harvest later when its stems are firm again. Wet foliage is not automatically a problem for fresh cooking, but it should be dried thoroughly before refrigeration or drying for storage.
How flowering changes the harvest
Mint often tastes most vivid in its soft new growth before flowers open, so regular cutting before bloom is a sensible goal when leaves are the main crop. But flowering does not make the rest of the plant poisonous or worthless. Leaves remain useful after bloom; stems may simply be more mature, and the newest tips are usually more tender than older lower leaves. The RHS also notes that mint flowers are edible and have a milder mint flavor than the foliage (RHS mint growing guide).
If flowers are forming and the plant still looks vigorous, you have several options. Harvest the soft tops now for the strongest leaf flavor, leave a few flower stems if you want blooms in the garden, or remove the spent flowering stems to encourage fresh shoots. You can make this choice stem by stem instead of shearing the entire plant at once.
After the first flush of flowers, an established, healthy mint patch can take a more substantial renewal cut during active growing weather. The RHS recommends cutting mint down to about 5 cm (2 inches) after flowering to encourage fresh shoots, which may be ready to harvest again in a few weeks. Treat that as a post-bloom reset for a strong plant, not as the routine height for every cooking harvest: a small pot, drought-stressed plant, or late-season plant has less margin for a severe cut (RHS mint growing guide).
Late in the season, take a final useful crop while the stems are still healthy, but avoid forcing a flush of soft new growth just before frost. The exact cutoff depends on local weather and how quickly your growing season ends. UConn Extension’s late-summer advice is specific to its regional climate, but its principle is broadly useful: a late harvest can stimulate tender shoots that may be damaged by frost, so finish heavier cutting while there is time for recovery (UConn Extension).
Where to cut mint for repeat growth
Follow the stem to a leaf node
Mint leaves grow in opposite pairs along the stem. The point where a leaf pair attaches is a node; small buds at that junction can develop into side shoots when the stem tip above them is removed. Choose a leafy node and cut a short distance above it, leaving the node and the leaves below it attached to the plant.
That cut gives the remaining stem a useful branching point. If you cut through the node or leave a long, leafless section above it, the remaining growth is less tidy and can dry back before new shoots develop. A clean, sharp snip also avoids crushing the soft stem. Plantura’s harvest guide describes taking whole stems and cutting above a pair of leaves, while the RHS recommends picking young shoot tips for bushier growth (Plantura mint harvest guide, RHS mint growing guide).
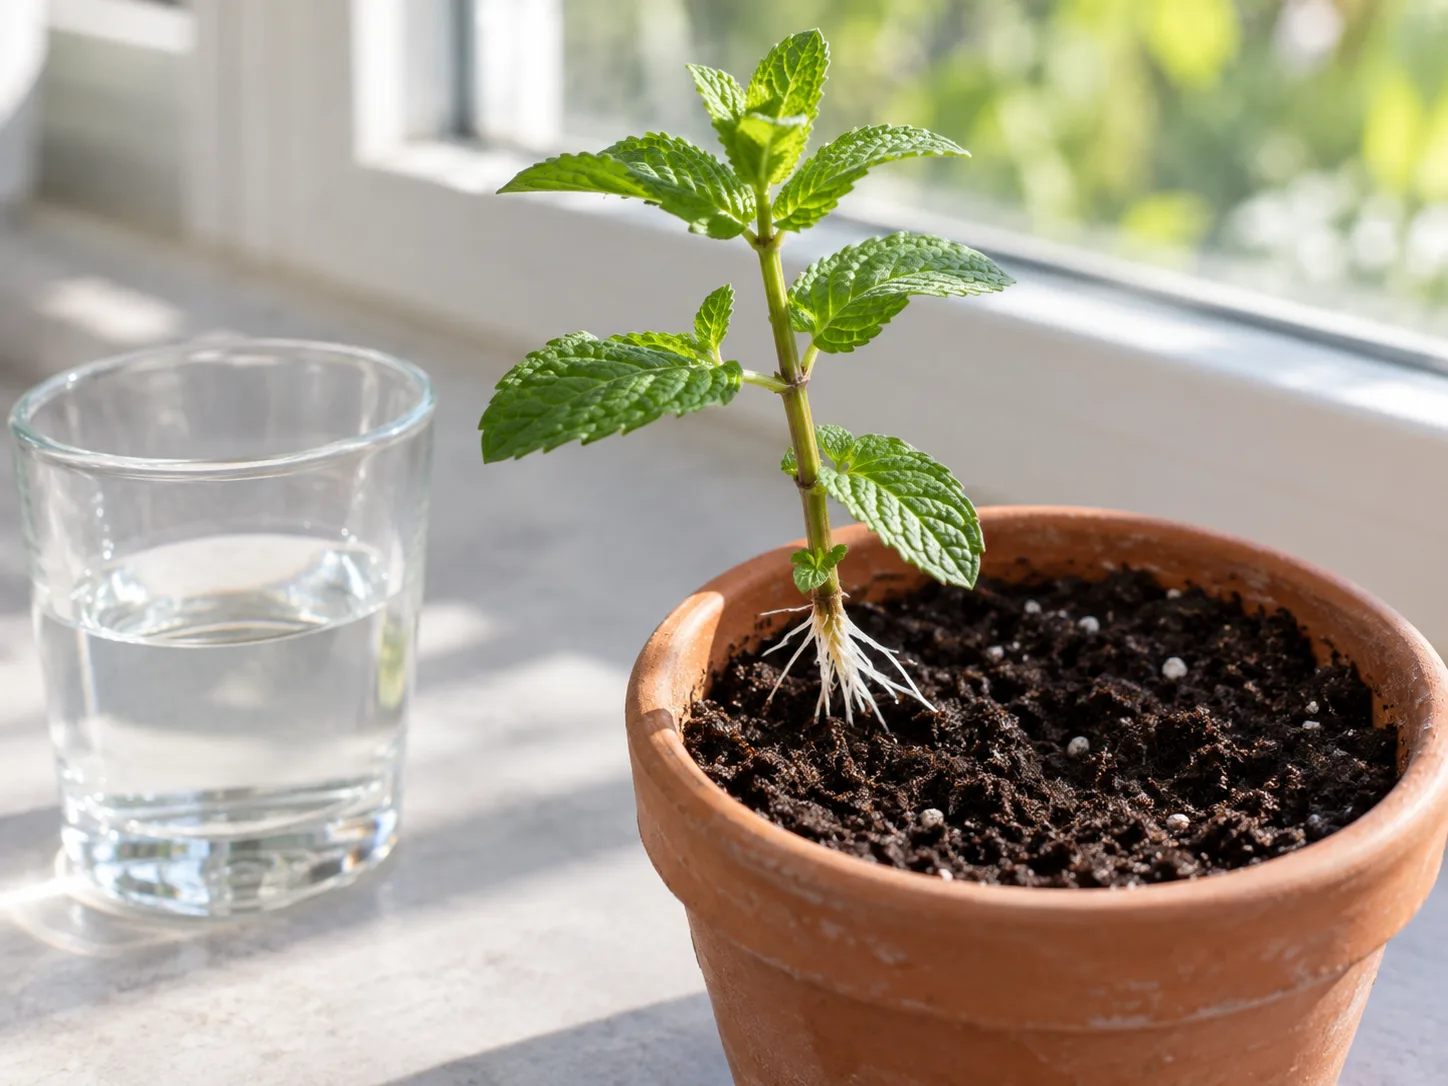
If a cutting has a couple of healthy nodes, you can use it to start another mint plant rather than discarding it. Keep propagation separate from the harvest task, though: a stem that is too short or damaged may not root well, and additional mint is not useful if you are already trying to contain an aggressive patch. For a focused rooting method, see the mint propagation guide.
Choose balanced shoots instead of stripping one side
Begin with the tallest and most crowded stems, then move around the plant. Take a few shoots from different sides rather than cutting every top from one corner; the remaining canopy will be more balanced, and light can reach the lower leaves. On a sprawling patch, select stems that are easy to reach and remove those that are crossing paths or leaning onto neighboring plants.
For a small handful, clip the upper tip of several stems rather than removing every leaf from one long stem. For a larger bundle, cut full shoots back to a lower healthy node, but leave leafy stems throughout the plant. This produces a cleaner harvest and avoids the “bare sticks with a tuft on top” look that follows random leaf stripping.
Mint can also root where creeping stems touch moist soil. Those runners are useful for propagation but are not the same thing as upright harvest shoots. If a horizontal stem has rooted outside a pot or into a neighboring bed, remove it at the point where it is escaping and lift any rooted section you do not want to keep. Snipping only the upper leaves will not remove those underground or surface runners.
A reliable mint-harvesting routine
Use this sequence when you want a dependable bunch for the kitchen:
- Check the plant. Choose mint with firm stems and clean, healthy leaves. Skip a large harvest from a dry, heat-wilted, newly transplanted, or diseased plant.
- Prepare clean tools and a container. Use sharp scissors or small pruners and a clean bowl or basket. If you are moving from a plant with disease symptoms to healthy mint, clean the blades between plants.
- Pick the purpose. For immediate flavor, take young shoot tips. For a larger supply to dry or freeze, collect several healthy stems, but keep enough green growth on the plant to recover.
- Find the cut point. Follow each chosen stem down to a healthy pair of leaves and snip just above that node. Avoid crushing the stem or cutting every shoot at the same level.
- Sort and handle promptly. Shake off insects, remove damaged leaves, and bring the cut stems into shade. Rinse only if needed; if you do, dry the leaves well before storing or preserving them.
This routine is short because the decision work happens before the scissors touch the plant. A good harvest is not a precise number of stems; it is the amount you can use while leaving a healthy, leafy framework behind.
How much mint to remove at once
For everyday picking, use one-third of the leafy growth as a conservative ceiling for a mature, vigorous plant, not a quota you need to reach. If the plant is young, recently cut, struggling in a small dry pot, or exposed to extreme heat, take less. If it is dense, well-watered, and growing quickly, you can remove more during a deliberate midseason reset, but spread the cut across the patch and watch how it responds.
The purpose of the familiar “one-third rule” is to prevent a gardener from taking so much foliage that regrowth stalls. It does not account for mint’s fast growth or the difference between a sprawling established bed and a two-stem pot. UConn Extension gives a broader 30-to-70-percent range for herb foliage removal depending on the plant and notes that quick-growing mints tolerate more than slower herbs; this is a reminder to judge vigor, not permission to strip every mint plant by the same percentage (UConn Extension).
When you need a very large harvest, use two passes. Cut the tallest third of the patch, then give the remaining stems room and time to respond before trimming the rest. This is especially helpful with a container plant, where cutting most of the top at once can expose the potting mix to stronger sun and leave fewer leaves to support root growth.
Track the plant rather than a calendar interval. If new side shoots have appeared and the canopy is again crowded, another light harvest is reasonable. If tips remain short, leaves are smaller than usual, or the plant has not replaced its last cut, hold off and check moisture, light, and root space before taking more.
Harvesting mint in containers and garden beds
The cut itself is the same in a pot or in the ground, but the risks differ. Container mint can dry faster than bed-grown mint, particularly in hot weather, so inspect the soil and the plant before a heavy harvest. If the pot feels light and the leaves are soft, water first and wait for the stems to firm up. Penn State Extension notes that herb containers and garden herbs need conditions suited to their light, soil, and watering needs; a harvest schedule cannot compensate for a plant that is stressed by its growing setup (Penn State Extension herb-growing guidance).
In a pot, rotate your harvesting around the rim and avoid cutting every visible top from the sunniest side. A pot-bound plant may still produce many stems, but old crowded roots and depleted potting mix can make it slower to rebound. If growth has become spindly and the pot is packed with roots, divide or repot the mint instead of repeatedly cutting it harder.
In an open bed, a harvest can tidy the canopy and provide leaves, but it will not reliably contain mint. Mint spreads by underground rhizomes and can also root where stems touch damp soil; a cut to the top does not remove those structures. Inspect the edges after picking and pull or dig escaping shoots and rooted runners while they are still easy to trace. The RHS advises growing mint in containers or controlling its spread because rhizomes can extend into surrounding soil (RHS mint growing guide).
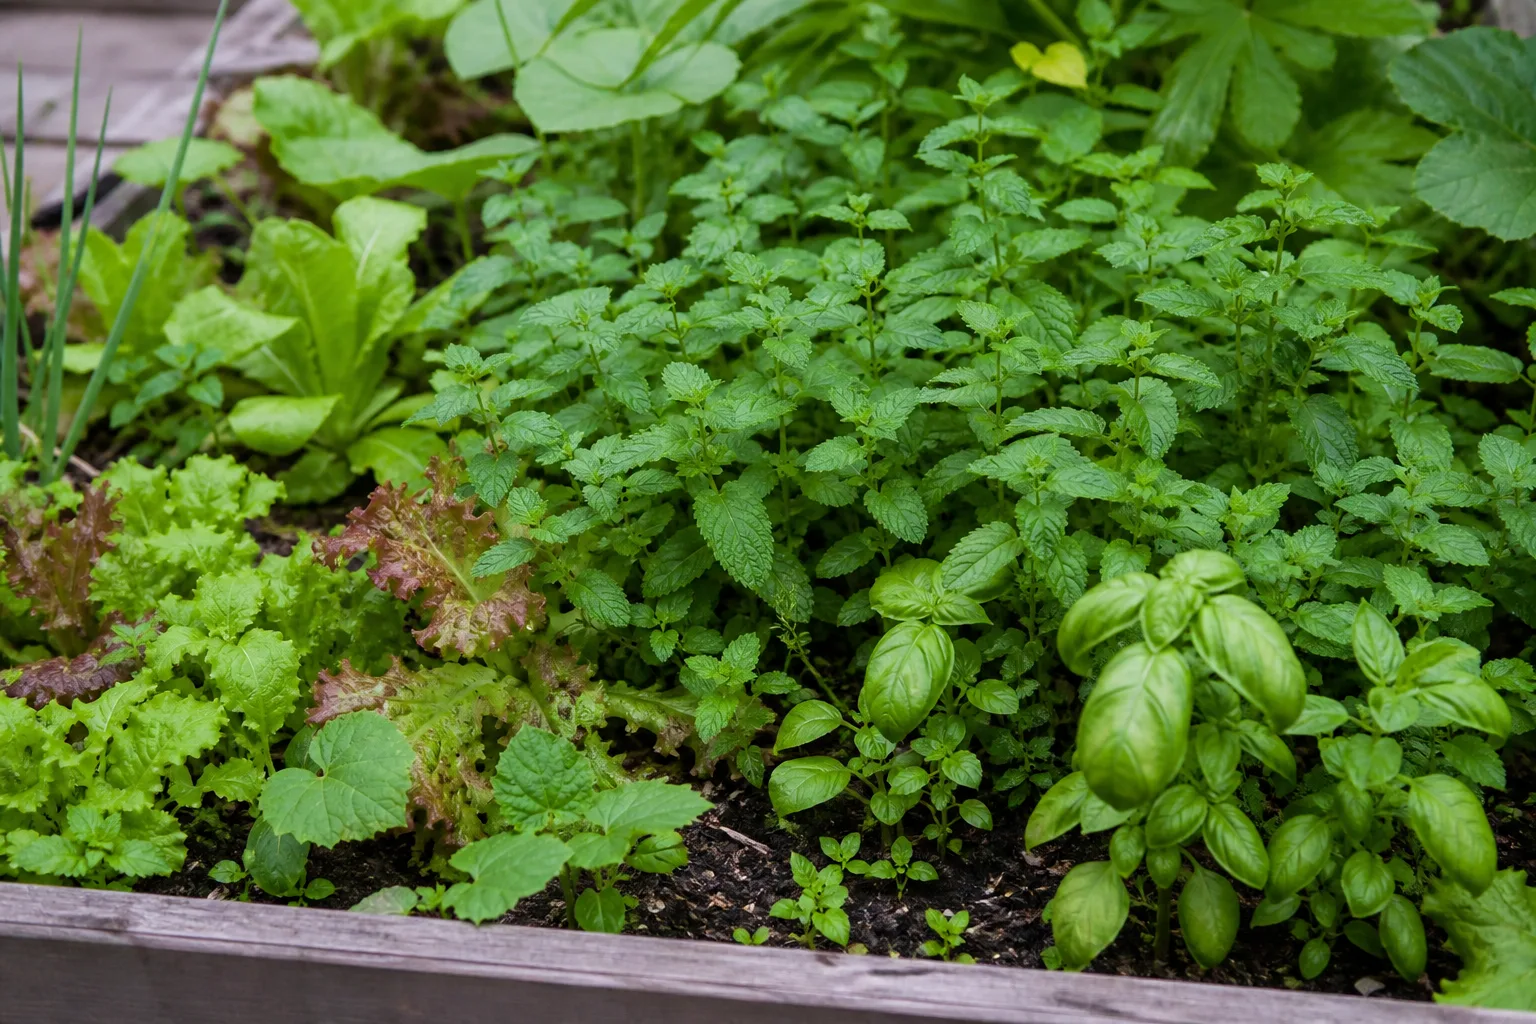
If you want mint in the ground, give it a defined boundary and check beyond that boundary during the growing season. A container placed on a hard surface is easier to inspect than one set directly on bare soil, where drainage holes or trailing stems can give roots a route out. The separate guide on keeping mint out of mixed garden beds covers containment choices in more detail.
Keep fresh mint fresh or preserve it
Decide whether you are saving leaves for a few days or keeping a larger harvest for later. Fresh mint is most convenient for drinks, salads, sauces, and garnishes; drying creates a shelf-stable tea or seasoning, while freezing is usually the better fit when you want to retain a bright mint character. The RHS notes that freezing preserves mint flavor better than drying, although dried mint remains useful when you want a pantry herb (RHS mint growing guide).
Short-term storage for fresh leaves
Remove damaged leaves and shake off debris soon after cutting. If the mint is clean, there is no need to wash it before refrigerating; if it is dusty or muddy, rinse it and dry it thoroughly so excess surface water does not collect in the storage container.
For a small bunch, trim the stem ends and stand them in a glass with a little water, keeping leaves out of the water. Cover loosely with a bag if the refrigerator is drying the foliage, and replace the water if it becomes cloudy. Another option is to wrap dry sprigs in a barely damp towel and place them in a loosely closed bag in the crisper; a wet towel traps too much moisture and encourages slimy leaves.
Check the bunch every day or two and remove any leaves that begin to blacken. Storage life varies with how fresh the mint was at harvest, its temperature, and how much moisture remains on the leaves, so treat any specific number of days as an estimate rather than a guarantee. Getty Stewart describes both bouquet-style storage and a lightly damp towel as practical short-term methods (Getty Stewart mint harvest and storage guide).
Drying versus freezing a larger crop
For air-drying, harvest clean stems and make sure they are dry on the surface before tying them into small, loose bundles. Hang the bundles in a dry, shaded, well-ventilated place. Large bunches and humid rooms slow drying; mint that remains damp can darken or develop musty odors instead of becoming crisp. When the leaves crumble easily, strip them from the stems and store them in a clean, airtight container away from light and heat.
Freezing is simpler when you want mint to taste fresher after thawing. Wash only if needed, dry the leaves thoroughly, then freeze whole leaves or chop them and portion them into an ice cube tray with water. Frozen mint softens when thawed, so use it in tea, sauces, soups, or drinks where texture matters less than flavor. Label the container with the variety and date so a freezer full of green cubes does not become an identification puzzle.
Do not leave mint in a sunny window or a hot car while deciding how to preserve it. Bring the stems in promptly, keep them cool, and process them in batches if the harvest is large. UConn Extension recommends freezing or drying herbs for later use and emphasizes thorough drying and sealed storage for dried leaves (UConn Extension).
What to do after cutting mint
Most light harvests require no special recovery treatment. Keep the root zone evenly moist, not waterlogged, and let the plant continue receiving the light it normally uses. A healthy mint plant should produce side shoots from remaining nodes and fresh growth from its established crown and runners; the exact pace depends on temperature, light, moisture, and season.
After a large trim, pause before harvesting again. Watch for new shoots and firm leaves rather than assuming the plant needs fertilizer because it has been cut. Extra feeding will not compensate for dry roots or too little light, and mint in rich soil can grow so quickly that frequent heavy fertilizing mainly gives you more foliage to manage.
If the plant was flowering, decide whether to keep any flower stems. The blossoms are edible and milder than the leaves, and leaving a few stems lets the plant finish flowering while you harvest the rest. If your aim is a fresh flush of young leaves, remove most spent flowering stems during active growing weather and leave a modest leafy framework below the cut.
Common harvesting mistakes to avoid
Plucking leaves one at a time from random places leaves a patchy plant and misses the chance to encourage branching at a node. Cut whole stem tips for routine use, then remove individual leaves from the harvested stems in the kitchen.
Taking the first large harvest from a small plant can set it back, even though mint is generally vigorous. A few taste-test leaves are fine, but wait for multiple healthy shoots before removing a bundle. A recently purchased pot deserves the same caution because the plant may be crowded in a small nursery container.
Treating pre-flowering as a hard deadline can make you skip good mint. Flowering signals a change in growth stage and may affect tenderness or aroma, but it does not suddenly spoil all leaves. Pick the best young tips, leave some blooms if you want them, or cut back a vigorous plant after the flowers fade.
Cutting hard during drought or heat stress combines two stresses and can delay recovery. Water the plant, protect a container from excessive afternoon heat if necessary, and postpone a large harvest until the leaves are firm again.
Using harvesting as the only spread-control plan is a frequent mistake with garden mint. Cutting aboveground stems can make the patch look smaller, but new shoots may still emerge from rhizomes or runners beyond it. Pull or dig escapees and use a container or deliberate barrier when containment matters.
Leaving harvested mint wet in a sealed bag makes leaves more likely to blacken or turn slimy. Rinse only when needed, dry the leaves well, and use a breathable or loosely closed storage setup instead of trapping water against the foliage.
Conclusion
Harvest mint when it is actively growing and has enough healthy stems to spare. Pick young tips before flowering for a bright, tender crop, cut just above a leaf pair to encourage branching, and begin with a light harvest unless the plant is established and vigorous.
Use the weather and the plant’s recovery to set the next picking, not a rigid weekly schedule. Store only what you will not use right away, and remember that harvesting the tops keeps a plant productive but does not stop mint from spreading underground.