Vanda Orchid Care: How to Grow Vandas Successfully
Vanda orchids need brighter light and faster root drying than many houseplants. Learn to adjust watering, humidity, baskets, and bloom care to your space.
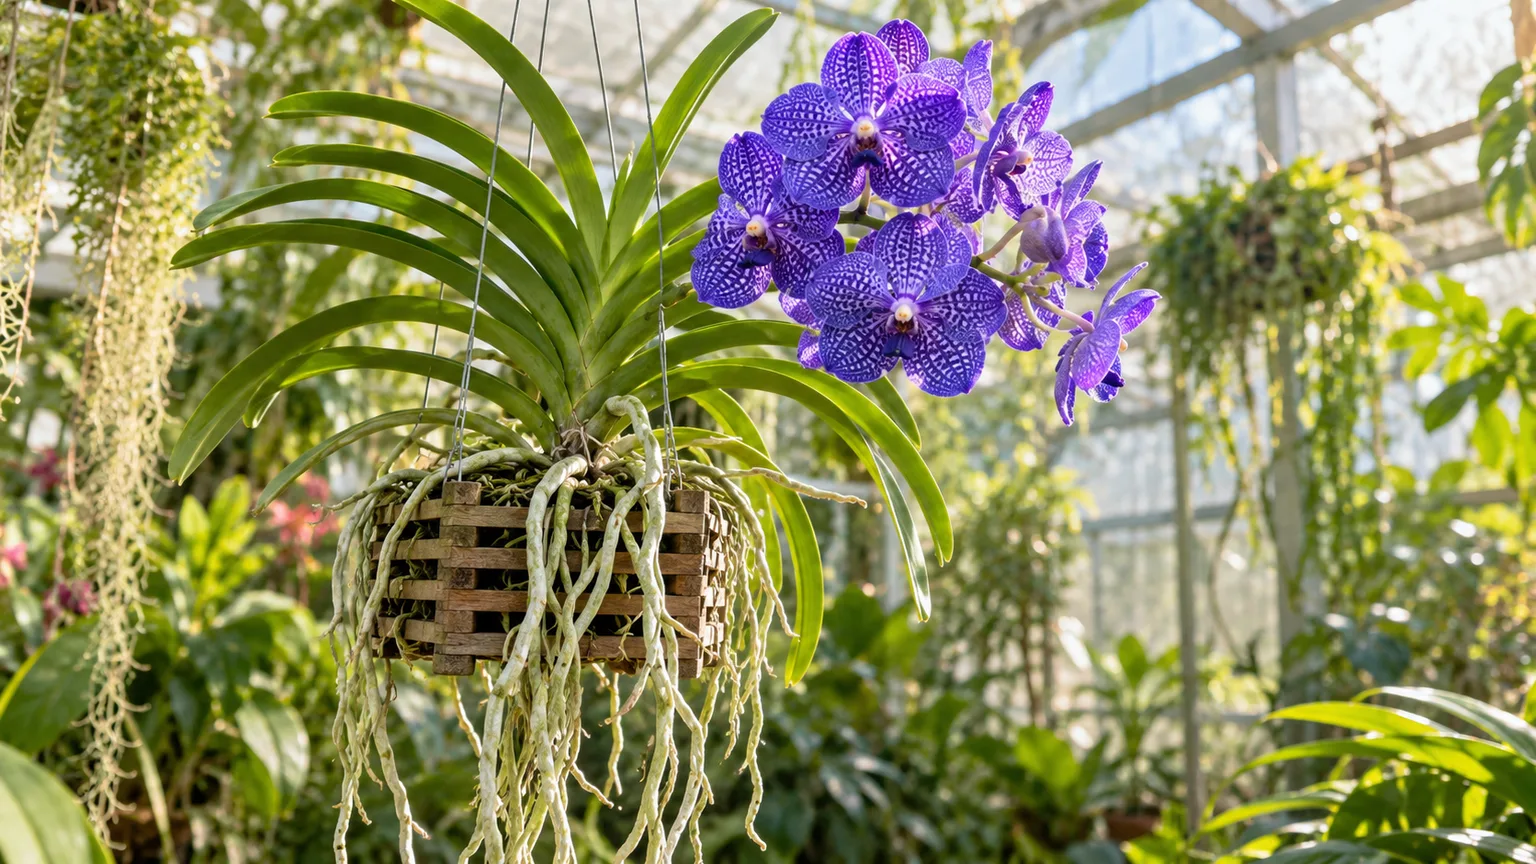
Vanda orchids are spectacular when their long roots hang freely and their flower spikes open, but they need more light, water, humidity, and moving air than most common houseplants. The practical question is not whether you can grow a Vanda in a pot; it is whether your space can dry its roots quickly after watering while still keeping them from staying parched for long. A bright greenhouse, warm sunroom, or humid tropical patio makes the job easier than a dim living room.
Care also varies among species and hybrids. Before changing your watering schedule or moving the plant into stronger sun, identify its leaf form, check whether its roots are exposed or packed in a medium, and note how quickly the setup dries. Those three observations will prevent most avoidable setbacks.
Before you buy: can your space support a Vanda?
Vandas are epiphytes: in nature, their roots cling to trees or other surfaces rather than growing in ordinary garden soil. Their exposed roots take up water quickly, then need air around them as they dry. A standard houseplant pot filled with dense potting mix reverses that pattern and can suffocate roots. A slatted basket, open mount, or airy potting setup is a better starting point.
The tougher constraint is light. The American Orchid Society’s Vanda culture sheet cautions that true Vanda sensu stricto types are generally poor candidates for typical indoor growing because many rooms lack their combination of light, space, and humidity. The New York Botanical Garden likewise describes Vandas as high-light orchids with extensive roots and substantial space needs. Compact hybrids and related vandaceous orchids may adapt more readily, especially with a very bright window or supplemental grow light, but the name on a store tag does not tell you the whole story.
Choose a Vanda if you can provide strong light, a warm location, frequent access to water, and enough airflow for roots to dry between waterings. If you travel often, keep a cool or dim home, or need a compact plant for a small shelf, a Vanda may be frustrating rather than rewarding. In a hot, humid climate, outdoor growing under appropriate shade can be much more practical; in a temperate climate, plan for a bright indoor winter space and a careful seasonal move.
Identify the leaf form before adjusting care
Vandas and their hybrids are often grouped by leaf shape because that shape hints at how much sun the plant can use. A label or breeder description is more dependable than color alone, but leaf form gives you a useful first clue. Look at the whole leaf: its width, thickness, and cross-section matter more than whether the plant has flowers today.
Strap-leaved Vandas
Strap-leaved plants have broad, flat leaves arranged up the stem. They generally need bright light, but they are more likely than pencil-leaved types to scorch under harsh midday sun, especially when moved suddenly from a greenhouse or store display. Give them a bright position with filtered light at the hottest part of the day, then watch for pale or reddish patches that can signal too much direct sun.
Terete and semi-terete Vandas
Terete leaves are narrow and cylindrical, like green pencils; these types usually tolerate and need stronger sun than broad-leaved forms. Semi-terete leaves sit between the two shapes, so give them a trial position and adjust based on new growth and leaf response. A Vanda growing guide from Orchid Bliss discusses this difference, and the AOS culture sheet also distinguishes the brighter, warmer needs of terete plants from the shadier, cooler preference of strap-leaved types.
Do not suddenly move a greenhouse-grown plant into all-day direct sun. Acclimate it over a week or two, increasing exposure gradually and checking leaves at midday. Light requirements also vary by species and hybrid, so treat leaf shape as a starting point—not a substitute for observing the plant.
Give Vandas the brightest safe light you can
Vandas need more light to grow and flower than many familiar indoor orchids. The New York Botanical Garden’s care guide gives a target of roughly 3,500 to 4,000 foot-candles for Vanda growing, a bright level that is difficult to maintain in many homes without a sunny window or supplemental lighting. Use that figure as a reference for a bright growing area, not as a reason to put every Vanda in unfiltered afternoon sun. Strong light must be balanced with leaf form, heat, humidity, and airflow.
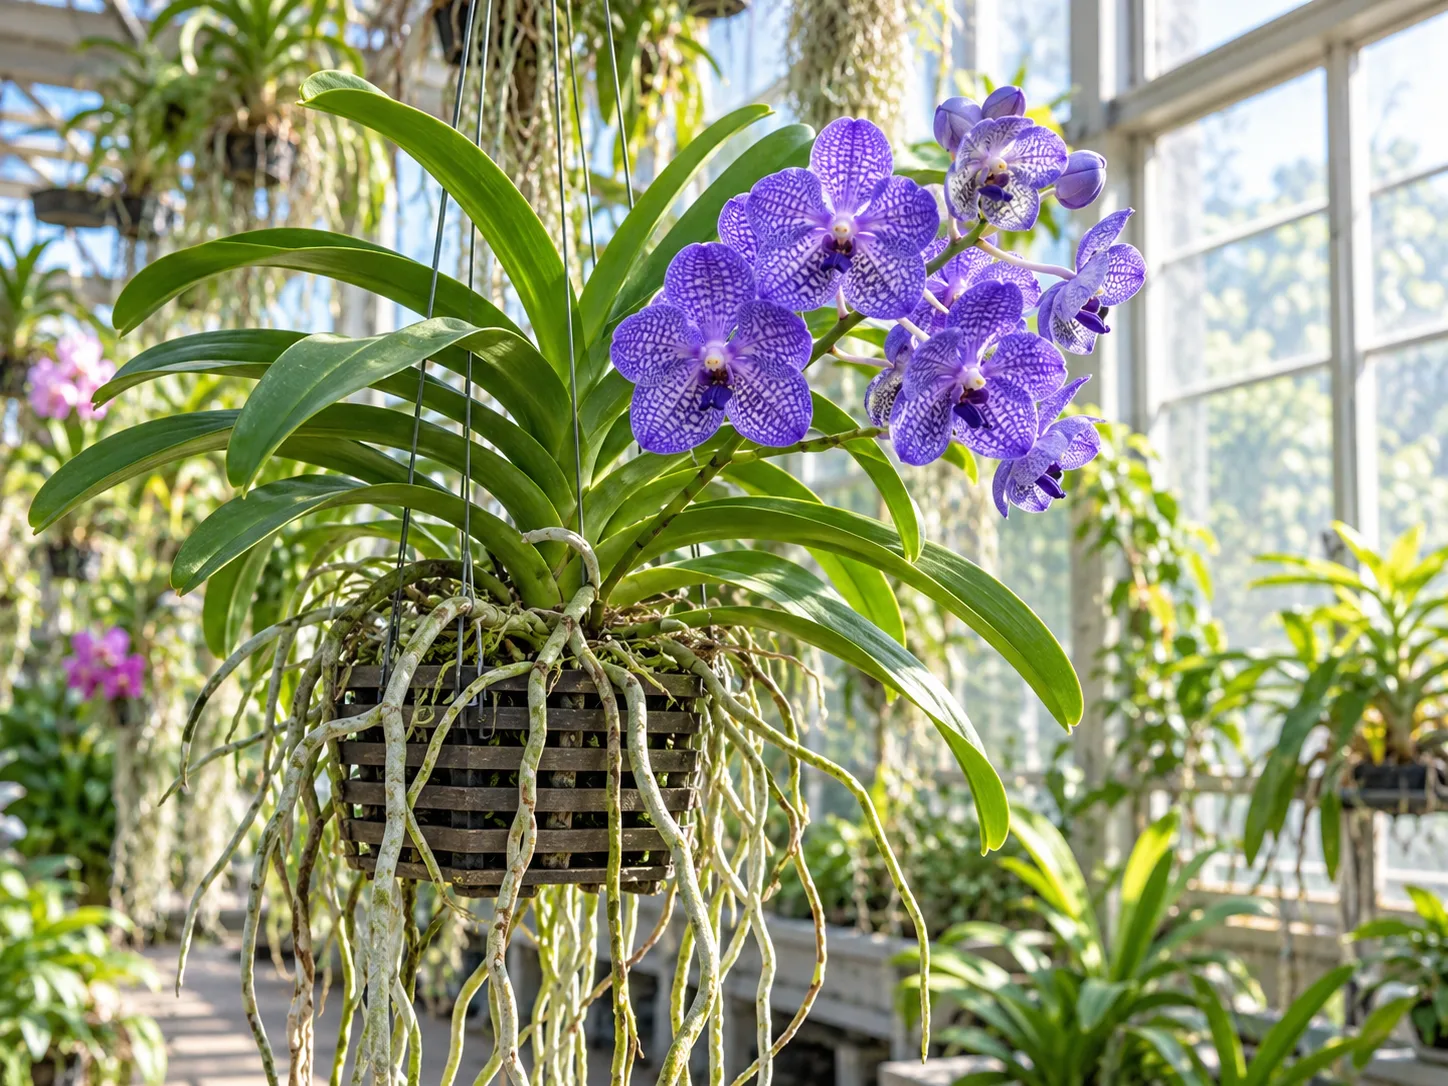
At home, start by placing the plant near the brightest window available. A south-facing window may suit a Vanda in a northern hemisphere, while east or west exposure can work with species or hybrids that prefer less intense light; window direction is only a rough guide because nearby buildings, glazing, latitude, and season change the actual exposure. A full-spectrum grow light can supplement short winter days, but raise intensity gradually and leave enough distance to prevent leaf heating.
Use the leaves as a running check. A plant kept too dim often produces very dark green leaves, long weak growth, and few flowers. Healthy leaves should feel firm, and new leaves should emerge at a steady pace; yellowing or reddish discoloration on the sun-facing side can signal excessive exposure or heat. Move the plant in small increments and give it several weeks to show how new growth responds. Do not judge success only by an old leaf’s color, which may reflect the conditions where it was grown previously.
Water the roots, then let them breathe
The root system is the best place to start when you are deciding whether to water. Vanda roots are covered in velamen, a spongy outer layer that rapidly absorbs moisture. When dry, healthy mature roots often look silvery or white; after a thorough watering, many turn green. A quick soak or drench wets the full root surface, and open air lets it dry again. The AOS culture sheet describes this quick wet-dry cycle and recommends lukewarm water; it also warns that very cold, hard, or sodium-softened water can injure plants or create problems over time.
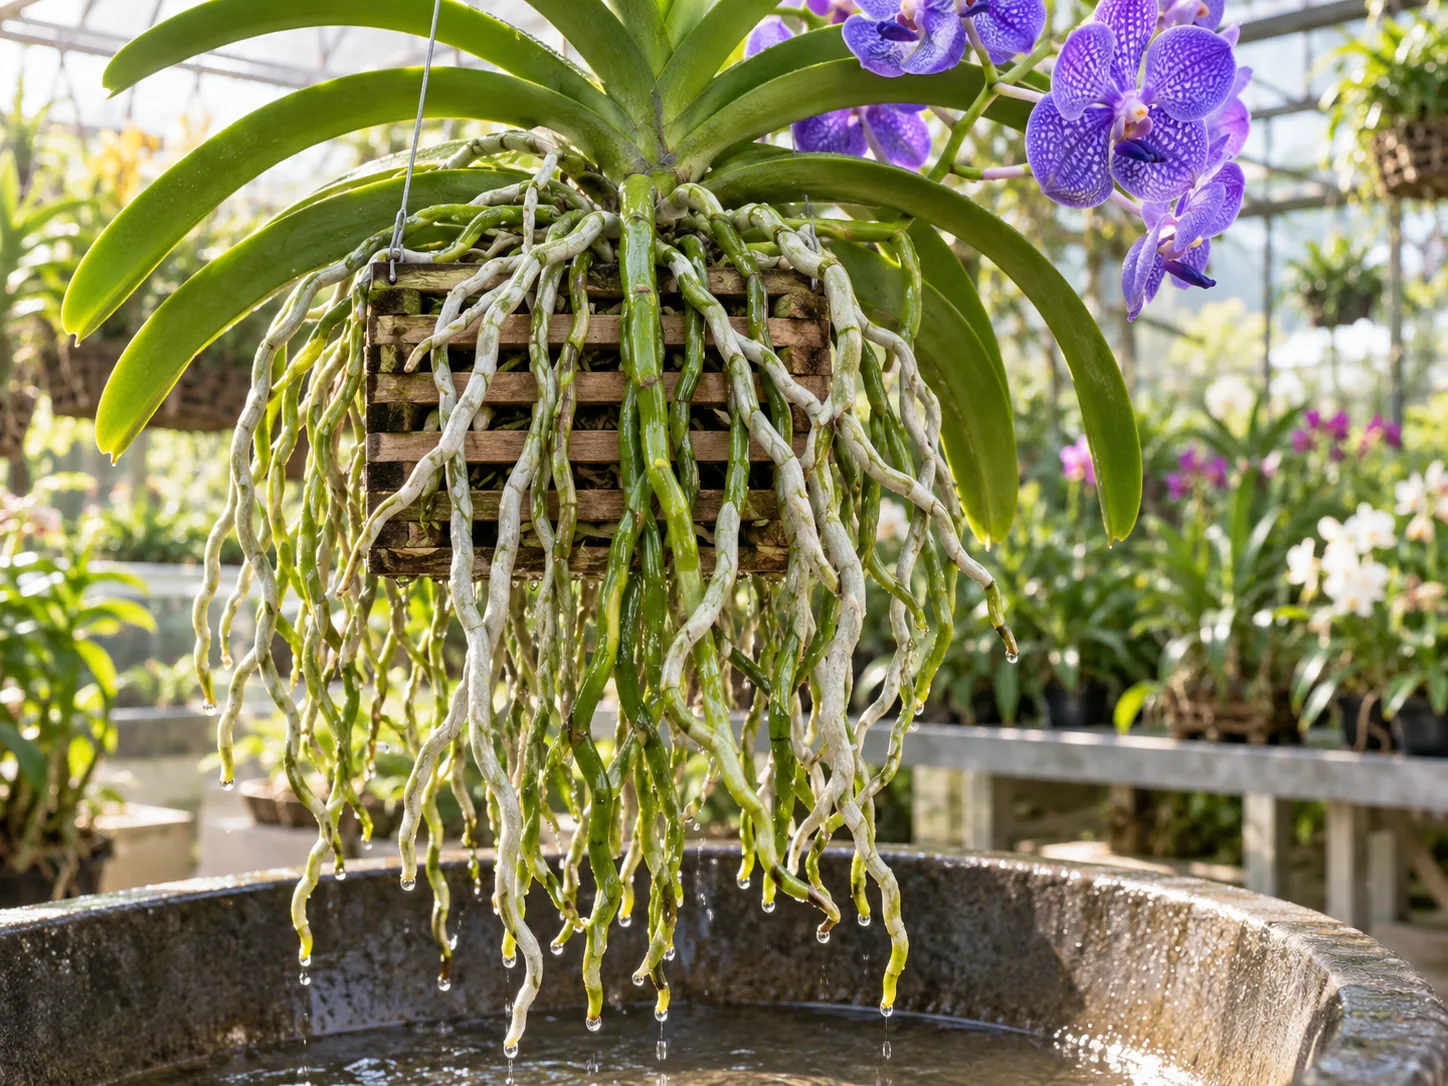
An exposed-root plant in a warm, breezy greenhouse may need water daily, and sometimes more than once during very hot, dry weather. A Vanda in a basket with coarse bark holds moisture longer, and one kept indoors in winter may dry much more slowly than the same plant outside in summer. That is why “water every day” and “water once a week” are both unreliable universal rules. Water when roots or medium approach dryness, then make sure excess water drains away rather than collecting around the roots.
The right frequency can be very different for a commercial greenhouse: Lady Vanda Orchids describes two short daily waterings for its bare-root plants in hot, airy Ocala conditions. Treat that as an example of a fast-drying setup, not a schedule to copy into a cooler home.
Water in the morning when possible, so roots and leaf joints have time to dry before night. Wet the roots thoroughly rather than misting only the outermost tips; a brief mist may freshen the air around a plant, but it is not a substitute for a real watering. If you use a mount or bare basket, lower or hold the root mass in tepid water long enough for the roots to hydrate, then let it drain fully. Avoid leaving roots submerged for extended periods, especially in cool, still air.
Water quality matters when watering frequently. If tap water leaves white mineral deposits on the basket or roots, consider rainwater or low-mineral water. Do not use water from a sodium-based household softener. If you switch to very low-mineral water, use a complete orchid fertilizer at a dilute rate during active growth rather than relying on the water to provide nutrients.
Use root color and dry-down to set the rhythm
For a week, check the roots at the same time each morning. Note whether they are still green or have turned silvery, whether a basket medium is damp near the center, and how hot or breezy the day has been. Water when the roots are nearly dry, not while they are still saturated, and note whether they return to silvery within hours or stay wet into the next day. That simple log will reveal your plant’s rhythm better than a calendar copied from someone else’s greenhouse.
Root color is a guide, not a diagnosis by itself. New tips may stay pale, and roots can look different after exposure to fertilizer or mineral buildup. If leaves are wrinkled while roots are green and wet, inspect the root system and medium before adding more water; rotting roots cannot absorb moisture normally. If the roots are firm and silvery and the leaves are losing firmness, the plant may be drying too fast. Change one factor at a time—watering frequency, basket medium, airflow, or humidity—so you can tell what helped.
Balance humidity with steady airflow
Vandas are adapted to humid tropical conditions. The NYBG guide recommends at least about 65 percent relative humidity and describes 70 to 80 percent as a preferred range in its growing context. A home that feels comfortable to people can still be much drier, especially when heating runs in winter or air conditioning runs in summer. Put a small hygrometer at plant height and check it at different times of day before deciding that a pebble tray or misting habit has solved the problem.
If room humidity stays low, a humidifier or greenhouse is more effective than spraying leaves once or twice a day. Grouping plants can create a slightly more humid microclimate, but do not crowd them so tightly that air stagnates. A pebble tray may modestly raise humidity immediately around a plant; it cannot compensate for a dry room, and the pot or roots should never sit in standing water.
High humidity must be paired with gentle, continuous air movement. A small fan pointed away from the orchid can keep air circulating without blasting the leaves. This is especially important when roots, leaves, or flowers remain wet after watering. The goal is not to dry the plant instantly; it is to avoid a pocket of stale, wet air that keeps surfaces damp for too long. Increase humidity and airflow together rather than solving one by creating a disease-prone environment.
Match temperature to the plant and the season
Most commonly grown Vandas prefer warmth, but exact temperature tolerance depends on species and hybrid. The AOS gives a broad general range of about 70 to 95°F during the day and 55 to 72°F at night, while the NYBG guide uses a narrower warm-growing range of roughly 70 to 85°F by day and 60 to 70°F at night. Those ranges overlap, but they are not a single rule for every Vanda. Highland species and hybrids may prefer cooler conditions than heat-loving terete types.
Keep the orchid away from cold window glass, heating vents, and abrupt blasts from an air conditioner. A brief cool night is different from prolonged cold exposure. If you grow a Vanda outdoors for summer, bring it into a protected space before nights become too cool for that plant’s known preference; do not wait for frost. During hot weather, increase shade, water availability, and air movement rather than assuming that high temperatures alone will harm it.
Season changes also affect watering and fertilizer. Shorter days and cooler temperatures slow drying, so an exposed root system may stay hydrated longer and a potted one may remain wet. Reduce watering only as the roots and medium dry more slowly—do not let a plant become chronically desiccated just because it is winter. Keep a simple thermometer and humidity gauge near the plant, since a sunny windowsill can be much warmer by day and colder at night than the center of the room.
Choose a basket, mount, or pot for your routine
A Vanda does not need a conventional pot. Many growers use an open wooden, plastic, or wire basket that supports the stem while leaving most roots exposed. Some mount the orchid on a slab or hang it bare-root. These setups suit plants that dry quickly and growers who can water frequently, but the roots may become brittle and difficult to handle if they are allowed to dry hard. Large Vandas can also take up more vertical and horizontal room than a new owner expects.
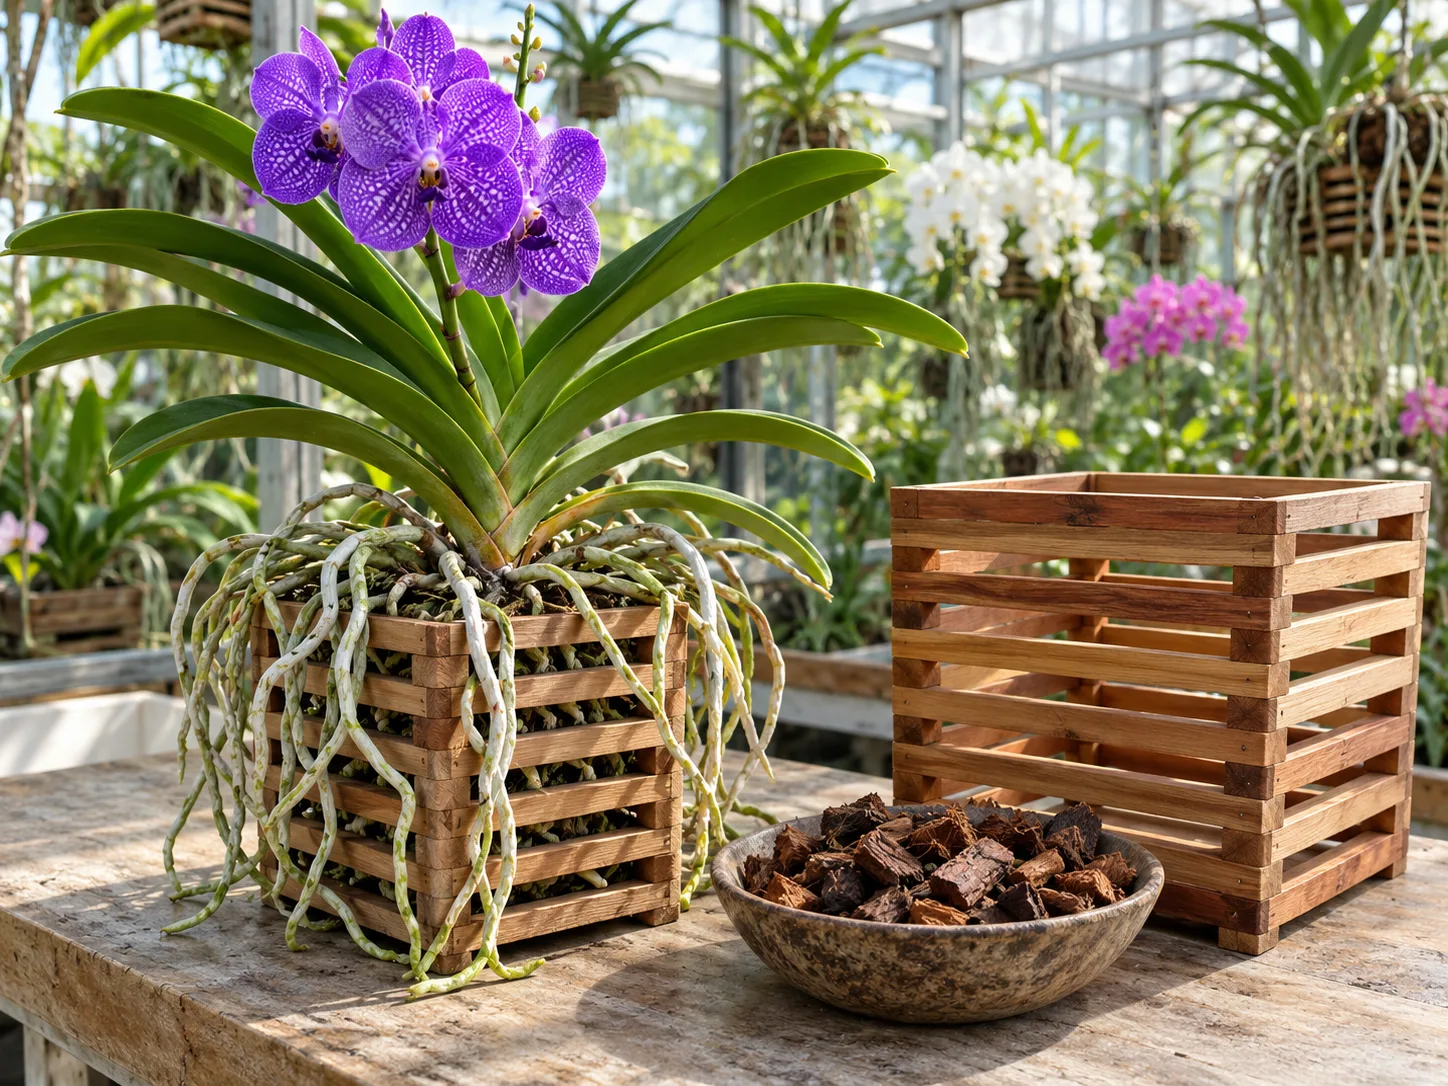
An airy pot or basket with a small amount of coarse orchid bark can slow drying and make care more manageable in a home. It should still drain immediately and allow air through the root zone; never use ordinary potting soil or a dense, moisture-holding mix. The RHS profile for Vanda rothschildiana likewise emphasizes the plant’s need for a warm, bright, humid environment, while the NYBG notes that Vandas can be grown in baskets, small pots, or without media depending on the setup.
Choose the most open container that still fits the time you have to water. If bare roots dry in a few hours and you cannot water again, move the plant to a coarser, slightly more moisture-retentive orchid medium rather than repeatedly soaking it in a way that keeps the base wet. If bark stays damp for days, improve drainage and airflow or use a more open basket. The right container is the one that allows a dependable wet-dry cycle in your actual home.
Feed steadily without chasing blooms
Vandas grow actively when they have warmth, light, water, and healthy roots, so they benefit from regular feeding during that period. The AOS recommends a balanced fertilizer such as 20-20-20 at one-quarter to one-half strength, then reducing or stopping fertilizer as growth slows in autumn or winter. NYBG also recommends dilute balanced feeding and less frequent fertilizer during winter. Follow the label for the product you have and use the lower end of its orchid directions if you are unsure.
When you water often, fertilizer salts can accumulate on roots and baskets. Periodically flush the root zone with plain low-mineral water, and reduce fertilizer if you see crusting or damaged root tips. Do not feed a plant with severely damaged roots as if fertilizer can make them recover; first correct water, air, and root health. Resume dilute feeding when healthy root tips or leaves are actively growing.
Some growers use a higher-phosphorus formula at times, but a bloom booster cannot compensate for dim light, low humidity, or poor roots. A balanced, weak feeding routine is a sound baseline. If you do try a specialized formula, avoid increasing total concentration and compare the plant’s response over time instead of switching products every few weeks.
Encourage flowering by fixing the limiting condition
Vandas can flower at different times of year depending on the species, hybrid, and growing conditions. A plant that is healthy but not in bloom is not necessarily failing; it may be too young, between flowering cycles, or still adjusting after transport. First confirm that the plant is growing new roots or leaves. Then review light, root hydration, temperature, and feeding in that order, because correcting a major shortage in any one of them may take months to influence flowering.
Start with light. Dark, floppy leaves or long, weak growth often point to insufficient intensity, while washed-out or red-tinged leaves may indicate too much direct sun or heat. Next check the roots: a Vanda that dries extremely fast in a hot room may be struggling to keep enough water, while soft brown roots in a persistently wet medium need better aeration, not extra watering. Also verify that the plant receives enough warmth and humidity without sitting in stagnant air.
The Orchid Bliss Vanda guide notes the importance of light and the differences between leaf forms; the NYBG guide connects flowering with the full combination of light, temperature, humidity, water, and nutrition. Make adjustments gradually and keep notes. Do not move the plant from shade into hot direct sun or apply concentrated fertilizer to force a spike. When flowers fade, leave a spike alone while it remains green; once it turns brown, cut it back with a clean blade. The plant needs time to build energy for its next cycle.
Repot only when the plant or container needs it
Vandas dislike unnecessary root disturbance, and they do not need to be shifted into larger containers just because roots hang outside the basket. Repot when a wooden basket is breaking apart, a medium has decomposed and stays wet, the plant no longer sits securely, or the root mass has outgrown its support. The NYBG repotting guidance describes moving a basket-grown Vanda into a larger basket with the old basket still in place as one low-disturbance option.
If you need to remove the orchid, soak or wet the roots first so they become more flexible, then ease them through the slats instead of pulling hard. Choose a basket only modestly larger than the current root mass; an oversized container packed with medium can stay damp too long. Use coarse orchid bark only if the plant needs a slower dry-down, and leave enough open space for air to reach the roots. Secure the stem gently without crushing it.
Keep healthy aerial roots, even if they extend beyond the container or point in an inconvenient direction. Trim only roots that are clearly dead—hollow, papery, or mushy—and use a clean, disinfected cutting tool. After repotting, avoid manipulating the roots repeatedly. Resume watering based on how the new setup dries, and wait for visible new root or leaf growth before increasing fertilizer. If the plant is stable and the basket still drains well, leaving it alone is often the better choice.
Propagate a Vanda from a rooted offset
Vandas grow from a central stem, and some eventually form a side shoot or keiki. Not every plant will make one, and cutting a healthy main stem too early can set the parent back. Wait until an offset has several leaves and a useful cluster of roots of its own. The AOS culture sheet focuses on growing conditions rather than a single propagation formula; Orchid Bliss describes using rooted shoots or top cuttings, but the safest approach for a home grower is to divide only when the new growth can support itself.
Use a sterile knife or pruner to separate the offset cleanly from the parent, keeping as many of its roots as possible. Set it in a small, well-ventilated basket or mount that fits its root mass; a small amount of coarse orchid medium can prevent it from wobbling while new roots establish. Keep it warm and humid, give it bright filtered light, and water carefully so the roots stay hydrated but the base does not remain wet.
Do not confuse every new root tip or flower spike with a keiki. A flower spike emerges between leaves and carries buds; a keiki forms leaves and eventually roots as a small plant. If the offset is tiny or has only short root nubs, leave it attached and let it grow. The parent can support a developing offset better than a rushed separation can.
Troubleshoot Vanda orchid symptoms systematically
Start with the roots and the growing conditions rather than treating a leaf symptom as a diagnosis. A wrinkled leaf can result from a plant that dries too quickly, but it can also appear when damaged or rotting roots are unable to take up water. Feel the roots and check their color, firmness, and drying pattern. Firm roots that turn green when watered and silver as they dry are usually functioning; soft, hollow, or foul-smelling roots need inspection of the basket and medium.
Dark green leaves, slow growth, and missing flowers often suggest too little light. Pale, yellow-green, or reddish leaves on the side facing a window may point to sun stress, especially after a sudden move. Increase or reduce exposure in small steps and watch new growth rather than expecting old leaves to change back. If flower buds shrivel, check for rapid temperature shifts, dehydration, or a big change in humidity before adding fertilizer.
If an orchid remains wet for days, increase air movement and open the root zone before watering more. If roots dry to brittle silver soon after each watering, consider a basket with coarse bark, a more humid location, or more frequent watering. Sticky droplets can be natural sap, but inspect leaf joints and flower spikes for scale or mealybugs rather than assuming all stickiness is harmless. Change one condition at a time, keep notes, and give the plant time to respond; repeated emergency adjustments make the cause harder to find.
Inspect for pests and keep tools clean
Mealybugs and scale can hide in the tight places where leaves meet the stem, under dried leaf bases, and around a basket’s attachment points. Inspect the plant when you water, including the undersides of leaves, rather than waiting for visible damage. Isolate an infested orchid from nearby plants and remove a small number of insects manually with a damp cotton swab or cloth. Recheck every few days because missed insects and eggs can restart an infestation.
For a persistent problem, use only a treatment labeled for the specific pest and for orchids or indoor ornamentals, and follow its directions exactly. Test it on a small area first if the label permits; tender leaves and flowers can react differently from other plants. Do not apply oil or soap in direct sun or to a heat-stressed orchid. Keep watering tools and pruners clean, and disinfect blades between plants, especially after cutting damaged tissue.
Conclusion
Successful Vanda orchid care comes down to matching the plant’s leaf form and root setup to the light, warmth, humidity, and time you can provide. Begin with the brightest safe position, water thoroughly when roots approach dryness, and make sure air can move around the plant as it dries. Use an open basket for fast drying or coarse orchid bark when your home needs a slower, but still airy, cycle.
The routine should respond to the plant rather than a universal schedule. Check root firmness and color, record how long the basket stays damp, and adjust one condition at a time. If a Vanda grows steadily and produces healthy roots, keep the setup consistent; if it struggles, investigate light and root function before reaching for extra fertilizer or more water. With the right environment, its dramatic blooms become a result of sound care rather than a lucky exception.