When to Transplant Tomato Seedlings to the Garden
Learn when to transplant tomato seedlings by checking frost risk, overnight lows, soil warmth, and plant readiness. Includes hardening off and planting steps.
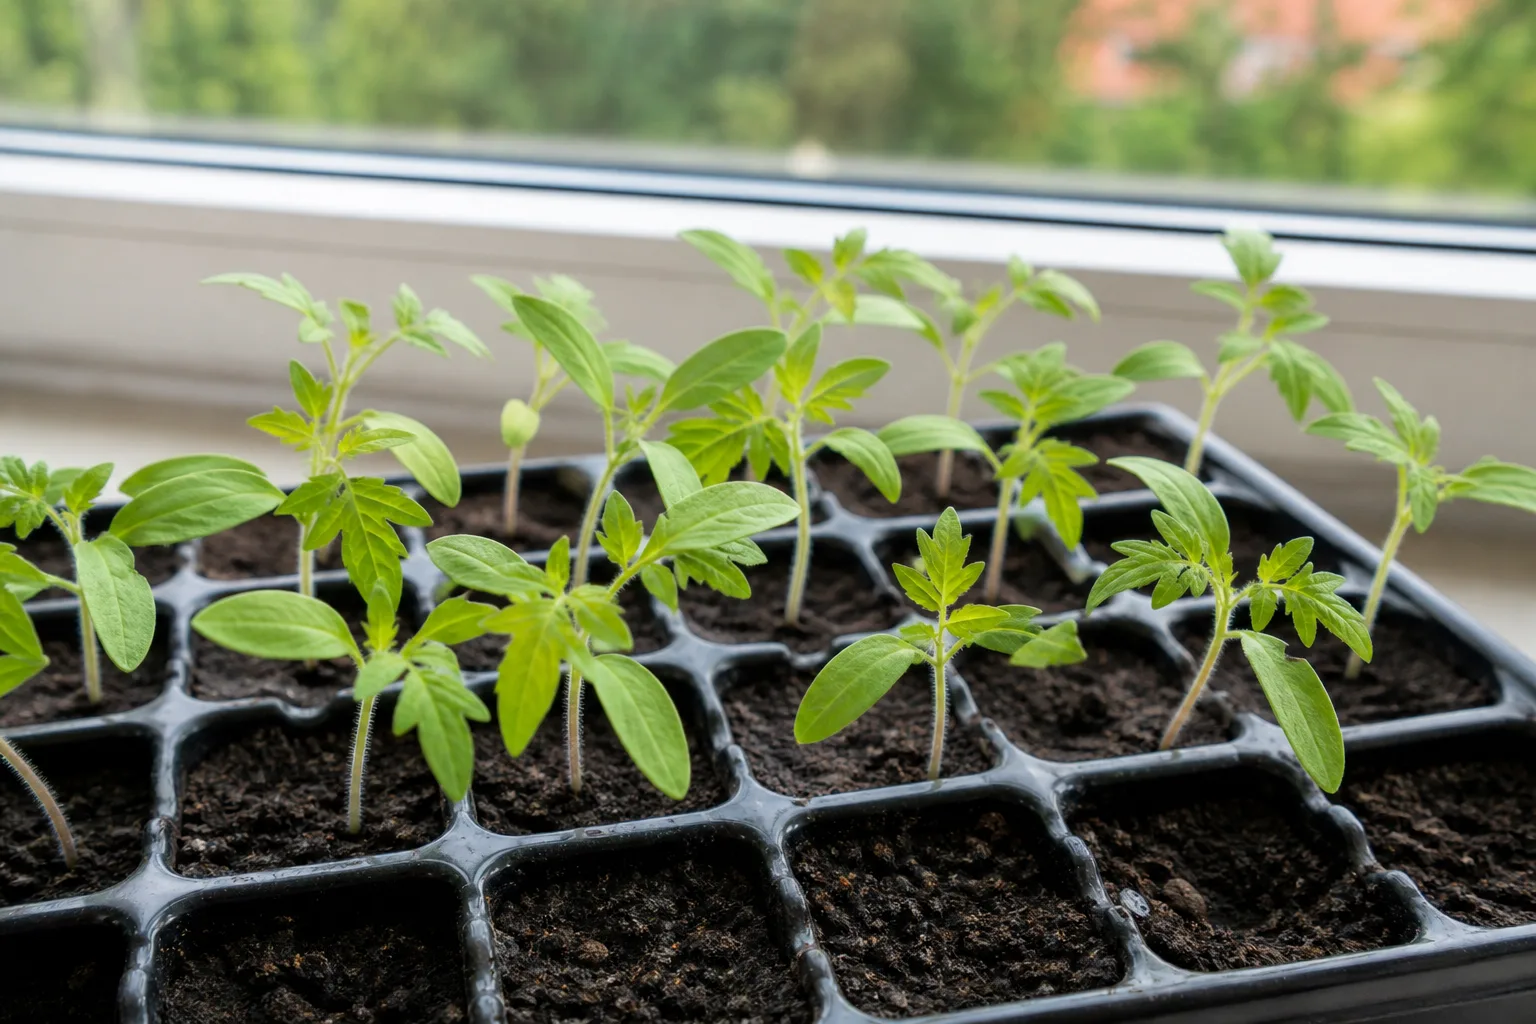
Move tomato seedlings outdoors when frost danger has passed, nights are staying mild, the planting soil is warming, and the plants have been acclimated to sun and wind. Those conditions matter more than a date on the calendar: a tomato can sit ready in a pot while a cold spring lingers, and a sunny patio can warm before a shaded, wet bed.
For a practical starting point, aim for a forecast with no frost and night temperatures consistently above about 50°F (10°C), then check that the root zone is not cold and waterlogged. Tomatoes generally establish more steadily in warm conditions; the Royal Horticultural Society recommends planting outdoors once temperatures are reliably above 60°F (16°C), while Pennsylvania Horticultural Society guidance uses nights above 50°F for warm-season transplants. Treat these as decision aids, not guarantees for every cultivar or microclimate (RHS tomato growing guide; PHS transplanting guide).
Make the decision with three checks
Use three checks together: frost risk, temperature trend, and seedling condition. If any one is clearly unfavorable, wait or keep the plant in a container you can move. A warm afternoon alone is not enough; the forecast low and the temperature of the planting bed tell you more about how the first night and first week will go.
| Check | Ready to plant | Wait or protect |
|---|---|---|
| Frost | Local frost window has passed and no frost is forecast | Frost is forecast or the site collects cold air |
| Night temperatures | Lows stay above about 50°F (10°C), preferably warmer | Repeated cold nights or a sharp drop is expected |
| Soil and roots | Soil is workable, draining, and warming; seedling is sturdy and hardened | Soil is cold and wet, or the seedling has not adjusted outdoors |
The safest answer is not always “wait for perfect weather.” If a brief cool spell is possible but frost is not, a sheltered location and a movable pot can make the risk manageable. For an exposed bed, waiting for a more settled forecast is often the simpler choice because a small transplant has little foliage and root volume to buffer stress.
Treat the last frost date as a planning marker
An average last frost date describes a historical probability, not a promise that the final frost has occurred. Use it to start planning, then look at the actual forecast near planting time. Do not assume that a USDA hardiness zone gives an outdoor tomato date: hardiness zones describe average annual extreme winter lows for perennial survival, not the last spring frost in a particular yard.
Local geography can shift the date by days or weeks. A low spot, open field, north-facing slope, or garden beside a cold wall may stay colder than a sunny raised bed near the house. If you garden in a subtropical climate, the usual frost-first calendar may be less useful than avoiding the hottest part of summer; follow a local extension planting calendar for your region rather than importing a northern schedule.
Use a local forecast for the final call
Check a reliable local forecast for at least the next week, paying special attention to overnight lows and any frost advisory. A 10-day forecast is useful for spotting a trend, but its later days are less certain, so keep a frost cloth or a way to move containers ready when spring weather is unsettled. Pennsylvania Horticultural Society also recommends using the forecast rather than relying on a fixed mid-April date for its Zone 7 gardens (PHS transplanting guide).
If frost appears after you plant, cover small plants before sunset with frost cloth supported so it does not crush leaves, and uncover them when temperatures rise the next day. A cover can reduce exposure during a light, brief cold snap, but it is not a dependable substitute for delaying planting through a hard freeze. Plastic touching foliage can transfer cold and trap heat later, so remove or vent it promptly.
Check overnight temperatures before moving plants
Tomatoes are warm-season plants, and chilly nights can slow establishment even when they do not freeze. A few nights around or below 50°F (10°C) may leave young plants stalled, purple-tinged, or temporarily droopy; repeated cold is more concerning than one mild dip. Utah State University Extension describes tomato transplants as needing a gradual transition to outdoor conditions and uses 50–60°F (10–16°C) temperatures during hardening, while PHS advises waiting for warm-season crops such as tomatoes until nights consistently stay above 50°F (Utah State University Extension; PHS).
For faster, less stressful growth, choose a stretch of nights warmer than the minimum rather than transplanting at the first barely acceptable forecast. A sheltered city patio may hold warmth while a rural garden open to wind cools quickly. If the seedlings are healthy and you have the flexibility, waiting several more mild nights usually costs less than recovering a cold-stressed plant.
Test soil warmth at the root zone
Warm air does not instantly warm deep soil. Cold, saturated earth can chill roots and limit their ability to take up water, so a seedling may wilt even when the bed looks green and the day feels pleasant. As a practical home-garden target, wait until the bed is around 60°F (16°C) at root-ball depth and rising; give it longer if it is heavy, shaded, or still wet from rain.
Use a soil thermometer if you have one. An Alabama Cooperative Extension table lists a 70–95°F optimal range for tomato seed germination, but that is a seed-starting measure, not a transplant cutoff; germination and outdoor establishment are different stages (Alabama Cooperative Extension System). For planting, the useful question is whether the root zone is warming and draining well enough for active growth, not whether it matches a seed germination chart.
Measure temperature consistently
Push the thermometer into the soil at about the depth of the seedling’s root ball, away from a warm wall or a patch of direct sun. Check the same area in the morning on more than one day; a single afternoon reading can make a still-cold bed look ready. If you do not own a thermometer, use several clues together: the soil is no longer chilly to the touch, it crumbles rather than smears, and the forecast has turned consistently mild.
Raised beds and containers often warm earlier than in-ground soil, but they also lose heat faster overnight. A container can therefore be an earlier option only when you can bring it under cover or indoors if a cold night returns. Do not mistake a warm container surface on a sunny afternoon for a guarantee that its root ball will stay warm overnight.
Know what a transplant-ready seedling looks like
A good transplant is compact, green, actively growing, and held by a cohesive root ball—not simply tall. Utah State Extension describes tomato transplants as having a well-developed root system and five to seven mature leaves; those true leaves appear after the first smooth seed leaves, or cotyledons (USU Extension transplant production). A plant with a sturdy stem and several sets of true leaves usually handles the move better than a taller plant with a thin stem and few roots.
Check the underside of leaves and the growing tip for insects, spots, or distorted new growth before bringing a nursery transplant home. Slide the plant out gently or look through the drainage holes: pale roots visible at the edge are normal, but thick roots circling tightly around the pot suggest it has been held too long. Pennsylvania Horticultural Society recommends selecting stocky seedlings and checking the root system rather than choosing the tallest plant on the bench (PHS seedling transplant guide).
Seedlings started indoors may be ready in roughly six to eight weeks, but time is only a planning estimate. Utah State Extension gives that growth window and recommends conditioning plants before they go outdoors; light, pot size, indoor temperature, and cultivar all change the pace. If you are still planning your seed-starting schedule, the guide to starting seeds indoors explains how to count backward from the intended planting window.
Pot up seedlings when spring is late
Do not solve bad planting weather by sending a crowded, indoor-grown seedling outside. If roots are filling the starter cell or circling its base and the bed is still cold, move the plant to a clean pot one size larger with drainage holes and fresh, airy potting mix. Set it slightly deeper than it sat in its small cell if the stem is healthy, then water enough to settle the mix without leaving the pot standing in water.
Keep potted seedlings in strong light and continue to check their moisture; a larger pot dries more slowly than a cell, but a warm sunny window can still dry it quickly. Avoid repeated fertilizer doses to force growth, which can produce soft, leafy plants that are harder to manage outdoors. If the weather is delayed by more than a week, potting up gives roots more room while you wait for the actual frost, temperature, and soil checks to align.
Before moving a pot-up seedling outdoors, let it settle indoors for a day or two and then begin hardening it off. A larger pot does not remove the need for gradual acclimation. If you have to delay for several weeks, check roots again and move it up only when the current container is becoming crowded rather than repeatedly shifting it into oversized pots.
Harden off tomato seedlings over seven to ten days
Plants raised indoors have not experienced direct sun, wind, or wide temperature swings. Put one outside in full sun immediately and the leaves can scorch; a breeze can also dry a small root ball before it has time to adjust. Hardening off is the gradual exposure that teaches the plant to handle those conditions before planting.
Start about a week before the expected move, on a day without harsh wind or freezing temperatures. A useful progression is to place seedlings in bright shade for a couple of hours on day one, extend the time outside over the next few days, then introduce gentle morning sun before increasing direct exposure. By the end of the week, a sturdy plant should tolerate a full day outdoors; extend to 10–14 days if the seedlings are very tender, the weather is windy, or you cannot give them a protected starting spot. Savvy Gardening describes a similar 5–7-day acclimation before transplanting, while PHS recommends beginning around a week ahead (Savvy Gardening’s tomato seed-starting guide; PHS).
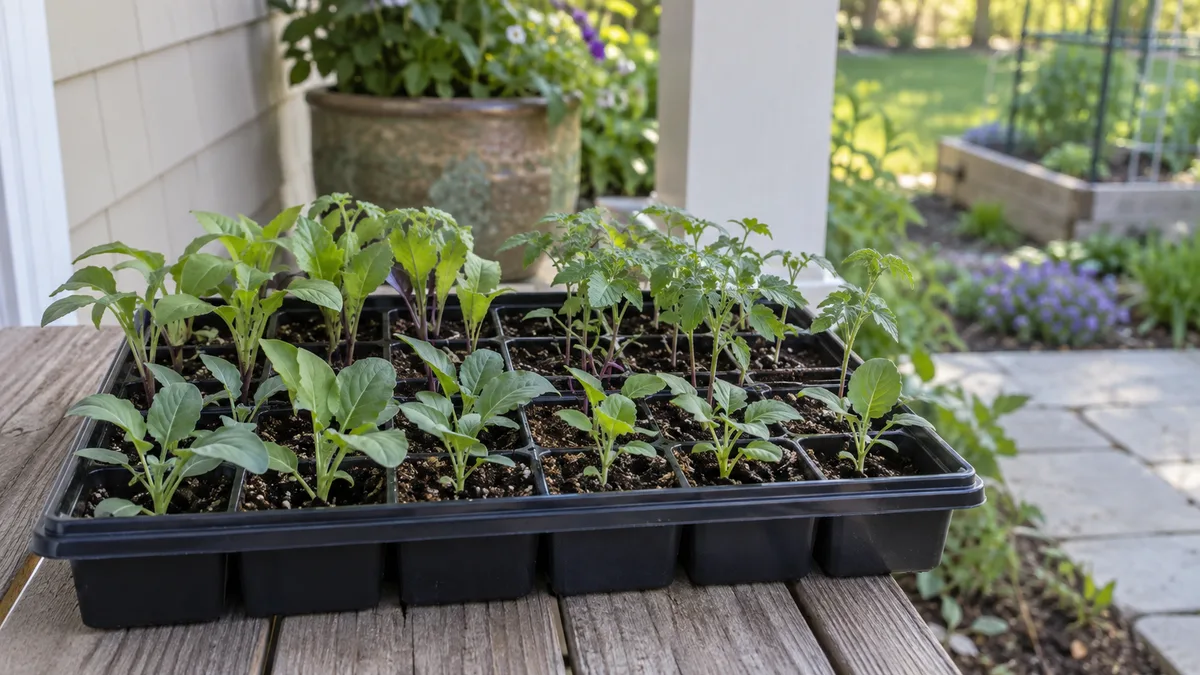
Bring seedlings back inside overnight until nights are mild and no frost is expected. As they spend longer outside, check the mix more often because sun and wind make small pots dry faster; keep it evenly moist but not saturated. If a plant wilts sharply during the process, move it back to shade, water if the mix is dry, and resume with a shorter exposure after it recovers instead of forcing the schedule.
Choose a low-stress planting day
Choose a calm, overcast day or plant in the late afternoon, when the seedling will not face hours of immediate midday heat. PHS recommends this timing to give plants a chance to settle before intense sun; it is especially useful for a first-time transplant or a suddenly warm spring day (PHS transplanting guide). Do not plant into a thunderstorm, a heat wave, or soil that is so wet it sticks in heavy clods.
Water the seedlings a few hours before planting if the potting mix is dry. A moist root ball holds together as you slide it from the pot; a bone-dry one can crumble and expose fine roots. Have the holes, water, support, labels, and frost protection ready before taking plants out of their containers so the roots spend as little time exposed as possible.
Prepare the bed and support before planting
Pick the sunniest, best-drained spot you can give the plants; tomatoes need a long stretch of direct light and room for mature growth. Loosen compacted ground without pulverizing the structure, remove weeds, and work in finished compost when the soil needs organic matter. A soil test is more useful than guessing at a large dose of fertilizer, particularly if the bed has been amended recently.
Read the cultivar label before spacing seedlings because determinate bushes and indeterminate vines have different mature sizes and support needs. Put cages or stakes in place at planting, while there is little root growth to hit. NC State Extension advises supporting tomato plants shortly after planting and warns that inserting a stake close to the stem can damage roots; setting support early also avoids wrestling with a larger, brittle plant later (NC State Extension: Growing Tomatoes in the Home Garden).
Plant tomatoes in the ground without damaging roots
Dig a hole wide enough to accept the root ball without compressing it, and deep enough to plant the healthy seedling lower than it sat in its nursery pot. Remove the plant by squeezing the sides of a flexible pot or pushing from the bottom; do not pull it up by the stem. If roots have formed a dense spiral, loosen only the outermost circling roots gently rather than tearing apart the whole root ball.
Set the plant in the prepared hole, backfill with the loosened soil, and press just enough to remove large air pockets. Avoid packing the soil hard around the stem, and do not put concentrated fertilizer against the roots. Water slowly at the base until the root zone is evenly moist; this settles soil around roots without splashing the leaves.
Bury a healthy stem, not the leaves
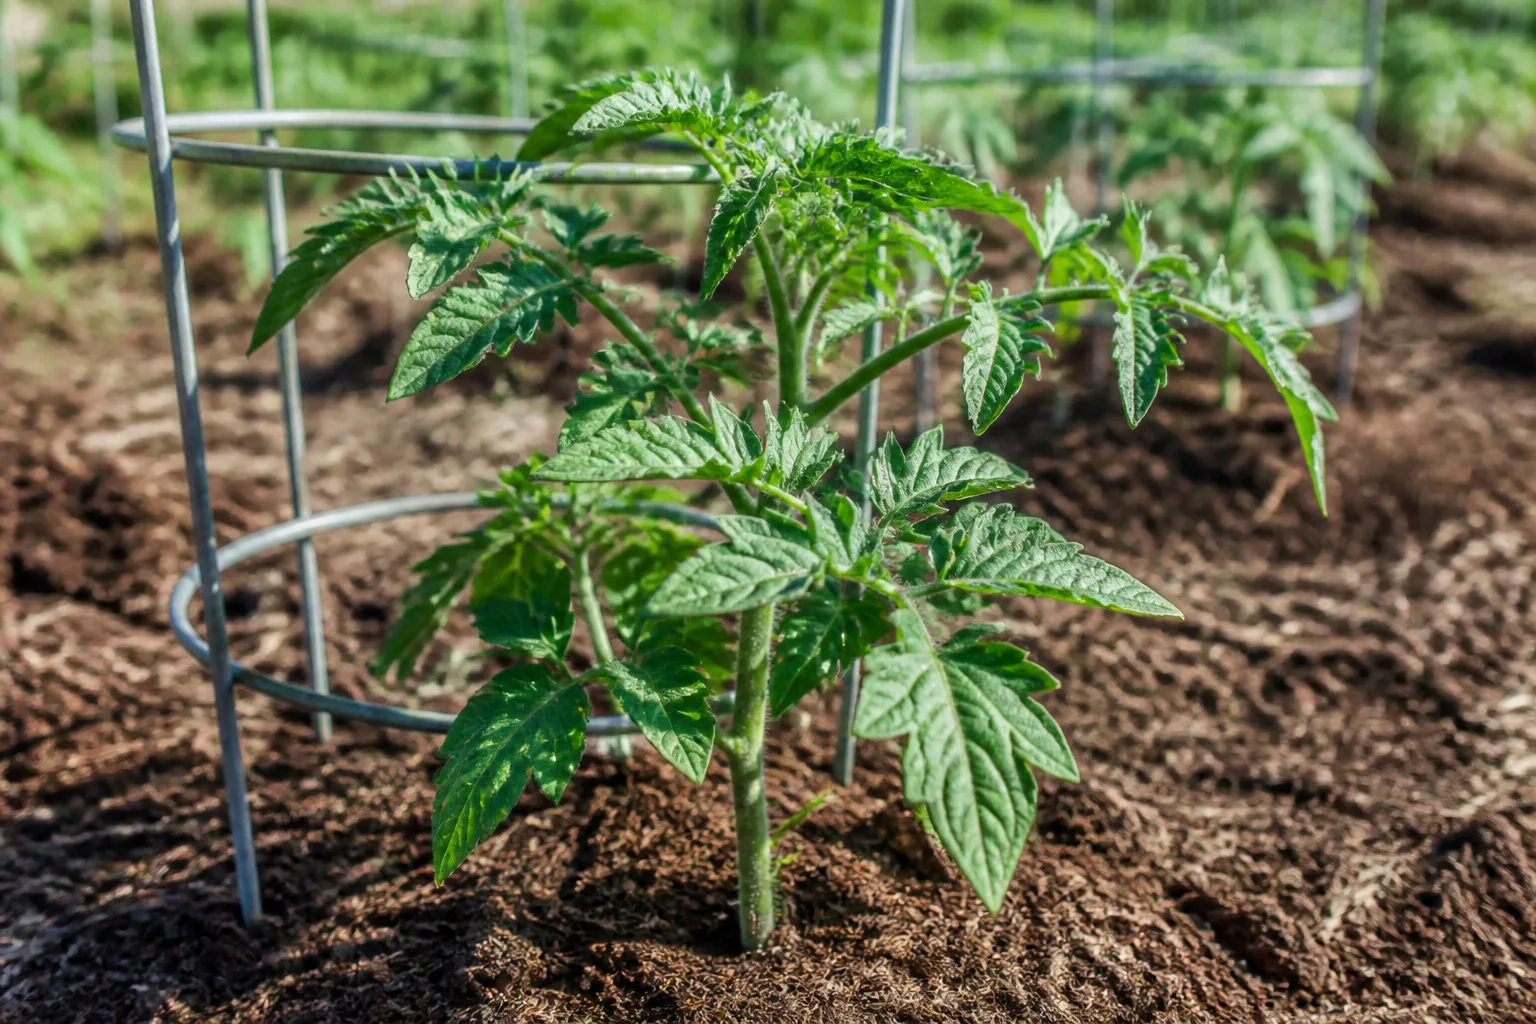
Tomatoes can produce roots along a buried stem, which makes them an exception to the “plant at the same depth” rule used for many seedlings. Remove leaves that would sit below soil, then bury the stem so the lowest remaining leaves stay above the surface. NC State Extension describes deep planting for ungrafted plants and gives a sideways trench as an option for tall, leggy transplants; the RHS also recommends planting with the first leaf set just above the soil (NC State Extension; RHS).
Do not bury leaves or the growing tip. Foliage trapped against damp soil is more likely to rot, and a stem buried into cold, waterlogged ground will not benefit simply because it is deep. In heavy clay or a poorly drained bed, plant on a slight mound or use a raised bed rather than creating a deep pocket that stays wet.
Lay an overgrown seedling in a trench
If a seedling is too tall for a deep vertical hole, dig a shallow trench and lay part of the bare stem sideways with the root ball at one end. Remove leaves from the section that will be buried, cover the root ball and stem, and leave the leafy top above ground; it will curve upward toward the light. Water the full trench gently and mark where the buried stem runs so you do not drive a stake through it later.
This method is for a healthy, flexible stem, not a brittle plant that snaps when bent. In very heavy soil, a shallow trench or mounded planting is safer than forcing a long stem into a deep, water-collecting hole. The plant may look temporarily tilted, but the growing tip should turn upright as it resumes growth.
Keep graft unions above the soil
Grafted tomatoes are the exception to deep burying. The swollen graft union joins the desired fruiting variety to a vigorous or disease-resistant rootstock; if the stem above that union makes its own roots, it can bypass the rootstock. Plant a grafted seedling at the depth it grew in the pot and keep the graft junction clearly above the finished soil line.
Check the tag before planting because the union may be subtle on a small transplant. NC State Extension specifically advises keeping the graft at least an inch above ground; if the tag is missing and you cannot identify the graft point, choose the conservative standard depth rather than burying the stem deeply (NC State Extension tomato guide).
Transplant tomatoes into containers
Choose a container with drainage holes and enough volume for the cultivar’s mature size; a tiny decorative pot can dry out several times a day in summer and restrict roots before the plant fruits. Use a quality potting mix rather than heavy garden soil, which compacts in a container. Set the support in place as you plant, then position the container where it gets strong sun and is protected from persistent wind.
You can plant a tomato in a container before the in-ground bed is ready only if the weather itself is suitable and you can move the pot under cover when nights turn cold. Container soil heats quickly in sun and cools quickly after sunset, so mobility is useful but does not make a tender seedling frost-proof. Water until excess drains from the base, empty any saucer, and recheck moisture the next morning rather than following a fixed daily schedule.
The RHS recommends one tomato in a 30–45 cm (12–18 in) pot as a starting point for its container guidance, but mature size, container depth, climate, and watering capacity matter too (RHS tomato growing guide). A vigorous indeterminate plant needs a larger, stable container and stronger support than a compact patio variety. If you are not sure which type you have, give it more room and check the label before crowding multiple plants into one pot.
Water, support, and protect the first week
Water thoroughly at planting, then check the soil daily for the first several days rather than watering automatically. The top may dry while the root zone remains damp, especially after cool weather; feel below the surface or check the pot’s weight before adding more. The goal is even moisture around the roots, not a permanently soggy hole.
Keep the support stable and tie the main stem loosely if it needs help staying upright. A cage is not a substitute for anchoring in a windy bed, and ties should not cut into the stem as it thickens. Delay a heavy mulch layer until the soil has warmed; once established, mulch can reduce rapid drying, but keep it a little away from direct contact with the stem.
Avoid applying a strong fertilizer solution just because a plant has been transplanted. Freshly disturbed roots need moisture and suitable temperatures before they can use extra nutrients, and excess nitrogen can encourage soft leafy growth instead of a balanced plant. Follow a soil-test recommendation or the product label if feeding is needed; NC State Extension places its sidedressing later in growth, after plants begin setting fruit (NC State Extension tomato guide).
If the forecast turns colder after planting, cover the plants before the evening temperature drops and uncover them once the day warms. A lightweight row cover or frost cloth supported above the leaves is easier to manage than an improvised airtight cover. For a container, moving it against a sheltered wall or indoors overnight is usually the more reliable option.
Read transplant stress before reacting
A little droop on the first afternoon does not automatically mean the transplant has failed. Plants lose water through leaves faster than freshly disturbed roots can replace it, especially after sun, wind, or a rough move; if the soil is moist and the stems are intact, shade the plant briefly and watch it through the next cool morning. Recovery by morning is reassuring, while persistent morning wilt calls for checking the root zone, drainage, and forecast before adding more water.
Leaf scorch after a sudden change from indoor light to direct sun points to insufficient hardening. Move the plant to bright shade during recovery and resume exposure more gradually; avoid pruning healthy leaves or adding fertilizer in an attempt to reverse the damage. If the soil is cold and saturated, pause irrigation and improve drainage rather than watering again because the leaves look limp.
Cold-stalled seedlings may take time to resume growth even if they remain alive. Protect them from further cold, keep moisture steady, and wait for new growth before deciding that the plant needs a stronger feed or replacement. If the main stem is broken at the base, roots are rotting, or symptoms spread across several plants, take a close look for a physical or disease problem instead of labeling every decline “transplant shock.”
Conclusion
Transplant tomatoes when the conditions line up: frost risk is low, nights are consistently mild, the bed is warming and draining, and the seedling has been hardened off. Use your local forecast and a thermometer where possible; the calendar and hardiness zone can help you plan, but neither can tell you what is happening in one particular bed today.
If spring is late, pot up crowded plants, keep them in strong light, and wait rather than forcing them into cold soil. When the window arrives, water the root ball, plant carefully, protect graft unions, install support, and check moisture closely through the first week. That sequence gives young tomatoes the chance to establish roots before the weather asks them to grow quickly.