When to Fertilize Azaleas: Timing, Type, and Safe Dose
Feed azaleas after bloom only when the plant or a soil test calls for it. Get regional timing, pH guidance, product-label tips, and a safe application method.
Quick answer: Feed after bloom only when needed
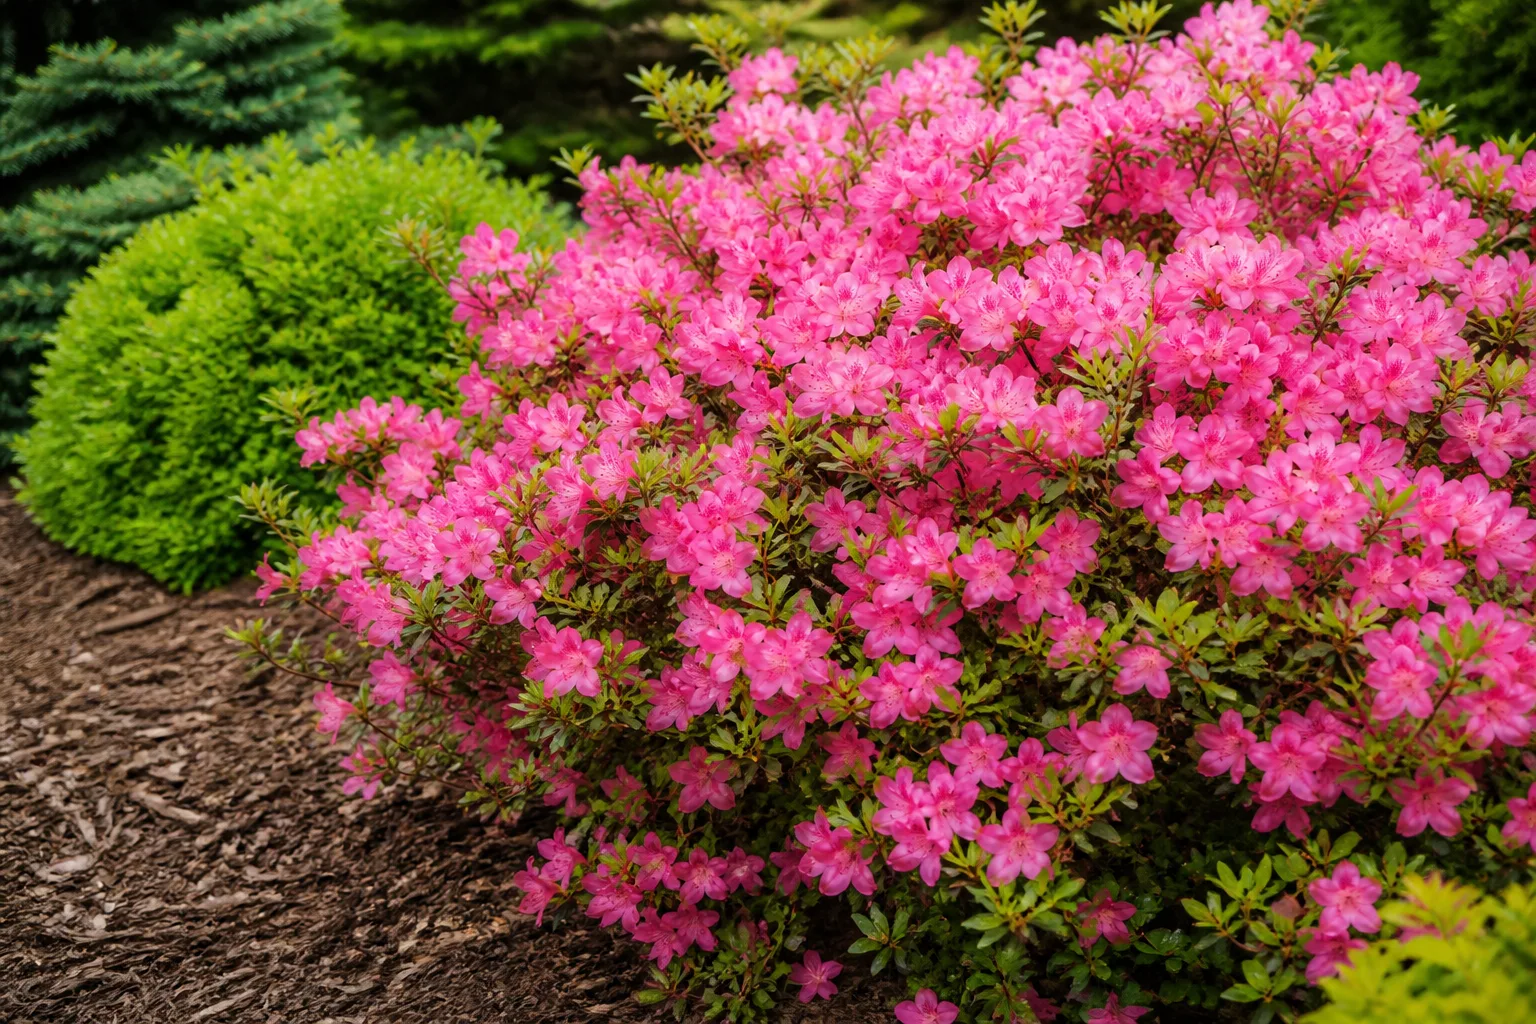
If an established azalea is growing normally in acidic, well-drained soil with an organic mulch, you may not need to fertilize it at all. If a soil test or a clear pattern of weak growth points to a nutrient shortage, the safest general window is soon after the main bloom, while the plant is beginning its new growth and there is still time before the local early-summer cutoff. Apply a product labeled for azaleas or other acid-loving shrubs, use the label rate or soil-test recommendation, and water it in.
That answer is more useful than a fixed month because azaleas bloom at different times by cultivar and climate. A shrub that finishes in March in a mild region may flower weeks later somewhere colder, while an evergreen rebloomer can open a second flush long after the main spring display. Think in plant stages, then check your regional Cooperative Extension calendar before applying a late-season dose.
Do your azaleas need fertilizer?
Check the plant’s age, mulch, and growth
Azaleas have fine, shallow feeder roots and modest nutrient needs. In a bed improved with organic matter and kept under a renewing layer of leaf mold, pine bark, or pine straw, decaying mulch can supply much of the nutrition a healthy shrub uses. The Azalea Society of America notes that established, well-mulched azaleas often do well without supplemental fertilizer, and UGA Extension says some experienced growers avoid chemical feeding altogether. The Azalea Society’s fertilizing guidance and UGA’s azalea publication both emphasize testing and restraint.
Look at the shrub’s recent growth before buying a product. A plant that made a normal flush of leaves, held its foliage well, and flowered as expected has no obvious reason to receive fertilizer just because spring has arrived. Mature size is not itself a sign of health; azaleas are naturally slow-growing, and cultivar, light, water, pruning history, and competition from tree roots all affect how much growth you see.
Newly planted shrubs are a special case. Do not put concentrated fertilizer in the planting hole or against a fresh root ball: UGA warns that fertilizer can dehydrate and injure sensitive new roots. Give the plant a correctly prepared, well-drained root zone, water it consistently while it establishes, and wait for the local guidance or a soil test to show that feeding is appropriate. Compost and a surface mulch are not the same as placing a concentrated fertilizer beside unestablished roots.
Read leaf color without guessing
A nitrogen shortage can show up as pale green leaves, small new leaves, and slowed growth, but those signs are not proof that nitrogen is the problem. Poor drainage, drought, compacted soil, root injury, pests, and an unsuitable pH can produce similar symptoms. Clemson Extension advises gardeners to identify the cause before feeding, because fertilizer will not repair water stress, damaged roots, or pest injury. Clemson’s azalea care guide describes both the low nutrient needs of azaleas and the overlap between deficiency symptoms and other stresses.
Compare the new growth with older foliage and note where the change begins. Iron chlorosis often affects young leaves first: the tissue between the veins becomes yellow or pale while the veins remain darker green. By contrast, ordinary evergreen leaf turnover usually affects shaded leaves inside the shrub, and drought stress may cause leaves to curl, dull, or scorch at their edges. One yellow leaf is not a fertilizer prescription.
Test soil before treating yellow leaves
Separate iron chlorosis from water and root stress
Soil pH helps determine whether nutrients in the ground are available to roots. Azaleas generally prefer acidic soil, with a commonly recommended range around pH 4.5 to 6.0; at higher pH, iron may be present but harder for the plant to absorb. That is why an iron product may make foliage look better temporarily while failing to solve the conditions that caused the symptom. Oregon State University Extension explains that high pH can limit iron and other nutrient uptake, while University of Maryland Extension notes that iron can become unavailable in alkaline soil.
A lab soil test is the best next step when the shrub is declining, has repeated yellowing, or grows near concrete, a foundation, or hard-water irrigation. Ask for pH and nutrient recommendations for an acid-loving ornamental; lawn or vegetable-bed results do not automatically translate to an azalea bed. Collect the sample from several spots in the active root area, avoid taking a scoop of only mulch, and follow the lab’s depth and mixing instructions. A county extension office can tell you how its local testing service works.
Check moisture and drainage at the same time. Pull mulch aside and feel the soil a few inches down: dry soil calls for a deep, slow watering, while soil that stays wet or smells sour suggests a drainage or root problem, not a need for more fertilizer. Azaleas can wilt in both drought and waterlogged conditions, and excess water damages the fine roots that take up nutrients. A nutrient product added to damaged roots can worsen burn or salt buildup.
Yellowing is a clue, not a diagnosis. Maryland Extension’s azalea problem guide distinguishes iron chlorosis from normal interior leaf drop, pest symptoms, drought stress, and other disorders; Oregon State’s spring checklist also cautions that sun scorch, frost injury, and normal aging can look like nutrient problems. If only one side is pale, if leaves have spots or stippling, or if branches wilt despite wet soil, investigate the site and pests before feeding.
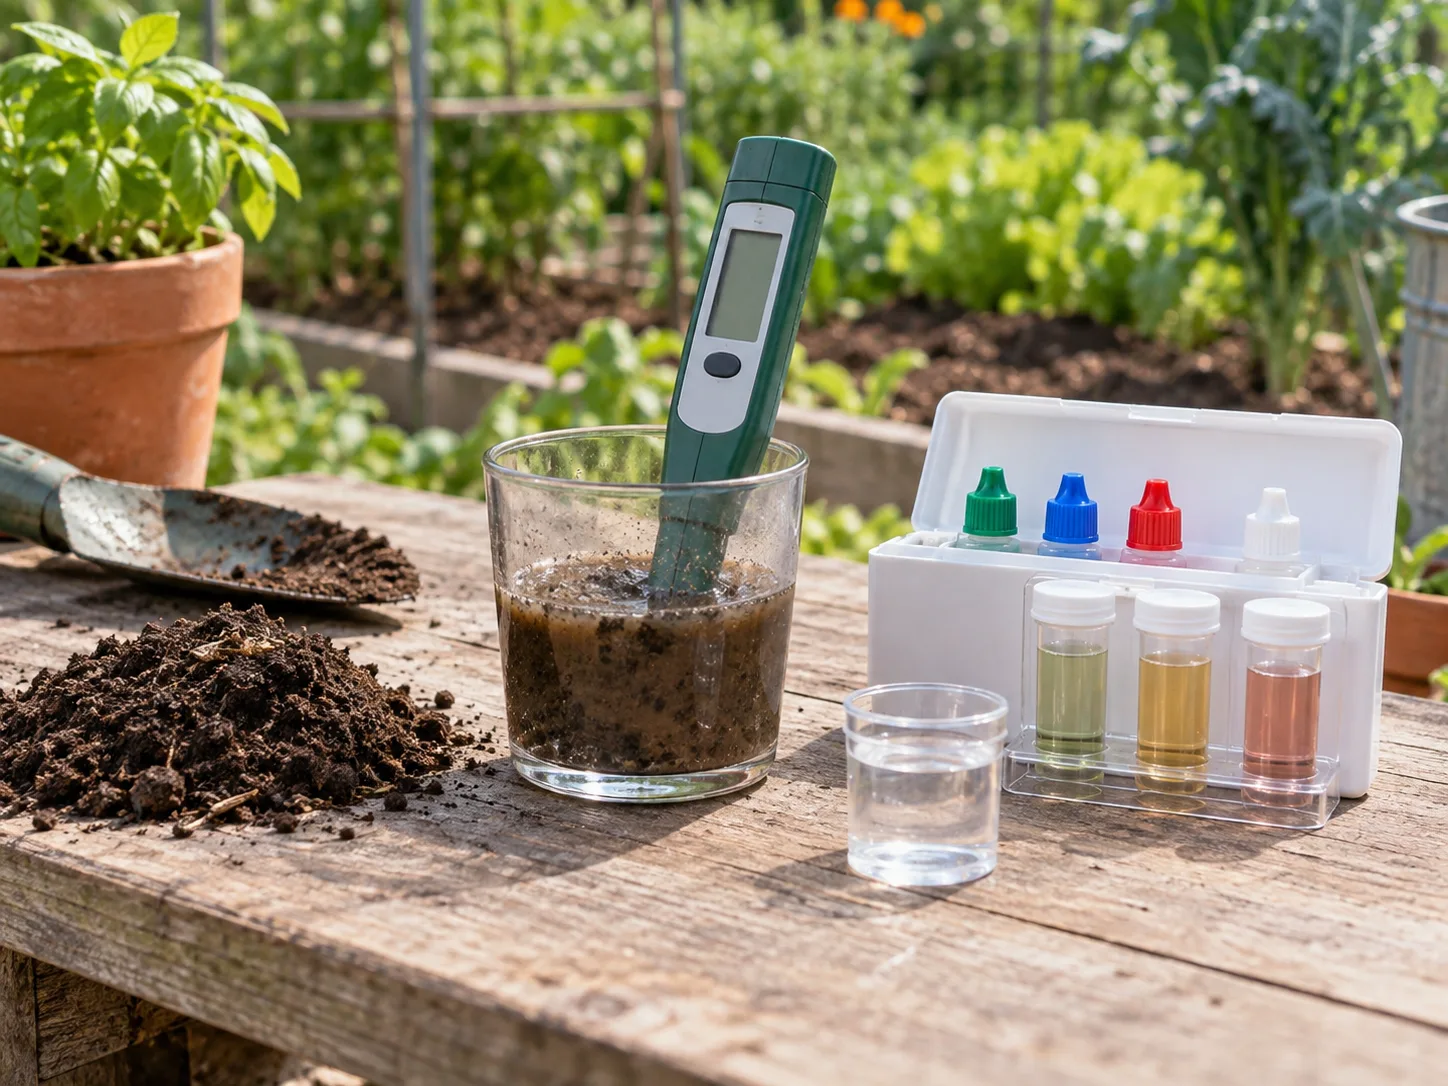
A home meter can help screen for pH, but do not let one reading trigger a large chemical correction. If the result is surprising, verify it with a lab that reports the test method and recommendations for your soil type. A lab can also reveal when the plant has enough phosphorus or potassium already, which is a reason to avoid a balanced product that would add more than needed.
Do not guess at pH-lowering amendments by adding handfuls of sulfur, coffee grounds, or an aluminum product. Soil texture, existing pH, and buffering capacity change how much amendment is appropriate; overacidifying can create new nutrient problems. UGA and Maryland Extension specifically advise against aluminum sulfate around azaleas because aluminum can injure their roots or accumulate to harmful levels. Correct pH only from a test-backed recommendation, and expect the adjustment to take time.
When to fertilize around bloom and seasons
Spring-flowering shrubs
For a spring-blooming landscape azalea that genuinely needs nutrients, several extension sources point to the period just after flowering. This is a useful moment because the shrub has completed its current floral display and is entering active shoot and leaf growth; next year’s flower buds develop later in the growing season. UGA Extension recommends applying after flowering and, only if needed, allows a half-rate June application for spring-flowering cultivars. Oregon State Extension and University of Vermont Extension likewise advise feeding after bloom.
Do not fertilize before bloom just to make the flowers bigger this season. Azaleas generally formed the flower buds that are opening now during the previous growing season, so a spring feeding cannot manufacture a new flush of buds overnight. Feeding too early or too heavily may instead encourage leaves and shoots when the plant should be finishing its display. If a soil test identifies a deficiency that needs correction before bloom, follow that specific recommendation rather than relying on a general bloom-boosting product.
The practical window is short: after flowers fade, after the shrub starts active growth, and before a local cutoff for summer feeding. Regional recommendations differ: UGA says avoid applications after July 1, Oregon State says not after mid-July, and the Azalea Society advises against feeding after June. The Society’s page also describes feeding dormant plants from late fall through early spring, while Clemson advises against high-nitrogen fertilizer in late fall because it can delay dormancy. Those instructions are not interchangeable across climates and products; use your local Extension recommendation for the cultivar and fertilizer you have. Clemson Extension and the Azalea Society of America show why a single national date would be misleading.
Use your county Extension’s timing for your climate and the exact product you have. In most home landscapes, feeding immediately after bloom keeps the application well ahead of late summer; do not force a missed feeding into a hot, dry period simply because a calendar says June. If the local recommendation and the label do not support a late application, skip it and reassess at the next appropriate window.
Reblooming and container azaleas
Reblooming cultivars do not need a fresh fertilizer dose after every flush. The Encore Azalea program recommends a slow-release, balanced azalea or camellia fertilizer after spring bloom, with a possible second application before August only in long, rainy growing seasons; its own guide also cautions that these cultivars are sensitive to heavy feeding. Encore Azalea’s fertilizer instructions are cultivar-specific, so use them only for Encore plants and reconcile them with local advice and the product label.
A florist’s potted azalea or a long-term container shrub has less soil volume than a landscape plant, so do not copy a per-1,000-square-foot landscape rate. After flowering, a kept container plant may need a dilute soluble feed or a small amount of slow-release fertilizer labeled for acid-loving plants, but the medium, drainage, previous fertilizer charge, and container instructions matter. Missouri Extension’s guidance for flowering potted plants describes using a complete soluble fertilizer after a potted azalea finishes flowering; follow the current product label and avoid feeding a plant that is wilted, recently repotted, or sitting in saturated mix.
The same timing principle still applies: respond to healthy active growth, not the number of blossoms on a particular week. A container plant that is dropping leaves, root-bound, or drying out every day may need fresh acidic mix, a larger pot, or a more stable watering routine before it needs fertilizer. If you keep the plant indoors, remember that many florist azaleas need cool, bright conditions to thrive or rebloom; fertilizer cannot make a hot, dim room suitable.
Choose an azalea fertilizer that fits the soil
Read N-P-K and product labels
A reliable starting point is a product explicitly labeled for azaleas, rhododendrons, camellias, or acid-loving shrubs. Many are slow-release, complete fertilizers with nitrogen and smaller amounts of phosphorus and potassium; some include micronutrients. Clemson gives 10-5-4 as one example of a ratio close to 2-1-1, while UGA says a soil test is the most scientific way to choose the analysis. Those numbers are examples, not a universal target for every azalea or every soil.
The first number in an N-P-K label is nitrogen, the nutrient most often associated with leafy growth; phosphorus and potassium are the second and third numbers. More phosphorus is not automatically more flowers, and extra nutrients do not repair poor light, root rot, or pH lockout. If a soil report says phosphorus or potassium is already sufficient, choose a product and rate that do not add a needless surplus of that nutrient.
Acid-forming describes a product’s effect as nutrients are transformed in soil; it does not mean a bag can quickly convert alkaline soil into ideal azalea soil. A specialty fertilizer may help maintain an appropriate root-zone environment when used as directed, but it cannot overcome strongly alkaline soil, concrete leaching, or irrigation water that steadily raises pH. When your measured pH is high, ask the soil lab whether the site can be adjusted or whether a container or raised acidic bed would be more reliable.
Organic, synthetic, liquid, and granular options
Organic and synthetic labels tell you about nutrient sources, not whether the product is safe when misused. Organic acid-forming products often have lower analyses and release nutrients more gradually; a conventional slow-release product can be convenient if the label matches your shrub and the rate is measured carefully. In either case, a soil test and the product label matter more than whether the fertilizer is marketed as natural, premium, or bloom-boosting. Gardening Know How’s azalea fertilizing guide also emphasizes that established, mulched shrubs may need little fertilizer and that label directions still govern the amount.
Granular fertilizer is practical for a bed because you can spread a measured quantity over the root zone and water it in. A water-soluble feed acts more quickly and can be useful for a container or a confirmed deficiency, but repeated dosing can raise soluble salts and is easy to overdo. Fertilizer spikes concentrate nutrients at a few spots and are hard to distribute evenly through the broad, shallow root zone, so they are rarely the easiest choice for a landscape azalea.
Compost, leaf mold, and a replenished organic mulch can improve the soil surface and feed soil life as they decompose. They are not a way to force an exact nutrient correction, and a thick layer piled against stems can keep bark wet and interfere with airflow. Spread a modest layer over the root area, keep it off the base of the shrub, and do not bury existing roots under repeated additions.
Coffee grounds deserve a separate reality check because gardeners often use them as a quick acidifier. Penn State Extension says used coffee grounds do not reliably lower soil pH and may push it above the range preferred by acid-loving plants; compost them for organic matter if you wish, but do not count them as azalea fertilizer or as a soil-acidification treatment. Penn State Extension’s garden-myth review is a useful correction to the idea that a familiar kitchen scrap can substitute for a soil test.
Calculate a safe fertilizer dose
There is no trustworthy one-size-fits-all number of tablespoons or cups per azalea. The amount depends on the fertilizer’s nitrogen percentage, the root-zone area you are treating, the soil test, whether the product is slow-release, and whether the bed already receives nutrients from mulch or compost. A rate printed for lawn, vegetables, or another shrub is not automatically appropriate for an azalea.
Start with the soil-test recommendation for the crop and bed, then follow the product label if it sets a lower maximum or a specific interval. If a recommendation is expressed as actual nitrogen, you can translate it into product weight: divide the pounds of nitrogen required by the product’s nitrogen fraction. For example, a recommendation for 0.5 pound of nitrogen over a whole bed and a product that is 10 percent nitrogen would require 5 pounds of that product over the measured area. That arithmetic is not a recommendation to apply 0.5 pound of nitrogen to azaleas; it only explains how to convert a lab rate.
Clemson illustrates the same calculation with a 12-percent-nitrogen product: delivering 1 pound of actual nitrogen per 1,000 square feet would take about 8.33 pounds of that fertilizer per 1,000 square feet. It also cautions that any azalea feeding should have a specific reason and that the shrub’s nutrient needs are low. Treat the example as a math lesson, not a default dose, and use a soil test or local extension rate for your own bed. Clemson’s rate-calculation example makes the concentration issue visible.
Measure the area that will actually receive fertilizer. Include the canopy and the shallow feeder-root zone beyond it where space allows, but exclude sidewalks, driveways, and areas occupied by unrelated lawn or plants unless the soil-test recommendation is for the entire mixed bed. For a row of azaleas, a single bed-area calculation is often more accurate than guessing at individual plant sizes and applying a full shrub rate to each one.
If you cannot get a soil test, choose a product with an explicit azalea rate, measure the treated area, and stay at or below the label amount. Use a kitchen scale or the measuring device specified on the package instead of estimating handfuls. Never combine a full dose of fertilizer with a soil acidifier, iron treatment, and a second “bloom booster” in the same application unless the labels or an expert recommendation explicitly call for that combination.
How to apply fertilizer without damaging roots
Cover the feeder-root zone, not the trunk
Azalea roots are mostly shallow and extend beyond the visible branch tips. Broadcast a granular product evenly over the soil surface from the outer part of the canopy into the accessible root area; avoid concentrating granules next to the main stems, where there are few active feeder roots and a high dose can burn tissue. UGA and Clemson both describe spreading fertilizer over the root area rather than applying it as a pile at the crown. UGA’s application guidance also warns that granules caught in leaf whorls can injure foliage.
Do not dig fertilizer into the bed with a hoe or spade. The fine roots that absorb water and nutrients occupy the upper soil layers, and cutting them can turn a mild nutrient issue into a root-stress problem. If mulch covers the bed, there is usually no need to rake it all away; spread the measured fertilizer across the surface as the label directs, then water so nutrients move through the mulch.
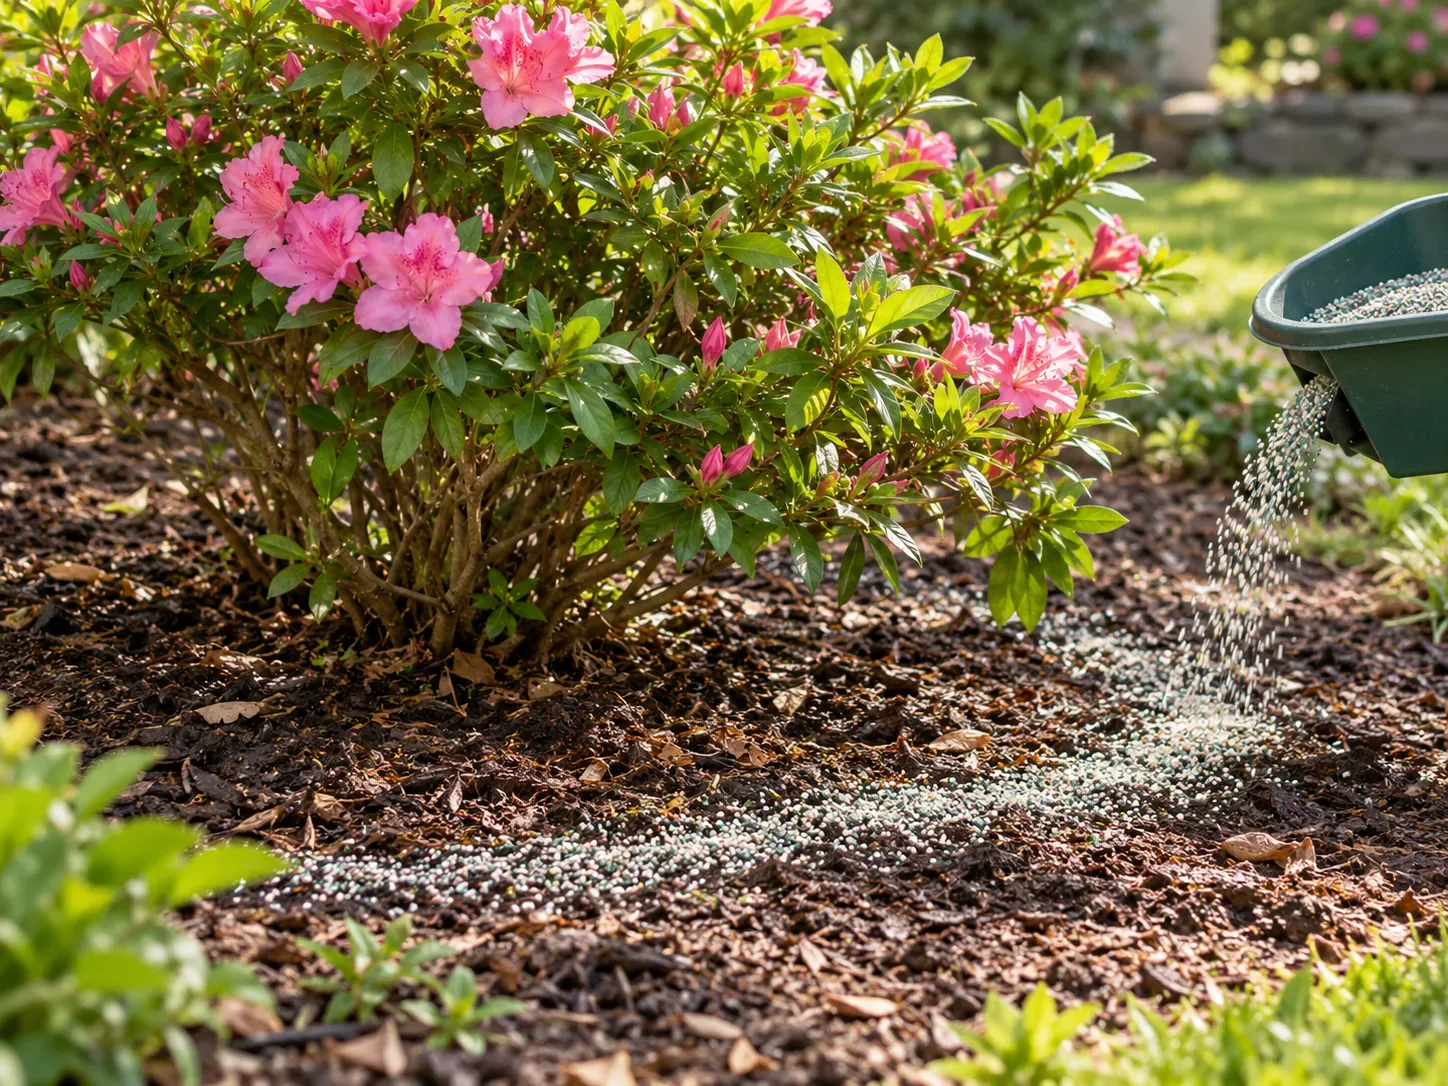
For an isolated shrub with lawn close to the canopy, measure a broad band around the plant while keeping fertilizer off grass areas that do not need it. If the shrub shares a bed with other acid-loving plants, a single measured broadcast over the common root zone may be more appropriate than separate concentrated circles. When a sidewalk or foundation blocks part of the root zone, do not compensate by doubling the amount on the remaining soil; use the reduced treated area and the label or soil-test rate.
Match application to moisture and weather
Apply when soil is moist enough to absorb water, not when the root ball is bone-dry or the plant is visibly wilted. Water thoroughly before feeding if the soil is dry, then apply the measured product and irrigate again only as the label requires. Avoid feeding a drought-stressed azalea in hot weather: the roots cannot use nutrients well without water, and dissolved salts can raise the risk of injury.
For granular products, choose a calm day when foliage is dry so particles fall onto the soil rather than sticking to leaves. Sweep or rinse stray granules out of leaf clusters and off branches, then water the root zone according to the package. This small cleanup matters because concentrated fertilizer sitting against young leaves can scorch them as it dissolves.
Do not apply immediately before a heavy downpour on sloped or compacted ground where the fertilizer may wash away. A gentle rain or irrigation after application is useful; runoff that carries nutrients into a drain, pond, or stream is not. If the bed stays waterlogged after rain, solve drainage first and delay feeding until roots can function normally.
What to do after feeding—or when you should wait
Mark the date, product, application rate, treated area, and rainfall or watering in a notebook. That record prevents the common mistake of repeating a dose because the previous one is forgotten, and it gives you a baseline if the shrub changes. Do not expect damaged yellow leaves to turn green immediately; judge the result by the health and size of new growth over the following weeks.
If brown leaf tips, scorched margins, sudden leaf drop, or a crust of fertilizer appears after application, stop feeding. If the soil is well-drained and the label permits it, water the root area slowly and deeply to move excess soluble salts below the shallow roots; avoid flooding an already wet bed. If branches wilt while the soil remains wet, or damage continues, ask your Extension office or a qualified horticulturist to examine root and drainage conditions instead of adding another product.
A healthy azalea may show no dramatic response to fertilizer because fertilizer is not a bloom switch. New growth, leaf color, and flower-bud formation depend on suitable pH, drainage, moisture, light, cultivar, and pruning as well as available nutrients. If a soil test is satisfactory and growth is normal, keep the mulch renewed and leave the fertilizer in the shed.
Use this order when you are unsure: confirm the plant is established, check its water and drainage, inspect the pattern of leaves, test the soil, choose a product that matches the result, calculate the bed rate, then apply it in the correct seasonal window. That sequence is slower than grabbing a bag, but it is far less likely to burn a shallow-rooted shrub or hide the problem you needed to solve.
Conclusion
Fertilize azaleas only when growth, a soil test, or local extension guidance gives you a reason. For a shrub that needs a nutrient boost, the usual window is soon after its main bloom and before your region’s early-summer cutoff; choose a product labeled for acid-loving shrubs and apply the measured amount across the shallow root zone.
When leaves yellow, check pH, water, drainage, roots, and pest clues before adding food. A soil test can tell you whether the plant needs nitrogen, a pH correction, another nutrient, or no fertilizer at all. Keep the dose conservative, protect the delicate feeder roots, water correctly, and let the plant’s next flush—not an arbitrary feeding calendar—tell you whether the approach is working.