How to Plan a Landscape Planting Bed That Works
Plan a landscape planting bed around drainage, sun, roots, utilities, and mature plant size. Then prepare soil, lay out plants, and keep upkeep manageable.
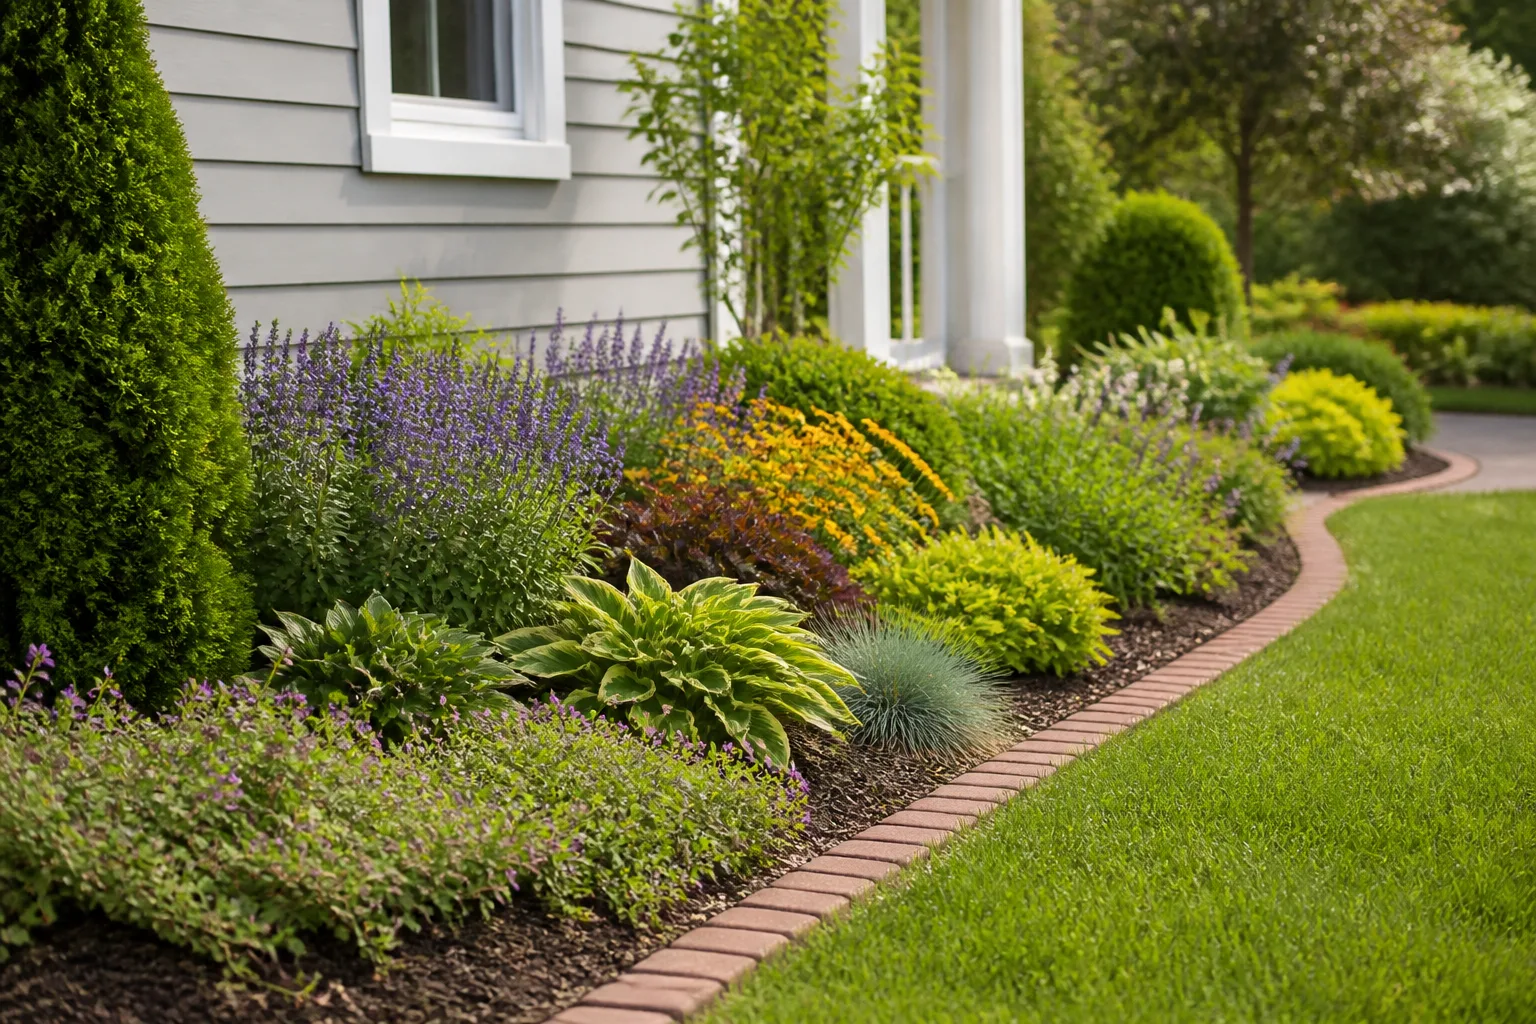
A good planting bed is built around the yard you have, not an idealized plant list. Before ordering flowers or renting a sod cutter, find out where water travels, how much sun the site receives, what lies underground, and how far plants will spread when they mature. Those checks shape the bed’s location and dimensions, prevent avoidable damage, and make the finished garden easier to care for.
You can create a bed for shrubs, perennials, annual color, vegetables, or a mix. The process is similar in each case: understand the site, draw a workable edge, prepare the ground for the plants you chose, then plant with mature size and maintenance in mind. Starting with those decisions is more reliable than digging first and trying to correct a poor location later.
Read the Site Before You Draw a Bed
Walk the property at different times of day and after a substantial rain. A spot that looks sunny at noon may sit in a tree’s afternoon shade, and a lawn that appears level may carry runoff toward the house or collect water in a low pocket. Take notes or a few phone photos; small observations made now can prevent expensive changes after planting.
Check whether the bed will be viewed from one side or several, and identify where people need to walk, mow, open gates, move bins, or reach outdoor utilities. Notice roof overhangs, downspouts, air-conditioning equipment, irrigation heads, fences, paths, and places where snow or roof water lands. Keep the planting area clear of access points and leave enough room for equipment that needs service.
Track light, water, foot traffic, and views
Count direct-sun hours at the proposed bed rather than relying on a broad description such as “the sunny side of the house.” A simple morning, midday, and late-afternoon observation gives you a more useful picture; repeat it in leaf-on conditions if trees shade the area. The light can change substantially between seasons, so use the site’s usual growing-season conditions when selecting plants.
After rain, mark where puddles remain, where soil washes, and whether water flows from a roof, paved surface, or neighboring property. A drainage problem is not the same as a soil-fertility problem: a standard soil test can report pH and nutrients, but it does not tell you whether water drains slowly or the soil is compacted. Colorado State University Extension specifically lists poor drainage and compaction among problems a standard soil test does not diagnose. CSU Extension’s soil-test guidance explains what a test can and cannot tell you.
Keep Utilities and Mature Trees Safe
Call the local utility-locating service before you dig, even for a shallow bed edge or a few shrub holes. In the United States, 811 is the common starting point; the exact lead time, marking validity, and requirements vary by state, so request marks early and follow the instructions you receive. Dominion Energy advises calling at least three working days ahead in its service area and notes that planting trees or shrubs counts as digging work. The time window can differ where you live. Dominion Energy’s Call Before You Dig guidance also explains why a small project still needs a locate.
Treat marked lines as boundaries to work around, not marks you can casually scrape through. Flags usually identify public utility lines; homeowner-owned irrigation, lighting, or other private lines may require separate locating. Check your property records, irrigation plan, or installer if you are unsure what is buried. Do not assume a line is deep because the bed looks undisturbed.
Existing trees need similar restraint. A broad bed beneath a mature tree may look appealing, but cutting structural roots or changing the soil grade around the trunk can harm the tree. Avoid trenching through major roots, piling soil against the trunk, or driving heavy equipment over the root zone. Where fine roots fill the surface, keep disturbance light: use small plants that tolerate the actual shade and moisture, plant between roots with hand tools, or move the bed outward. If your design requires a raised layer of soil or substantial excavation near a valuable tree, consult a qualified arborist before proceeding.
Choose a Shape That Fits the Yard
A planting bed can be a long border along a fence, a foundation planting, an island visible from every side, a corner bed, or an irregular shape that follows the yard’s natural lines. Choose the form based on where it will be seen and how people will move around it. A border can soften a wall or fence; an island needs a clear focal point and plants that look good from more than one direction.
Lay out a curve with a garden hose or rope, or use stakes and string for a straight edge. Look at the outline from inside the house, from the street, and from the lawn. A gentle, broad curve is usually easier to mow beside than a sequence of small scallops, while a straight line can suit a formal entrance or narrow side yard. There is no universally best shape: the useful shape is the one that fits the architecture, slope, view, and maintenance equipment.
Avoid narrow slivers that are difficult to plant and weed. A curve should have a clear purpose—framing a view, linking two areas, or leaving a useful lawn—and should not block a walkway or create a tight corner for the mower. Fine Gardening’s border-design editors note that bed proportions depend on the site and emphasize a strong, clean edge; its collection also shows how color, texture, and form can make an extended border read as a unified composition. Fine Gardening’s garden-border collection is useful inspiration, but scale each idea to your own yard.
Size the Bed for Reach and Maintenance
Size the bed for both the plants and the person who will maintain it. If you can only reach it from one side, keep it narrow enough that you can weed, prune, and water the center without stepping on the soil. If you can walk around both sides, you can make it wider, but a wide island may need a stepping stone or access point for work in the middle. Treat common dimensions as starting points, not rules; your reach, slope, and plant selection matter more.
Check the mature width of shrubs and perennials before deciding how wide the bed needs to be. A row of shrubs that will eventually be several feet across needs enough room to grow without covering a path, rubbing siding, or hiding a window. If the border is tight, choose naturally compact plants or prune only when the species tolerates it; do not plan on constant shearing to compensate for plants that are too large for the space.
Consider mowing and edging as part of the design. A clean, continuous boundary is simpler to maintain than a wavy edge with lots of small turns. Leave room around gates and paths, and make sure there is a route to reach plants at the back. A bed that looks generous on a sketch but cannot be reached safely becomes a chore and gets neglected.
Choose a Planting Style You Can Maintain
Decide what job the bed needs to do before you buy plants. A shrub foundation bed can give a house visual grounding and year-round structure. A mixed perennial border trades some early-season cleanup for flowers and changing foliage. Annuals offer fast seasonal color but usually need replanting. A cutting garden may favor productive rows and convenient access over a formal layered look, while an island bed needs structure visible from every angle.
Choose a style that matches the time and attention you want to spend. A naturalistic planting can use repeated drifts and grasses but still needs clear edges and plants suited to the site. A highly formal design relies on consistent spacing, pruning, and clean lines. A low-maintenance bed is not maintenance-free: it simply limits tasks such as frequent deadheading, staking, and replanting by choosing reliable plants and a manageable layout. Better Homes and Gardens’ low-fuss garden plans illustrate how a planting plan can match plant choice to a defined site and care level. BHG’s garden-plan collection offers examples, though the plants shown may not fit every climate.
Use repetition to make a mixed bed feel cohesive
Start with a small palette rather than buying one of everything. Repeating a few plants, colors, or leaf forms at intervals gives the eye a route through the bed and keeps a long border from looking like a random collection. You can still include a focal plant, a contrasting texture, or seasonal bulbs, but repetition provides the underlying rhythm.
Sketch plants as circles scaled to their mature spread. Use taller plants at the back of a border viewed from one side, and lower plants toward the front; for an island, place the tallest forms near the middle or offset center, then step down toward the edges. Check bloom seasons and foliage interest, not just flower color. A bed that relies on a brief burst of bloom may look empty the rest of the year, so include foliage, evergreen structure where suitable, and plants with different bloom periods.
Match Plants to Sun, Water, Climate, and Mature Size
Match the plant list to the conditions you observed. Use the USDA hardiness zone as a winter-survival filter, not as a complete guarantee: heat tolerance, humidity, soil, wind, wetness, and summer drought also affect performance. A plant sold locally is not automatically suited to every microclimate on your property.
Group plants with similar water and light needs. A sunny, dry strip near a foundation should not be planted as if it were the same environment as a damp low spot. Likewise, a bed under tree canopy may be shaded but still dry because the tree competes for moisture. If you want to include a plant with different needs, put it in a separate pocket that can be watered or amended independently.
Read labels for mature height and width, then check a regional source if those numbers seem uncertain. Nursery plants are often young and compact; the bed should be planned for their adult size. Leave enough spacing for airflow and maintenance access rather than packing plants tightly to hide bare soil in the first season. Temporary annuals or a mulch layer can cover openings while permanent plants establish.
Solve Drainage Questions Before Digging
Do not treat a wet bed by automatically adding a mound of topsoil. First find out whether water is arriving from an uphill lawn, roof downspout, paved area, or high groundwater, or whether compacted or clay-heavy soil is slowing infiltration. Correcting the source may be more effective than changing the bed itself. Keep water moving away from foundations and do not redirect it onto a neighbor’s property.
For ordinary garden planning, observe the site after rain and compare it with nearby areas that drain well. If you want to do a simple infiltration check, use a small test hole in the intended planting area and observe how quickly water disappears; repeat it in more than one spot because fill, compaction, and soil texture can vary across a yard. A single test is only a clue, not a drainage design. If water stands for long periods, the ground is persistently saturated, or runoff threatens a structure, ask a local extension office or drainage professional to assess it before planting.
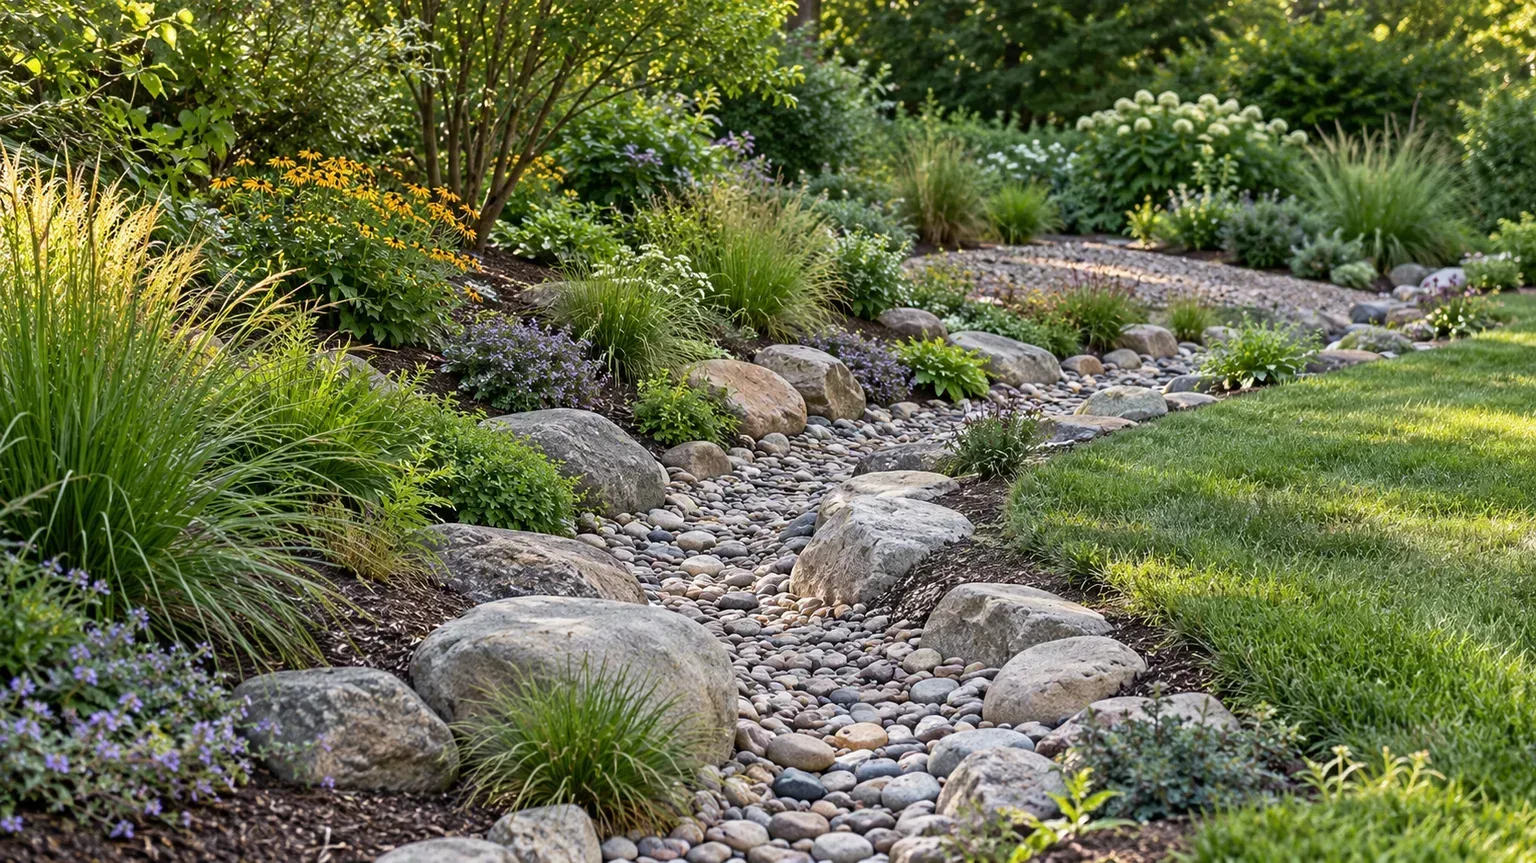
Choose plants that tolerate the actual site if the moisture pattern is stable and appropriate for a garden bed. If it is not, correct the water source, reduce compaction without cutting tree roots or buried utilities, or place the bed elsewhere. Avoid filling the bottom of a planting hole with gravel as a universal fix; it will not correct water movement through the surrounding soil. Major regrading, retaining walls, or drains that need an outlet require a site-specific plan and may be subject to local rules.
Remove Turf Without Making the Soil Worse
Choose the turf-removal method based on how soon you want to plant and what is growing there. Removing sod with a shovel or sod cutter gives you a faster, exposed bed, but it takes physical effort and can remove some topsoil. Work only when the soil is crumbly enough to break apart; digging wet soil can compact it into hard clods. Shake loose soil from the sod and compost or reuse it where appropriate.
Sheet mulching is slower but reduces digging. Mow the grass short, overlap plain cardboard or another suitable opaque sheet material, wet it so it stays in place, and cover it with a layer of compost and mulch. Leave it long enough for the turf to die back before planting. This approach works best where time allows and the lawn has no persistent, deep-rooted weeds that will simply regrow through the cover. Inspect edges, where grass often escapes.
Solarization with clear plastic can help in hot, sunny conditions, but it needs time and may not suit a site where you want to preserve all soil life or plant immediately. Whichever method you choose, remove persistent perennial weeds and their roots where feasible. Avoid laying permanent landscape fabric as a shortcut over lawn for a mixed perennial bed; weeds can root in material that accumulates above it, and future planting or dividing becomes harder.
Improve Soil Based on Evidence
A soil test is useful before large amendments or fertilizer applications, especially if the bed is extensive or the plants have particular pH needs. Take a representative sample from the proposed bed, following the testing lab’s instructions; sample different areas separately if they have different soils or management histories. Purdue Extension describes soil tests as a way to assess nutrient status and pH, and warns that adding lime, sulfur, fertilizer, or even organic material without knowing what the soil needs can create problems. Purdue Extension’s soil-sampling guide explains how to collect samples.
Use the lab’s recommendations rather than applying a generic amendment recipe. Colorado State University Extension notes that a standard soil test can establish a baseline for pH, salts, and nutrient needs, but it does not diagnose drainage or compaction. Its soil-testing guide also explains why the sample must represent the specific garden area. If no test indicates a nutrient deficiency, fertilizer is not automatically needed for a new flower bed.
For structure, a modest amount of finished compost can help many garden soils, but the goal is to improve the root zone, not to replace native soil with a different material. Blend amendments evenly through the prepared area when the soil is workable; avoid deep rototilling around tree roots or repeatedly pulverizing wet clay. Do not try to change pH to suit one plant until you know the starting pH and the plant’s tolerance. If a group of plants needs a very different soil condition, it may be better to choose plants that suit the site or create a separate planting pocket.
Arrange Plants Before You Plant
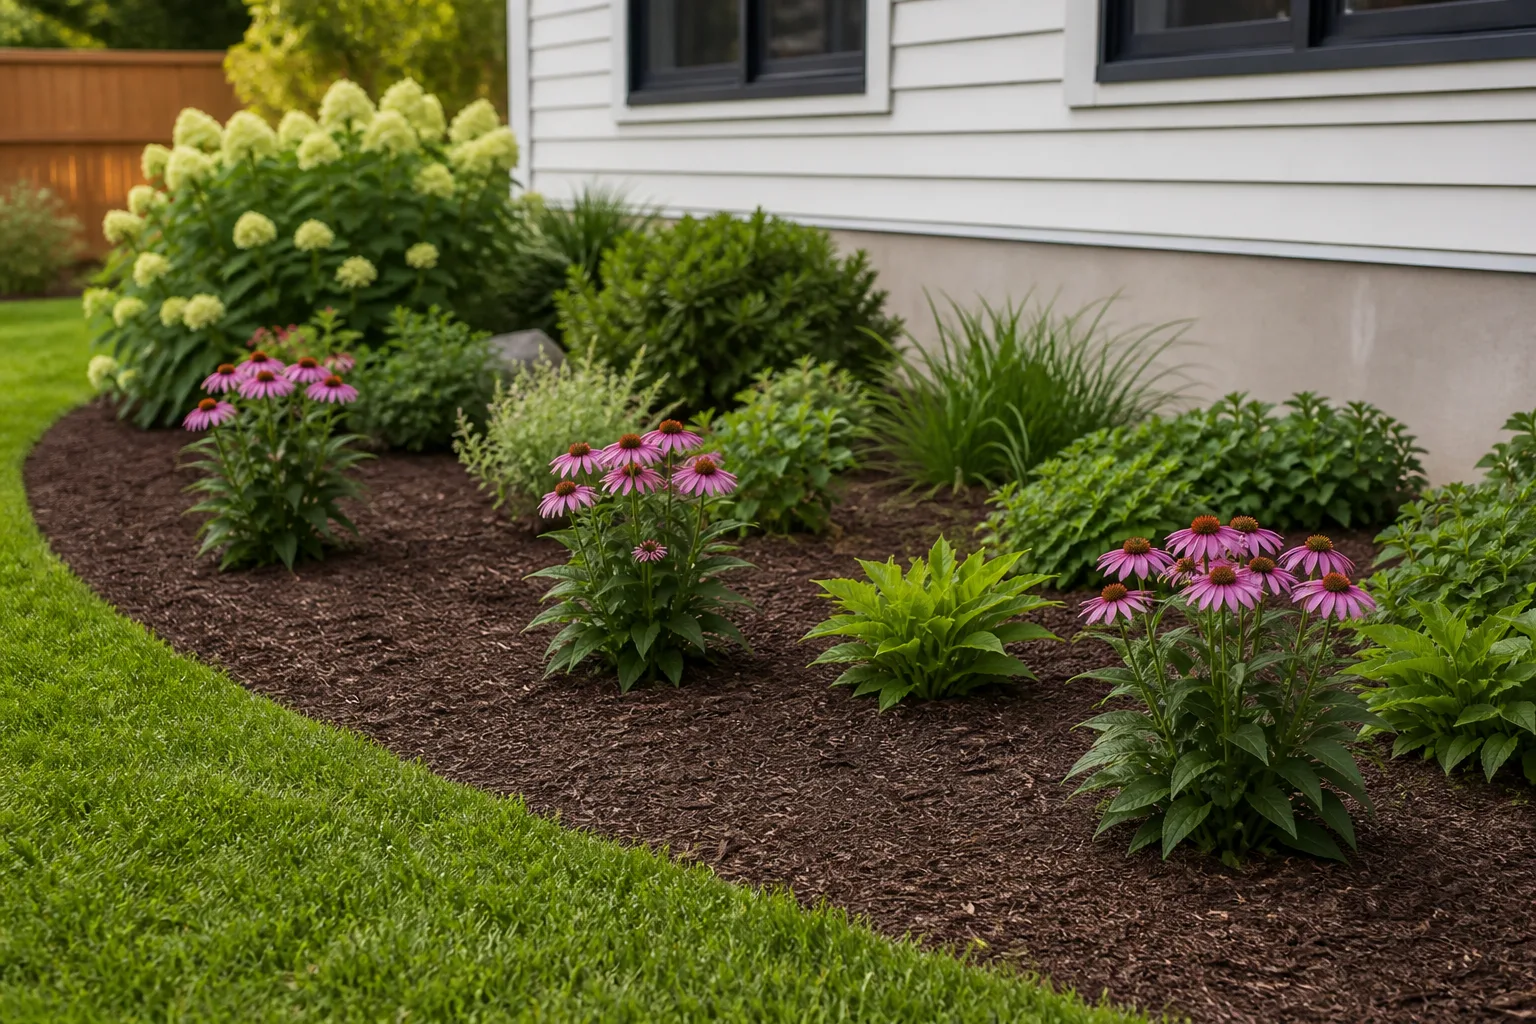
Set nursery pots on the soil in their intended positions before digging holes. View the layout from the main approach and from the windows where you will see it most. Adjust spacing, move tall plants away from walkways and windows, and check that the bed still has a clear line of sight across the lawn. This dry run is faster than replanting after the root balls are in the ground.
Space plants according to their mature width and spread, not the size of the pot. Some gardeners prefer slightly closer spacing for a fuller look, while others leave more space for airflow and easy maintenance; either way, avoid crowding plants that need room to develop. Cluster a few of the same perennial together instead of scattering single plants, and repeat those groups where the bed is long. A small sketch with each plant’s name and final location will help you remember what you planted as foliage dies back.
Plant at the Right Depth and Water In
Plant when the soil is workable and the weather will not immediately stress new transplants. Loosen each plant’s root ball only as much as needed to free circling roots, and dig a hole no deeper than the root ball but wider than it. Set the plant so the crown or root flare sits at the soil surface unless its species-specific instructions say otherwise. Planting too deeply can bury stems or crowns that need air.
Backfill with the soil you removed, firm it gently to remove large air pockets, and water thoroughly so soil settles around the roots. Do not tamp hard enough to compact the bed. Check the root ball and surrounding soil over the next few weeks; a potting mix can dry at a different rate from the native ground around it, so watering should respond to moisture rather than a rigid calendar. Keep mulch away from stems and crowns.
Edge, Mulch, and Decide Whether Fabric Helps
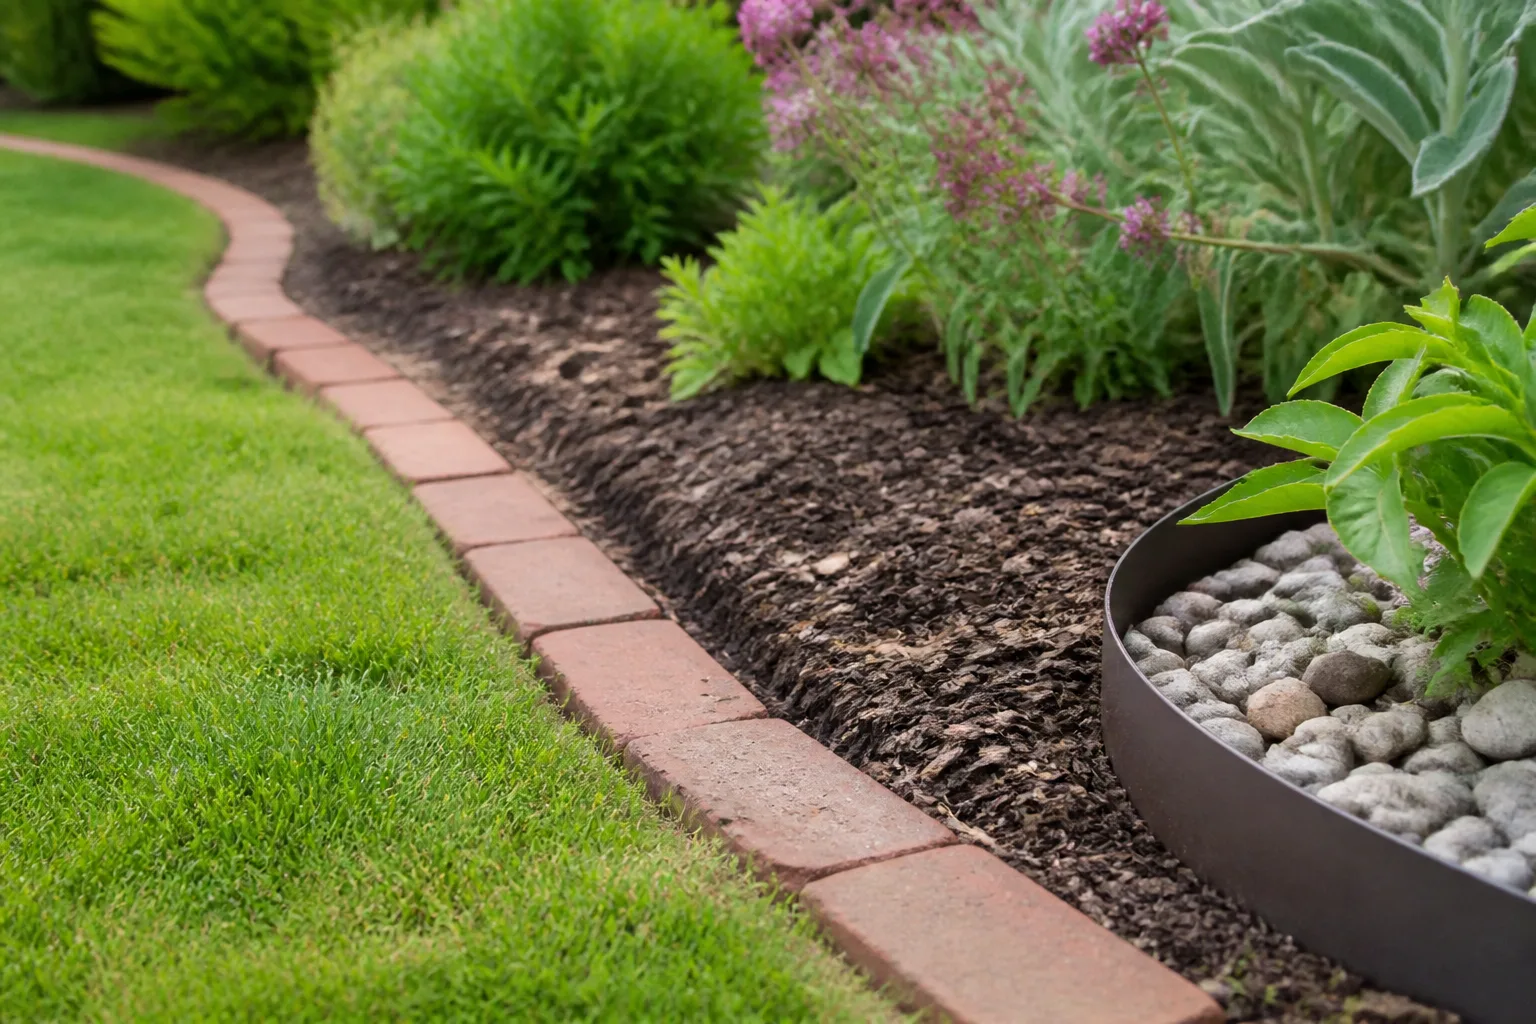
A clean edge separates turf from the bed and makes routine mowing easier. You can cut a shallow trench edge and refresh it as needed, or install brick, stone, metal, or another edging material. Hard edging costs more and may need resetting; a cut edge is less expensive but needs periodic recutting. Pick one that follows your bed’s shape without creating tripping hazards or blocking water where it should flow.
Organic mulch helps cover exposed soil, moderates moisture swings, and makes new beds look finished. Apply an even layer without burying plant crowns or piling it against trunks and stems; check its depth before topping it up each year. In a mixed perennial bed, mulch is usually simpler than landscape fabric because compost and decomposing plant material can reach the soil, and plants can spread or be divided. Fabric has uses in some long-term paths or rock-only areas, but it can become inconvenient in a living border where plants move and soil needs attention.
Maintain the Bed Through Its First Year
New plants need closer attention until their roots grow beyond the original root balls. Check soil moisture near the root zone, water deeply when the soil begins to dry, and avoid keeping the whole bed constantly wet. Local weather, plant type, soil texture, and transplant size all affect how often to water. A simple rain gauge or a finger check near the roots is more useful than watering every bed on the same schedule.
Pull weeds while they are small, refresh the edge when grass starts crossing it, and remove mulch that has drifted against stems. Keep a record of what thrives and what struggles; a plant that fails in the first season may reveal too much shade, chronic wetness, drought, or competition from tree roots. Diagnose the condition before replacing it with the same species. Fertilize only when a soil test or a clear plant need supports it, and keep paths open so routine maintenance stays manageable.
Expect a new bed to look somewhat open at first. Resist the urge to fill every gap with permanent plants that will later crowd the design. Temporary annuals can provide color while perennials establish, but leave room for the mature spread you planned. The first growing season is also a chance to refine the curve, move a plant that is in the wrong place, and learn how the site handles ordinary rain and heat.
Conclusion
A landscape planting bed succeeds when its outline, soil preparation, and plants fit the property’s real conditions. Observe light and runoff, locate buried utilities, protect existing trees, and size the bed for mature plants and practical access before removing turf. Then test soil where useful, address drainage at its source, arrange pots before planting, and choose an edge and mulch strategy you can maintain.
The result does not need to be elaborate. A modest bed with plants suited to its sun, moisture, climate, and available care will usually look better over time than an ambitious layout that ignores those constraints. Begin with one clear, well-planned area, watch how it establishes, and let what you learn guide the next section of the yard.