Japanese Yew Care: Planting, Watering, and Pruning
Grow Japanese yew as a hedge, specimen, or container plant. Choose the right site, water while roots establish, prune confidently, and prevent common problems.
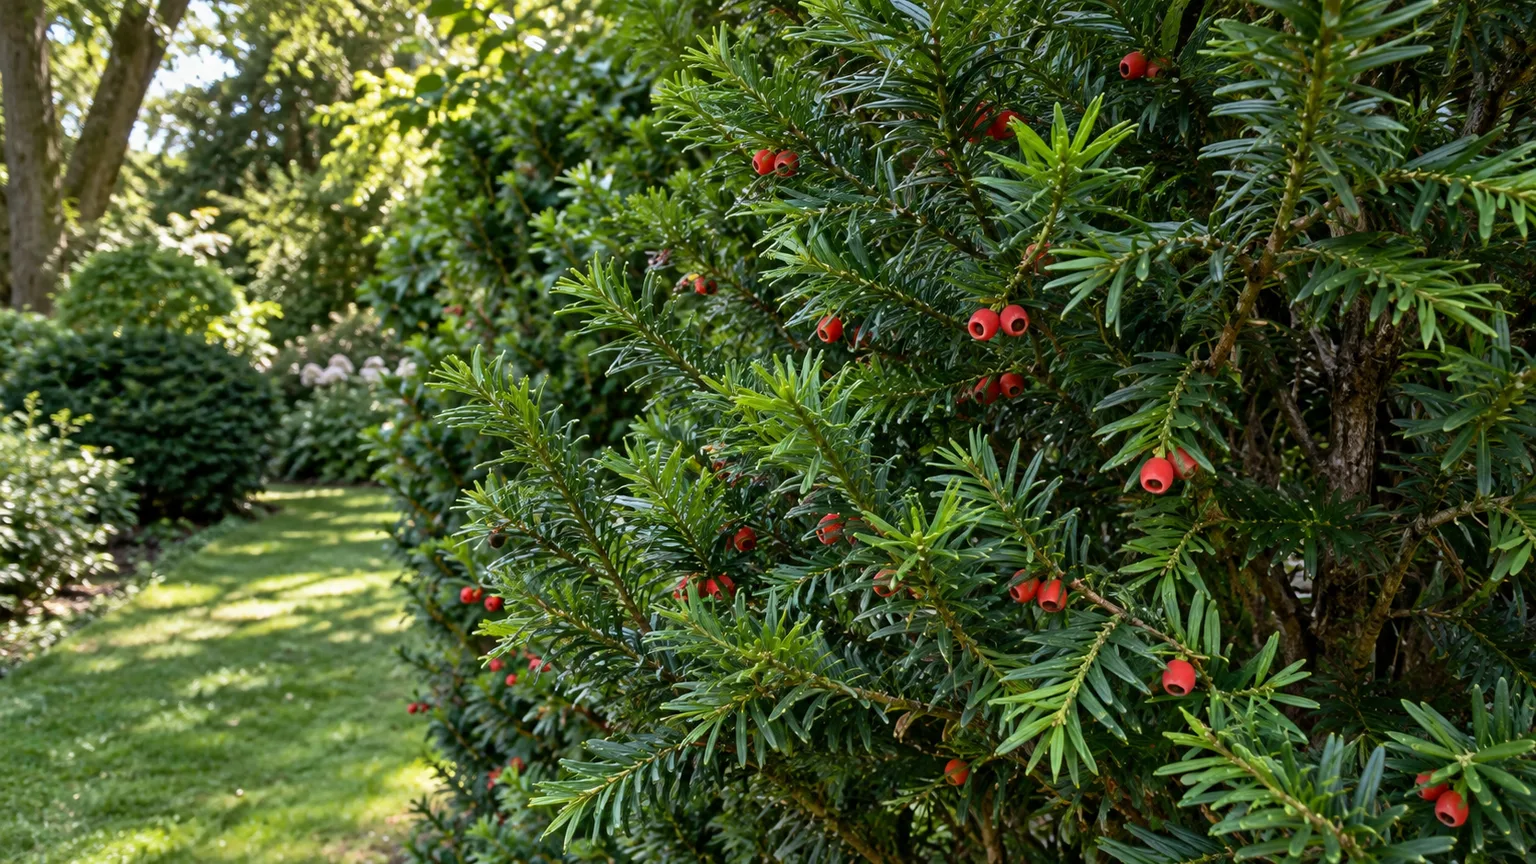
Japanese yew (Taxus cuspidata) is a dense, needled evergreen that can grow as a shrub or small tree. Gardeners use it for privacy screens, clipped hedges, topiary, and shaded foundation beds because it accepts pruning and tolerates a wider range of light than many conifers. Its biggest non-negotiable is soil that drains: a site that stays waterlogged can undo years of slow growth.
Before planting, choose a cultivar for its mature dimensions, not just the pot size or the word “dwarf” on a tag. Also plan where fallen seed-bearing arils and pruning debris will go. The red, berry-like structures are ornamental, but the seed, foliage, and bark are toxic, so placement and cleanup are part of routine care.
Is Japanese Yew Right for Your Yard?
This is a good choice when you want a long-lived evergreen that can be shaped, handles partial or dappled shade, and does not need frequent feeding once established. It works as a specimen, a clipped screen, or a formal accent near a walkway, but allow enough space for the plant’s eventual width. Although slow growth can make it feel easy to control, the species can become a substantial shrub or tree if left unpruned.
Think carefully before placing it near a play area, pet run, pasture, or path where children pick fruit. Japanese yew is toxic to people and animals; livestock poisonings are especially associated with access to discarded hedge clippings. Birds eat the fleshy arils and disperse seeds, so gardeners near natural areas should check local extension or invasive-plant guidance before planting rather than assume the species behaves the same everywhere.
Choose a Cultivar With Mature Size in Mind
Japanese yew is the species Taxus cuspidata, but cultivars differ in height, spread, color, and shape. Some are upright and tree-like, while spreading selections stay lower and wider; golden forms add yellow new growth. Ask the nursery for the named cultivar’s expected mature height and width in your region, then compare those measurements with the space you actually have. A plant sold as compact can still outgrow a narrow foundation strip.
The unpruned species can exceed 20 feet in a favorable landscape and may be taller in its native range. NC State Extension lists Japanese yew for USDA hardiness zones 4a through 7b, but hardiness describes winter survival, not how quickly a plant settles or whether an exposed site will cause winter damage. Use the cultivar’s local size data and your site’s wind, drainage, and summer heat to make the final choice; NC State Extension’s species profile is a useful reference for the plant’s basic habit and range.
Pick a Planting Site
Start by watching the proposed location after rain. If water remains around the root zone for hours or the ground is frequently saturated, choose another spot, improve drainage broadly, or plant on a raised ridge; do not try to solve a wet planting hole by filling it with loose potting mix. Japanese yew tolerates many soil textures, but persistent poor drainage raises the risk of root rot.
Next, picture the plant at mature size. A hedge needs room to widen and thicken, and a specimen needs clearance from foundations, paths, overhead lines, and windows. Shade is acceptable, but a very dark corner produces slower, less compact growth than a brighter site; avoid forcing a fast privacy screen into conditions where it will take years to fill in.
Also consider what happens after establishment: dense roots compete with shallow-rooted perennials, and a tall evergreen screen can shade a vegetable bed or block a view. Keep the hedge on your side of the property line so you can reach both faces for pruning, and leave a safe working strip near gates, meters, and walkways. These layout decisions are easier to make while the shrub is still in its nursery pot than after it has grown into a boundary.
Plant Japanese Yew Correctly
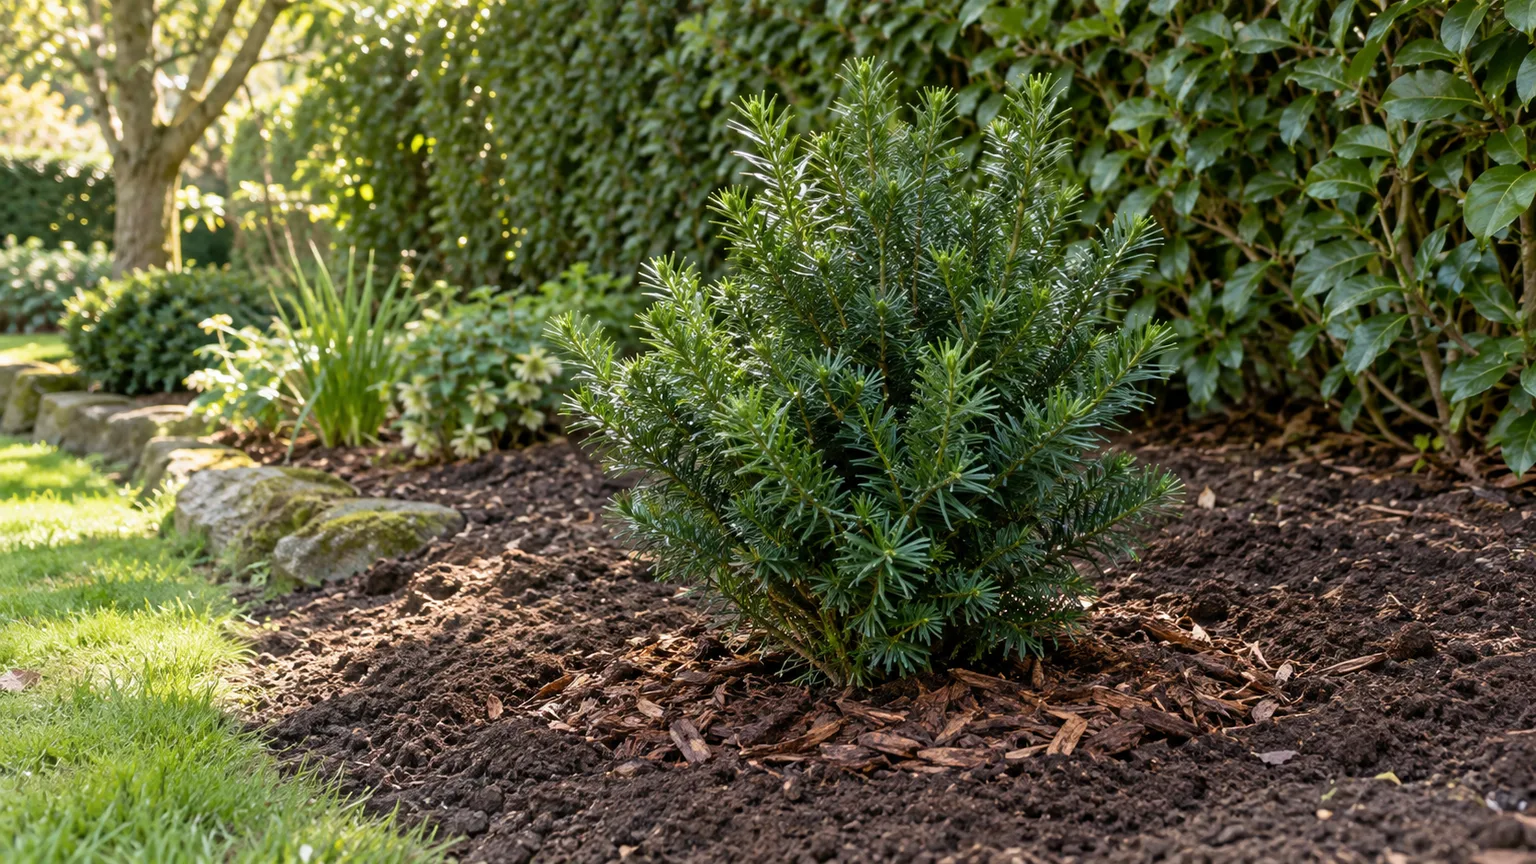
Plant in cool weather when the soil is workable and the plant can establish before severe heat or frozen ground. In much of North America that means spring or early fall, adjusted for local frost dates. Water the root ball before planting if it is dry, slide the plant out without pulling on the stem, and loosen circling roots at the outside of the ball so they can grow outward.
Dig a broad hole no deeper than the root ball. Set the top of the root mass level with or slightly above the surrounding soil, backfill with the excavated soil, and water slowly to settle it. Do not bury the trunk or pack the soil hard; air and water need to move through the root zone. A two- to three-inch mulch layer helps even soil moisture, but leave open space around the trunk rather than piling mulch against the bark.
If you are planting bare-root stock, keep the roots damp and shaded while working, and spread them outward rather than bending them into a small hole. For container stock, tease apart only the tightly circling roots at the outer edge; avoid stripping away the whole root ball. If you find a thick root circling the trunk, correct it before planting or ask the nursery for help, because burying that problem can lead to poor anchoring and decline later.
During the first growing season, check both the original root ball and adjacent soil. Container mix can dry faster than the surrounding ground, so a surface that looks damp does not always mean the roots have water. Water thoroughly when the root zone begins to dry, then let excess water drain instead of keeping the site constantly wet. The RHS yew growing guide likewise emphasizes establishment watering and avoiding waterlogged soil.
Plan Spacing for a Hedge or Specimen
Do not space a hedge by copying a universal number from another garden. A narrow cultivar can be planted closer than a broad spreading form, and tight spacing may create a screen sooner but can also crowd roots and reduce airflow. Use the cultivar’s nursery spacing as a starting point, then adjust for the target hedge width and the mature spread; for a long boundary, mark the full row before digging and check that it will not block access or overhang a public path.
For a single specimen, give the plant enough room to reach its natural outline if you do not want to prune every year. If you need an evergreen screen quickly, buy several well-rooted, correctly sized plants rather than crowding undersized stock into a line and expecting it to fill immediately.
Spacing also affects maintenance. Plants set too close touch early, then compete for light and can develop a thin interior that is hard to correct with surface clipping. A looser row may take longer to look continuous, but it gives each plant room to develop roots and branch structure; use temporary screening if you need privacy while the yews establish.
Match Light and Soil to the Plant
Japanese yew grows in full sun, partial shade, or dappled light and can tolerate shade. In deeper shade it usually grows more slowly, which matters if you are trying to form a dense hedge on a deadline. If a hedge thins at the bottom, look at both its pruning shape and the amount of light reaching the lower branches before assuming that shade alone has killed the plant.
Choose well-drained loam or sandy soil when possible. The species can adapt to neutral or acidic soils, and some yews tolerate alkaline ground, but avoid amending pH without a soil test; an unnecessary correction can create a new nutrient problem. If clay soil drains slowly, raising the planting area is safer than setting the root ball into a deep hole that collects water.
Japanese yew tolerates urban conditions and short dry periods after establishment, but “drought tolerant” does not mean a newly planted shrub can be left dry through a hot summer. The root system has to expand beyond its nursery container before the plant can use water in a wider area. The RHS profile for Taxus cuspidata lists the species for sun, partial shade, and full shade, with well-drained loam or sand.
Water Deeply While Roots Establish
Use soil moisture, not a fixed weekly calendar, to decide when to water. Check several inches down at the edge of the original root ball: if the mix is dry, water slowly until the whole root zone is moist; if it is damp, wait and check again. This approach is more reliable than frequent shallow sprinkling, which wets the surface without encouraging roots to move outward.
Continue close monitoring through the first year, and longer for larger transplanted specimens, hot windy weather, or soil that dries quickly. Once established, Japanese yew usually needs supplemental water only during extended drought. Container-grown yews are different because their roots have limited access to soil reserves; check pots more often in summer and make sure the drainage holes stay open.
A useful check is to compare moisture inside the original potting mix with moisture just outside it. If one side is dry and the other is damp, apply water slowly in more than one pass so it can soak into the root ball instead of running down the gap between the mix and garden soil. Adjust the interval after rain, not simply because the calendar says watering day.
If the foliage browns after a dry spell, inspect the soil before increasing irrigation. A dry root ball calls for a thorough soak, but soggy soil calls for drainage correction and less water. Adding more water to a shrub with root decline can deepen the problem.
Feed Lightly and Mulch Carefully
A Japanese yew growing steadily in ordinary garden soil usually does not need a routine fertilizer schedule. Begin with a soil test if growth is weak or foliage color is poor, because root damage, water stress, deep shade, or nutrient imbalance can look alike from a distance. Correct the diagnosed cause rather than applying a high-nitrogen product by default.
Spread compost or a modest layer of organic mulch over the root zone in spring or autumn to reduce weeds and moderate moisture swings. Keep mulch several inches away from the trunk and do not bury surface roots. For a container plant, use a well-draining potting medium and follow a restrained feeding plan for woody container plants; excess fertilizer can push soft growth and increase salt buildup in a small volume of soil.
Prune for Density Without Shading the Base
Japanese yew responds well to pruning, but the right cut depends on whether you are maintaining a hedge, a topiary, or a naturally shaped specimen. For routine hedge work, remove modest amounts of new growth after the main flush has extended, using sharp hand shears or a clean hedge trimmer. A formal hedge may need a second light pass, while a relaxed screen can be left to grow longer between cuts.
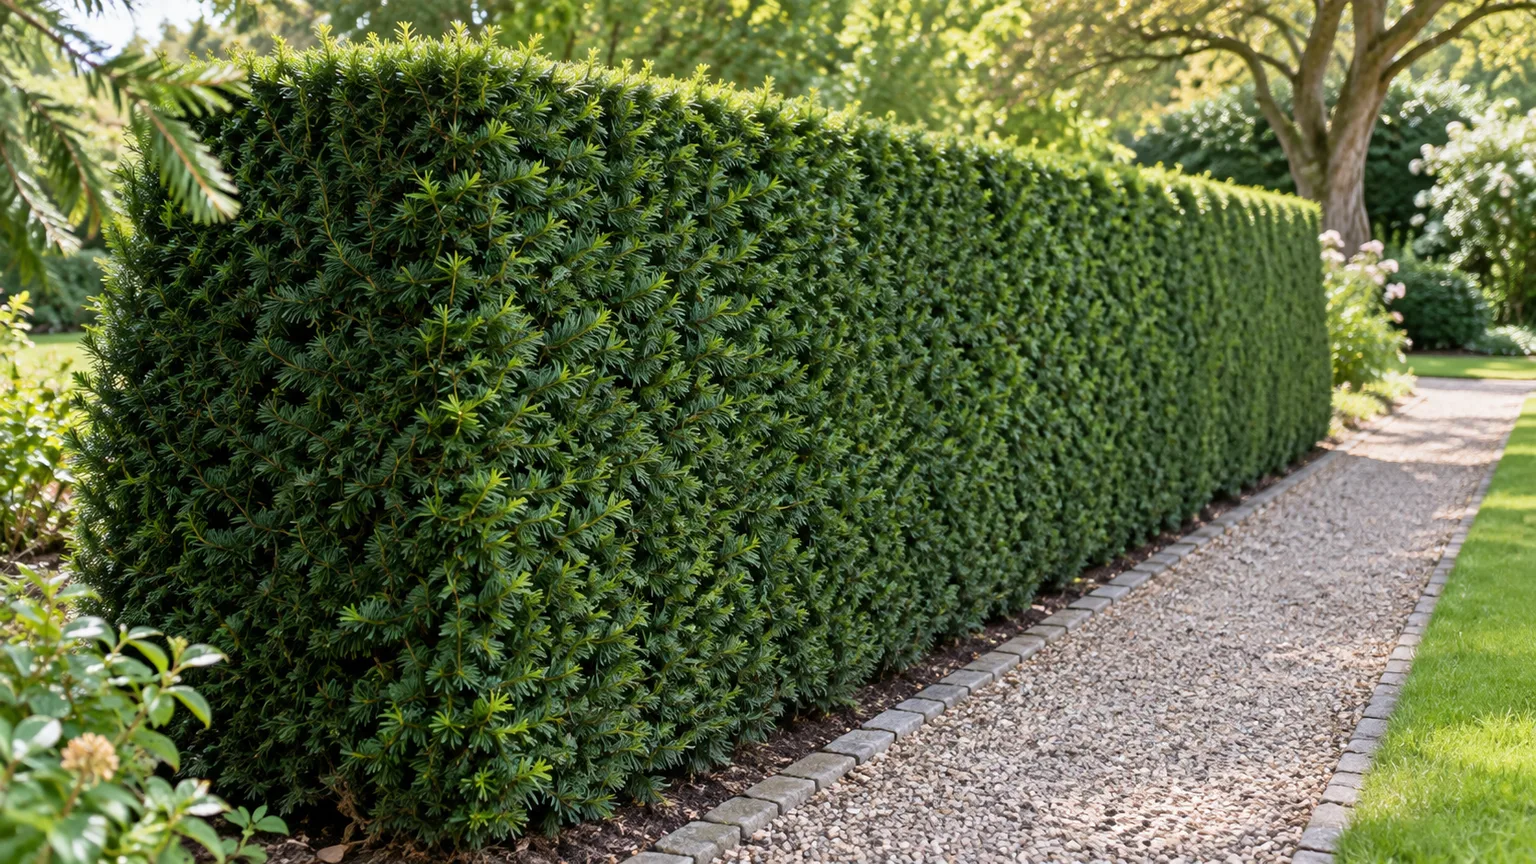
Shape the sides so the base is slightly wider than the top. That small taper lets light reach lower foliage and reduces the chance of a bare-bottomed hedge. Cut a little at a time, step back to check the line, and avoid shearing deeply into leafless interior wood when a small adjustment will do. A string line can keep the top level; BBC Gardeners’ World describes marking a guide and trimming the top before working down the sides in its yew hedge pruning steps.
Maintenance clipping and structural pruning are different jobs. Shears are efficient for shortening the leafy outside surface, while a hand pruner or lopper makes cleaner selective cuts on thicker branches. If the plant is a specimen rather than a flat hedge, thin a few crowded branches back to a side shoot instead of shaving every surface into a ball; this preserves a more natural outline and allows light into the crown.
Check carefully for active bird nests before trimming and postpone the work if you find one. Wear gloves, keep children and pets away from the work area, and collect every clipping promptly; the risk does not disappear just because the material is on the ground. Clean sharp blades between plants if you are also pruning a diseased shrub, and avoid cutting during extreme heat or drought when the plant is already stressed.
Renovate an Overgrown Yew in Stages
Unlike many conifers, yew can produce new shoots from old wood, which makes a severely overgrown plant more recoverable than a spruce or pine. That ability is not a reason to remove most of the canopy in one afternoon: hard renovation leaves the shrub sparse while it rebuilds and can expose inner branches to sun and wind.
For a large hedge that is simply too wide or tall, reduce it over multiple seasons, working on the top and one side before tackling the opposite side. Make cuts to a live branch or bud where practical, and preserve enough green growth to support recovery. The RHS guidance on yew pruning recommends staged renovation for neglected hedges; hire a qualified arborist or experienced hedging professional for tall, heavy, or structurally damaged specimens.
Grow Japanese Yew in a Container
A container works for a compact cultivar or a clipped topiary, but it requires more attention than an in-ground plant. Choose a sturdy pot with generous drainage holes and enough volume for the root ball plus future growth. Do not use a decorative cachepot that traps runoff, and do not leave the pot standing in a saucer of water.
Check moisture frequently during summer because wind and sun can dry a pot much faster than a garden bed. Water until runoff appears, then empty any collection tray. Repot when roots densely circle the container or water runs straight through without moistening the mix, moving up only one pot size at a time; an oversized pot can hold wet mix around a small root system. Container roots also experience colder conditions than roots in the ground, so move the pot to a sheltered position before the coldest weather without bringing this outdoor evergreen into a warm room.
Protect Roots and Foliage Through Winter
Cold hardiness does not prevent winter burn. Evergreen needles continue losing moisture, while frozen soil limits root uptake; bright winter sun and drying winds can make that imbalance worse. A sheltered site out of strong prevailing winds is helpful, especially for a new plant, and a north- or east-facing location may reduce the sharpest afternoon exposure in some climates.
Go into winter with the root zone moist but not saturated. Water before the ground freezes if autumn has been unusually dry, and maintain mulch over the root area while keeping it off the trunk. Avoid late-season shearing that could stimulate tender growth, and do not wrap a healthy plant tightly in plastic. Brown or bronze foliage after winter may be limited to the exposed side; wait until new growth begins before removing live branches, then prune only tissue that is clearly dead.
Troubleshoot Browning, Pests, and Root Decline
Start diagnosis by noting where the damage appears and when it began. Browning on the windward or sunny side after winter points toward exposure; dry soil after a hot spell suggests moisture stress; widespread decline in persistently wet ground raises concern for root rot. A few older needles browning inside a dense evergreen can be ordinary aging, but expanding patches, dead branch tips, or whole-plant decline deserve closer inspection.
Look along stems and the undersides of foliage for scale insects, mealybugs, or signs of weevils. Confirm the pest before choosing a treatment: broad pesticide use can miss the actual cause, harm beneficial insects, and expose pets or people unnecessarily. North Carolina State Extension notes winter burn, root rot in poorly drained soil, blights, scale, mealybugs, and weevils among Japanese yew problems, so inspect those possibilities rather than treating every brown needle as the same disease.
If roots are in wet soil, improve drainage or move a young plant rather than repeatedly applying fungicide without a diagnosis. If the shrub has been dry, water deeply and then give it time to respond; old brown needles will not turn green again. When dieback continues despite corrected watering and exposure, take a sample or photos to a local extension office or certified arborist so the diagnosis can distinguish root damage, disease, pest injury, and winter burn.
Use the pattern as a first clue, not a definitive diagnosis:
| What you see | First check |
|---|---|
| Browning mostly on the windward or sun-exposed side after winter | Look for drying exposure and check whether the soil was dry before freeze-up |
| A whole section declines in wet ground | Check drainage and root condition before adding water or fertilizer |
| Small scattered patches with visible insects or waxy bumps | Identify the pest with an extension office before treating |
| A few brown inner needles with healthy outer tips | Watch for normal aging and confirm that the browning is not spreading |
Photograph the same branches a week or two apart if you are unsure whether damage is progressing. That record helps distinguish a one-time winter injury from active decline and gives an extension specialist better evidence than a single close-up of an old brown needle.
Handle Red Arils and Clippings Safely
Japanese yews are dioecious: male and female plants bear their reproductive structures separately. Female plants may develop bright red, fleshy arils around a single seed, which is why the display is often mistaken for a harmless berry. NC State Extension identifies the bark, foliage, and seed as poisonous parts and notes that the aril is the fleshy covering; USDA Agricultural Research Service describes yew toxicosis in humans and animals and warns that hedge trimmings are a common livestock exposure. See NC State’s poison profile and USDA ARS’s yew toxicology overview.
Do not eat the fruit or let children use it as pretend food. Even if the fleshy covering is discussed separately from the seed in botanical references, a person can bite or swallow the seed without noticing it. Keep yew away from grazing animals where possible, supervise pets around fallen arils, and collect ripe fruit and prunings when access is a concern.
Wear gloves while pruning, keep clippings off paths and lawns where pets or livestock forage, and dispose of them in a closed yard-waste container or another local system that prevents access. Do not leave a pile beside a fence or toss branches into a pasture. If a person or animal may have swallowed any part of a yew, contact poison control or a veterinarian immediately and identify the plant; do not wait for symptoms.
After a clipping session, gather small fragments from beneath the hedge as well as the obvious branches on top. A blower can scatter needles into a pet area or neighboring pasture, so a tarp at the base and hand collection are safer where animals have access. Keep cut branches out of animal feed and do not burn them; choose disposal that follows your municipal yard-waste rules and prevents accidental feeding.
Propagate With Cuttings
Cuttings are the practical way to reproduce a selected cultivar because seedlings may not match the parent’s shape or foliage color. Take semi-ripe shoots in late summer or early autumn, when the current season’s growth has begun to firm but is not fully woody. The RHS yew guide recommends upright shoots for most forms and notes that new plants can also be grown from seed, though seed germination is slow.
Use a clean, sharp tool and take several healthy cuttings rather than relying on one. Remove the needles from the lower portion, place the cuttings in a free-draining propagation medium, keep the medium lightly moist, and shelter them from direct afternoon sun while roots develop. Rooting takes patience; leave the young plants in protected conditions until they have a strong root system and new growth, then pot them on or plant them out in a cool, moist season. Wear gloves and keep the cut material away from children and pets.
Seed is an option for the species, but it is a poor shortcut when you want a particular hedge shape or foliage color. It germinates slowly and the young plant may differ from its parent, while a cutting preserves the selected plant’s characteristics. Label each cutting with the cultivar and date so you can track which ones root and avoid mixing a golden form with a green one.
Conclusion
Japanese yew is forgiving about light and pruning but has two constraints worth planning around: it needs a well-drained root zone, and its foliage and seed are toxic. Choose a cultivar that fits the mature space, plant with the root ball at grade, water consistently while it establishes, then taper irrigation to actual soil conditions.
For a hedge, trim lightly and keep the base broader than the top; renovate old plants gradually rather than forcing instant results. Monitor exposed foliage after winter, diagnose browning before changing water or applying chemicals, and collect clippings and fallen seed-bearing arils wherever children, pets, or grazing animals may reach them.