How to Make a Lawn Green in Spring: 5 Tips
Learn how to make a lawn green in spring with five practical steps: identify your grass, mow correctly, water by need, test soil, and treat thatch only when needed.
The real reason a lawn looks dull in spring
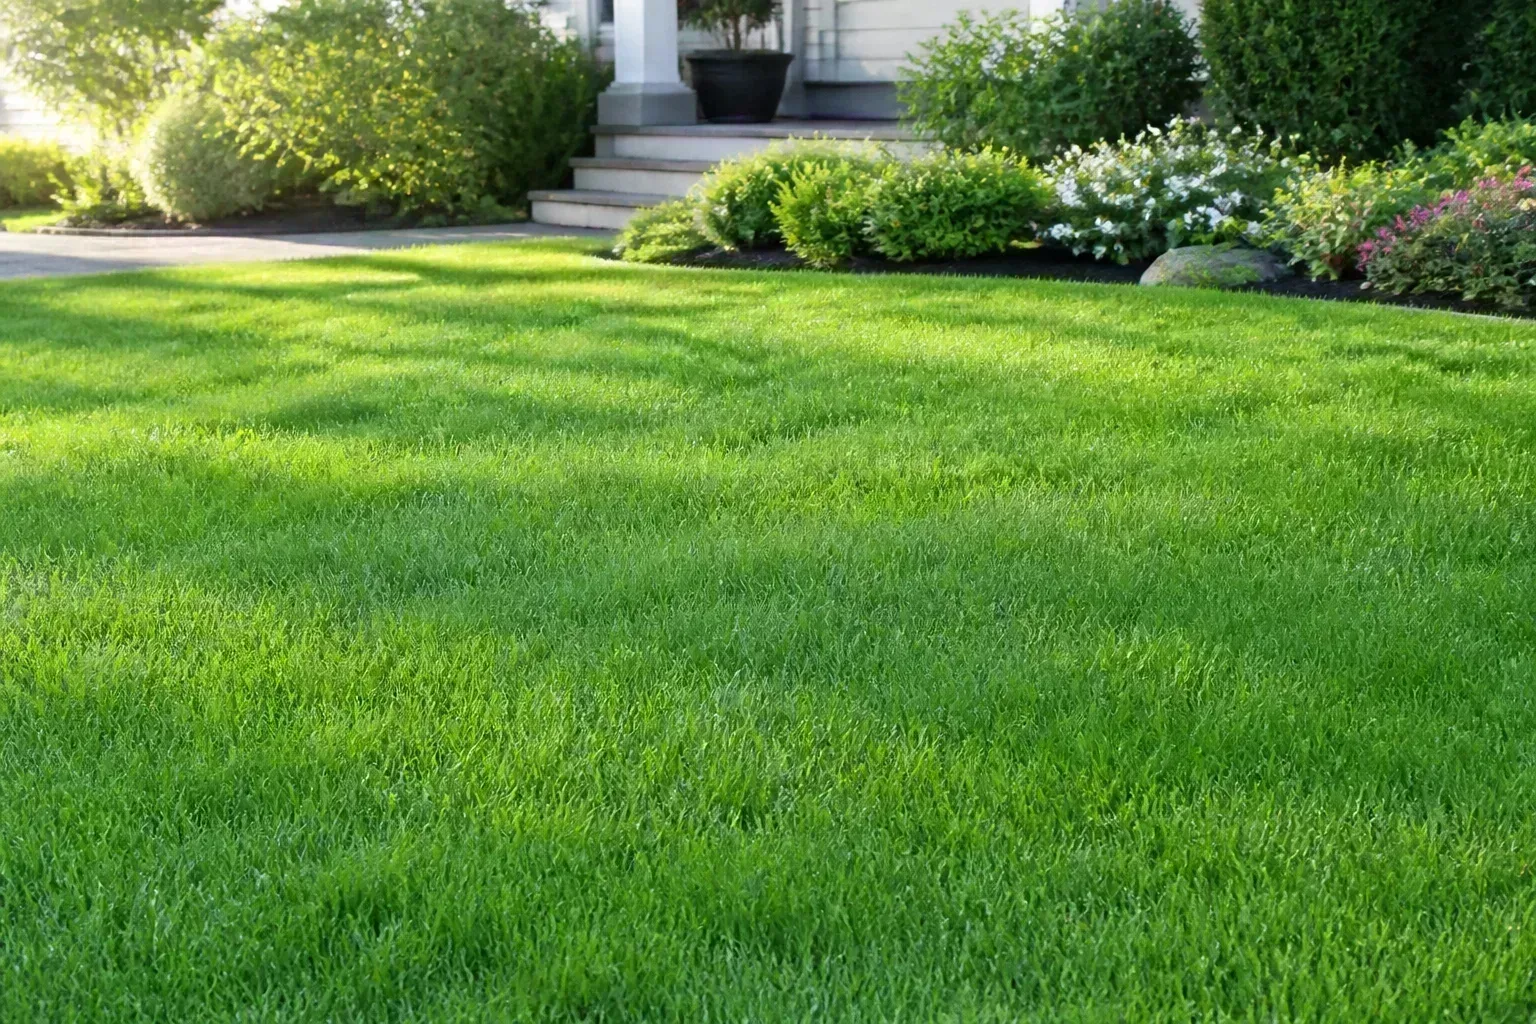
A lawn can look brown for several different reasons, and only some of them call for fertilizer or water. Cool-season grass may be recovering from winter stress, while warm-season grass may still be dormant. Soil can also be too wet to work, roots may be dry even after light rain, or the lawn may have compaction, a thick thatch layer, disease, or bare soil that grass cannot fill on its own.
The useful first move is to identify what you have and look closely before treating the whole yard. A few minutes spent checking growth, soil moisture, and the pattern of discoloration can prevent unnecessary fertilizer, irrigation, or aggressive raking. The five tips below follow that order: time the work, mow carefully, water by need, use a soil test, then repair only the problems you can verify.
First identify the grass and your spring window
Spring is not a single lawn-care date. It is a period when the weather, soil moisture, frost risk, and grass growth change at different speeds from region to region. Penn State Extension notes that its seasonal schedule is based on typical local conditions and that practices should be delayed when severe cold, heat, or drought makes the lawn less able to recover. That is a sound principle anywhere: use local extension timing as a guide, then let your lawn’s growth and condition confirm whether it is ready (Penn State Extension’s seasonal lawn management guide).
A cool-season lawn commonly contains Kentucky bluegrass, perennial ryegrass, or fescues. These grasses often resume growth during cool spring weather, but their exact response depends on winter conditions and local climate. Warm-season grasses, including bermudagrass, zoysiagrass, and St. Augustinegrass, may remain tan while cool-season weeds and nearby plants have already greened up. A brown lawn is not automatically a dead lawn. Check for living crowns and new shoots before deciding that the turf needs a major repair.
Cool-season and warm-season lawns wake on different schedules
If you do not know your grass type, look at an old seed bag, sod receipt, lawn-care record, or your region’s common turf choices. A local cooperative extension office or lawn diagnostic service may be able to identify a sample. This matters because a calendar recommendation written for a cool-season northern lawn can be poorly timed for bermudagrass in a warm climate, and the reverse is also true.
Bermudagrass is a useful example of why regional timing matters. Sod Solutions’ Texas-specific spring guide advises waiting until Bermuda is actively growing before shifting into spring treatments, with local differences between South, Central, and North Texas. Treat that timing as regional guidance for Bermuda in Texas, not as a national calendar for every lawn (Sod Solutions’ Bermuda grass spring guide). Your own county extension service should guide the dates and rates for your grass and local restrictions.
Tip 1: Wait for active growth before you treat
Do not try to force a dormant lawn to turn green with an early dose of fertilizer. Grass needs functioning roots and active growth to use nutrients well; if it is still dormant, the application may be poorly timed and can be wasted or moved away by runoff. Early spring is a good time to walk the lawn, remove branches and matted leaves, check for standing water, sharpen the mower blade, and gather soil samples. It is not a signal that every lawn needs feeding, lime, aeration, and dethatching at once.
Start with the lawn itself. Is new growth visible across much of the turf, or are green areas limited to edges near pavement and sunny walls? Are the brown blades dry and brittle, or are they attached to crowns that are beginning to push new leaves? Did snow sit in the same spots for weeks? Is the soil muddy enough that a footstep leaves a deep print? Those clues help separate normal seasonal color from a stress problem.
What to do during early spring
While the lawn is waking up, keep foot traffic light when the ground is saturated or soft. Walking, mowing, or running equipment over wet soil can press particles together, making it harder for air and water to move through the root zone. Avoid heavy work on soggy turf; wait until the surface is firm enough to support your weight without rutting.
The Royal Horticultural Society recommends starting regular mowing once spring grass begins growing, and its spring-summer guidance treats feeding as an optional boost for lawns that need it rather than a required annual step. That distinction is useful: a thriving lawn that is already dense and green does not need a product simply because the season changed (RHS spring and summer lawn care). If your lawn is mostly brown but has healthy crowns, give it time and observe new growth before spending money on a “green-up” product.
Tip 2: Mow for a denser, greener canopy
Mowing affects the lawn’s ability to photosynthesize and recover. Cutting too low removes too much green leaf at once, exposes soil to sunlight, and leaves the remaining grass with less leaf area to support root growth. A close cut can look tidy for a day, but it often trades a short-lived appearance for more stress, weeds, and uneven color later.
Set the mower to a height that fits the grass species rather than copying the neighbor’s setting. Many home lawns do best when kept taller than a golf green; the exact range varies by grass type, cultivar, shade, and use. Penn State Extension recommends mowing most lawns at 2 inches or above and stresses that height should be adjusted for the grass and growth conditions. Use the higher end of your local recommendation when the lawn is shaded, drought-stressed, or entering hot weather, and do not suddenly scalp a lawn that has grown long (Penn State Extension seasonal management guidance).
The first cut, the one-third rule, and grass clippings
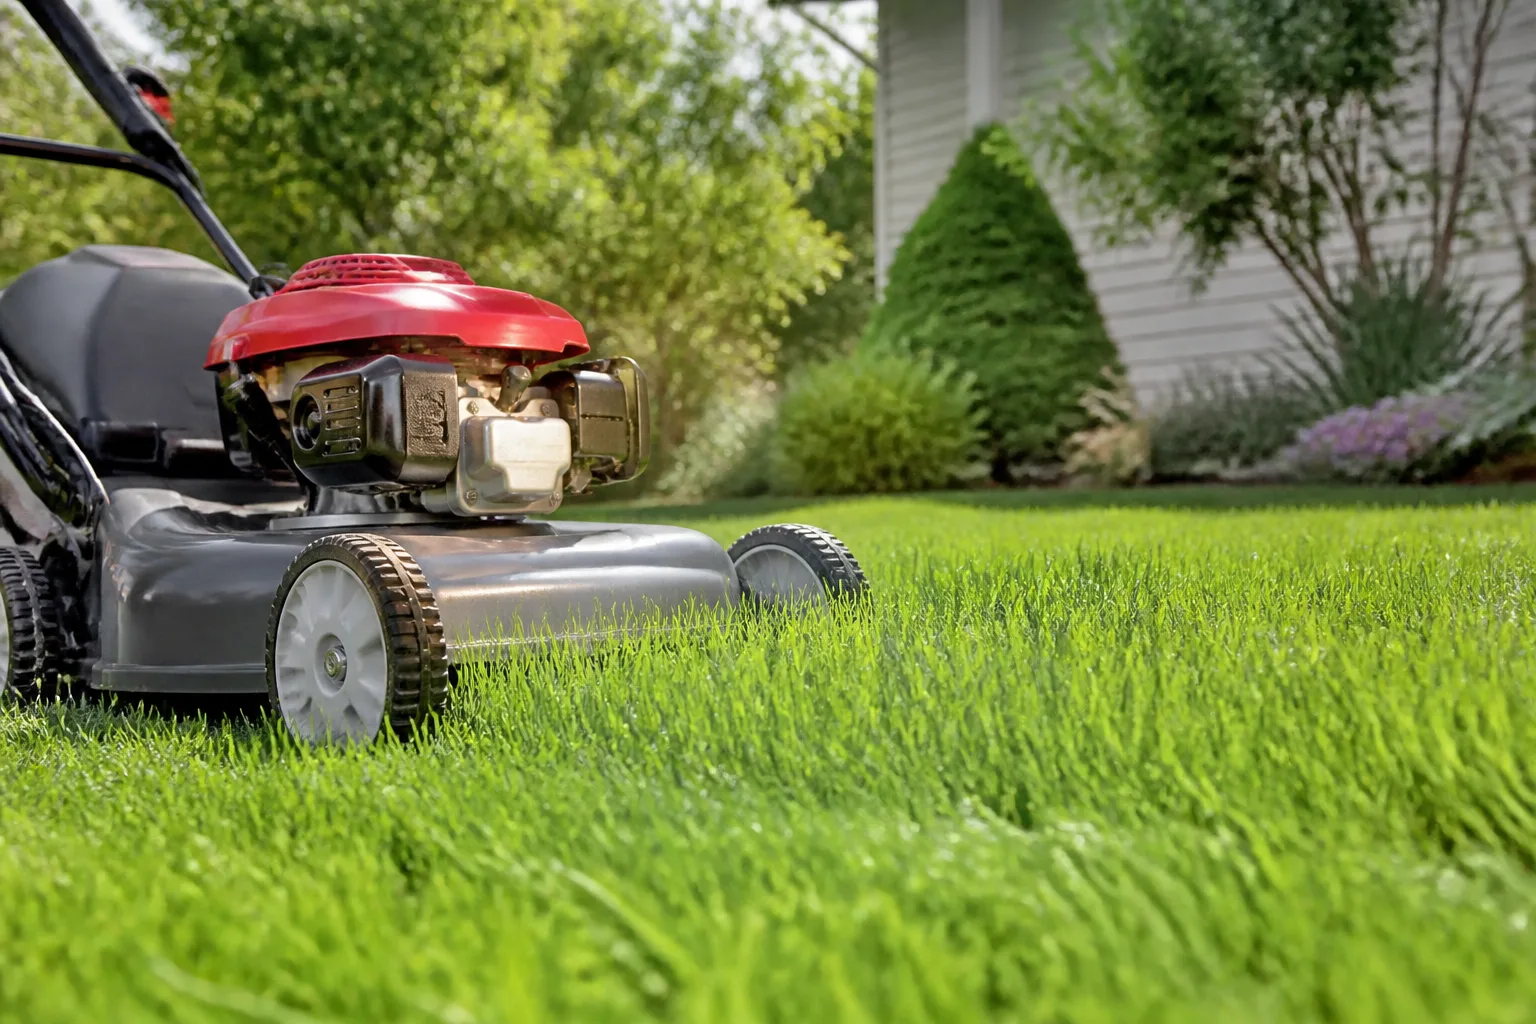
Wait until the soil is firm and the lawn is growing enough to justify a cut. For the first mow, raise the deck if winter has left long grass; make a light trim, then lower the setting gradually over later cuts if the lawn’s recommended height is shorter. A sharp blade makes a clean cut. A dull blade tears the leaf tips, leaving ragged ends that can look pale or brown and increase the area of damaged tissue.
A practical mowing rule is to remove no more than about one-third of the leaf height at a time. If the lawn has reached six inches and the desired height is three inches, cutting directly to three removes half the blade length; make two cuts with a recovery interval instead. This is not a rigid number for every species, but it is a useful guardrail against scalping. BBC Gardeners’ World Magazine also recommends a gradual spring return to mowing and raising the deck when weather is hot and dry (Gardeners’ World spring lawn plan).
Grass clippings do not automatically create thatch. Penn State Extension explains that leaf clippings usually decompose quickly and contribute little to thatch buildup; the layer is made mainly of resistant stems, crowns, and roots (Penn State Extension’s thatch guidance). Short clippings from regular mowing can filter between blades and break down on the soil surface, returning a small amount of organic matter. Leave them when they are short and spread evenly. Collect or redistribute clumps when the grass is too long, wet, or matted; thick piles can shade living grass and make a lawn look patchy. If the lawn has visible debris after winter, remove leaves and branches before mowing so they do not interfere with the cut.
Tip 3: Water only when the lawn needs it
In many regions, spring rainfall supplies enough moisture for established grass. Adding water on a fixed schedule can keep the surface perpetually damp, encourage shallow rooting, and waste water if a storm arrives shortly afterward. Watch the grass and soil instead of assuming that every lawn needs a daily or weekly sprinkler run.
Penn State Extension explains that irrigation frequency depends on grass type, soil texture and structure, drainage, rainfall, humidity, temperature, and wind. For established turf, it recommends using the grass’s early signs of wilting as a cue to water deeply rather than applying frequent, shallow sprinklings. Newly seeded areas are different: the seed zone must stay moist while seed germinates and seedlings establish (Penn State Extension principles of turfgrass irrigation). That distinction helps avoid watering a mature lawn like a new seedbed.

Measure sprinkler coverage and prevent runoff
A sprinkler that runs for 20 minutes does not deliver the same amount of water to every yard. Soil, slope, sprinkler design, pressure, and wind all change how much reaches the ground. If water begins running across a sidewalk or pooling in a low spot, the application rate is too fast for that area to absorb. Use a lower setting or shorter cycles with pauses to let the water soak in, especially on slopes or compacted soil.
You can check how evenly a sprinkler works by placing several straight-sided containers in different parts of its coverage area, running it for a set time, and comparing how much water each catches. Penn State Extension describes this kind of container test as a way to see the distribution pattern and application rate. If one cup is nearly full while another is barely wet, move the sprinkler, change the run time, or adjust the system before assuming the lawn needs more water.
Check soil moisture below the surface too. A light shower can wet leaves while leaving the root zone dry, and a week of frequent rain can keep roots too wet even if the top looks dry in a sunny area. If the soil is already moist at root depth, hold off. If the lawn is actively growing and begins to wilt, water slowly enough to wet the root zone without runoff, then wait and reassess. Watering needs also differ by grass: cool-season species generally use more water than warm-season species, so a mixed yard may not respond uniformly.
Tip 4: Test the soil before you feed
If color is weak or growth is sparse, do not guess that nitrogen or lime is the missing ingredient. A laboratory soil test can report pH and nutrient levels and recommend amendments suited to the sample. Penn State Extension notes that a soil test can determine how much phosphorus and potassium turf needs, but it cannot determine a lawn’s nitrogen requirement. That means the test is a guide to pH, phosphorus, potassium, and lime—not a magic report that names every cause of pale grass (Penn State Extension’s lawn management guide).
Collect samples from representative areas and keep problem spots separate. Do not mix an unusually pale patch, a low wet corner, and the healthy center into one container; their conditions may differ. Follow the lab’s instructions for sampling depth and number of cores, remove surface debris, and submit a sample from the root zone. A result from last year may still be informative, but it cannot account for every change in construction, drainage, topdressing, or fertilizer use since then.
Use pH and nutrient results to choose amendments
Grass species differ, and soil pH targets are not identical in every region. Penn State Extension says cool-season turfgrasses in its region generally grow well at pH 6.0 to 7.2, with Kentucky bluegrass often preferring 6.5 to 7.2. Its lime guidance is clear that the amount to apply should come from a soil test; applying lime because a neighbor’s lawn needs it can move your own soil farther from the useful range (Penn State Extension’s turfgrass liming guide).
If a test or local recommendation supports fertilizer, choose a lawn product that is appropriate for your grass and season, calculate the area accurately, and follow the label rate. More is not a shortcut to greener grass. Excess fertilizer can lead to weak, overly lush growth, fertilizer burn, more mowing, and nutrient loss. The RHS advises using a specific lawn feed only if needed and applying the minimum amount that keeps the lawn in good condition; its timing is written for the UK climate, so use your local extension calendar for a U.S. lawn (RHS spring and summer lawn care).
Do not use a universal four-application schedule for every yard. Cool-season lawns and warm-season lawns reach active growth at different times, and many lawns do well with modest, well-timed feeding rather than repeated applications. Penn State Extension describes nitrogen needs as something to manage using grass growth and recommended rates, while the Royal Horticultural Society notes that some lawns grow well without fertilizer at all. If you prefer a lower-input lawn, maintain a sensible mowing height, leave short clippings, and correct soil or drainage limits before adding more nutrients.
Tip 5: Correct thatch, compaction, and bare spots selectively
A spring rake can remove leaves and loose debris, but it is not a reason to power-rake the entire lawn. Thatch is a dense, interwoven layer of stems, roots, and crowns between the green grass and soil surface. It is not simply grass clippings. A small layer can be normal; excess thatch can make water and air movement less reliable and can leave roots growing in a layer that dries quickly.
Measure it before renting a dethatcher. Cut a small plug from the lawn and inspect the tan-brown layer above the soil, excluding the upright green leaves. Penn State Extension says that a layer around one-half inch or less may help buffer temperature and soil moisture, while problems are more likely when thatch exceeds one inch. Its seasonal lawn guidance recommends mechanical removal at one inch or more and only when the turf can recover in cool weather with adequate moisture. Penn State’s thatch guide favors late summer or early fall for removing thatch from cool-season turf, when the grass can recover in cooler conditions. Extension recommendations differ somewhat by region and grass, so treat a measurement as a diagnostic cue and check local guidance before aggressive removal (Penn State Extension’s thatch guide; Penn State seasonal lawn management guide).

Choose between raking, aerating, and overseeding
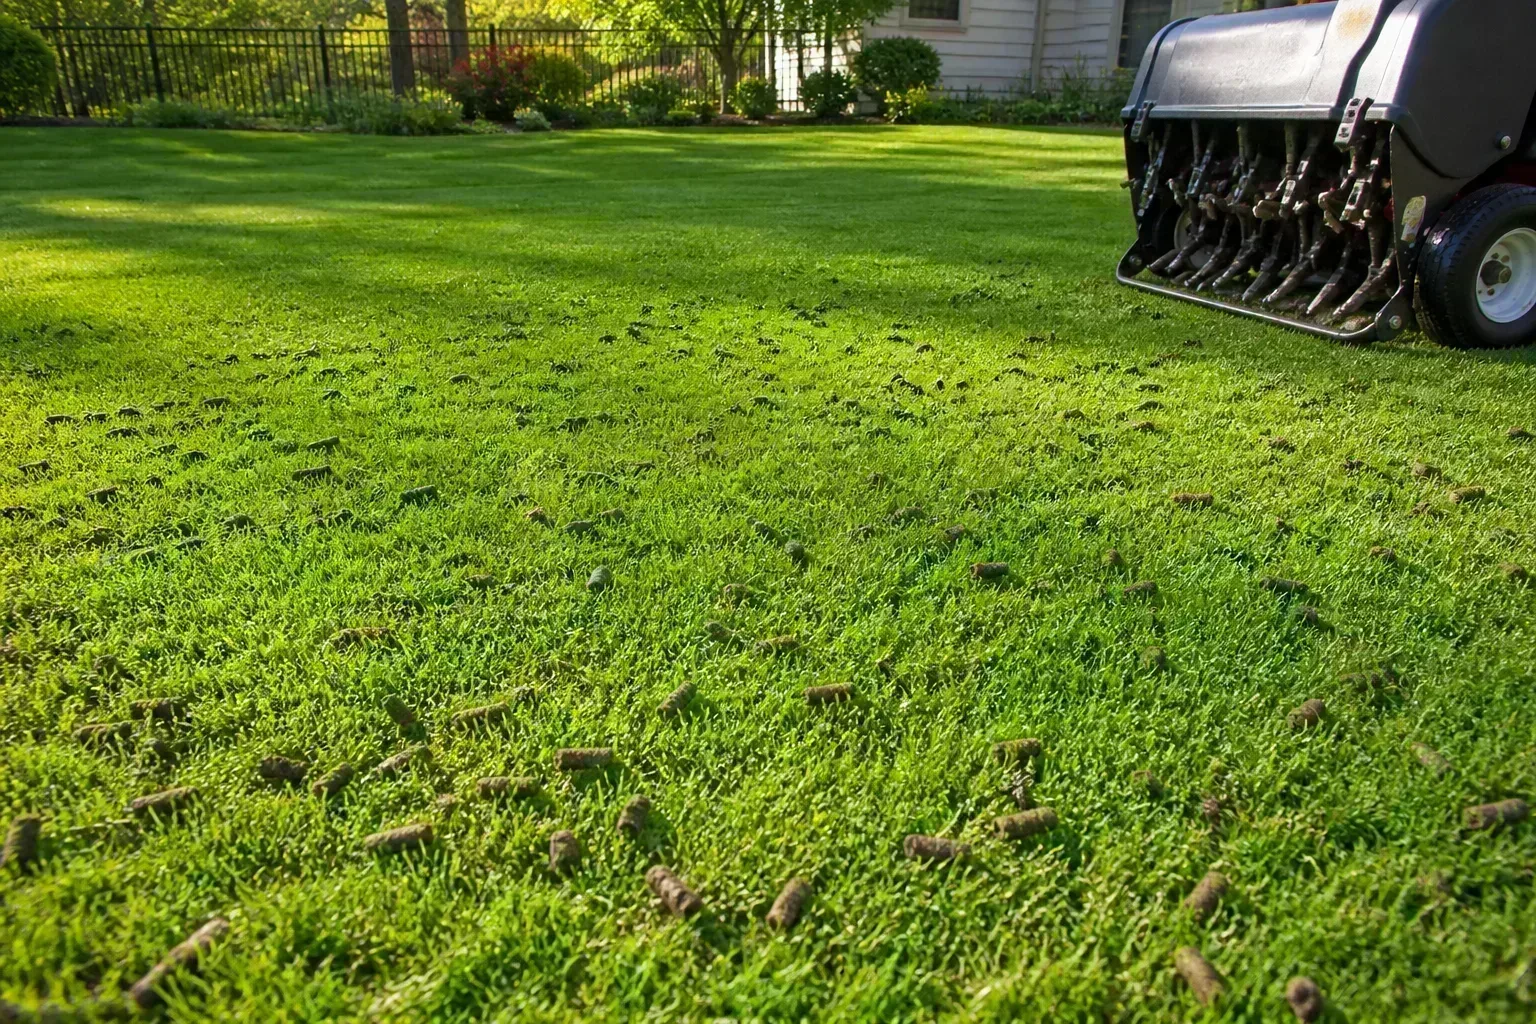
If the problem is loose leaves or a thin mat of dead blades, a gentle rake may be enough. If water puddles, the soil is hard, or foot traffic has made the surface dense, compaction may be the larger issue; core aeration removes small soil plugs and opens channels for air and water. Penn State Extension notes that core aeration is used to relieve compaction and can also reduce thatch. It should be timed so the grass can recover, and the soil should be moist enough for the tines to penetrate without being saturated.
If the lawn has bare areas, first ask why grass is missing. A bare strip beside a downspout may be washing out; a deep-shade patch may be a poor match for the grass species; a dog route may need a path or soil repair. Seed will not solve a drainage problem, a persistent shade mismatch, or ongoing traffic on its own. Once the cause is addressed, choose a seed blend suited to the lawn and local climate, prepare the soil surface, and keep the seeded area consistently moist while it germinates.
For cool-season lawns, late summer or early fall is often the most favorable period for a large renovation because new grass can establish before the next summer heat and weed competition is lower. Penn State Extension describes late summer to early fall as the usual best window for establishing a new lawn from seed, while allowing spring overseeding for thin turf and small bare areas. Treat those as regional guidelines, not a promise that every spring seedbed will succeed; in warm climates, warm-season species and local rules change the plan (Penn State Extension’s seasonal lawn guide). For a small repair, spring can work when soil and weather are suitable and you can keep seed moist.
Troubleshoot color before adding products
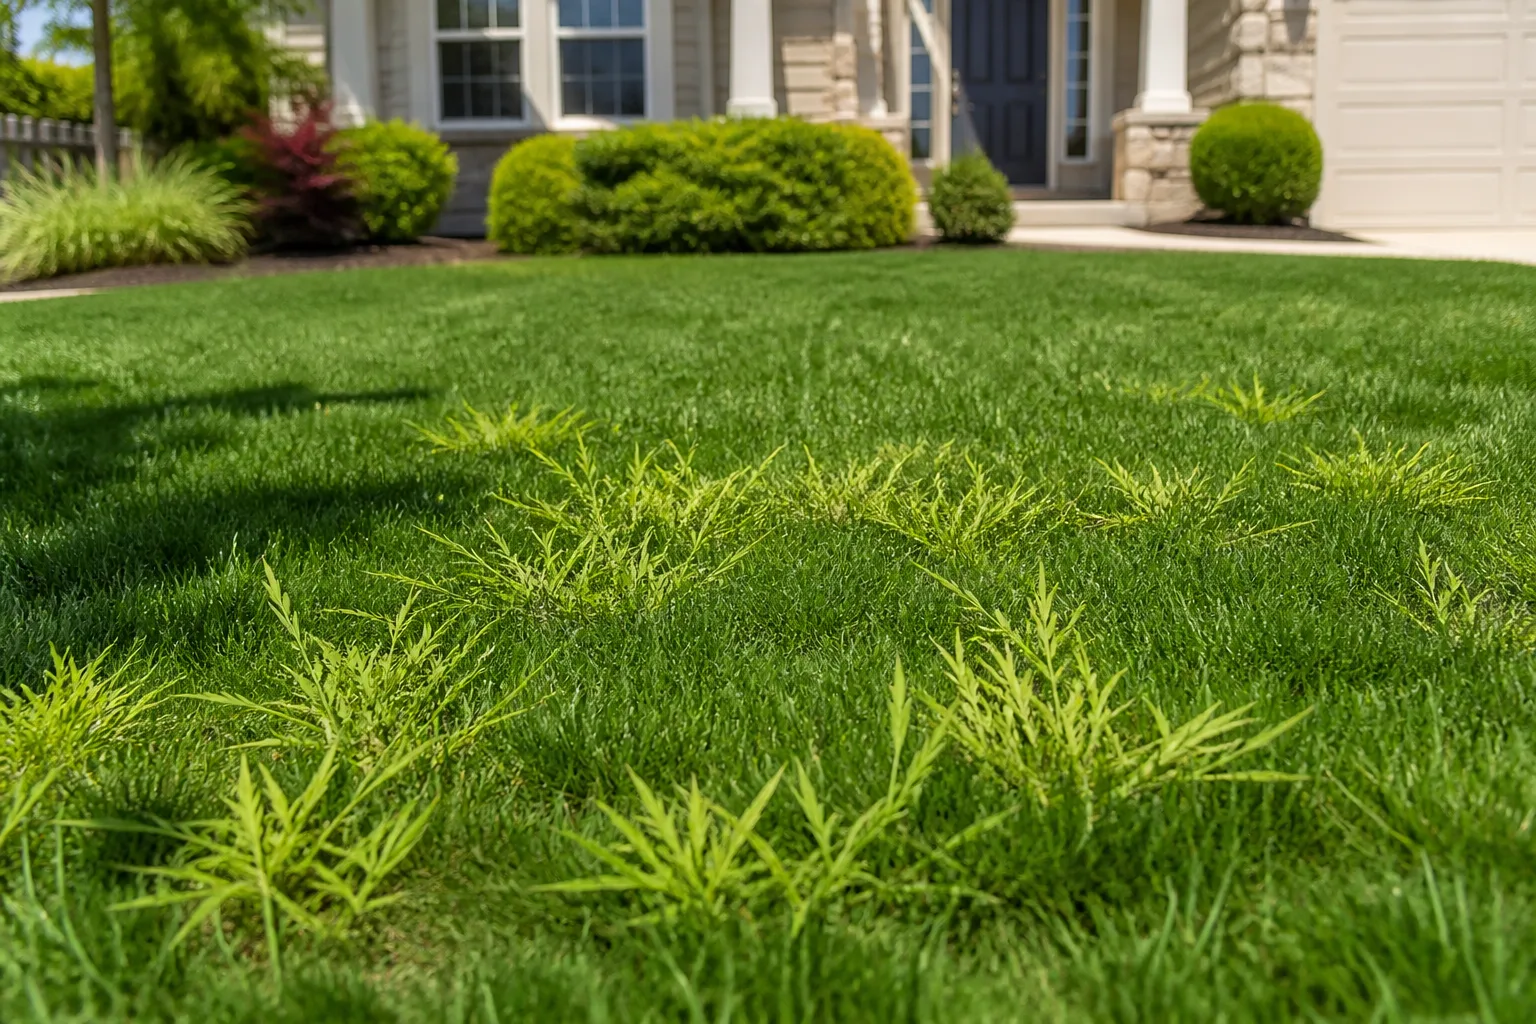
Color is a symptom, not a diagnosis. A lawn that is uniformly tan after winter may simply be dormant; a strip along a road may be affected by salt; a damp shaded corner may thin from poor light or drainage; round patches may have a disease or animal cause. If the lawn’s green-up is uneven, look for patterns and site conditions before spreading fertilizer or weed control across the entire yard.
Check a few things in order. Confirm whether the grass is living by looking for new shoots at the base and gently tugging a small sample. Check moisture below the surface, especially if the topsoil has dried between showers. Look for compacted areas where water stands or where turf is worn by repeated footsteps. Note how much direct sun reaches the patch; no amount of fertilizer can make a shade-intolerant grass thrive under a dense tree canopy.
If you find a clearly defined dead area, dig a small section to see whether roots are present and whether the soil is wet, dry, compacted, or disturbed. If the entire lawn is discolored, a recent fertilizer application, mower cut, or weather event may explain the timing. If a patch is spreading, smells unusual, or remains damaged while surrounding grass recovers, ask a local extension office or lawn diagnostic service for an identification before applying fungicide or insecticide. Broad product use without a diagnosis can add cost and stress without fixing the cause.
Quick checks for pale, yellow, or patchy grass
Pale green growth can follow winter dormancy, low nitrogen, root stress, shade, or mowing too low. Yellowing does not prove a nutrient deficiency; waterlogged soil can limit oxygen to roots, and dry soil can prevent the roots from taking up water. Check soil moisture and drainage first, then review your mowing height and fertilizer history. Use a lab test when you need pH or phosphorus and potassium guidance rather than treating the color alone.
Brown tips after a cut point you toward the mower blade or a cut that was too severe. Footprints that remain visible after walking across the lawn, or blades that begin to fold or wilt, can signal that established turf is drying; check below the surface before watering. A mat that stays damp while the underlying soil is dry may suggest thatch or poor infiltration, but confirm with a plug instead of assuming. If the grass is warm-season and the surrounding weather is still cool, patience may be the correct treatment.
A simple spring lawn sequence
First, identify the grass type and observe where new growth is appearing. Clear branches and leaves when the surface is dry enough to work without sinking or leaving tracks. Delay mowing and heavy equipment until the lawn is growing and the soil is firm. Then make a light first cut at a safe height, sharpen the blade, and keep subsequent cuts modest.
Next, check rainfall and root-zone moisture before irrigating. Use catch cups if you want to see whether the sprinkler covers evenly, and correct runoff or dry zones before extending the timer. Send a soil sample to a local lab if color or growth has been poor or you plan to apply lime, phosphorus, or potassium. Let the lab recommendation and local lawn calendar guide any feed; do not layer multiple products because the bags each promise a greener lawn.
Finally, inspect the thatch layer, compaction, and bare areas. Rake out surface debris, not living crowns. Reserve dethatching for a measured thick layer and a recovery window, aerate when compaction is the issue, and overseed only after correcting the cause of thin growth. Recheck the lawn after a few weeks rather than repeating a treatment because the color has not changed overnight. Grass responds on its own growth schedule.
Conclusion
A lush spring lawn comes from matching care to the grass that is actually growing in your yard. Wait for active growth, mow without scalping, water when the soil and grass call for it, test before applying amendments, and measure thatch or compaction before choosing a repair. This sequence gives the lawn a better chance to thicken naturally and keeps seasonal work focused on the problem that is really present.