How to Fix a Flickering Light Bulb Safely in Your Home
Fix a flickering light bulb by checking its fit, type, and dimmer compatibility. See what you can safely test and which signs need an electrician at home.

A light that blinks once as it turns on may have a harmless startup quirk; one that keeps stuttering, dims unpredictably, or makes other lights flutter deserves attention. The key is to notice whether the problem follows a single bulb, a lamp, a dimmer, a room, or the whole house. That pattern tells you which simple checks are reasonable and when to stop.
Keep your troubleshooting limited to the bulb and plug-in lamp checks below. Flickering can come from a loose electrical connection, but opening a switch, outlet, fixture, or electrical panel to look for one is hazardous work. This guide explains how to sort the symptoms and when to hand the problem to a licensed electrician.
Decide Whether It Is Safe to Troubleshoot
Before touching a lamp or bulb, look and listen for warning signs. Stop using the affected light and call a licensed electrician if you notice a burning or hot-insulation odor, a hot or discolored switch plate or outlet cover, crackling or buzzing, sparks, a mild shock or tingling, a breaker that trips repeatedly, or an outlet or fixture that loses power as the light flickers. These symptoms can indicate overheating, arcing, damaged wiring, or another hazard. ESFI lists dim or flickering lights alongside these warning signs and recommends a licensed electrician when they occur; flicker is not a diagnosis, but it is a reason to pay attention.ESFI’s home-wiring hazard guidance
If there is smoke, active sparking, or a fire, move away and contact emergency services. Do not approach a hot or damaged fixture to switch it off. If the area is safe and dry, you may turn off the relevant breaker without removing the panel cover; if you cannot identify it safely, leave it alone and wait for help. Do not keep resetting a breaker that trips, since repeated trips signal a problem that needs diagnosis.
A lone bulb flickering briefly, with no heat, smell, sound, shock, or breaker trouble, is less alarming and may be suitable for the external checks below. That does not prove the circuit is fault-free. If the symptom returns after one careful bulb check, worsens, or starts affecting other lights, stop experimenting and arrange professional help.
Use the Flicker Pattern to Narrow the Cause
Count the affected lights and note exactly when the flicker happens. A single bulb points first toward that bulb, its fit, or the lamp or fixture; several bulbs on one dimmer suggest a control or compatibility issue; lights in different rooms suggest a shared circuit or service problem. A repeatable change when a large appliance starts is a clue worth reporting, not a reason to open wiring or move appliances around at random.
| What you notice | A reasonable first suspicion | Safe next step |
|---|---|---|
| One replaceable bulb flickers | Loose, aging, or incompatible bulb | Turn off power, let it cool, then check its fit and rating |
| Several LEDs flicker only while dimmed | Bulb and dimmer mismatch | Check labels and manufacturer compatibility information |
| A plug-in lamp flickers when its cord or plug is moved | Worn lamp cord, plug, or outlet contact | Stop moving it; unplug if safe and discontinue use |
| Several lights in one room or circuit flicker | Shared control or circuit issue | Note which fixtures are affected; call an electrician if it persists |
| Lights in multiple rooms brighten or dim together | Broader wiring or utility supply concern | Stop troubleshooting and contact an electrician or utility |
These are starting points, not a remote diagnosis. A bulb can fail in a way that imitates a bad socket, and a dimmer mismatch can coexist with a separate wiring problem. The safest approach is to change one low-risk variable at a time and stop if the pattern points past the bulb.
Make Safe Checks Before Touching a Bulb
Turn the light off at its wall switch and give a recently used bulb time to cool. For a table or floor lamp, unplug it before removing or tightening the bulb; switch position alone does not isolate a plug-in lamp from power. For a ceiling fixture, do not climb or reach near exposed parts, damp surfaces, or damaged covers. If the fixture is hot, visibly damaged, or has any of the red flags above, skip bulb handling and call an electrician. That order—switch off, let the bulb cool, then snug it gently—matches the basic replacement sequence in This Old House’s electrician-led flickering-light walkthrough.
Read the fixture label and bulb packaging before swapping anything. Check that the bulb has the correct base and shape, stays within the fixture’s maximum wattage, and is marked for enclosed fixtures if it will be used inside a sealed or covered fitting. LED wattage is low, but the fixture’s heat and enclosure requirements still matter; a bulb that physically screws in is not automatically the right bulb. Do not force a bulb that binds or rocks in the socket.
Reseat or Replace One Loose or Failing Bulb
If the fitting looks intact and there are no warning signs, a bulb that has backed out slightly can lose contact and flicker. With power off and the bulb cool, gently turn a screw-base bulb until it is snug, then stop; over-tightening can damage the bulb or socket. For a bayonet or other base, follow the bulb maker’s insertion method rather than twisting it as if it were a screw base.
Turn the light back on and observe it from a normal standing position. If it stays steady, the loose fit may have been the cause, but do not make a habit of tightening a bulb while the light is on. If it still flickers, switch it off and, if there are no signs of damage or heat, try one known-good replacement of the same compatible type. A new bulb that stops flickering points toward an aging or defective bulb; if the replacement also flickers, the cause may be elsewhere.
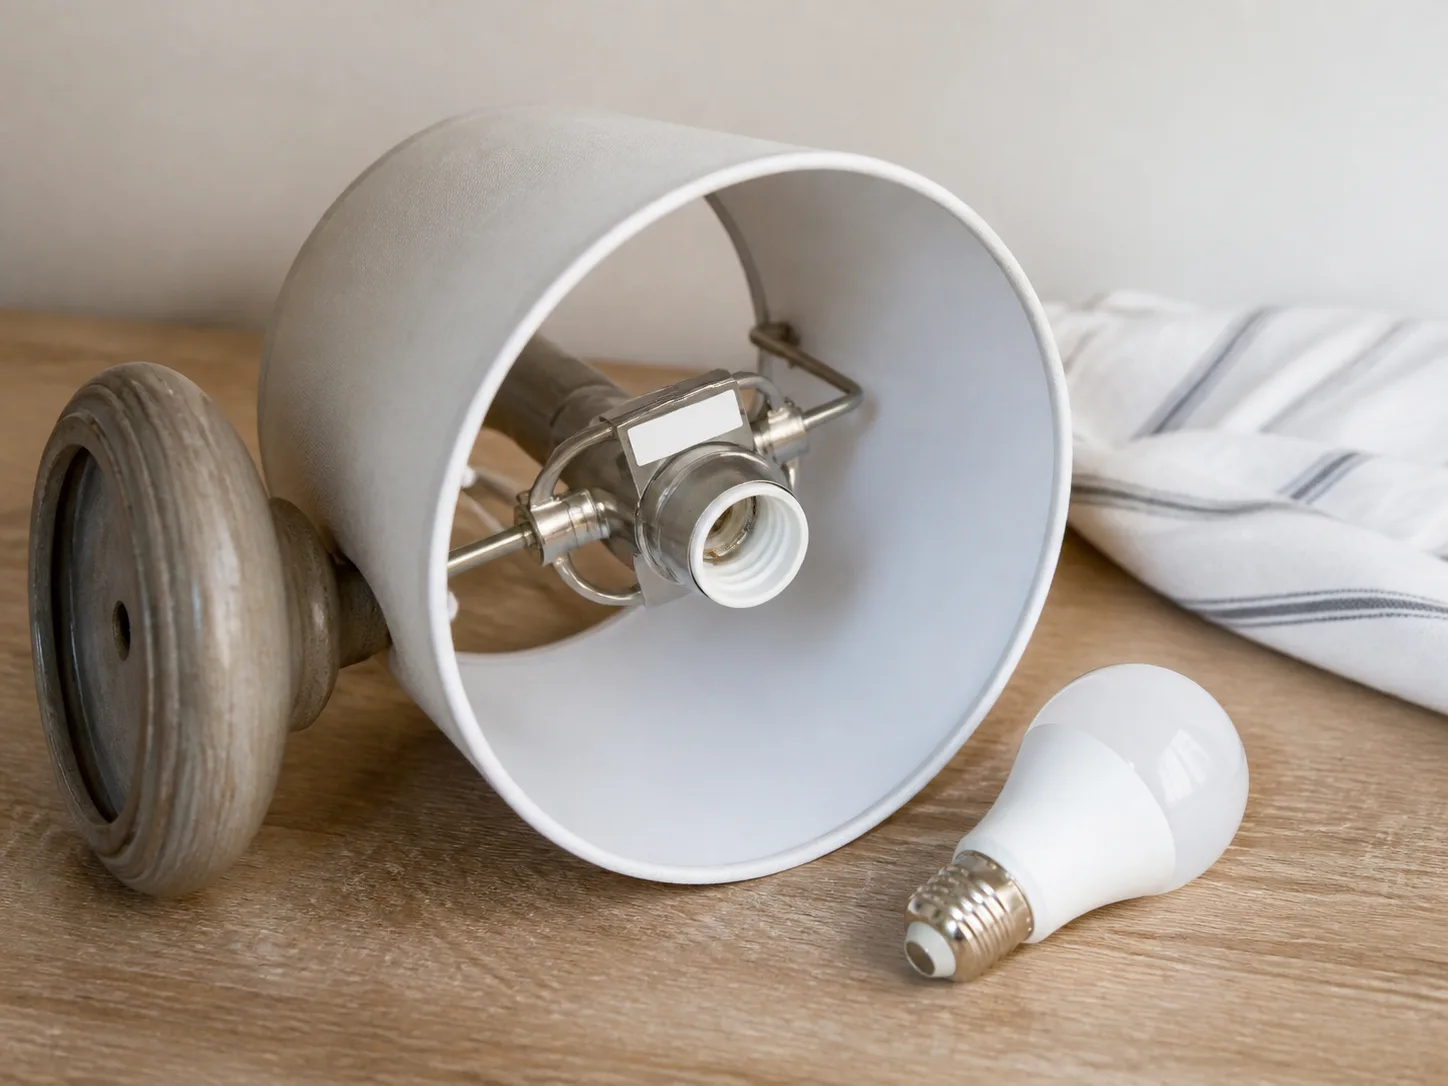
Do not reach into the socket, bend its bottom contact, scrape corrosion, or use a metal tool to improve contact. The socket can remain energized depending on the circuit and switch arrangement, and the contact may be damaged. If it looks darkened, cracked, corroded, melted, or loose, leave it alone and have the fixture checked.
Test a Table or Floor Lamp Without Opening It
For a plug-in lamp, make sure its plug is fully seated without forcing it. If the plug droops, wiggles easily, feels warm, or causes a crackle or odor, stop using that outlet and lamp; do not wedge the plug or keep jiggling it to hold the light steady. ESFI treats unusual sounds, heat, discoloration, and unexplained flicker as signs that wiring should be inspected, not as invitations to tighten connections yourself.ESFI’s wiring safety tips
If there are no hazard signs, unplug the lamp and move it to a different, known-working outlet for one test. Keep the same bulb and switch setting. If the flicker follows the lamp, suspect the bulb, switch, cord, plug, or lamp socket; if it disappears, the original outlet or circuit may be involved. This simple comparison narrows the source but cannot prove the outlet is safe, so stop if the original outlet is loose, warm, discolored, noisy, or the symptom returns there.
Never open a lamp base or splice a cord as part of this check. Damaged cords, cracked plugs, exposed conductors, or a switch that feels inconsistent mean the lamp should be unplugged and repaired by a qualified person or replaced. Avoid using an extension cord as a permanent workaround for a questionable outlet.
Check LED and Dimmer Compatibility
If an LED flickers only when it is dimmed, or the problem began after changing to LEDs, start with the bulb and control labels. The bulb must say “dimmable,” and the dimmer must be rated for LED loads; a dimmable label by itself does not guarantee that every bulb works smoothly with every dimmer. Check the exact bulb and dimmer models against the manufacturer’s compatibility list, particularly if one lamp flickers more than the others.
LED bulbs use an electronic driver, so the driver and dimmer have to work together. An older control designed for incandescent bulbs may behave poorly with the much lower LED load, and even LED-rated controls can differ in their supported bulbs, minimum load, and dimming range. Flicker confined to the bottom of the dimmer range often points toward compatibility or a low-end setting; flicker on an ordinary on/off switch or across unrelated rooms deserves broader attention. Litel Electric’s electrician-written guide explains why the exact bulb-driver and dimmer pairing matters.LED and dimmer compatibility
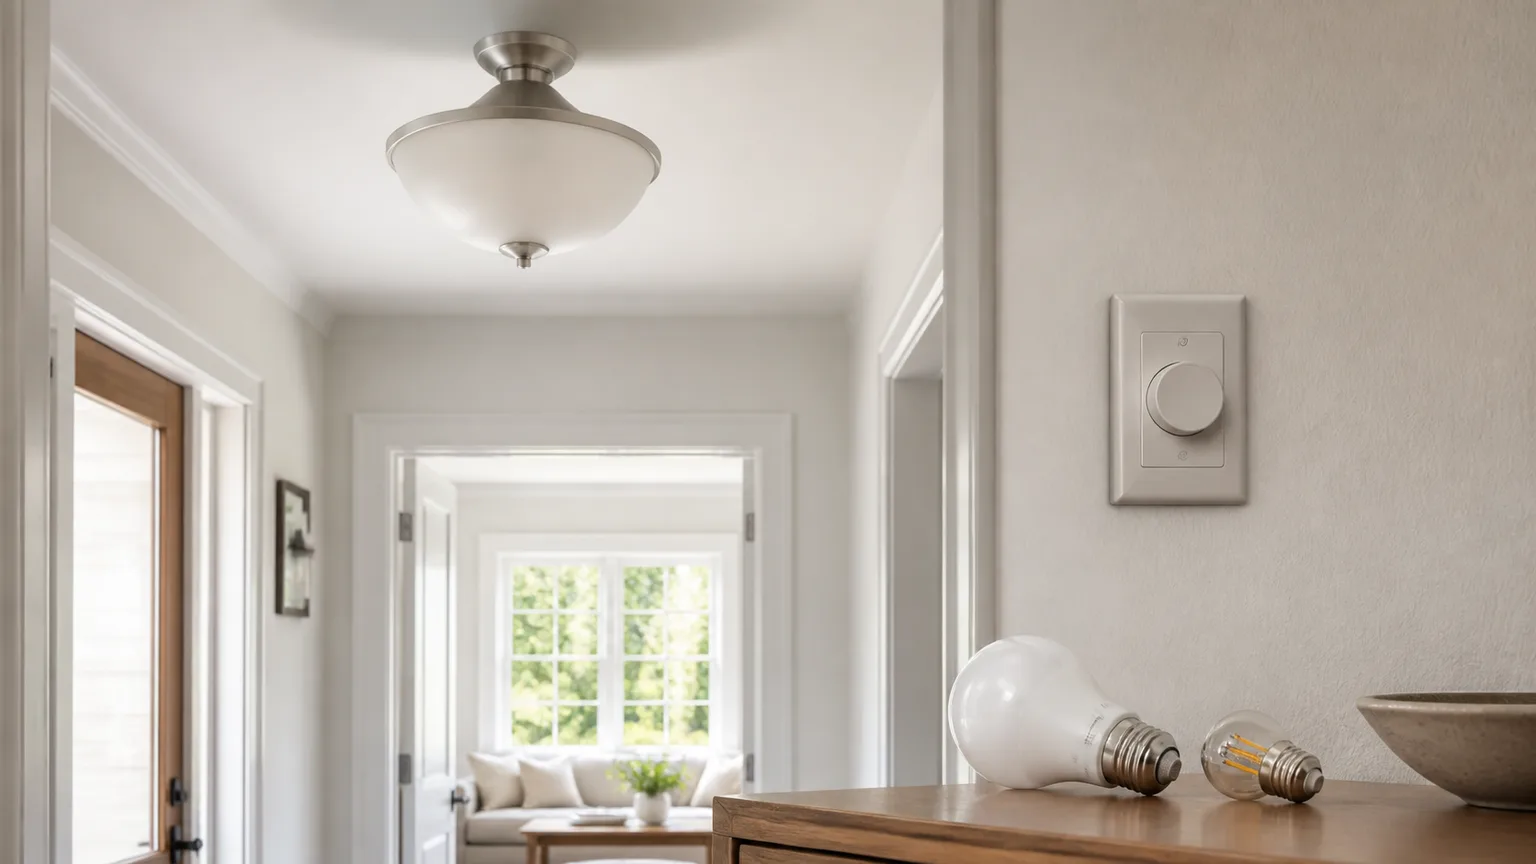
You can check packaging or manufacturer documentation without removing the dimmer from the wall. If the bulb is not dimmable, replace it with a compatible dimmable bulb or use a non-dimming control as specified for the fixture. If the pairing is unclear, the control is old, or flickering persists, ask an electrician to confirm the model compatibility and installation. Do not remove or rewire a wall dimmer as a trial-and-error test; ESFI recommends professional installation of lighting switches and controls.ESFI’s lighting-control safety guidance
Recognize Fixture or Socket Trouble
A flicker that stays with one fixture after a compatible bulb is fitted may come from the socket, switch, internal LED driver, or a connection in the fixture. Some integrated LED lights do not use a replaceable bulb at all; if one of those strobes, dims, or cuts out repeatedly, follow the fixture maker’s troubleshooting instructions and warranty terms. A fixture that gets hot, smells, buzzes, sparks, or shows discoloration is a stop-use issue, not a bulb-shopping problem.
A visibly loose shade or fixture cover is different from a loose electrical connection, but do not tap or shake the fixture to test it. Vibration can change a bad contact briefly without making it safe, and a hanging or damaged fitting can fall. If the fixture moves at the ceiling, has a cracked socket, or flickers when its housing is disturbed, leave it switched off and arrange an inspection.
Do not clean or repair an installed socket based on a quick visual check. Replacing a socket, switch, driver, fixture, or wiring connection involves electrical work and must be performed with the circuit safely isolated and tested; local rules also vary. If a replaceable lamp itself is defective, replacing the bulb is a simple fix. If the fault remains attached to the fitting, have a professional determine whether the part or full fixture should be replaced.
Identify Flicker Tied to an Appliance
A light that dips at the same moment a refrigerator compressor, air conditioner, pump, or other motor starts may be reacting to a change in electrical load. Notice whether the dip is brief or sustained, whether it happens to one fixture or several, and whether brightness returns fully. A small, momentary change can be different from repeated pronounced pulsing, a light that stays dim, or bulbs that become unusually bright; do not assume all of these patterns are normal.
Do not deliberately start and stop a large appliance to reproduce the flicker, unplug built-in equipment, or shift high-wattage devices between outlets as a test. Instead, note what was already running when the symptom occurred. If several lights change together, the flicker is strong or persistent, the appliance behaves erratically, or breakers trip, contact a licensed electrician; if the same disturbance affects neighboring homes, contact the utility as well. This pattern may involve a circuit or incoming supply rather than the bulb.
A plug-in lamp that flickers only when its own cord is moved is a different clue from a ceiling light that dims when central air starts. Record which one happened. A professional can use that distinction to decide whether to inspect the lamp, branch circuit, service connection, or utility supply.
Respond When Several Lights Flicker Together
If two or more lights on the same switch or dimmer flicker together, the shared control is a plausible first lead, especially if the issue occurs only while dimming or began after a bulb change. Check that the bulbs are the same model and are labeled dimmable, then verify the exact dimmer pairing using the maker’s information. Do not remove the switch plate or try a different wall control yourself.
If lights on different switches or in different rooms flicker at the same time, treat it as a broader issue. The cause could be a circuit connection, service wiring, a large electrical load, or utility supply; the visible symptom alone cannot distinguish among them. ESFI identifies unexplained flicker, repeated breaker trips, heat, buzzing, sparks, and shocks as electrical warning signs that warrant inspection.ESFI’s list of home wiring hazards
Switch off affected lights if you can do so safely, avoid using any outlet or fixture with heat or noise, and make a note of which rooms are involved. If the flickering is severe or accompanied by a red flag, call an electrician promptly; if the whole home is affected and neighbors report the same event, call the utility’s outage or service line too. If there is smoke or active sparking, leave and call emergency services.
Understand Whole-Home Flicker and Utility Issues
Flicker across much of a home can originate upstream of an individual bulb: a service connection, the electrical panel, or the utility’s supply. A notable clue is when several rooms brighten and dim together, especially if the issue coincides with appliance starts or other homes nearby experience it. A short isolated shimmer and a repeated whole-house surge are not the same symptom, and neither should be diagnosed by looking inside the panel.
If neighbors are also affected, report the timing and location to your electric utility; they can check for an outage or supply issue on their side. If the event is only in your home, recurs, affects several circuits, or comes with electrical warning signs, call a licensed electrician. The utility and electrician may each need to rule out their part of the system, so describe the pattern rather than guessing that the problem is “just a loose bulb.”
Do not remove the panel cover, tighten a service connection, or touch overhead service equipment. These parts can remain energized even when a branch breaker is off, and a loose neutral or service fault is not a homeowner repair. If lights become markedly brighter or dimmer, appliances behave strangely, or multiple rooms lose power, stop using affected equipment and get professional guidance promptly.
Avoid Unsafe Electrical Quick Fixes
Do not bend the socket’s center contact, scrape or sand a socket, spray cleaner into a fixture, twist wires together, remove a wall switch, or replace a receptacle to see whether flickering stops. A quick fix that temporarily changes a symptom can hide a bad connection and expose you to shock or fire risk. Keep hands and tools out of the socket and electrical boxes.
Do not install a bulb above the fixture’s maximum wattage, use a non-dimmable bulb on a dimmer, or assume that an LED labeled “dimmable” is compatible with a specific control. Also avoid using an adapter to force an incorrect bulb base into a fixture or using a bulb in a sealed enclosure unless its instructions allow it. Match the bulb to the fixture and control, and use manufacturer information for product-specific limits.
Do not repeatedly reset a tripping breaker, ignore a hot switch plate, or dismiss buzzing as a normal LED sound. If a breaker trips once, leave it off if it trips again or if there are warning signs; do not keep cycling it to restore the light. Flickering alone does not prove an imminent fire, but flickering with heat, smell, sparks, crackling, shocks, or repeated trips requires a qualified inspection.
Know When to Call an Electrician
Call a licensed electrician when flickering continues after one safe bulb check, follows a fixture rather than a replaceable bulb, affects several lights or rooms, or appears with a dimmer that needs installation or rewiring. Call promptly for hot or discolored plates, burning odor, buzzing, crackling, sparks, shocks, damaged wiring, or repeated breaker trips. These signs move the problem past routine bulb replacement.
An electrician can check the socket, fixture driver, dimmer, circuit connections, and supply using proper isolation and test equipment. Do not take apart a fixture or switch to make the diagnosis easier. If you rent, report persistent flicker and warning signs to the property manager or landlord while avoiding the affected fixture; the electrical repair should be handled by someone qualified and authorized for the property.
Call the utility when flicker affects the whole home and neighbors or nearby buildings are reporting the same issue. If you are unsure whether it is utility-side or inside your home, contact the electrician or utility and explain the pattern; they can tell you who should assess it first. Any smoke, fire, or active arcing calls for emergency services, not an appointment for routine troubleshooting.
Prepare Useful Details for the Service Call
A clear description helps a professional reproduce the conditions without asking you to recreate an unsafe fault. Note whether one bulb, one room, several rooms, or the whole house is affected; whether it is an LED, an integrated fixture, or a plug-in lamp; and whether it happens at turn-on, at low dimmer settings, continuously, or when an appliance happens to start.
If it is safe to do so, keep the bulb packaging or write down its model, wattage, base, dimmable rating, and whether the fixture is enclosed. Record the dimmer model number only if it is visible without removing the wall plate. Mention heat, odor, discoloration, unusual sound, shocks, breaker trips, recent renovations, or water intrusion exactly as observed; do not open anything to gather more information.
Tell the electrician what you have already tried and what changed. For instance, “one LED flickers only below half brightness, while the other lights are steady” is more useful than “the electricity is bad.” If several rooms are involved, list them and note whether neighbors saw the same event. This information supports a targeted inspection without asking you to probe live parts.
Conclusion
Start with the pattern: one bulb may need a safe reseat or compatible replacement, a dimmed LED may not match its control, and flickering across rooms may point to a circuit or supply problem. Turn off power and let a bulb cool before handling it, keep tests external, and change only one simple variable at a time.
Stop at heat, burning odor, crackling, buzzing, sparks, shocks, a damaged fixture, or repeated breaker trips. Leave sockets, switches, outlets, fixtures, and panels closed, then call a licensed electrician; involve the utility when the whole home and nearby properties are affected. That boundary keeps a small lighting nuisance from becoming a risky repair attempt.