How to Repot Aglaonema Red Valentine: Pot Size, Soil
How to Repot Aglaonema Red Valentine: Pot Size, Soil, and Timing
How to Repot Aglaonema Red Valentine: Pot Size, Soil, and Timing
Why Red Valentine Repotting Is Different From Other Houseplants
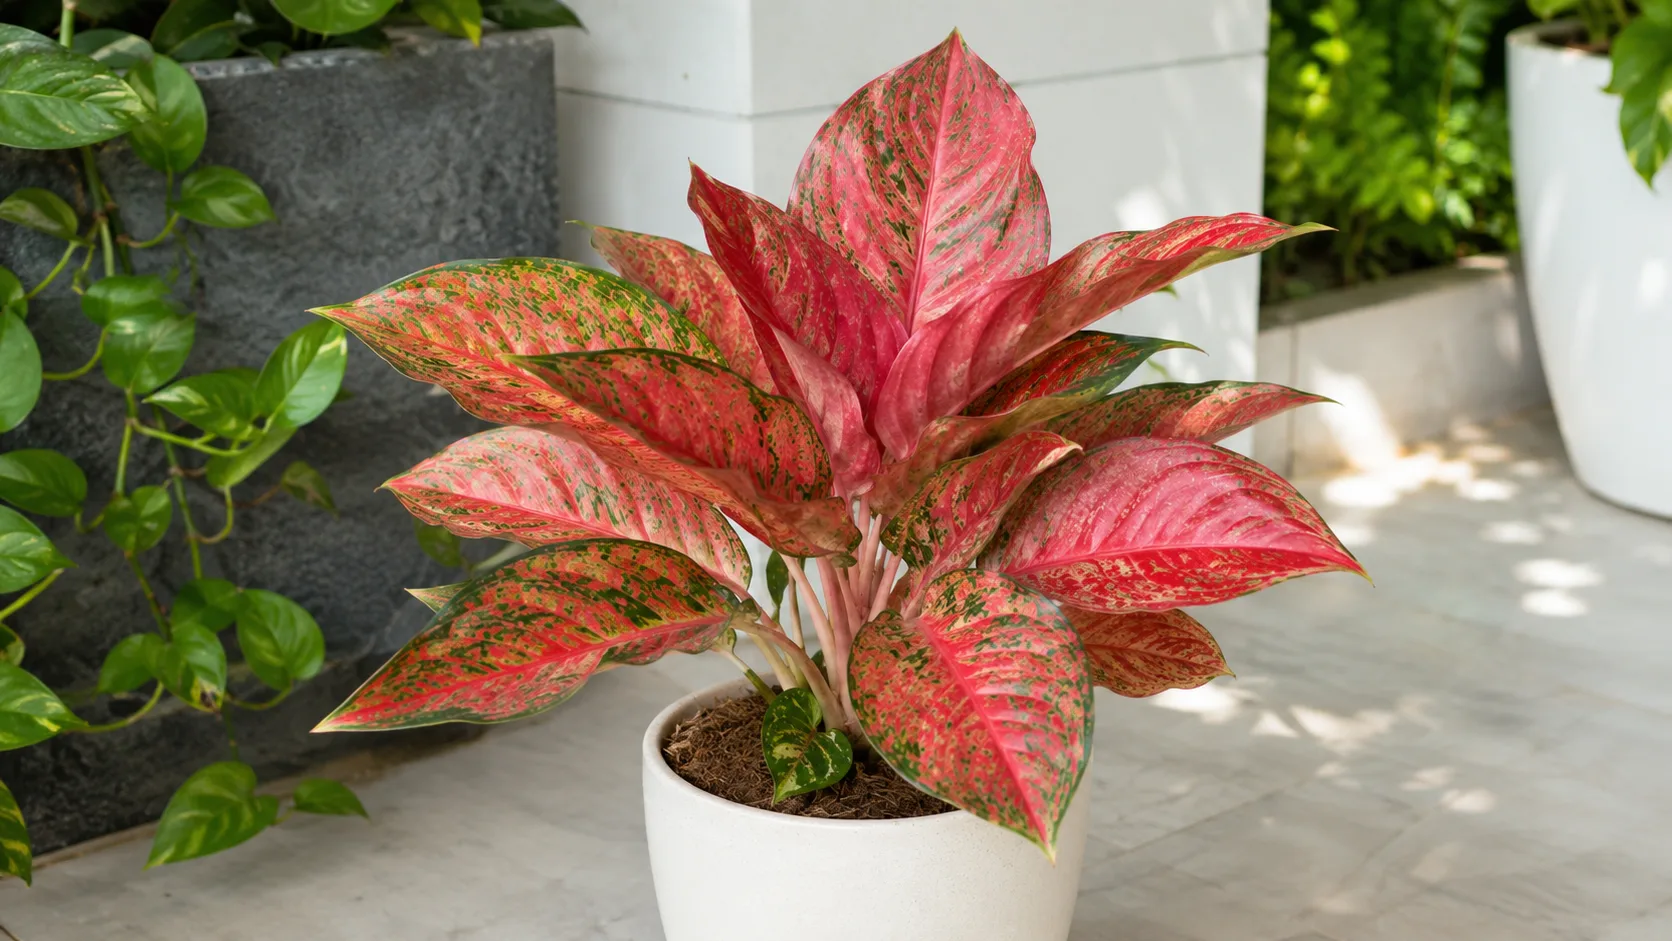
Aglaonema ‘Red Valentine’ is a pink-and-green variegated selection of Aglaonema commutatum, a slow, clumping aroid in the arum family (Araceae). Repotting this cultivar is not the same as repotting a generic Chinese Evergreen, and the differences are not cosmetic. Three traits specific to Red Valentine change the decision-making.
The first is growth speed. Red Valentine is a moderate-to-slow grower, which is generous in some ways - it does not need a new pot every year - but unforgiving in others, because root recovery after a bad repot is slow. According to multiple houseplant specialists, including the Missouri Botanical Garden’s guidance on aglaonema and the University of Florida IFAS Extension’s tropical foliage plant notes, the genus prefers to be slightly root-bound and resents frequent disturbance. Red Valentine inherits that.
The second trait is variegation. The pink and red areas on the leaves contain less chlorophyll than the green. The plant leans heavily on its root system to keep that coloration going through the seasons. A poorly timed or sloppy repot - wrong pot size, soggy mix, root damage without recovery time - will show up first as color fade and stalled new growth, not as a dramatic wilt.
The third trait is the cultivar’s tolerance window for moisture. The species A. commutatum prefers a uniformly moist but never waterlogged substrate. In a pot that is too large, the substrate stays wet for too long, the root hairs suffocate, and the plant drops leaves or pushes out weak, pale growth. In a pot that is too small, the substrate swings from wet to bone-dry before you can react. Red Valentine sits squarely in the middle of that moisture window, which is why a careful repot matters more here than it does for a tolerant, fast-growing aroid like a pothos or a heartleaf philodendron.
All of this means that “repotting” for Red Valentine is really three decisions, made in order: when to repot, which pot to put it in, and what mix to use. Get those right and the actual hands-on work is a ten-minute job. Get any of them wrong and the plant can take months to forgive you.
When to Repot Aglaonema Red Valentine
The 2–3 Year Rhythm
Most aglaonemas - Red Valentine included - do well on a 2–3 year repot cycle. Some mature, slow-growing specimens in small pots can stretch that further if the substrate is still draining well and the roots have not filled the container. The lower end (every 2 years) is a sensible default for plants in 4–6 inch nursery pots that are still in active growth; the upper end (3 years or slightly longer) is fine for plants that have reached their mature size and just need a substrate refresh rather than a true size-up.
A substrate-only refresh - same pot, fresh mix, same root pruning - counts as a “repot” for the calendar, even if you are not going up in size. This is the most overlooked version of the task. After two to three years in the same mix, organic components like peat, coco coir, and pine bark break down, fine particles migrate into the pore spaces, and the substrate holds more water and less air than it did when fresh. A Red Valentine sitting in tired, compacted mix behaves like a plant in a pot that is too large, even when the pot is technically the right size. Refreshing the mix every couple of years is often more valuable than sizing up.
Root-Bound Signs to Watch For
Repot on observation, not on the calendar. The clearest signals that a Red Valentine is ready for either a size-up or a substrate refresh:
- Roots emerging from the drainage holes. Not a few threadlike roots after a long time in the pot - that is normal. A visible, dense root mat pushing out of the holes, especially if it has been there for months, is a real signal.
- Roots circling the surface of the substrate. You will see pale, tan, or whitish roots pressed against the inside of a transparent nursery pot, or curled around the top of the substrate near the stem. Aglaonema roots are thick and white-to-tan; they look distinctive once you have seen them.
- Water running straight through. You water thoroughly, the water exits the drainage hole almost immediately, and the substrate is dry again within a day or two. This is the substrate behaving like a thin layer of marbles around a root ball - the water has nowhere to soak, because the roots have taken up all the pore space.
- Top-heaviness. A mature Red Valentine tipping its nursery pot because the canopy has outpaced the root ball’s grip on the substrate.
- Stalled or shrinking new growth. Smaller new leaves, longer intervals between leaves, and a slight overall loss of turgor even when the Aglaonema Red Valentine watering guide has not changed.
- Compacted, sour, or degraded substrate. The mix has visibly broken down - it looks dark, dense, and smells a little sour, or water sits on the surface for several seconds before it soaks in.
Do not repot just because you saw a single root tip in the drainage hole. Look for at least two of these signals together, and check them in context with the season. A single signal in early winter is not the same as the same signal in early spring.
Best Season for Repotting Aglaonema Red Valentine
The best time to repot Red Valentine is at the start of its active growth period - spring, or early summer in the warmest indoor conditions. At that point, root metabolic activity is peaking, the plant is producing new leaves, and it can recover from any root disturbance quickly. A Red Valentine repotted in March or April usually pushes a fresh leaf within a few weeks. The same plant repotted in November may sit, stalled, for two months or more.
The University of Florida IFAS Extension and the Royal Horticultural Society both recommend spring as the default repot window for tropical foliage houseplants for this reason. Red Valentine is no exception. If you are between cycles - the plant is clearly root-bound in autumn, for example - it is generally better to repot and accept a slower recovery than to leave the plant in a degrading substrate through the winter. But the default answer, when you have a choice, is spring.
Avoid repotting during a heat wave or a cold snap. A stressed plant in extreme temperatures is a poor candidate for the additional stress of root disturbance.
Choosing the Right New Pot
Size Up: Why Only 1–2 Inches Wider
The single most important rule of aglaonema repotting is to go up only 1–2 inches (about 2–5 cm) in pot diameter. A Red Valentine in a 6 inch (15 cm) nursery pot goes into a 7 or 8 inch (17–20 cm) pot, not a 10 inch (25 cm) pot.
The reason is not about giving the roots “room to grow” - it is about substrate volume relative to root volume. In a pot that is too large, the substrate holds far more water than the current root system can absorb in a reasonable time. The substrate stays saturated, oxygen diffuses out of the pore spaces, and the roots closest to the bottom of the pot start to rot. root rot on Aglaonema Red Valentine is the leading cause of post-repot decline in aglaonemas, and oversized pots are the leading cause of root rot. Multiple authoritative sources, including the Missouri Botanical Garden and the Royal Horticultural Society, repeat the 1–2 inch rule for this exact reason.
The 1–2 inch rule applies to the diameter of round nursery pots. For a square or rectangular decorative pot, the equivalent is roughly 2.5–5 cm more in each direction. A “two sizes up” jump is a common mistake; it can take a healthy Red Valentine two growing seasons to fill the new substrate, and in that time the root system is sitting in substrate that is wetter than it wants.
There is one exception: if you are doing a substrate-only refresh and keeping the same pot, the size does not change. Trim the root ball back gently, refresh the mix, and put the plant back into the same container. This is the right call when the substrate has degraded but the plant is not actually root-bound.
Pot Material: Terracotta, Glazed Ceramic, Plastic, or Fabric
All four common pot materials work, with trade-offs.
Unglazed terracotta is breathable. It wicks moisture out through the sides, which is a useful safety margin for an overwaterer and a problem for an underwaterer. In a dry, warm home, terracotta dries out the substrate faster than Red Valentine prefers, and the variegation can fade under chronic low moisture. In a humid home or for a heavy-handed waterer, terracotta is forgiving.
Glazed ceramic holds moisture longer. It does not breathe, so the substrate stays wet for a longer interval after watering. The plant’s watering rhythm in a glazed pot is different from what it was in a nursery pot, and you will need to recalibrate. Glazed ceramic is a good choice in dry homes.
Plastic nursery pots (the standard 4–6 inch black or green pots most plants ship in) are fine for short-to-medium-term use. They are cheap, light, and they hold moisture predictably. They are not the most beautiful decorative option, so most growers either keep the plant in the nursery pot inside a decorative cachepot or upgrade to a ceramic or terracotta pot.
Fabric grow bags / smart pots air-prune the roots, which produces a denser, more fibrous root system. They dry out fast. They are excellent for growers who tend to overwater and for outdoor or greenhouse settings, and they are usually too aggressive for typical indoor Red Valentine care unless you water more frequently.
The material matters less than the drainage and the size. A well-drained, 1–2 inch larger pot in any of these materials will outperform a poorly drained, oversized pot in the “ideal” material.
Drainage Holes Are Non-Negotiable
Red Valentine cannot sit in standing water. The substrate must drain freely, and the only way to guarantee that with a normal pot is to have drainage holes in the base. The general rule is that the drainage holes should occupy at least 5–10% of the base surface area, ideally closer to 15%. A single small hole in a 10 inch pot is not enough.
If you want to use a decorative pot without holes - a cachepot - keep the plant in a draining nursery pot inside it, and empty any runoff from the cachepot within 15 minutes of watering. A plant sitting in a closed cachepot full of runoff is a root-rot timeline.
Building the Right Soil Mix for Red Valentine
The Aroid-Style Mix That Works
Red Valentine is an aroid. Its wild relatives in the tropical and subtropical forests of Asia and New Guinea grow in a thin, organic layer on top of mineral soil, with decomposing bark and leaf litter around them. The right indoor mix mimics that: airy, chunky, well-draining, with enough organic matter to hold moisture through the day but not so much that the substrate compacts.
A reliable, repeatable starting mix for Red Valentine is:
- 2 parts high-quality indoor potting mix (peat-based or coco-coir-based; avoid heavy “garden soil” or “all-purpose” outdoor mixes, which compact quickly)
- 1 part perlite or pumice (drainage and pore stability; perlite is lighter, pumice is heavier and does not float)
- 1 part orchid bark or pine bark fines, ¼–½ inch chunks (aeration, slow organic matter, microbial habitat)
- ½ part worm castings or screened compost (slow-release nutrients and beneficial microbes)
- Optional: a small handful of activated charcoal (helps buffer the substrate against pH swings and may reduce the risk of fungal bloom in the surface layer)
This mix is sometimes called an “aroid mix” or “chunky tropical mix.” It drains in seconds, holds air in the root zone, and dries on a predictable rhythm. Pre-bagged “tropical” or “houseplant” mixes are a reasonable starting point, but most of them lean heavy on peat and benefit from a 20–30% perlite + bark addition to mimic the chunky texture Red Valentine prefers.
The substrate pH should sit in the slightly acidic to neutral range, roughly 5.5–7.0. Most peat- or coir-based indoor mixes fall inside that range without adjustment. The University of Florida’s commercial production guide specifies a media pH of 6.0 to 6.5 for Aglaonema, which falls comfortably inside that band. If you are using coco coir (which can run slightly alkaline in some sources), a small amount of pine bark or peat will pull the pH back into the target band.
Optional Amendments for Variegated Cultivars
Red Valentine’s pink and red leaf sections have less chlorophyll than the green sections, so the plant is more dependent on efficient nutrient uptake than a fully green cultivar would be. Two amendments are worth considering:
- A small amount of worm castings (5–10% of the mix by volume) provides a slow, low-burn source of nitrogen and a healthy microbial community. This is especially helpful in the first 6–8 weeks after repot, when the root system is recovering and you do not want to push it with synthetic fertilizer.
- A pinch of kelp meal or a dilute kelp supplement at the first post-repot watering can help root regeneration. It is not required, and most growers skip it; it is the kind of detail that matters in a recovery situation, not in a routine repot.
What you should not add: garden soil, sand, fresh uncomposted bark, or moisture-retaining crystals. Garden soil and sand compact. Fresh bark steals nitrogen as it decomposes. Crystals push the substrate toward the wetter side of Red Valentine’s moisture window, which is exactly the side you want to avoid.
The Step-by-Step Repotting Process
Prepping the Plant 24 Hours Before
Water the Red Valentine thoroughly 12–24 hours before the repot. A well-hydrated plant handles root disturbance better than a dry, stressed one, and a moist substrate holds together as a root ball rather than crumbling into dust the moment you tip the pot. Skip this step and you will spend half the repot chasing dry substrate off the roots.
Gather your materials before you start: the new pot, the substrate mix, a clean sharp knife or sterile pruning shears, a chopstick or pencil for settling the substrate, a mesh or coffee filter to cover the drainage holes, a watering can with room-temperature water, and a workspace covered with newspaper or a tray. Have everything within arm’s reach - once the roots are out of the pot, you do not want to leave them exposed to air longer than necessary.
Removing, Inspecting, and Teasing the Root Ball
Turn the pot on its side. Hold the plant gently at the base of the stems, with one hand cupping the substrate surface. Tap the rim of the pot against the edge of the bench, or squeeze a flexible nursery pot to break the root grip. The plant should slide out with a firm tug at the base of the stems; if it resists, more squeezing and tapping, not more force.
Once the root ball is out, shake off loose old substrate and look at the roots. Healthy aglaonema roots are firm, white to pale tan, and slightly thick. Roots in trouble are brown or black, soft or mushy, and often smell sour. If you see mostly healthy roots with a few circling around the outside of the root ball, you are in the “needs a size-up” case. If you see mostly healthy roots and a substrate that has clearly broken down, you are in the “substrate refresh” case.
Tease the root ball gently. For a substrate refresh, you want to remove as much of the old mix as possible without tearing the roots apart. For a size-up, you only need to loosen the outer roots - specifically, gently separate the circling roots at the bottom and the sides so they will grow out into the new substrate rather than continuing to circle the shape of the old pot. A chopstick is a useful tool for this. Work from the bottom of the root ball upward, teasing outward.
This is also the moment to consider division if your Red Valentine has produced offsets (pups) at the base. Each offset with its own roots can be separated and potted independently, which is a free plant. Do not divide a stressed plant or a plant that is being repotted primarily for recovery - division adds root trauma on top of the pot transition. Divide only when the plant is healthy and you have a clear, obvious offset.
Light Root Pruning: When and How
Light root pruning is appropriate in three situations: the plant is genuinely root-bound with a tight circling root mass, the roots show signs of rot, or the plant is going back into the same pot and the root ball needs to be reduced to make room for fresh substrate.
Use a clean, sterilized blade. Wipe it with isopropyl alcohol before you start, and again between plants. Cut away roots that are black, brown, mushy, papery, or smell sour. For a heavily circling root mass, make three or four vertical slashes about ¼ inch (6 mm) deep into the bottom of the root ball. This is sometimes called “butterflying” the root ball, and it tells the plant that it is no longer constrained, so it pushes out new lateral roots into the new substrate.
Do not remove more than 20–25% of the root mass in a single repot. The plant needs the remaining roots to take up water and anchor itself in the new pot. Heavy root pruning is a recovery event, not a routine step.
Post-Repot Care and Avoiding Transplant Shock
Transplant shock is the most common post-repot problem with Red Valentine, and it is also the most preventable. It typically shows up as wilting, drooping, slight leaf yellowing, or a general “sad” look in the first 7–14 days. The Royal Horticultural Society and most university extension services place the typical recovery window at 7–14 days for tropical foliage plants, with full turgor restoration often taking a little longer.
The protocol that works:
- Water once, lightly, immediately after the repot. The goal is to settle the substrate around the roots, not to soak the pot. Run water through the substrate until it just begins to drain from the bottom, then stop. Do not flood.
- Hold off on a second watering until the top 1–2 inches of substrate dry out. A newly repotted plant is using less water than usual because the root system is reduced and the canopy is still in recovery mode. Watering to the same rhythm as before the repot is the fastest way to cause rot.
- Place the plant in bright, indirect light. Not dark, not direct sun. The leaves need light to drive the recovery, but the reduced root system cannot keep up with the water demand of a high-light location. A north- or east-facing window, or a few feet back from a south- or west-facing window, is the target.
- Maintain stable temperature in the 65–80°F (18–27°C) range. Avoid drafts from air conditioners, heaters, and open windows. The lower end of the range is better than the upper end while the plant is recovering.
- Skip fertilizer for 6–8 weeks. Fertilizer salts burn the raw, exposed root tips. Resume feeding only when you see clear new growth - a tightly rolled new leaf spear emerging from the center of the plant is the classic “recovered” signal.
- Do not prune wilted leaves immediately. They often rehydrate once the root hairs regenerate. A leaf that is still partially green is still contributing to the plant. Prune only leaves that are fully yellow, brown, or papery.
- If wilting is severe, build a humidity tent. A clear plastic bag loosely over the canopy, with a small gap at the bottom for airflow, traps humidity and signals the leaf stomata to close, reducing water loss while the roots heal. Open the bag for a few hours after 7–10 days; if the plant stays upright, the root hairs are regenerating and you can remove the tent.
By the third or fourth week, you should see a new leaf emerging from the center of the plant. That is the sign that the repot has worked.
Common Repotting Mistakes With Variegated Aglaonemas
A few mistakes are specific to variegated cultivars like Red Valentine, and a few are generic to aglaonema but worth flagging because they come up so often.
Going up more than 1–2 inches. Already covered, but worth repeating. The most expensive version of this mistake is repotting a healthy Red Valentine from a 6 inch pot into a 10 inch decorative pot. The plant loses its lower leaves over the next two months as the saturated substrate suffocates the root system, and the variegation dulls in the process.
Watering to a schedule after repot. The number-one post-repot killer. The plant’s water use is reduced; the substrate holds more moisture than it did before; the original schedule is now wrong. Check the substrate with a finger or a chopstick before each watering for the first 4–6 weeks.
Fertilizing during recovery. Same logic. The roots are damaged, the plant cannot use the nutrients, and the salts accumulate in the substrate. Wait until new growth is visible.
Repotting into a pot with no drainage hole. Even the best substrate in a sealed pot will eventually become a swamp. There is no workaround for this in a routine repot. Use a cachepot, use a nursery pot inside a decorative pot, use a drill and add holes - anything other than a sealed decorative pot.
Using garden soil or “all-purpose” outdoor potting mix. Both are too dense for aglaonema roots and break down into a compacted mass within months. They look fine on day one and are a problem by month six.
Repotting during dormancy. Late fall and winter are the wrong window. The plant cannot push new roots, so it cannot recover from the disturbance. The exception is an emergency - severe root rot, broken pot, contaminated substrate - in which case the choice is between a slow recovery now and a probable loss later.
Forgetting to harden the plant back into its normal light. A freshly repotted Red Valentine in a low-recovery-light spot is fine for the first two weeks, but if you leave it there for two months, the variegation will start to fade and the new growth will be leggy. Move it back to its normal bright-indirect spot once it has visibly recovered (new leaf emerging).
Skipping the substrate refresh in the same pot. “I am not going up a size, so I do not need to repot” is a common thought, and it is wrong. Tired substrate is one of the most common causes of slow, chronic decline in mature aglaonemas that have not been repotted in four or five years.
Conclusion
Repotting Aglaonema Red Valentine is a small, specific job done well. The cultivar is slow, variegated, and moisture-sensitive, and it rewards a careful protocol: repot every 2–3 years, in spring or early summer, into a pot only 1–2 inches wider with reliable drainage, in a chunky, well-draining aroid mix. Tease the root ball, prune only what is unhealthy, water lightly to settle the substrate, and then leave the plant in bright, indirect light with stable temperature and no fertilizer until you see new growth.
The mistakes that hurt Aglaonema Red Valentine overview are the same ones that hurt most aglaonemas, just amplified: oversized pots, waterlogged substrate, fertilizer during recovery, repotting out of season. None of them are subtle once you know what to look for, and all of them are avoidable.
The payoff is a plant that holds its pink coloration, pushes out new leaves on a steady rhythm, and tolerates the indoor environment the way the species and the cultivar are designed to. A well-executed repot is the foundation of the next two to three years of growth, and Red Valentine will tell you, fairly quickly, that you got it right.
When to use this page vs other Aglaonema Red Valentine guides
- Aglaonema Red Valentine overview - Start here for whole-plant context before deep-diving this topic.
- Aglaonema Red Valentine problems hub - Jump to symptom-specific fix guides when this care topic does not resolve the issue.
- Root Rot on Aglaonema Red Valentine - Escalate here when repotting adjustments are not enough.