How to Grow Winter Onions
Learn how to grow winter onions: choose a hardy type, time fall planting, protect the bed, and harvest greens or bulbs in spring and early summer.
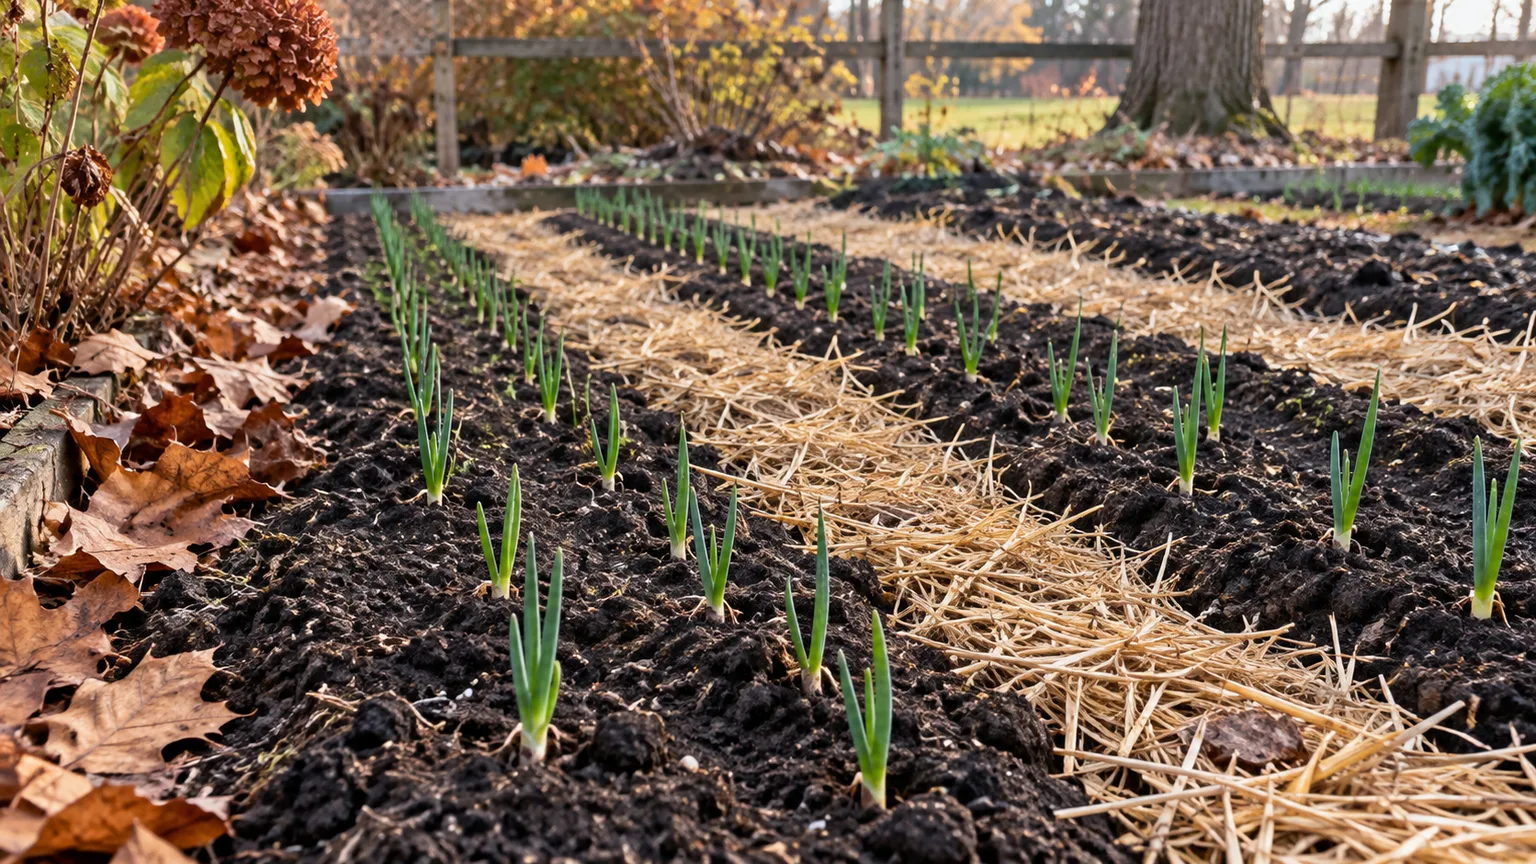
Winter onions are onions planted in fall that establish roots before cold weather, rest or grow slowly through winter, and resume in spring. The name can also refer to perennial multiplier onions that remain in place and make clusters of small bulbs. Either kind can give you an earlier harvest, but the right planting date, variety, and protection depend on what you mean by “winter onion” and how cold and wet your garden gets.
The most reliable plan is to buy a variety sold for overwintering in your region, use your local planting window as a starting point, and prioritize drainage over extra insulation. Fall planting is not automatically successful everywhere: a mild fall can push growth too far, a severe freeze can kill a tender variety, and waterlogged soil can rot bulbs even where temperatures are moderate. The steps below help you match the method to your yard and choose a sensible harvest goal.
What “winter onion” means
“Winter onion” is a gardening term rather than one precise botanical group. It often describes ordinary bulb onions (Allium cepa) sown or planted in fall so they overwinter as young plants and produce green shoots or bulbs the following year. Some seed catalogs use “overwintering onion” or “fall-planted onion” to distinguish these cultivars from spring-planted types.
The same phrase is sometimes applied to perennial onions, especially potato or multiplier onions and Egyptian walking onions. Multiplier onions divide underground into a cluster; Egyptian walking onions produce small bulbils at the ends of flowering stalks that can root where the stalk falls. They are useful for repeated green harvests and naturalizing a patch, but they are not interchangeable with a single-bulb storage onion. If your goal is a row of large kitchen bulbs, buy a bulb variety specifically recommended for your climate and fall planting.
Decide whether fall planting fits your winter
Fall-planted onions are most dependable where the soil stays workable long enough for roots to establish and the winter is not so severe that the selected cultivar is killed. In mild and moderate climates, a suitable variety may grow slowly through winter. In colder places, success may depend on cold-hardy genetics, a protected site, drainage, and an insulating mulch or row cover; it may still be less reliable than spring planting.
Use your local extension service or a regional seed grower’s advice before using a zone chart as a promise. Hardiness zones describe average annual extreme minimum air temperatures for perennial plants, not the length of fall, snow cover, soil temperature, freeze-thaw cycles, or whether an onion cultivar can survive a particular bed. A sheltered raised bed in a snowy garden and an exposed wet bed in the same zone can produce different results.
If you want to try fall planting in a marginal climate, make a small test row rather than committing your entire onion space. Keep spring-planted seeds or sets as a backup, and compare survival, bolting, and harvest dates. That side-by-side trial tells you more about your microclimate than a broad calendar recommendation.
Choose onions for your location and harvest goal
Start with the label. Look for wording such as “overwintering,” “fall planting,” or “winter hardy,” and check whether the supplier names the regions where the cultivar has been tested. A cultivar that performs well in a mild southern winter may not be the safest choice in a northern garden, even if both are sold as winter onions.
Think about the harvest you want. A hardy bunching or multiplier type is a good fit if you want leaves and small bulbs over a long period. A fall-planted bulb onion suits a gardener who wants to lift mature bulbs earlier than a spring sowing might provide, but it asks for better timing and winter survival. Saving a few bulbs for replanting can work with multiplying types; it does not guarantee that a named bulb cultivar will remain true to type or store well.
Bulb onions or multipliers
Bulb onions produce one main bulb per plant. They are harvested as scallions when young or left to enlarge until the tops begin to soften and fall. The size and storage quality depend on the cultivar, spacing, day length, water, and how long the foliage remains healthy; a fall start gives them a head start, not a guarantee of a bigger bulb.
Potato onions and other multipliers make several smaller bulbs from one planted bulb. Egyptian walking onions are particularly useful if you want edible greens and bulbils without buying new seed every year. Their persistence is an advantage in a dedicated perennial bed, but it can become a nuisance in a tightly planned vegetable rotation, so keep them where you are comfortable letting them spread.
Match day length as well as cold tolerance
Onions use day length as a cue for bulb formation. Short-day, intermediate-day, and long-day labels describe the approximate daylight threshold that triggers bulbing; they do not simply mean that the plant prefers a short or long growing season. A variety can survive winter and still make a poor bulb if its day-length type does not fit your latitude.
Check the variety’s recommended region, not just its color or the word “hardy.” The USDA Agricultural Research Service explains that onions are biennials and that cold exposure is involved in flowering, while NC State Extension’s bulb-onion guidance describes how cultivar choice, day length, fall timing, and bolting risk interact in production. Those regional recommendations are useful decision aids, not a universal variety list for every home garden.
Choose between seeds, sets, and transplants
Seeds give you the widest choice of varieties and usually cost less per plant, but they need more time to germinate and grow enough roots and leaves before winter. Direct-sow them in a prepared bed if your fall is long enough; a small, late seedling can be lost to frost or heaving before it establishes. Starting seeds in trays can help control weeds, but moving onion seedlings adds transplant work and they need time to recover.
Sets are small dormant bulbs started the previous season. They are easier to plant at a consistent depth and give you a head start, which is why many gardeners prefer them for fall planting. Choose firm, healthy sets that are sold for autumn or overwintering in your region. Very large sets may be more prone to sending up a flower stalk after cold exposure, so use the size and bolting guidance supplied for that cultivar instead of buying the biggest bulbs available.
Transplants or slips are young green plants. They can save time, but their tops may be damaged by hard freezes and they can dry out while waiting to be planted. Buy them close to planting time, keep their roots moist, and set them promptly. The RHS comparison of onion sets and seeds also notes the practical trade-off: sets are quicker and easier, while seed takes more care but gives a wider variety choice.
Time planting by establishment, not calendar alone
Plant early enough for roots to anchor and the plant to make modest top growth, but not so early that warm weather drives a large, tender top or premature maturity. Seeds need a longer lead than sets because they first have to germinate. A common planning range is to sow seed several weeks earlier than sets, but use a local extension’s dates for your climate and the instructions for your chosen cultivar.
The key deadline is when sustained cold or frozen soil makes new root growth unlikely, not the first cool evening. First frost dates are averages and a light frost is different from a hard freeze. If the seed packet or local guidance gives a planting window, follow it; if you are outside that area, ask the supplier whether the variety is intended to overwinter where you live.
Do not rush just because the calendar says “fall.” Planting too early in still-warm soil can extend active growth and increase the chance of bolting after cold exposure. Planting too late leaves roots shallow and the plant small when freeze-thaw cycles begin. If your region’s fall window has passed, save the packet for spring rather than hoping a late planting will catch up.
Prepare a sunny, well-drained bed
Choose a site with at least six hours of direct sun and soil that drains after rain. Onions have shallow roots, so they struggle when the surface dries completely, but persistent saturation invites bulb and root rot. If water stands in the bed, use a raised bed or a different site; adding more mulch will not correct poor drainage.
Loosen the top several inches of soil and remove stones, weeds, and thick clods that could interfere with small bulbs. Add finished compost if the soil needs organic matter, but do not plant into a rich layer of fresh manure. A soil test is the best way to decide whether lime or a particular nutrient is needed; applying fertilizer by guesswork can waste money and push leafy growth at the wrong time.
Clear perennial weeds before planting because narrow onion leaves compete poorly with aggressive weeds. Set up rows where you can reach between them for shallow hand weeding without disturbing the bulbs. If you use a container, choose one with generous depth and several drainage holes, fill it with a quality potting mix, and plan on additional cold protection because the sides of a pot chill faster than the ground.
Plant seeds or sets at the right depth
Follow the cultivar’s package directions first, since seed size, set size, and regional practice vary. As a practical starting point, direct-sow onion seed in a shallow furrow, cover lightly with fine soil, and keep the surface evenly moist until seedlings emerge. Thin to the spacing recommended for the intended harvest: close spacing can yield scallions, while bulb onions need room for each plant to expand.
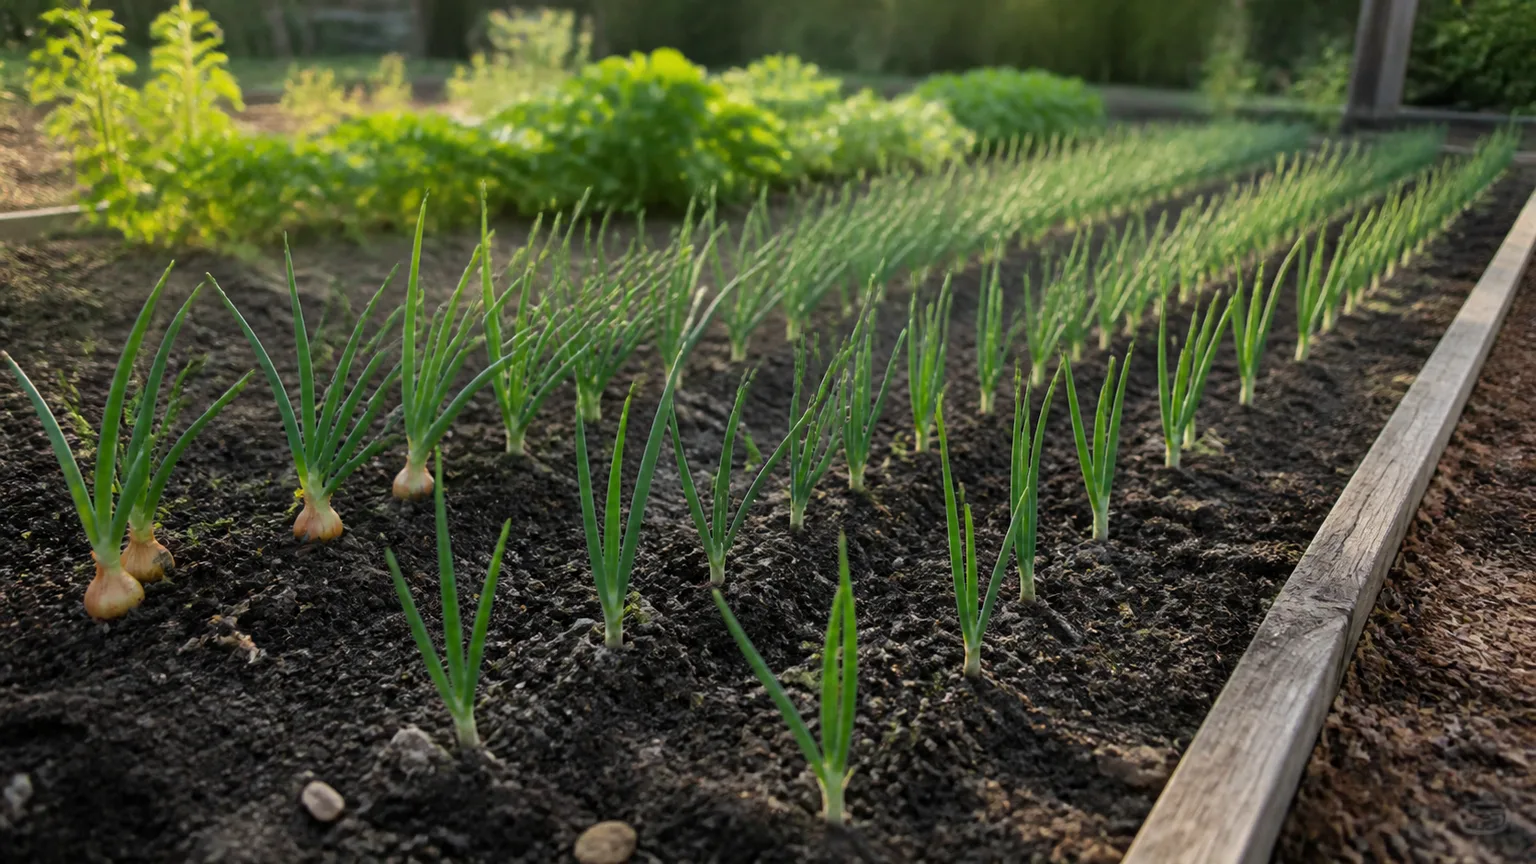
Set bulbs pointed end up, with the base and roots in contact with the soil. Firm soil gently around each one so it cannot rock loose, but do not bury the neck under a deep mound. Many home-garden guides use roughly 4 to 6 inches between bulb onions, with closer spacing for green onions; the Gardener’s Path winter-onion guide gives a similar distinction between bunching and individual-bulb types. Check your packet when growing an unusual cultivar or when sets are unusually large.
Water after planting to settle soil around seeds or roots. If you are planting several rows, leave enough space to weed and harvest without stepping on the bed. Mark each variety with a weather-resistant label; when green shoots emerge months later, this makes it easier to compare which type actually survived and performed well.
Keep growth steady through fall
Keep the seedbed moist, not soggy, while seeds germinate and plants root. After that, water when the upper soil begins to dry and rain has not replenished it. A short, steady watering that reaches the root zone is more useful than frequent splashes that wet only the surface, especially in raised beds that dry faster.
Onions are not dormant the moment the weather cools. Continue checking them and pulling weeds while the bed is workable. Mulch can reduce weed pressure, but leave seedlings enough light and avoid piling wet material over the necks. If fall stays warm and plants grow much larger than expected, do not add nitrogen or rich compost in an effort to push them further; monitor them and use local advice about whether to cover, thin, or leave them alone.
As winter begins, reduce irrigation based on rain, soil moisture, and temperature rather than a fixed schedule. Cold soil uses water more slowly, and wet soil combined with low temperatures is a rot risk. If the top inch remains damp and rain is forecast, skip watering; if a dry spell leaves the root zone dry before the ground freezes, water in the morning so foliage and soil can drain before night.
Protect the bed without trapping moisture
Mulch buffers sudden temperature swings and helps reduce frost heaving, but a thick wet mat over actively growing onions can hold moisture against the neck. Use clean straw, shredded leaves, or another loose garden mulch, and adjust the amount to your climate. A light cover may be enough in a relatively mild area; colder regions may need a deeper insulating layer after plants are established and the soil begins to cool. Do not assume one exact depth works for every winter or cultivar.
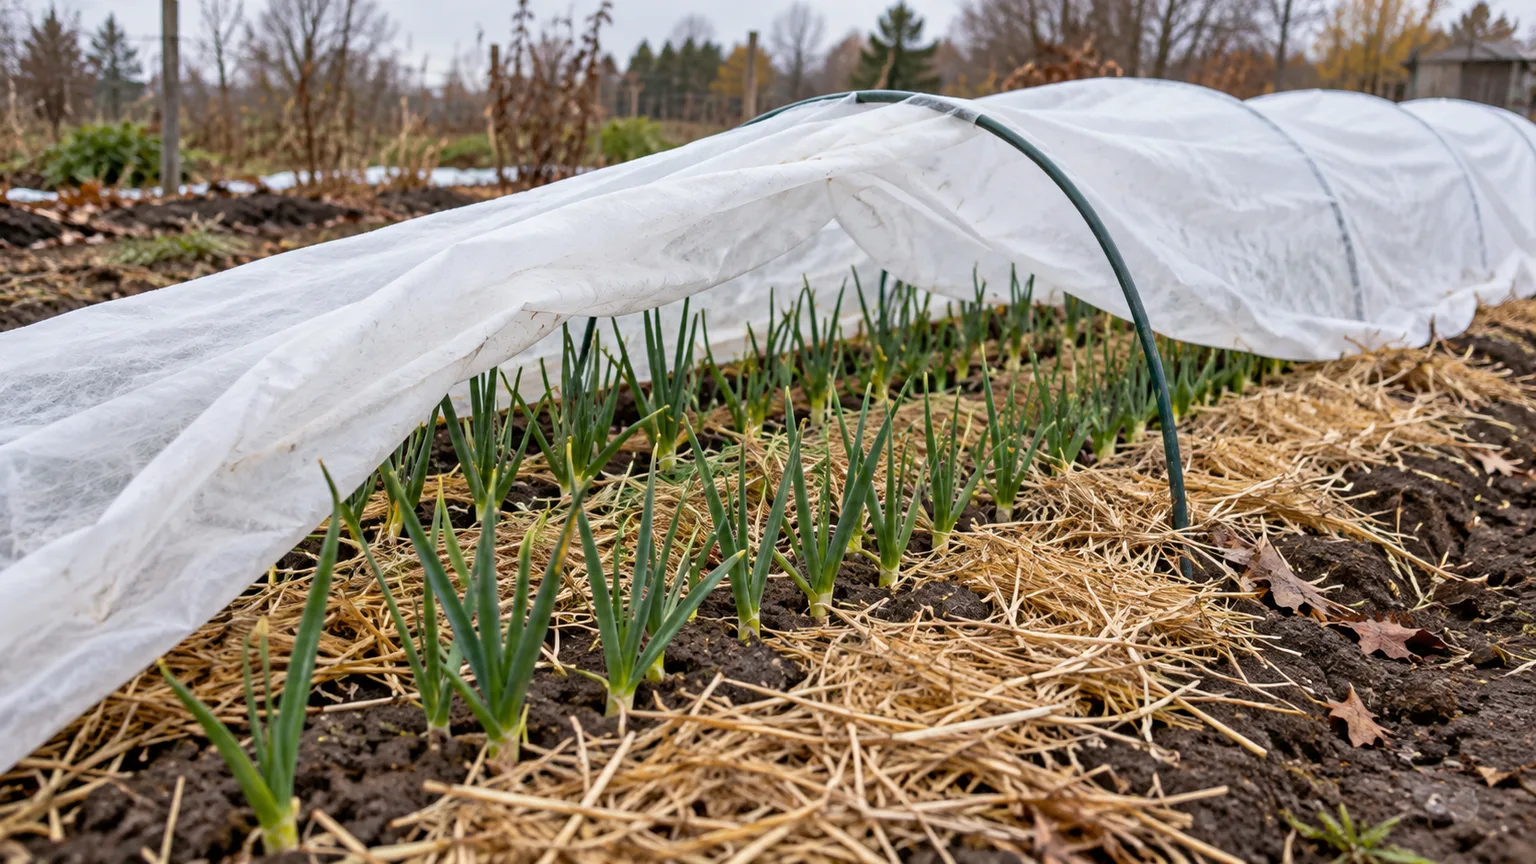
Keep drainage and airflow in mind. If you use leaves, shred or loosen them so they do not form a dense, water-shedding slab. Leave the necks visible or lightly covered rather than packing mulch tightly around the stems. The Gardener’s Path guide to overwintering onions describes gradually increasing straw or leaf cover as winter approaches; the useful principle is to insulate without creating a soggy crown.
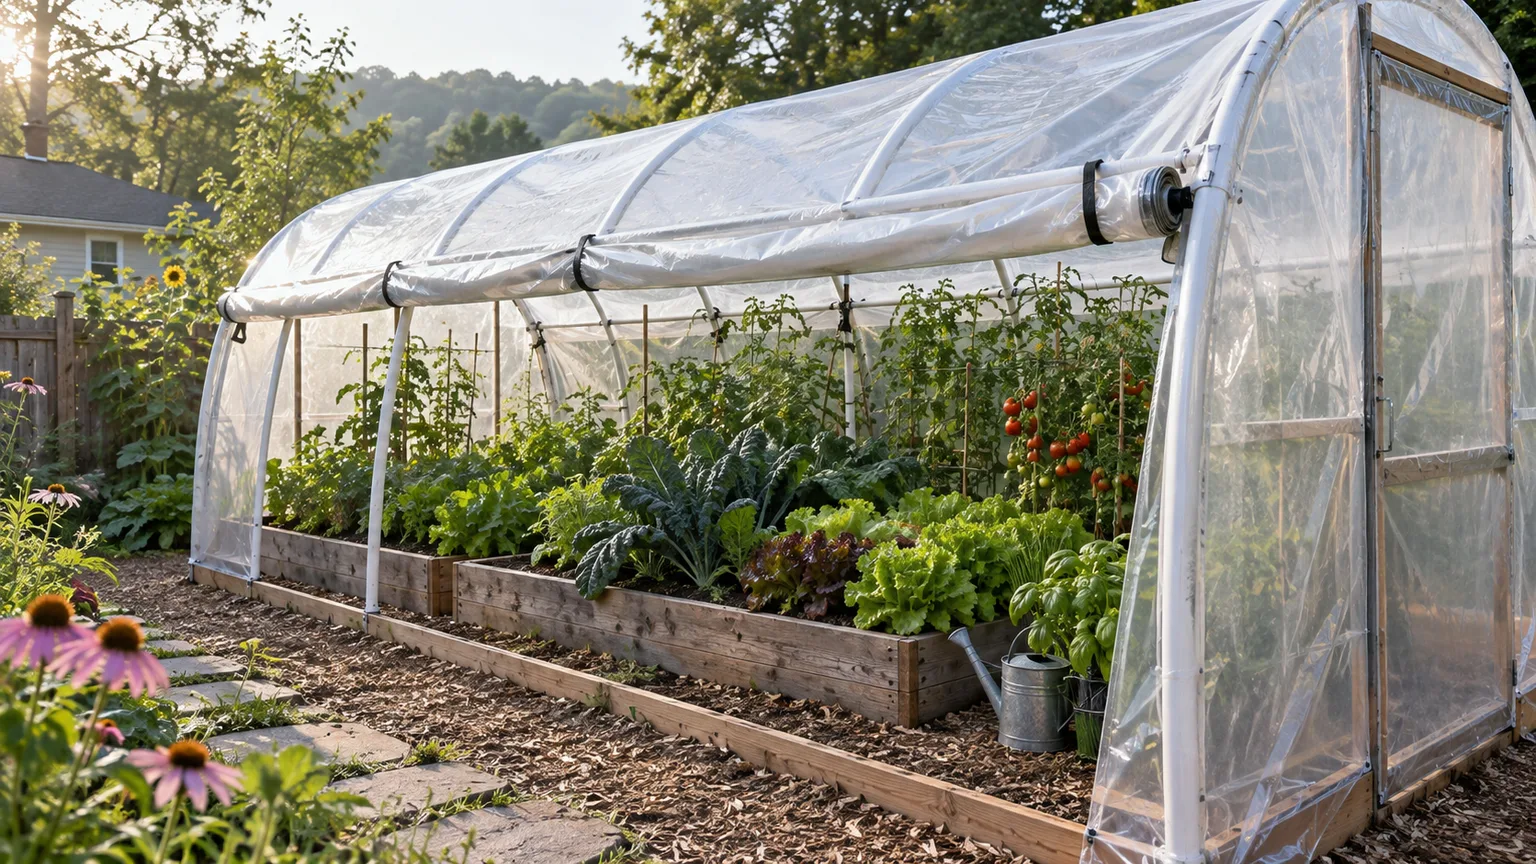
In a cold, exposed garden, a secured row cover or low tunnel can add protection, but it does not make a tender variety hardy. Remove or vent covers during unseasonably warm spells so plants do not overheat or stay damp. After heavy snow, avoid crushing frozen tops while clearing the bed; snow can insulate, and the plants do not need to be exposed for routine winter care.
Containers need more attention than in-ground rows. A pot can freeze through even when the surrounding soil stays workable, so choose a hardy cultivar, use a large container, and move it to a sheltered, unheated location if severe cold is expected. Keep the potting mix just barely moist during dormancy and make sure water can escape. If your winter routinely freezes containers solid, spring planting is usually the lower-risk option.
Restart care in spring and solve problems early
When new growth appears, pull mulch gradually away from the row rather than stripping it all off in one warm afternoon. This exposes the plants to light and allows the soil to warm, while leaving a thin layer between plants to suppress weeds. Resume watering as spring growth accelerates, especially during bulb enlargement; shallow-rooted onions are less forgiving of extended dry spells than their sturdy leaves suggest.
Check the bed for plants that heaved upward, softened at the base, or disappeared. Press a loosened plant back into the soil only if it is firm and the roots remain attached; discard bulbs that are mushy or foul-smelling. Replace gaps with spring-planted sets or seedlings if you have them, understanding that replacements will likely mature later than the overwintered row.
Diagnose the four common outcomes
A flower stalk rising from the center is bolting. Cold exposure after a plant has grown past the cultivar’s safe stage, planting too early, oversized sets, and variety choice can all contribute. Cut or snap the stalk if you want to keep using the bulb, then harvest it sooner because the neck will not cure as well for storage; cutting the scape does not reverse bolting.
Soft, collapsing plants usually point to rot, winter injury, or both. Improve drainage, remove affected plants, and avoid adding more water or tightly packed mulch. If the remaining plants are firm and begin growing, leave them in place and watch for new damage rather than pulling the whole row.
Small bulbs can result from a day-length mismatch, crowding, a late planting, weed competition, drought during active growth, or loss of healthy leaves. Look at the pattern: evenly tiny bulbs across the row suggest a cultivar or timing issue, while a few small plants beside larger ones often point to competition or local soil differences. Adjust one factor at a time next season so you can tell whether the change helped.
Yellowing outer leaves alone do not mean the crop is lost; older leaves naturally decline, and frost can mark foliage. If the newest leaves continue to grow and the bulb bases remain firm, the plant may still be healthy. If yellowing moves rapidly through the row or comes with spots, twisted leaves, insects, or a soft neck, compare the symptoms with a local extension diagnosis before using any pesticide.
Harvest green onions and mature bulbs
You can harvest a few leaves as scallions once plants are established and large enough to spare them, but avoid cutting every leaf from a plant you want to produce a bulb. The leaves manufacture the energy that enlarges the bulb, so harvest outer leaves lightly or pull whole plants from a section planted densely for greens. Successive small harvests let the remaining onions keep growing.
For mature bulbs, watch the plants rather than a calendar. A useful maturity signal is that many tops naturally bend over and begin to yellow while the bulb has reached the size you want. Do not flatten green tops to speed them up; forcing them over can injure the neck before the plant has matured. If a plant sends up a flower stalk, use it as a fresh onion rather than waiting for a storage bulb.
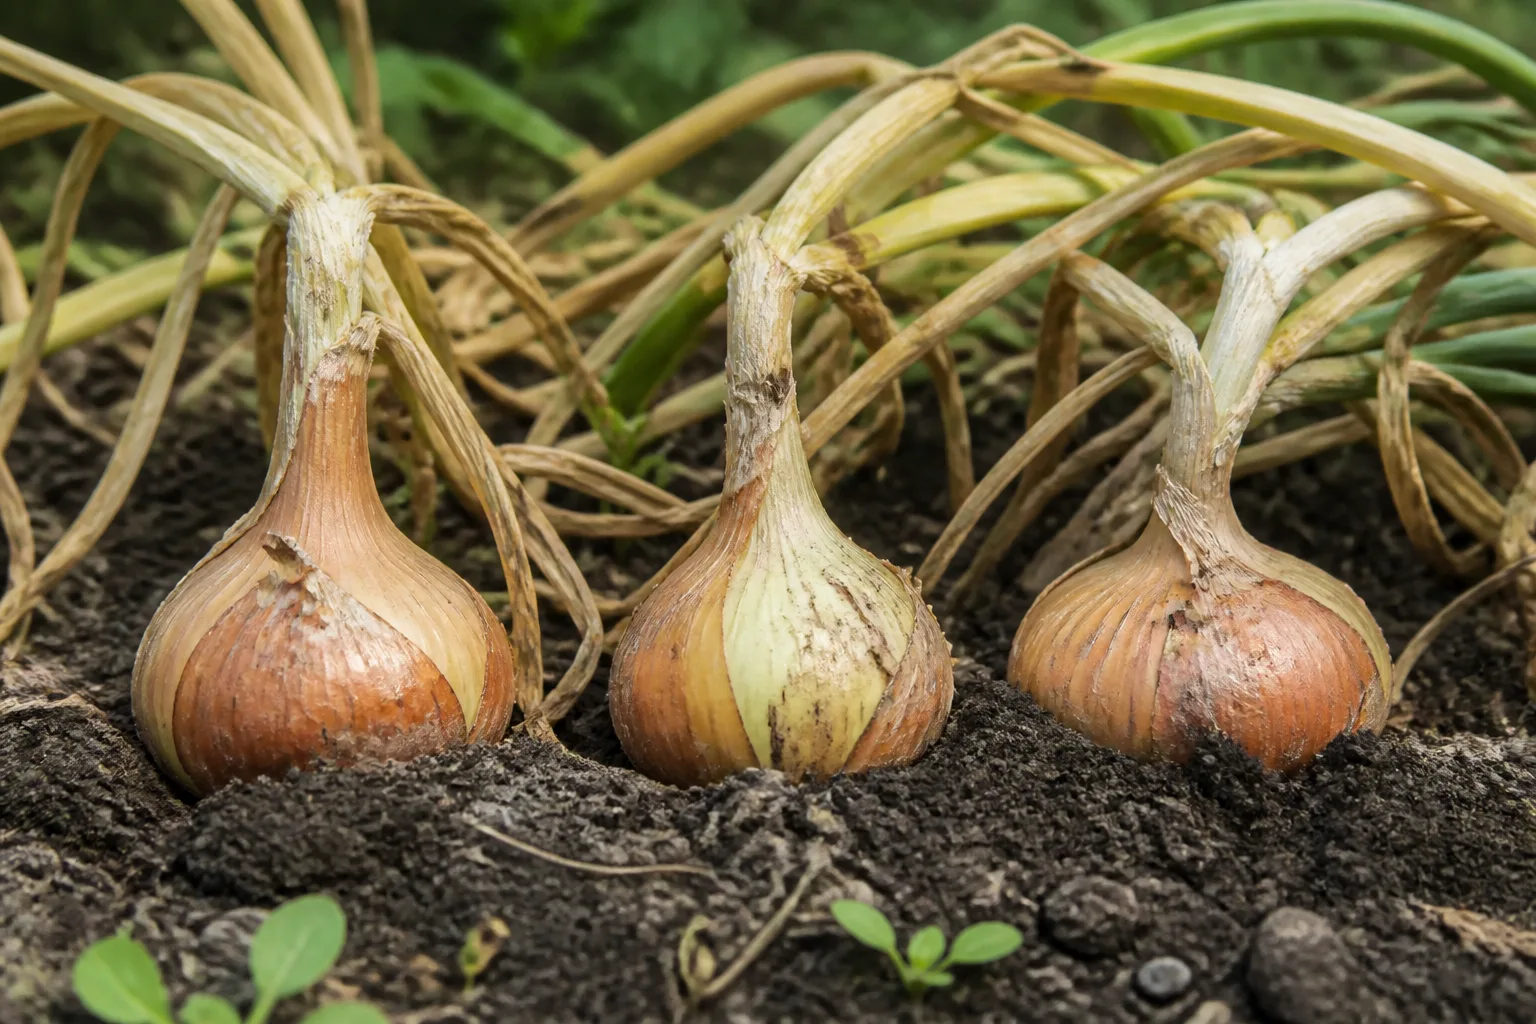
Lift bulbs gently with a hand fork or loosen the soil first, instead of yanking hard on dry leaves. Harvest in dry weather where possible, brush off loose soil, and move bruised or cut onions to the kitchen for prompt use. The RHS onion-growing advice and NC State Extension guidance both treat neck fall as a maturity cue, while weather and variety still determine the exact date in a home bed.
Cure and store the bulbs you want to keep
Freshly lifted onions are not ready for long storage. Cure sound bulbs in a dry, shaded, airy place, spread in a single layer or hung in small bunches where air can circulate. Protect them from rain and strong direct sun, which can overheat or sunscald exposed bulbs. A covered porch, airy shed, or well-ventilated garage may work if it stays dry.
Curing is complete when the necks are dry and closed and the outer skins feel papery. Trim dried tops and roots only after the neck has dried, and do not wash bulbs intended for storage. Use thick-necked, bruised, split, or bolted onions first because they are more likely to decay and do not keep as well.
Store cured bulbs in a cool, dry, ventilated place and check them periodically. A variety’s storage life is genetic: sweet onions and early onions often keep for less time than pungent storage types, no matter how carefully you handle them. Keep multiplier onions separate from single-bulb storage onions if you plan to replant some, and save only firm, healthy bulbs.
Conclusion
To grow winter onions, select a variety described as suitable for fall planting in your region, then give it time to root without pushing excessive fall growth. Plant in full sun and loose, well-drained soil; use seeds when you have a longer establishment window and sets when you need a quicker, easier start. Water during active growth, keep weeds down, and use mulch or a row cover only to the level your winter requires.
Expect some variation from year to year, especially where freeze-thaw cycles or wet winter soil challenge the crop. Start with a modest test planting if overwintering onions are new to your garden, note which plants survive and bolt, and compare them with a spring-planted row. That small experiment will tell you whether winter onions fit your site—and which type is worth planting again.