Why Your Polka Dot Plant Is Leggy and How to Fix It
Find out why a polka dot plant gets leggy, how to move it into brighter light without leaf scorch, and where to pinch or prune for fuller regrowth.
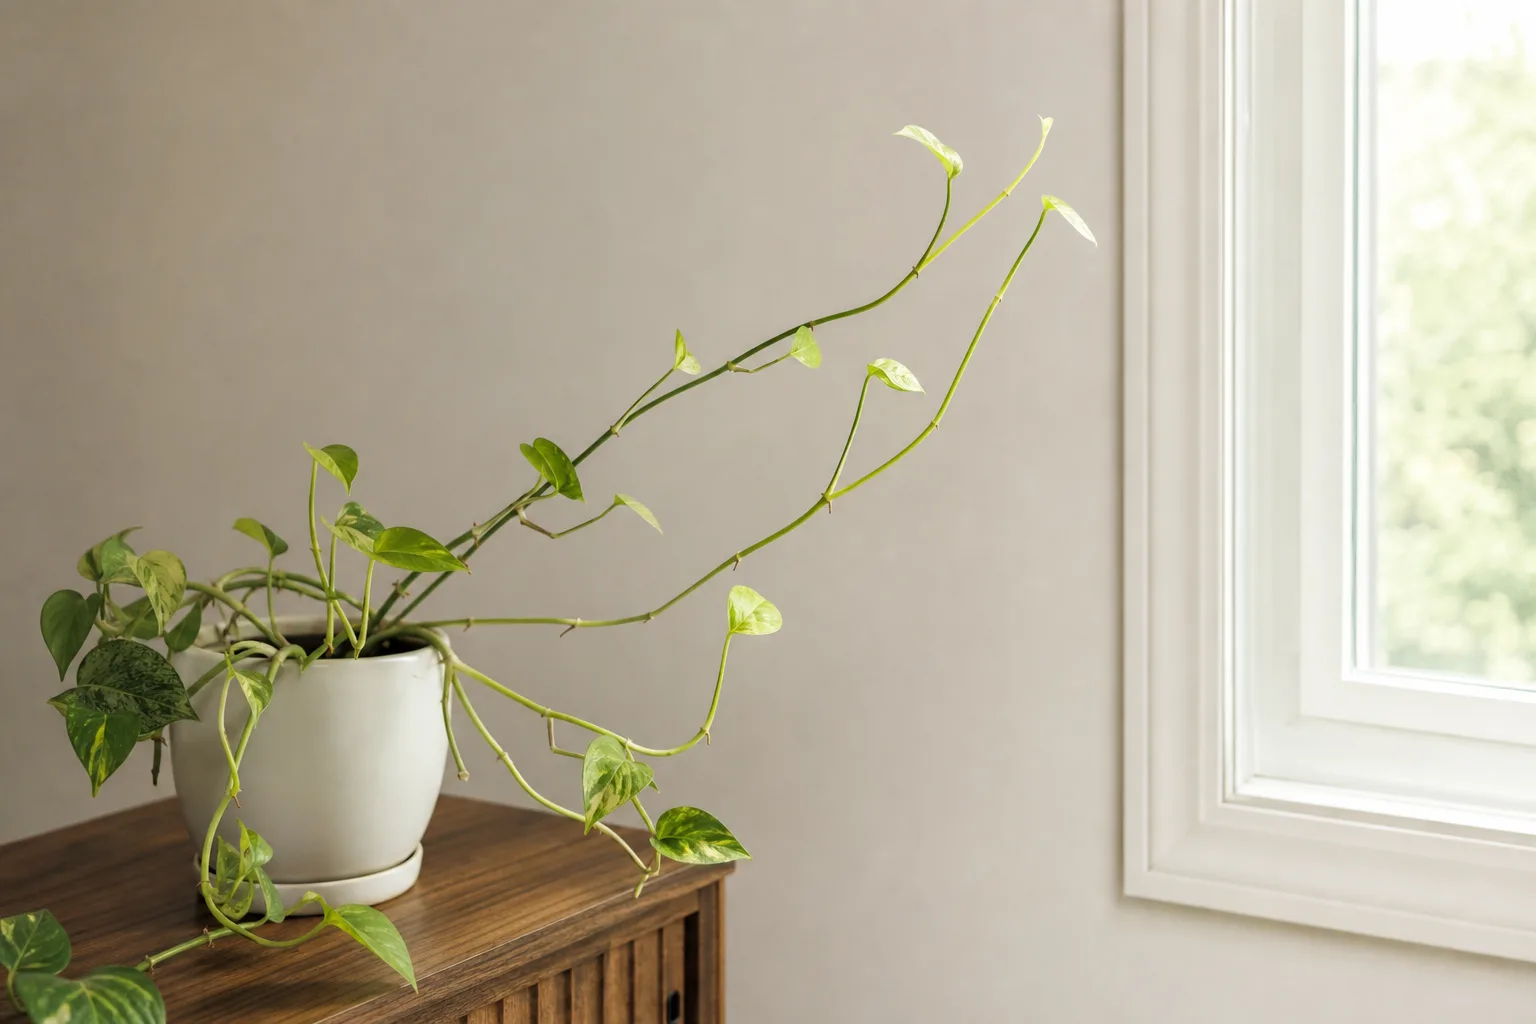
A leggy polka dot plant has stems that grow longer and thinner while the leaves become smaller, farther apart, or concentrated near the tips. In most indoor cases, the plant is reaching for more usable light. The fix is to improve the light first, then pinch or prune the stretched growth; cutting it back without changing the conditions only starts the same cycle again.
You can usually make a polka dot plant look fuller, but the old bare sections will not shrink or fill in evenly. Judge recovery by what happens at the nodes and on new stems over the next few weeks, not by expecting an existing internode to shorten.
Start With the Newest Growth
Look at the last several inches of each stem rather than judging the entire plant at once. Compare newer leaves with older leaves: a light-starved tip often has a longer gap between leaf pairs, a thinner stem, and smaller foliage than the plant produced earlier. If several branches are stretching and leaning in the same direction, low light is a stronger suspect than a single damaged stem.
Check where the plant sits in relation to its window, too. A pot can be in a bright-looking room and still receive weak light if it is set several feet from the glass, behind a sheer curtain, below the sill, or shaded by a building or tree. Turn it slowly and inspect the back side; one-sided stretching often reveals which direction the plant is trying to reach.
Tell Legginess From Normal Growth
Not every tall or open polka dot plant is sick. Hypoestes phyllostachya is a soft-stemmed herbaceous perennial in warm climates, and a mature plant can grow taller than the compact nursery pot you brought home. It may also send up thin flower spikes as it matures. The Missouri Botanical Garden lists it as hardy in USDA Zones 10 to 11 and describes plants grown as annual bedding plants or houseplants elsewhere; that context matters when you decide whether to rejuvenate an older specimen or start fresh. (Missouri Botanical Garden Plant Finder)
Normal growth is more likely when the stems are sturdy, leaf size stays fairly consistent, and new growth does not increasingly lean toward a window. Legginess is a change in pattern: the newest section is thinner, more widely spaced, or paler than the growth below it. Flowering can also make the plant seem taller and less leafy; the Royal Horticultural Society recommends pinching out tall straggly shoots and flower stems to keep the plant low and bushy. (RHS polka dot plant growing guide)
A simple test is to compare two or three new internodes—the stem segments between leaves—with older ones on the same branch. If the recent gaps have lengthened and the plant leans toward one source of light, treat that as stretch. If the spacing is consistent and the plant is simply taller, light may be adequate; use pinching for shape rather than an emergency hard prune.
Why Polka Dot Plants Become Leggy
Low light is the most common reason, but it is useful to separate the primary cause from factors that only make the plant look weaker. A fading plant with wet soil and collapsing stems needs a root check, not just a sunnier shelf. A plant with only a few tall flowering stems may need pinching and a decision about whether you want foliage or flowers.
Too Little Usable Light
Plants respond to low light by extending growth toward a brighter area. This adaptation can leave a polka dot plant with thin stems and long internodes, even though it continues to make leaves. The RHS specifically associates weak, spindly growth with insufficient bright, indirect light and notes that Hypoestes needs good light for strong leaf color. (RHS polka dot plant growing guide)
Light changes with seasons as well as location. A plant that stayed compact beside a window in summer may stretch after the sun angle changes or daylight hours shorten. If you moved it indoors after a summer outside, the indoor spot may be dramatically dimmer than it looks to you. This is especially common when a plant has been displayed on a table or high shelf several feet from the window.
Flowering, Maturity, and Pinching Habits
Polka dot plants often need occasional pinching to hold a compact shape. The growing tip suppresses nearby buds from branching; removing that tip can encourage side shoots, provided the plant has enough light and is actively growing. Missouri Botanical Garden advises pinching the tips to promote bushiness, while the RHS recommends pinching out both straggly shoots and flower stems. (Missouri Botanical Garden Plant Finder)
If the plant is producing small flower spikes, it is in a reproductive phase, not simply failing. You can let it flower if you like the blooms or want seed, but the stems may look taller and the foliage may become less prominent. For a leafy, mound-like plant, remove the spikes and pinch the longest shoots while the stems are still soft.
Water, Roots, and Fertilizer Are Secondary Clues
Water stress can cause drooping and leaf loss, which makes an otherwise compact plant look sparse. It does not usually explain a repeated pattern of long internodes by itself. Feel the mix before watering: if it is wet for days and the plant is yellowing or limp, check drainage and roots; if the mix is bone dry and the plant wilts, water thoroughly and let excess drain.
Fertilizer is not a shortcut for weak stems. Feeding a plant that lacks light can push soft growth without correcting the cause, and heavy nitrogen can make the plant grow quickly without making it sturdier. The RHS recommends feeding during active growth, but first stabilize light and watering; then follow a balanced houseplant fertilizer label at a conservative rate rather than applying extra feed to force fullness. (RHS houseplant growing guide)
Move It to Brighter Light Gradually
Choose the brightest spot that gives the plant good ambient light without prolonged, scorching midday sun. A position close to an east-facing window often works well. In a south- or west-facing window, a sheer curtain or a little distance from the glass can soften intense summer rays; the RHS notes that strong direct summer sun can fade Hypoestes color and scorch leaves, while bright light helps foliage retain its color. (RHS polka dot plant growing guide)
If the plant is currently in deep shade, do not move it straight into several hours of hot direct sun. Shift it closer to the window in stages over several days, watching for bleached patches, crisp edges, or curling on the side facing the glass. A north-facing window can still work if it is bright and unobstructed, but a plant that continues making long, sparse growth there needs a brighter location or supplemental light.
Rotate the pot a quarter turn every week or two if new growth keeps leaning toward one side. Rotation helps distribute light more evenly around the plant, but it cannot replace adequate total light. Epic Gardening’s houseplant guidance also separates moving a plant to stronger light from pruning old growth and cautions against an abrupt jump into intense sun. (Epic Gardening)
Add a Grow Light When a Window Is Not Enough
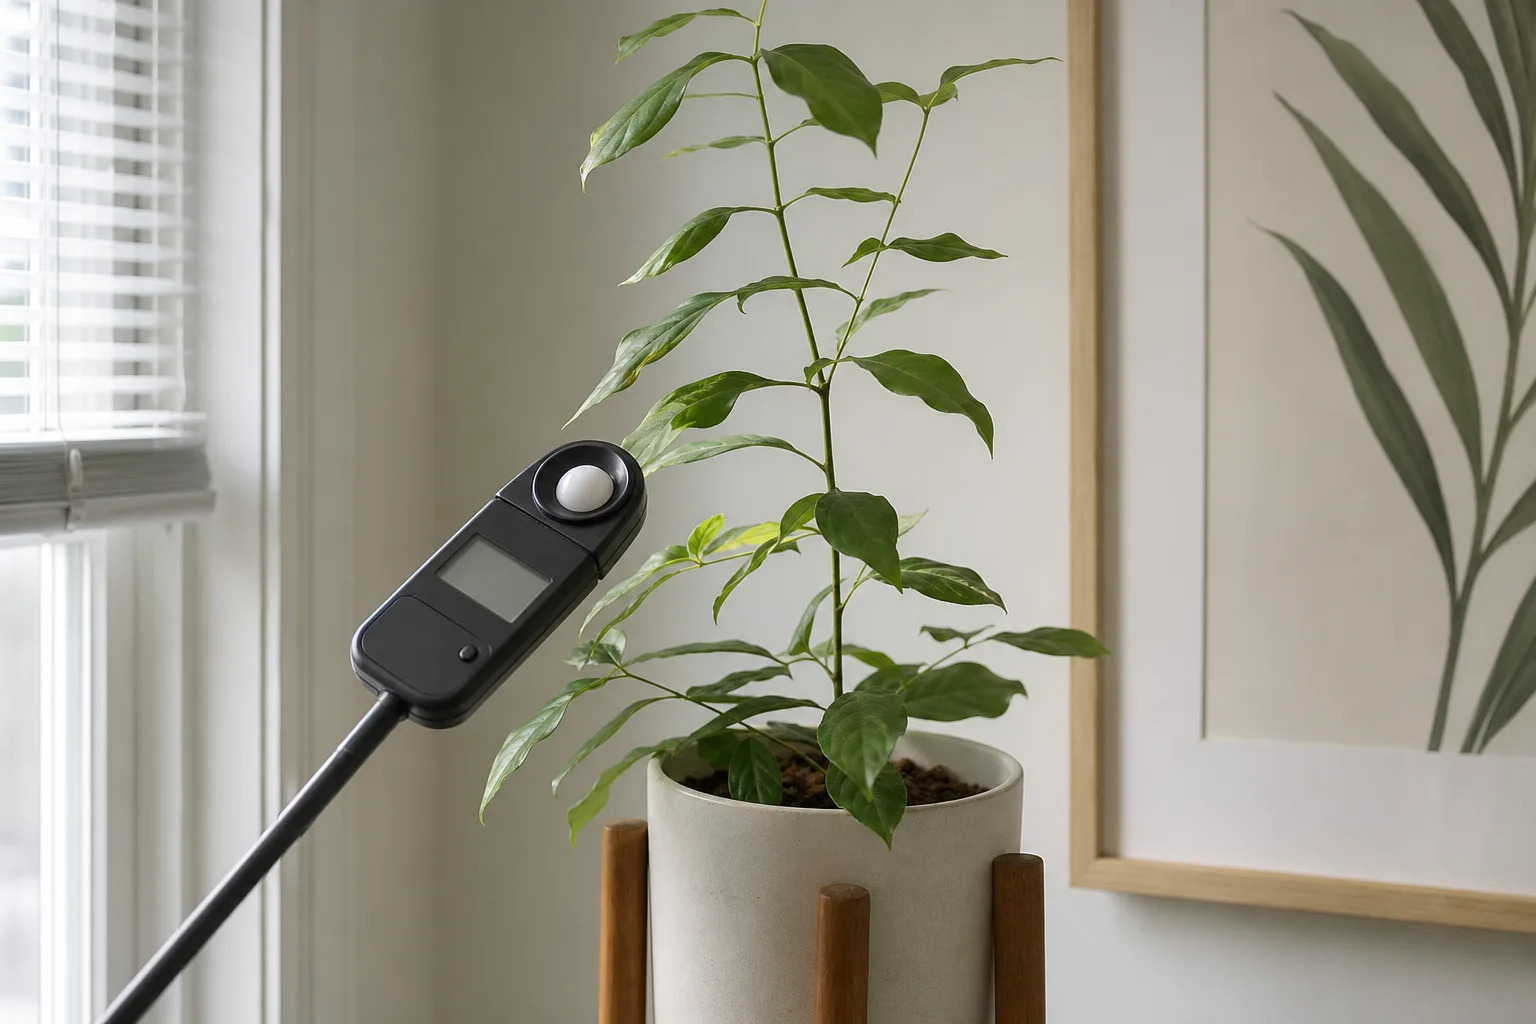
A grow light is useful when every available window is shaded, the days are short, or the plant must sit well back from the glass. A broad-spectrum LED grow light can support new compact growth if it is positioned to illuminate the whole canopy, not just one stem. Use a timer so the plant receives a consistent day and a dark period; leaving a lamp on around the clock is not a recovery strategy.
There is no single correct distance for every fixture. Follow the maker’s guidance for the light’s output and coverage, place the plant so the top leaves are within the effective zone, and check how the leaves respond. If growth still stretches, move the lamp closer or improve coverage; if foliage becomes warm, bleached, or curled, increase the distance or reduce the intensity. A phone light-meter app can help compare two locations, but treat its reading as a rough relative check rather than a plant-specific target.
Stabilize Water and Root Conditions
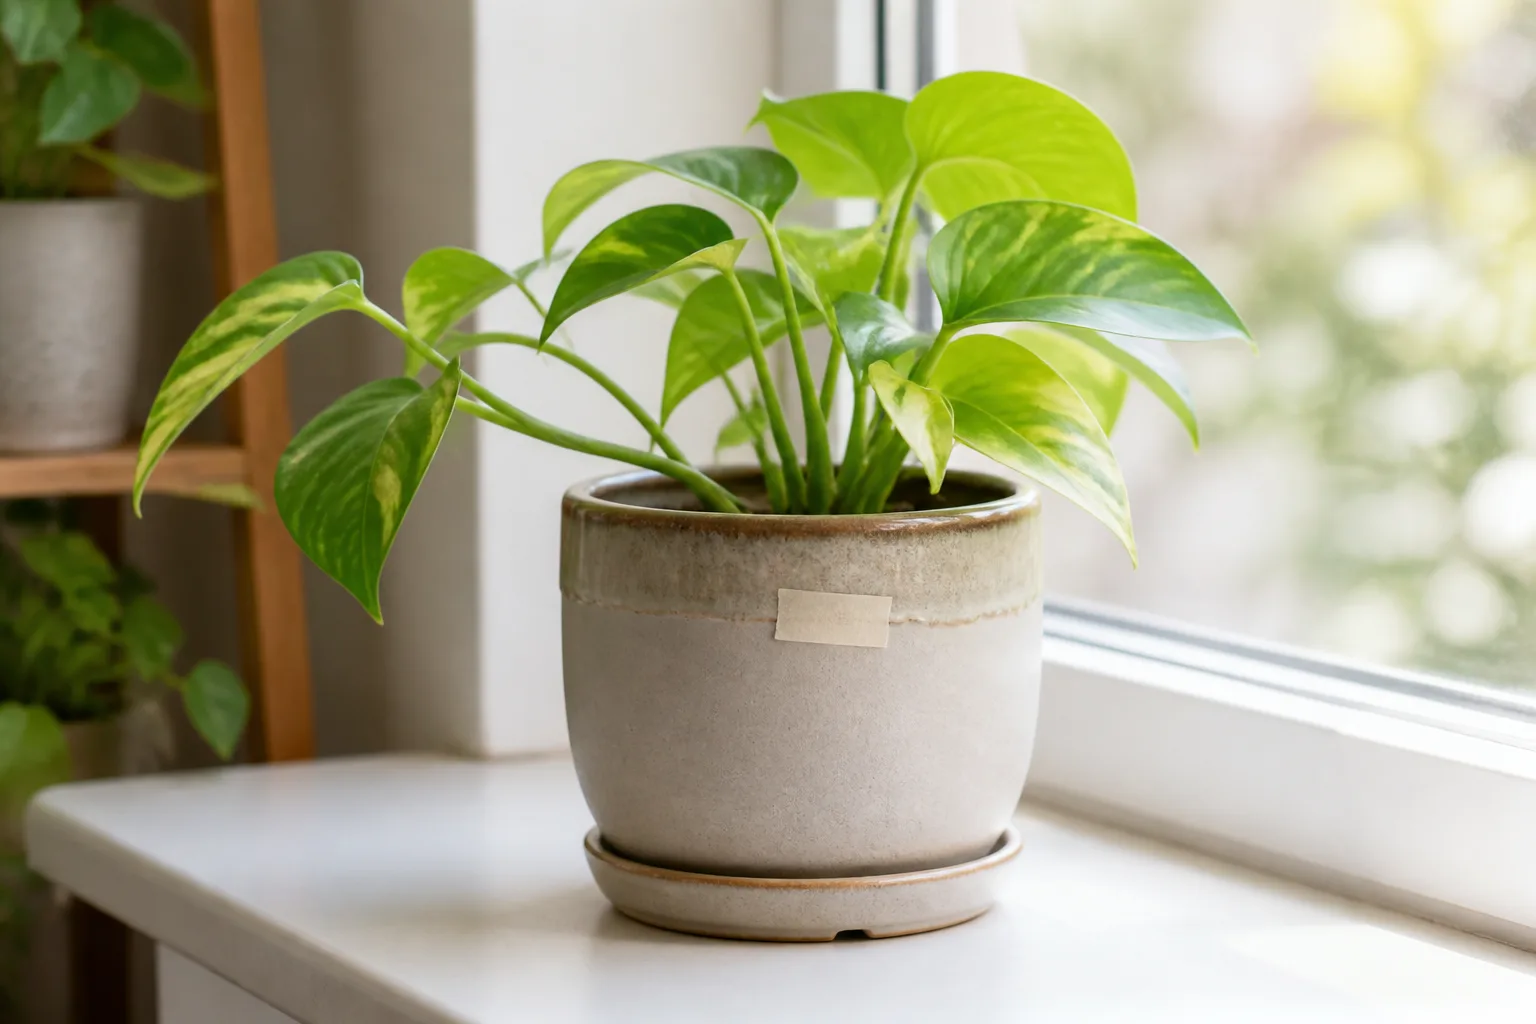
Keep the potting mix lightly and evenly moist while the plant is actively growing, but do not leave the root ball sitting in water. Water when the surface begins to dry, then let the pot drain fully; a cachepot or saucer should be emptied after watering. The RHS notes that Hypoestes can droop when too dry and recover after thorough watering, while prolonged wetness can damage roots and create a different kind of decline. (RHS polka dot plant growing guide)
If the soil stays wet and the stems are soft, slide the root ball out carefully and look for firm pale roots versus dark, mushy roots. Do not repot automatically if the roots look healthy: an oversized pot holds moisture longer and does not make the plant bushier. Repot only when the mix has broken down, drainage is poor, or roots have filled the container, and move up just one pot size.
Warm, stable conditions help new growth resume. Keep the plant away from cold drafts and heat vents, and reduce watering when winter light and growth slow. Humidity can help the foliage look better, but raising humidity will not compensate for a dim position; solve the light problem first, then address crispy edges or rapid drying if those symptoms remain.
Pinch Tips Before Stems Get Long
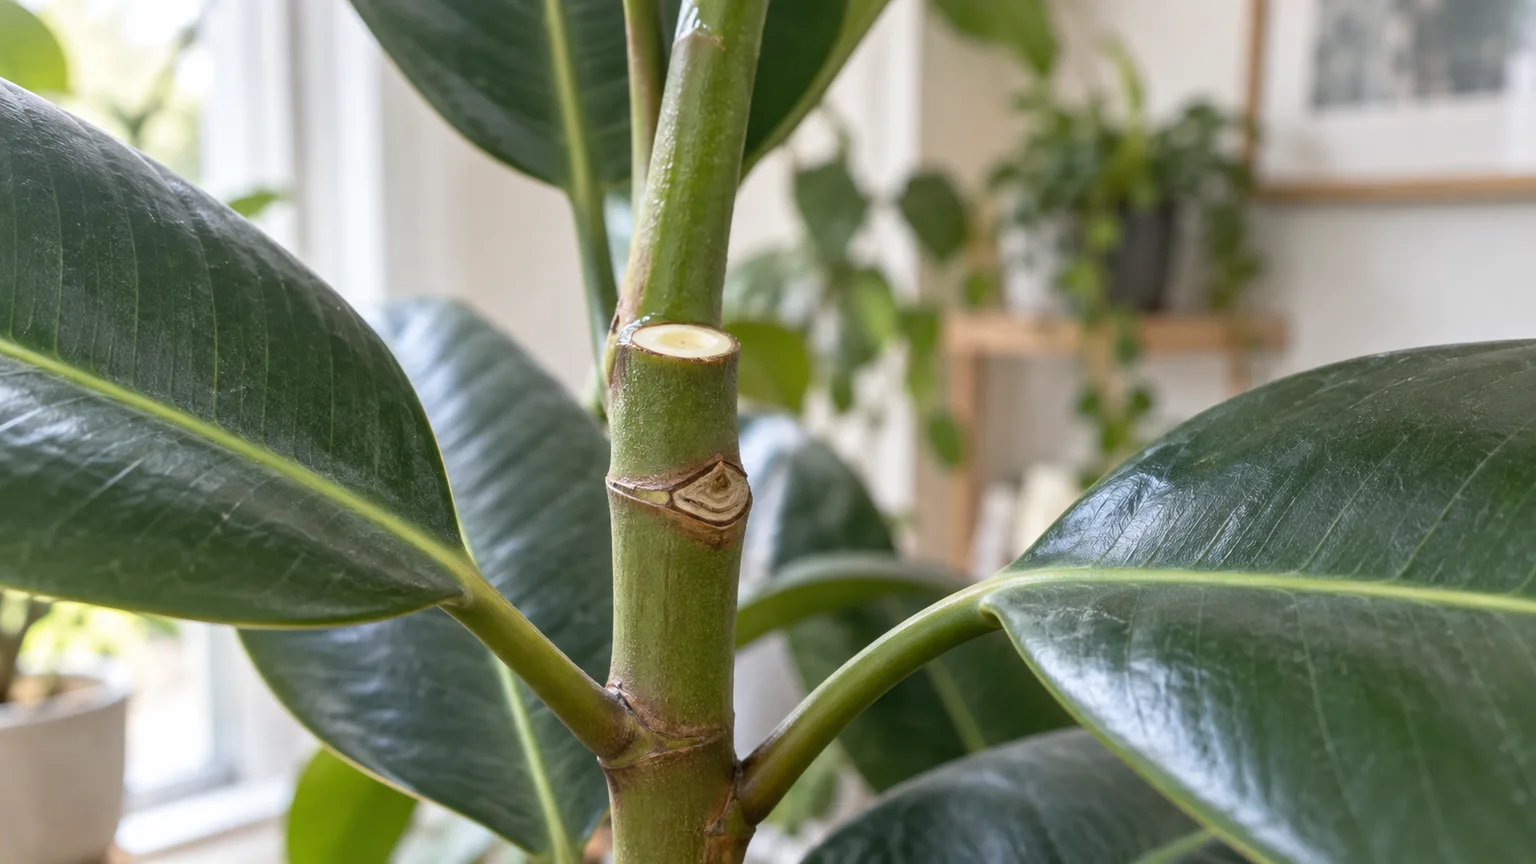
Pinching is the lightest correction and works best before branches have become long and bare. With clean fingers or sharp scissors, remove the soft growing tip just above a pair of leaves. The nodes below the cut are where side shoots can develop, so leave enough healthy foliage on the branch to keep it feeding new growth.
Do not pinch every stem on a fixed weekly schedule if the plant is not actively growing. Instead, watch for a shoot that has begun to outpace its neighbors and pinch that tip while it is still short. The RHS defines pinching as removing a plant’s growing tip to encourage side shoots and a bushier shape; that describes the mechanism, but actual branching depends on light, temperature, and the plant’s condition. (RHS polka dot plant growing guide)
If you have a full, compact plant with one or two tall shoots, pinch those shoots rather than shearing across the entire canopy. If every branch has stretched, pinching only the ends may leave a sparse outline; correct the light and plan a selective prune instead. Pinching changes future growth and cannot fill in bare stem sections already left behind.
Prune Established Stems Without Overcutting
For a seriously leggy plant, pruning removes the stretched silhouette so the plant can restart from lower nodes. Wait until it is in a warm, bright spot and showing active growth, then use clean, sharp scissors or bypass pruners. Avoid taking the plant from a dark room, cutting it nearly to the soil, and repotting it all at once; several stresses together make recovery less predictable.
A conservative first pass is to shorten the longest stems and remove no more than about one-third of the foliage at once. If the plant remains healthy and produces compact new shoots, you can trim again later. Gardening Know How describes cutting houseplant stems just above a node to encourage a bushier form, and Epic Gardening similarly emphasizes correcting the light and cutting stretched growth back to healthy growth rather than expecting the old stems to change. (Gardening Know How) (Epic Gardening)
Where to Make Each Cut
Find a pair of leaves or a visible node below the thin, stretched section. Cut a short distance above that point so the node remains intact; a new shoot may emerge from a bud there or from a lower node. If a stem is bare for a long distance, choose the lowest point that still has healthy leaves or a firm node rather than cutting into damaged, leafless tissue without a reason.
Make several small, deliberate cuts instead of taking a hedge trimmer to the whole plant. Step back between cuts and keep the remaining stems balanced around the pot. Remove dead or badly damaged pieces at their base, but leave healthy lower leaves whenever possible because they help the plant rebuild energy.
How to Root Useful Cuttings
Healthy cuttings can become replacement plants or be tucked back into the original pot for a fuller look. Take a soft stem tip with at least one or two nodes, remove leaves from the lower node, and place that node in water or a lightly moist propagation mix. Keep the cutting warm in bright indirect light, refresh water as needed, and pot it once roots are established enough to hold the cutting; the RHS lists spring and summer stem-tip cuttings as a propagation method for Hypoestes. (RHS polka dot plant growing guide)
Choose only firm, pest-free tips. A cutting taken from the thinnest, most depleted section may root more slowly than one from healthy growth, so take a few if you have enough material. For more detail on water and soil methods, see the polka dot plant propagation guide.
Set Up the Plant for Compact Regrowth
After pruning, keep the plant in its improved light and maintain steady moisture without feeding heavily. New buds may appear below cuts, but the timing depends on the season and the condition of the roots. Spring and summer usually give the plant more light and active growth; during short winter days, focus on maintaining the plant and use a grow light if it continues to stretch.
When new shoots emerge, compare the first few internodes with the old stretched growth. Shorter gaps, sturdier stems, and leaves that hold their normal size are signs that the new conditions are working. If new shoots form only on one side, rotate the pot or improve light coverage before pinching again.
Do not expect one cut to create a dense mound immediately. A compact plant comes from repeated branching over time, and each branch needs leaves and light to support it. You can place healthy cuttings around the rim of the pot once they root, but avoid crowding them into a container with poor airflow or a root ball that stays wet.
Troubleshoot the Next Four Weeks
Check the plant weekly, but judge its trend rather than reacting to every leaf. Mark or photograph one new stem after the light change so you can compare leaf spacing and direction. This is more useful than repeatedly moving the pot based on how bright the room looks at different times of day.
New Growth Still Stretches
If the next leaves are still small and the internodes keep lengthening, the plant is probably not receiving enough light at canopy level. Move it closer to the brightest window, remove an obstruction, or increase grow-light coverage. If it is already receiving bright light, check whether a nearby plant or shelf shades the lower stems and whether the fixture is aimed too narrowly.
If only one branch stretches, that branch may be reaching around another object or competing for the window side. Rotate the pot and pinch that one stem after you have improved its position. Do not add more fertilizer as the first response; extra nutrients cannot replace light and can encourage soft growth.
Leaves Fade, Curl, or Drop
Faded color can mean either too little or too much light, so look at the pattern. New leaves that are smaller and greener alongside thin stems suggest insufficient light; pale or bleached patches on the window-facing surface after a move point to excessive direct sun. Shift the plant back to bright filtered light and give it time to acclimate.
Drooping leaves with dry mix suggest the plant needs water, while persistent limpness in wet mix calls for a drainage and root check. Crisp edges can reflect dry air or inconsistent moisture rather than legginess itself. The RHS notes that Hypoestes can lose leaf color in insufficient light or under too much sun, and that low humidity can brown leaf margins, so treat each symptom as a clue rather than applying one fix to all of them. (RHS polka dot plant growing guide)
When to Replace the Mother Plant
Consider starting over from cuttings if the stems are mostly bare, the base is woody or declining, or the plant has lost most of its leaves after flowering or repeated stress. That does not mean a leggy plant is automatically at the end of its life. Hypoestes is a perennial in warm regions, but it is commonly grown as a seasonal bedding plant in colder climates; indoors, the plant’s condition and ability to produce healthy shoots are better guides than an assumed lifespan. (Missouri Botanical Garden Plant Finder)
If roots are healthy and there are several active nodes, keep the plant and prune in stages. If the roots are badly damaged or there is little living growth to cut back to, propagate the best remaining tips or replace the plant. A rooted cutting also gives you a younger, compact plant while the original recovers, so you do not have to bet the entire display on one hard prune.
Conclusion
A leggy polka dot plant is usually asking for more usable light, but the healthiest fix is a sequence: compare new growth with old growth, move the plant into brighter filtered light, stabilize watering, and then pinch or prune the stems that have already stretched. Use a grow light when a window cannot provide enough brightness, and avoid a sudden jump into hot direct sun.
Old gaps between leaves will remain unless you remove those sections. Watch the next shoots for shorter internodes and sturdier stems; if the mother plant is too bare to rebuild, root healthy cuttings and start a compact replacement. Once light is right, regular selective pinching is what keeps the plant full.