Spring Yard Cleanup Checklist for Lawns and Gardens
Use this spring yard cleanup checklist to clear winter debris, protect pollinators, assess lawn and soil readiness, and time pruning and mulch safely.

The best spring cleanup makes a yard safer and easier to care for without stripping away every leaf, stem, or bit of cover that helped it make it through winter. Start by checking conditions, clear hazards first, and then work from paths and lawn edges toward the beds. That order prevents a tidy-looking yard from coming at the cost of compacted soil, clipped flower buds, or insect habitat.
This is a staged checklist, not a one-day deadline. In a cold spring, you may complete the inspection and hard-surface cleanup while garden beds remain wet and perennial stems stay standing. In a mild region, insects and new growth may already be active, so the right approach is often lighter and more selective. For a deeper lawn-specific plan, see the spring lawn care guide; this checklist focuses on deciding what to do during cleanup and what to defer.
Before you start: read the yard, not the calendar
A date on a calendar cannot tell you whether your garden soil is saturated, the lawn is ready for traffic, a shrub is about to flower, or a local pollinator has emerged. Treat spring cleanup as a set of small jobs that unlock only when their conditions are right. You can inspect a bed before you can safely rake it, and you can clear a paved path while you leave damp soil untouched.
Start with a slow walk around the property. Note standing water, ice damage, areas of flattened turf, fallen branches, buried edging, blocked drains, and any plant that you cannot identify. Make a short list in three columns: do now, wait for conditions, and skip unless there is a real need. This one-minute sort keeps an enthusiastic cleanup from turning into unnecessary pruning, digging, or fertilizer application.
Check whether turf and soil can carry you
Avoid working or repeatedly walking on saturated soil. Wet soil compresses more readily than dry soil, reducing the pore space that roots need for air and water movement. UConn’s spring soil-compaction guidance explains why even routine lawn traffic can leave long-lasting damage after snowmelt or rain. Keep people, wheelbarrows, mowers, and deliveries off muddy areas until the surface firms up.
A quick field check helps: take a small handful of soil from the bed or lawn edge and squeeze it. If it forms a slick, sticky ball that holds its shape, wait. Nebraska Extension’s soil compaction guide describes dropping a molded soil ball; when it remains intact instead of cracking or breaking, the soil is too wet for field operations. This is a conservative cue rather than a laboratory test, but it is useful for deciding whether to dig, rake hard, or push equipment across a bed.
Set a cleanup date that respects local wildlife
Perennial stems, fallen leaves, brush, and bare patches can shelter bees, butterflies, and other beneficial insects through winter. Kansas State Extension recommends watching for insect activity and notes that some guidance uses a period of consistently mild temperatures—around 50 degrees Fahrenheit for a week—as a cue, while also acknowledging that timing varies. Its pollinator-friendly cleanup guidance suggests waiting until insects are emerging and leaving some stems and litter in place.
Use that threshold as a local guide, not a universal switch. Sun exposure, elevation, winter severity, and species all change emergence; mild coastal gardens may have active insects long before colder inland beds. The Monarch Joint Venture describes the shelter provided by stems and leaves, while Savvy Gardening’s spring cleanup method recommends delaying disruptive cleanup or setting cut stems aside loosely so insects have a chance to emerge. A small, deliberately untidy habitat patch is a better goal than waiting for a whole yard to look perfectly bare.
Step 1: Walk the property and clear immediate hazards
Begin with hazards that can hurt people or damage equipment: litter, broken glass, sharp metal, fallen branches across paths, loose landscape edging, and pet waste. Wear sturdy gloves and closed-toe shoes; use a hand tool or grabber for suspicious debris rather than reaching blindly into leaves. Keep children and pets away while you collect waste, and dispose of animal feces through the appropriate household route rather than adding it to a home compost pile.
Look up before you work under trees. Small fallen twigs are different from a hanging limb, split trunk, or branch caught in the canopy. Do not pull down a suspended branch or climb a ladder to cut one; tension can release unpredictably. Mark the area and contact a qualified arborist for a large, unstable, or overhead hazard. If winter damage is near a power line, stay well clear and call the utility instead of attempting cleanup.
Step 2: Clear paths, patios, and drainage points
Once hazards are gone, clean surfaces that people use every day. Sweep grit and leaves off steps, patios, and walkways; lift debris from drain grates and check that downspouts discharge away from foundations. This is a good first task because it improves access without requiring you to walk across wet planting beds or turf.
Do not direct a high-pressure washer at soft wood, loose masonry, young plants, or soil-filled joints. It can dislodge material or drive debris into a place where it is harder to remove. If a path is slick, use a stiff broom and a mild, surface-appropriate cleaner rather than applying a broad herbicide or bleach near garden soil. Keep the sweepings separate from clean leaves if they may contain grit, salt, or chemical residue.
Step 3: Rake the lawn lightly and only when it is ready
Wait until the grass is dry enough that you are not leaving footprints or wheel ruts. Remove branches, cones, litter, and dense clumps of leaves that mat the turf, then use a flexible rake with a light touch to lift flattened blades. BBC Gardeners’ World’s spring lawn advice similarly places winter debris removal before mowing and recommends a light pass over the lawn. If the turf is still dormant, frozen, or waterlogged, leave the rake in the shed.
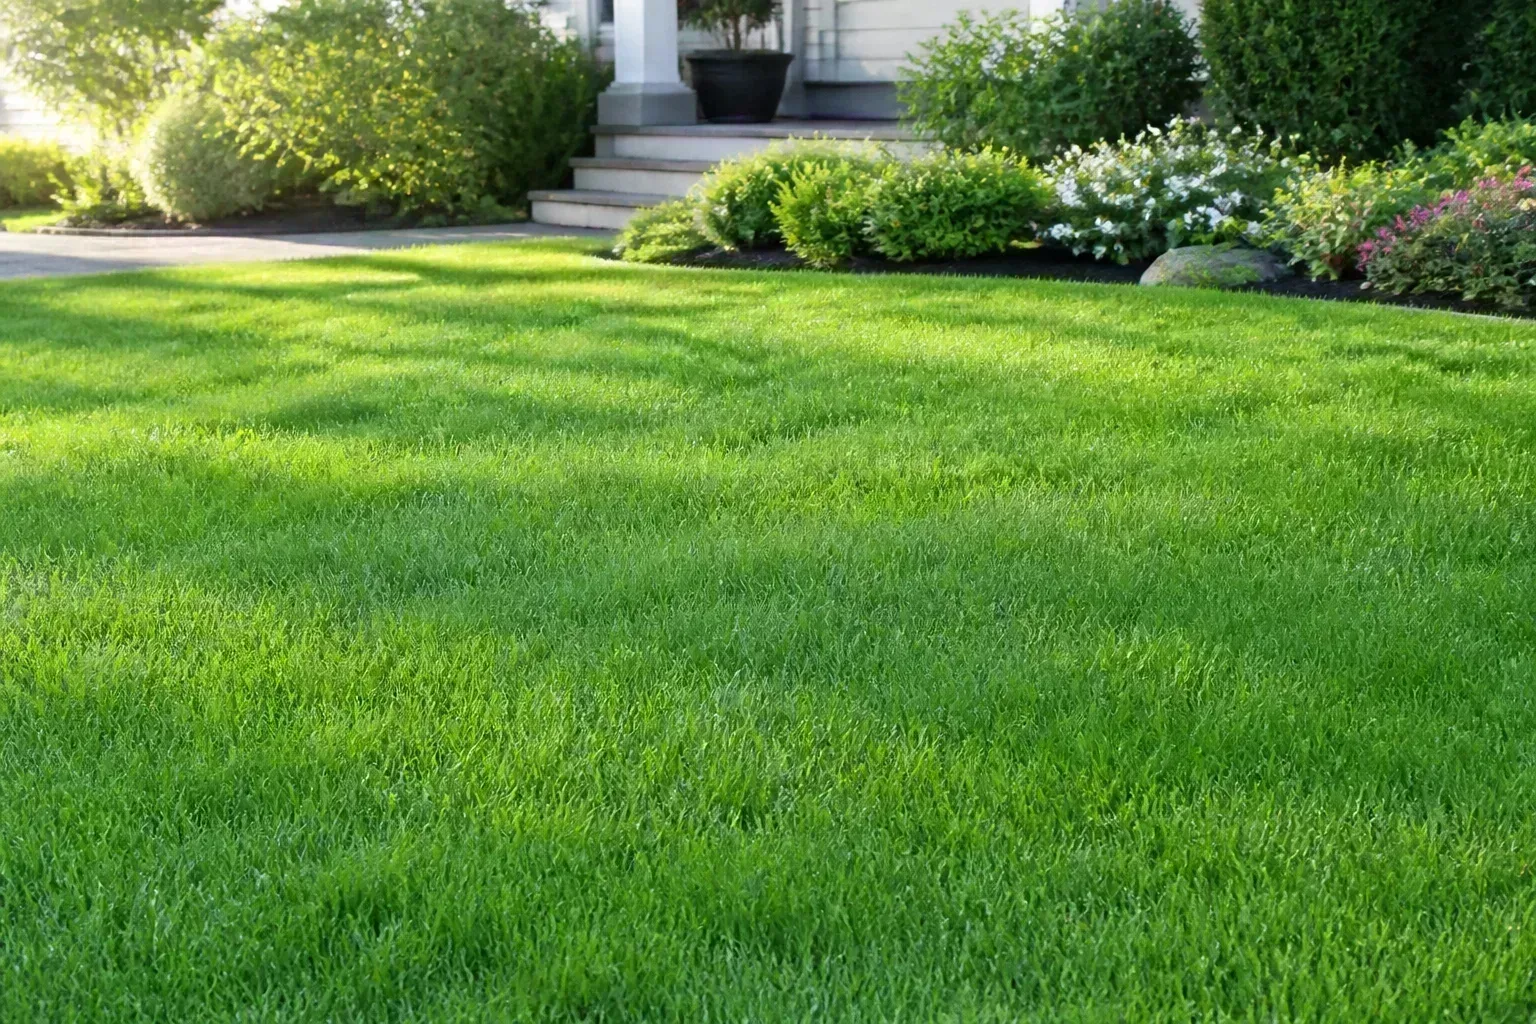
Do not treat every brown patch as a reason to scarify or dethatch. A thin layer of loose leaves is not thatch; thatch is a compacted layer of living and dead stems, roots, and runners that builds above the soil surface. Aggressive raking can tear up weak turf and expose bare soil, especially before grass is actively growing. For a full diagnosis or renovation plan, use the dedicated spring lawn care steps instead of turning cleanup into an unplanned repair project.
Remove loose debris without confusing it with thatch
If your rake catches on a thick, springy mat, stop and inspect a small area rather than dragging the rake harder across the whole lawn. Check whether the layer is actually thatch or simply wet leaves and flattened grass. When the turf is actively growing and the thatch layer is genuinely excessive, use a grass-type-appropriate lawn plan and local Extension advice; timing and tolerance differ for cool-season and warm-season grasses.
A practical first pass is enough when the lawn looks open, mower-safe, and free of heavy mats. Leave scattered fine leaf fragments where they will not smother grass; they can break down and return organic matter. If leaves are too thick to mulch or are covering seedlings and low groundcover, collect them and use clean material in a compost pile or leaf mold area. The existing leaf-management comparison explains how to choose among mulching, bagging, composting, and leaving leaves according to the surface.
Step 4: Tidy garden beds selectively and leave habitat
Walk each bed before cutting. Remove litter, fallen branches, and mushy material that is clearly smothering emerging plants, but do not rake every leaf down to bare soil. Look for bulbs and perennials pushing through, small seedlings, cocoons attached to stems, and hollow stalks with sealed or plugged ends. A tidy border can still retain some leaf litter, standing stems, or a designated habitat corner.

The Monarch Joint Venture notes that leaf litter and plant debris are used by insects for overwintering cover. Savvy Gardening’s careful spring cleanup approach likewise recommends checking stems and leaves before removing them. If you have a formal garden that needs a sharper edge, clean the most visible areas first and keep less-visible habitat at a fence, behind shrubs, or in a native planting. You do not have to choose between a usable path and an entirely sterile bed.
Move stems and leaves in a way insects can survive
When a stem has to come down early, do not shred or bag it immediately. Leave several inches of hollow stalk above the soil, or place cut stems in a loose bundle on a dry, sheltered edge of the garden for several weeks. Do not compress them in a tight compost pile, burn them, or haul them away the same day. The goal is to give overwintering insects a way to emerge while keeping the bed accessible.
Move leaves gently rather than turning the rake teeth through every clump. If you find a cocoon, chrysalis, or a stem with a plugged opening, leave that piece intact and set it aside in a protected spot. Avoid thick mulch over bare soil where ground-nesting bees may be active; preserve some open, well-drained patches if they are already part of your landscape. The right amount of tidiness depends on the bed: remove diseased or invasive material when local guidance says to, but keep healthy debris where it serves as habitat or soil cover.
Step 5: Prune shrubs only after identifying their bloom cycle
Spring cleanup is not a reason to shear every shrub into shape. First identify the plant and determine whether it flowers on old wood or new growth. Many spring-flowering shrubs set buds during the previous season, so cutting them back before bloom can remove this year’s flowers. In contrast, some summer-flowering shrubs tolerate pruning before their new growth expands. Penn State Extension’s flowering-shrub pruning guide and the site’s spring perennial pruning guide can help you check timing before you cut.
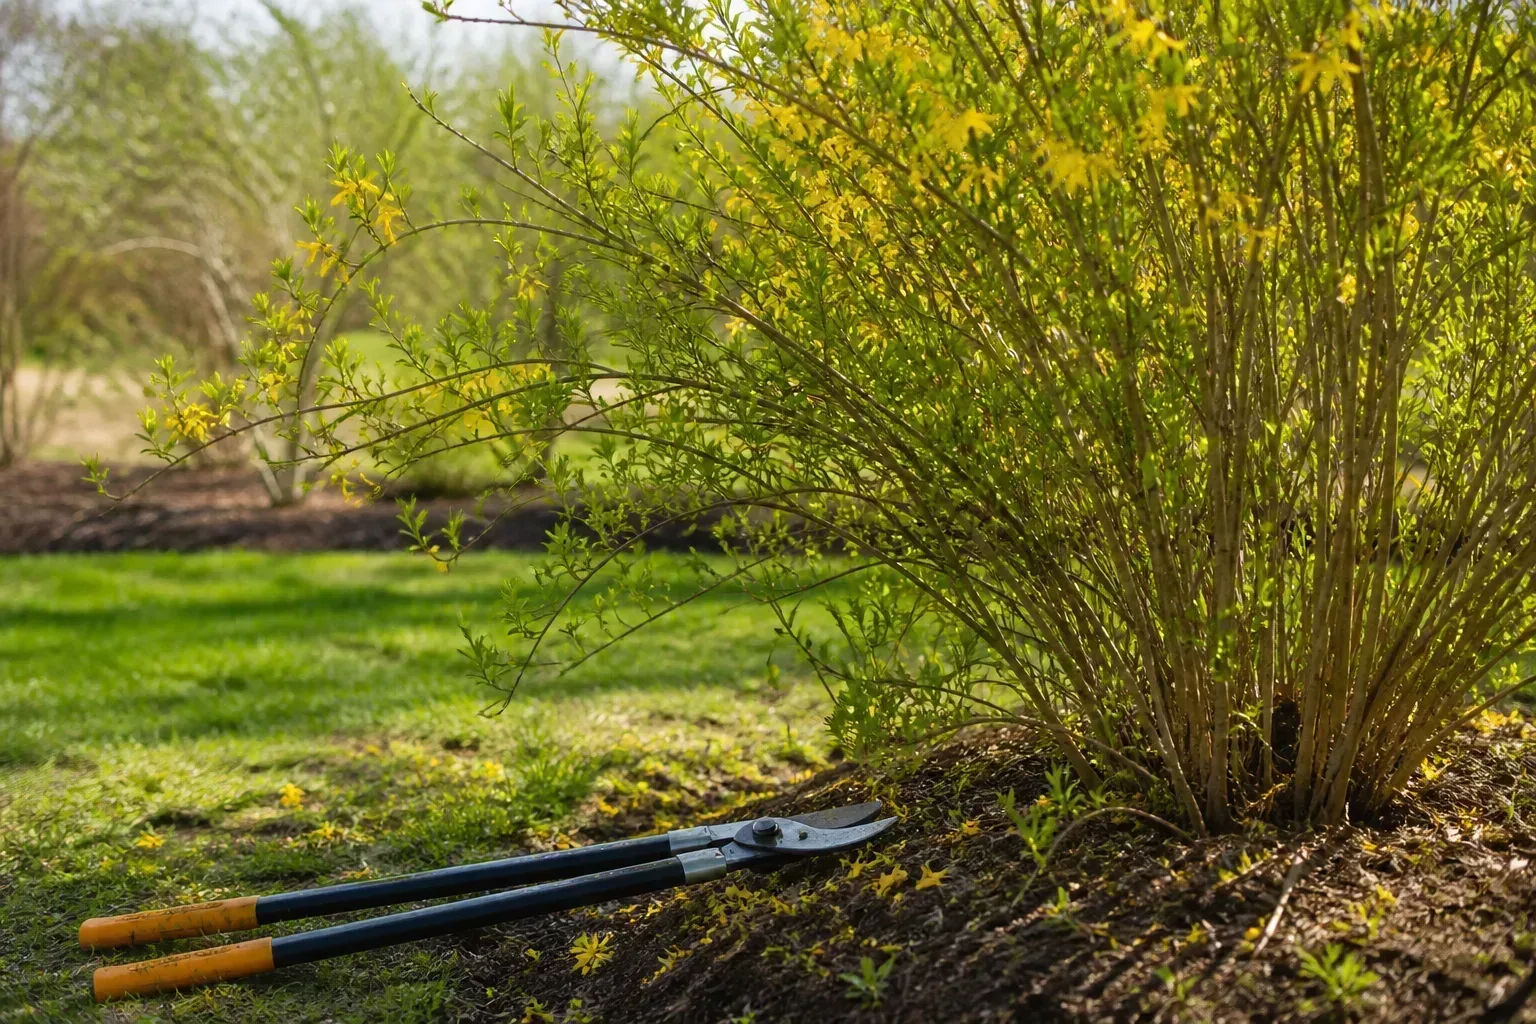
Remove clearly dead, broken, or hazardous material with clean, sharp tools, and make cuts that match the plant’s structure rather than leaving ragged stubs. Pause if you see a nest, cocoon, or active wildlife use. Do not top trees or make large cuts from a ladder. For a mature tree, a major structural limb, or uncertain damage, get an arborist’s assessment instead of treating a seasonal checklist as a pruning plan.
Step 6: Refresh bed edges and mulch after the soil dries
Once beds are workable, restore edges and check existing mulch before adding more. Pull mulch away from plant crowns and woody stems, loosen only a thin surface crust if needed, and top up only where the layer is thin or has broken down. A deep blanket can delay soil warming, cover emerging shoots, and block ground-nesting insects; too much mulch piled against trunks also keeps bark damp and hides damage.
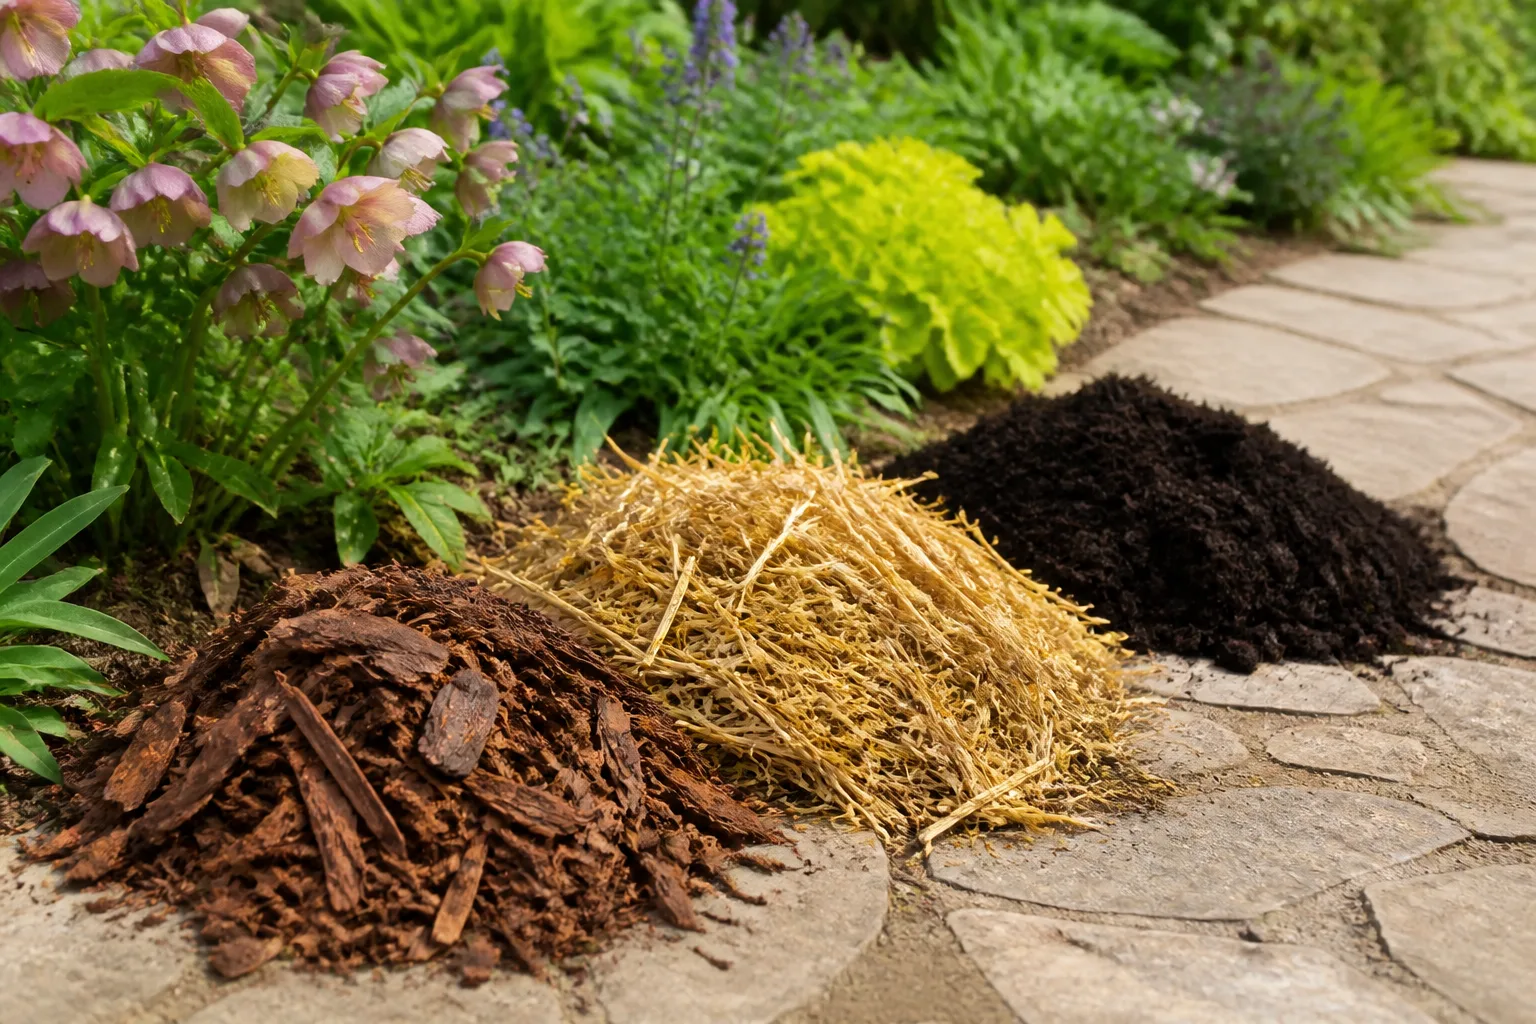
There is rarely a need to remove every bit of last year’s mulch. If it is clean, not matted into a water-repellent layer, and at a reasonable depth, leave it in place and add only enough to renew coverage. Wait until the soil has dried and warmed before applying a fresh layer, especially over bare areas that could be nesting habitat. For vegetables and new plantings, match mulch to the crop and planting schedule rather than using cleanup as a reason to cover the entire bed; the vegetable mulch guide covers those decisions.
Avoid tilling or turning saturated soil to make it look neat. The University of Nebraska–Lincoln’s soil-compaction guidance warns that working wet soil can damage structure. A thin surface dressing of finished compost can be enough for established beds when the soil is ready; do not bury crowns, seedlings, or low rosettes while applying it. Use a soil test to decide whether any additional nutrient is needed.
Step 7: Scout weeds and pests before choosing a treatment
Spring is a useful time to spot new weeds while they are small, but pull or hoe them only when the soil is workable. If the ground is wet, you may pull up a large clod, damage nearby roots, or compact the bed by kneeling and stepping repeatedly. When the soil is dry enough, remove the whole root of perennial weeds where practical and dispose of seed heads before they mature.
Inspect for pest damage before treating anything. Look under leaves, along stems, and around the base of shrubs; decide whether the evidence is current or just old winter damage. A few nibbled leaves do not automatically justify pesticide use. If an insect or disease requires intervention, identify it, consult local Extension or an integrated pest-management source, and follow the product label and local rules exactly. For routine cleanup, sanitation and observation are better first steps than blanket spraying.
Step 8: Check trees, irrigation, and outdoor fixtures
After you clear access, inspect visible tree trunks for rubbing, cracks, broken stakes, and mulch piled against bark. Check hose bibs, irrigation heads, raised-bed frames, fences, and trellises for frost or snow damage. Run an irrigation zone briefly only when freezing weather has passed and the system is ready; watch for leaks, tilted heads, and water spraying onto paths.
Keep digging and edging away from buried lines until you know where they are. Before a project that uses stakes, a powered tiller, or deeper excavation, request utility marking in the area and respect the marked route. If a large tree has a split, cavity, hanging limb, or root-plate movement, ask a certified arborist to evaluate it. A spring walk-through is a good time to notice a problem; it is not a substitute for specialized tree or utility work.
Step 9: Sort yard debris for reuse or disposal
Separate what you collect into clean leaves, healthy plant stems, woody branches, diseased material, invasive weeds, and trash. Clean leaves can be chopped for compost or stored as leaf mold; small healthy stems can be left loosely in a habitat area or added to a compost system that can break them down. Larger branches may fit municipal yard-waste collection or a community chipping service.
Keep diseased foliage, weed seed heads, and invasive plants out of a cool backyard pile unless your local extension service says your composting system reaches the conditions needed to destroy them. Do not burn yard waste where it is restricted, and do not place soil, rocks, plastic, or pet waste in municipal compost bins unless accepted locally. Check your town’s collection rules before filling bags; some services require paper bags or tie-free bundles, while others do not take invasive or diseased material.
Jobs to postpone or skip during spring cleanup
Postpone digging, dividing, heavy wheelbarrow traffic, aeration, and tilling until the soil is no longer saturated. Delay broad pruning until you know the plant’s flowering habit. Leave stems and some leaf litter until local emergence cues make removal less disruptive. Avoid mowing simply because the lawn looks untidy if grass is wet or dormant, and do not use weed-and-feed as an all-purpose cleanup product when the lawn has not been assessed.
Skip automatic fertilizer applications and routine pesticides. A lawn or garden may need neither; a soil test, a specific diagnosis, and a local timing recommendation are better guides than a spring sale or a calendar reminder. If you want to overseed, apply a preemergent, renovate turf, or divide perennials, coordinate the jobs so that one treatment does not interfere with another. The broader spring gardening checklist can help plan planting and pruning after cleanup is complete.
A practical two-pass spring cleanup checklist
Pass one: do the low-impact jobs. Walk the site, collect litter and pet waste, clear paths and drains, note tree hazards, and gather tools. These tasks improve safety and access without requiring a dry bed or actively growing lawn. Take photos of damage or uncertain plants so you can identify them before making a cut or treatment decision.
Pass two: work only where conditions allow. When turf is dry, remove heavy debris with a gentle rake. When beds are firm enough to work, remove selected dead material, preserve habitat, and prune only plants you have identified. Once soil warms and dries, reset edges and refresh mulch where needed. This staged approach is more efficient than making repeated passes over a muddy yard and then repairing ruts, disturbed shoots, or bare patches.
Use this quick go/no-go table before each task:
| Task | Green light | Wait or change the plan |
|---|---|---|
| Raking lawn | Grass and soil are dry enough to walk without footprints | Turf is wet, frozen, or pulls up under the rake |
| Digging or edging | Soil crumbles rather than sticking to tools | Soil forms a slick ball or leaves deep impressions |
| Cutting stems | Local insects are active, or stems are moved to a loose protected pile | Stems have plugged openings, cocoons, or visible nests |
| Mulching | Soil is workable and shoots or crowns are visible | Ground is cold, saturated, or has bare bee-nesting patches |
| Pruning shrubs | Plant is identified and timing matches its flowering habit | You do not know whether it flowers on old or new wood |
Know when to stop and get expert help
Stop routine cleanup if the soil is saturated, a branch is hanging overhead, a tree is leaning differently than before, a utility line is damaged, or a plant problem is spreading rapidly and you cannot identify it. Do not climb, operate a chainsaw, or work near energized lines to meet a spring deadline. A qualified arborist, utility provider, or local Extension office can help you choose the safe next step.
Pause as well if cleanup begins removing more habitat than you intended. You can always return for another small pass after the yard dries, temperatures stabilize, and insects become active. A useful spring cleanup is finished when paths are safe, debris that threatens turf or plants is addressed, and you know what remains—not when every bed has been scraped bare.
Conclusion
A successful spring yard cleanup is selective and condition-based. Start with hazards and access, wait until soil and turf can handle traffic, rake lawns gently, retain some leaves and stems for wildlife, and identify shrubs before pruning. Refresh mulch and schedule lawn treatments only after the underlying need and timing are clear. Work in two passes, follow local Extension advice, and let the yard’s actual condition—not the first warm afternoon—set the pace.