How to Prune Arborvitae for Height, Shape, and Health
Prune arborvitae at the right season, shape a hedge without bare gaps, and decide what to do with bent or broken branches after heavy snow or ice.
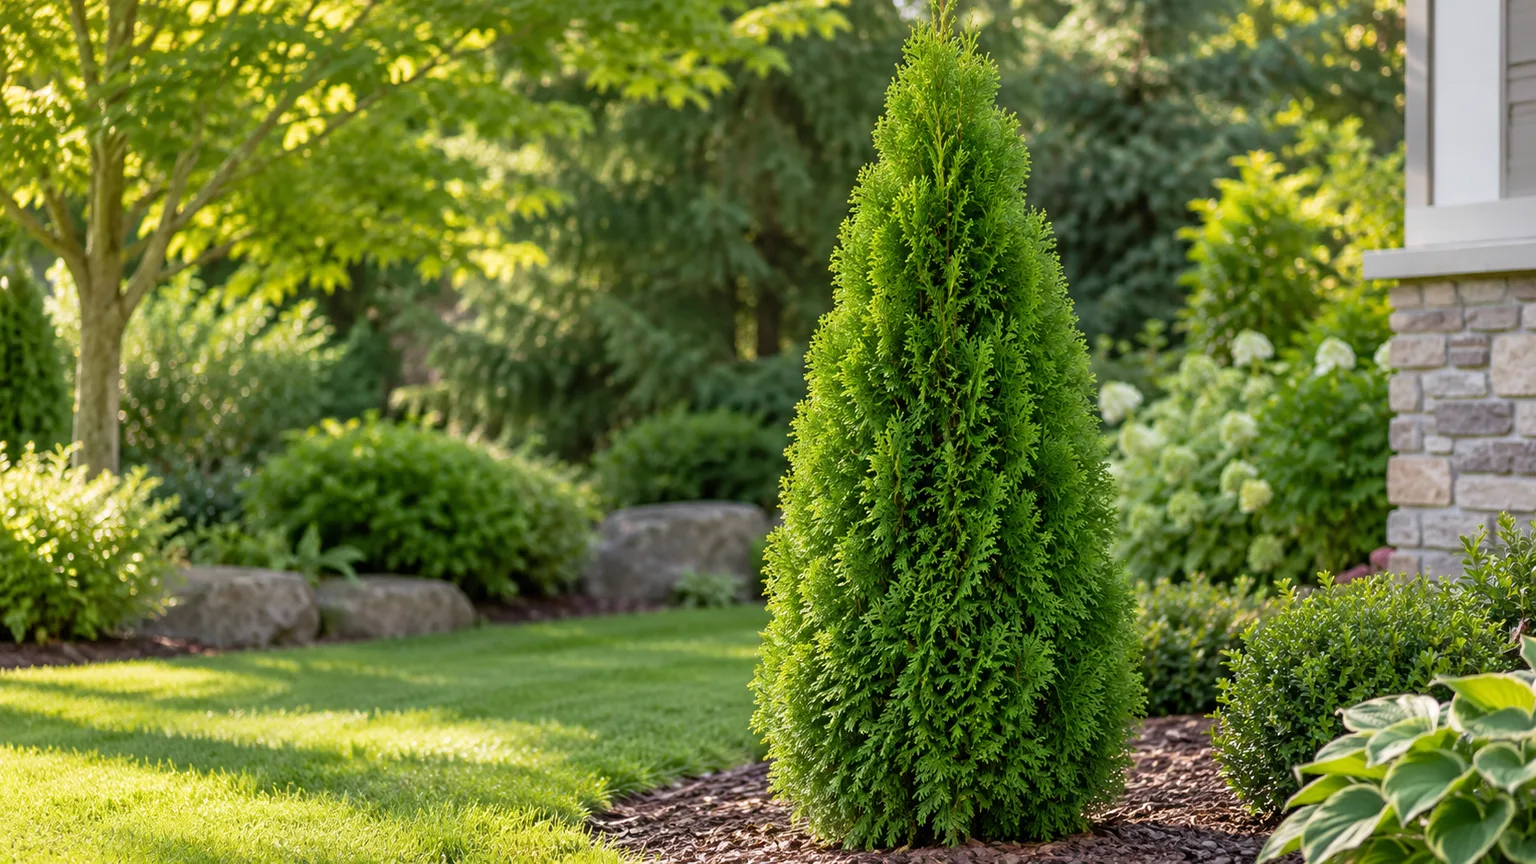
Arborvitae is easiest to prune when you make small, deliberate cuts while the plant still has green foliage where you want it. A light trim can tidy a hedge; reducing height or repairing a storm-damaged leader is a different job, and a careless cut can leave a brown opening that never fills back in.
The key is to identify your arborvitae and your goal before you reach for shears. Most arborvitae have a shaded interior where buds are scarce, so do not cut into bare brown wood expecting it to leaf out. Plan routine shaping for spring, use only light touch-ups during active growth, and let snow or ice thaw before you decide which branches are truly broken.
Identify the Arborvitae Before You Decide What to Cut
“Arborvitae” covers many forms of Thuja, from compact upright shrubs to large trees. Eastern arborvitae (Thuja occidentalis) includes familiar hedge cultivars such as Emerald Green, while Green Giant is a hybrid involving western redcedar (T. plicata) and Japanese arborvitae (T. standishii). A cultivar’s mature size and natural outline determine whether light pruning is enough or the plant is fundamentally too large for its space.
Check the plant label, purchase record, or a reliable identification source before making a major reduction. The Morton Arboretum groups arborvitae with random-branched evergreens and explains that their new shoots can arise from concealed buds at branch crotches; it also warns that older plants growing in shade may develop an open interior “dead zone” that cannot regenerate after cuts. That means the green outer shell is not just cosmetic: it shows where living foliage and potentially useful buds remain.
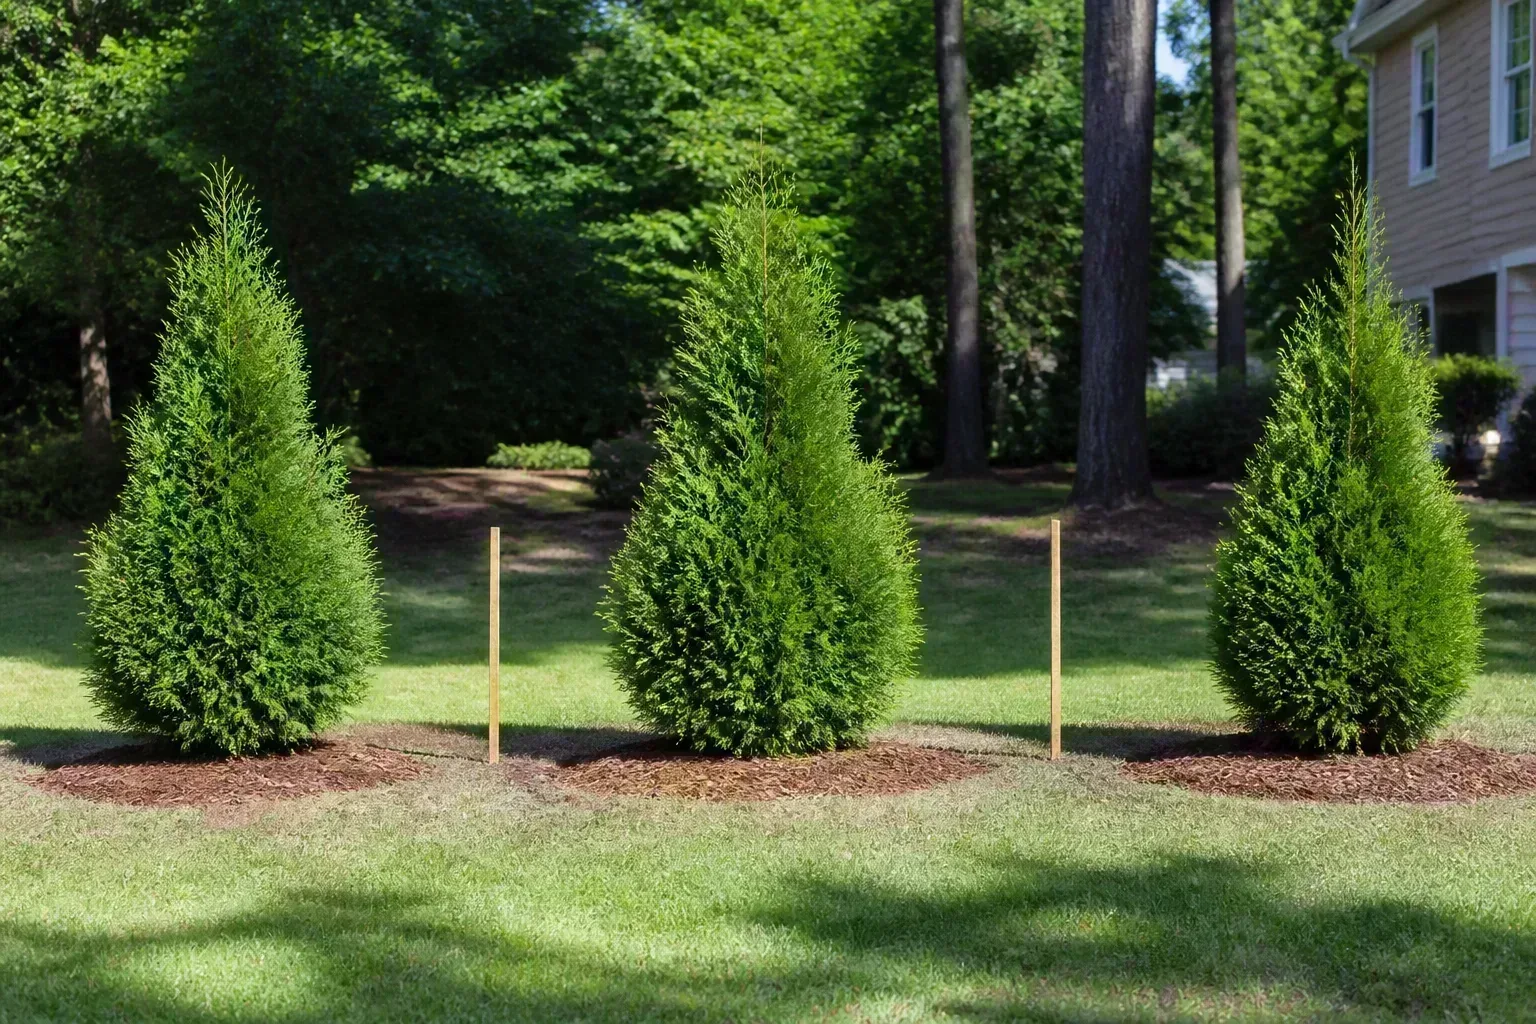
If your tree is healthy but outgrowing a narrow bed, first compare its expected mature height and width with the space available. A vigorous, large cultivar will not become a compact shrub because it is clipped every year. Repeatedly forcing it into a much smaller outline often removes its green growth faster than it can replace it and leaves a brown interior exposed.
Choose a Safe Pruning Window
For planned size and shape work, early spring—before the new flush elongates—is a reliable default for many arborvitae in North American gardens. The Morton Arboretum recommends pruning arborvitae in spring around the time new growth begins, and doing heavier shaping before the flush so that new foliage can soften the appearance of cuts. Remove clearly dead, diseased, or broken branches whenever conditions are safe, but do not mistake “can be removed anytime” for “should be reshaped heavily anytime.”
Use spring for planned shaping and reduction
Spring lets you see the plant’s framework and gives healthy growth time to cover small cut edges. On an established hedge, wait until the worst winter weather has passed and the stems are not frozen; choose a dry, mild day when you can see the green tips clearly. If you need only a small correction, cut back individual tips to a live side shoot rather than leveling the whole top.
Royal Horticultural Society (RHS) hedge guidance gives a cultivar-specific example: it lists Thuja plicata hedges for pruning in spring and again in early autumn. That is not a universal calendar for every arborvitae or climate. In places with early frosts, the growing season is shorter, and late cuts that prompt a soft flush may leave tender growth exposed; use a local extension recommendation for your species and region instead of importing another climate’s dates wholesale.
Keep summer trims light and early
If new shoots extend beyond the outline after spring growth, a light trim in early summer can keep a formal screen tidy. Aim to remove only the new green tips that disrupt the line. Each additional shearing encourages a tighter outer surface, so frequent clipping can make the hedge appear dense while the inner foliage gets less light.
Use your local frost date as a practical boundary: leave enough growing season for cuts to settle before cold weather. The RHS cautions that trimming conifer hedges after August can contribute to bare patches; in a colder North American area, an even earlier cutoff may make sense. This is a case where the species, cultivar, and climate should determine the calendar, not a promise that one month is safe everywhere.
Wait through stress, freezing weather, and late-season growth
Do not prune a frozen arborvitae or work on branches while they are ice-coated. Cold, stiff wood tears more easily, and a storm can make a bent branch look broken when it may lift after the load disappears. Wait for thaw, then inspect the actual attachment and foliage before choosing a cut.
Also postpone cosmetic pruning during severe heat, drought, or obvious transplant stress. The plant has less capacity to recover from leaf-area loss when roots cannot supply water. If a safety hazard needs immediate attention—such as a hanging branch over a walkway—keep people away and call an arborist rather than turning an emergency repair into a full hedge trim.
Choose Tools That Match the Branch
Use sharp bypass pruners for small individual shoots, loppers for branches too thick for hand pruners, and a pruning saw for larger limbs. A hedge trimmer is useful for a formal outer surface, but it cuts many tips at once and makes it easy to expose the brown interior. For specimen arborvitae or an informal hedge, selective hand cuts usually preserve a more natural outline.
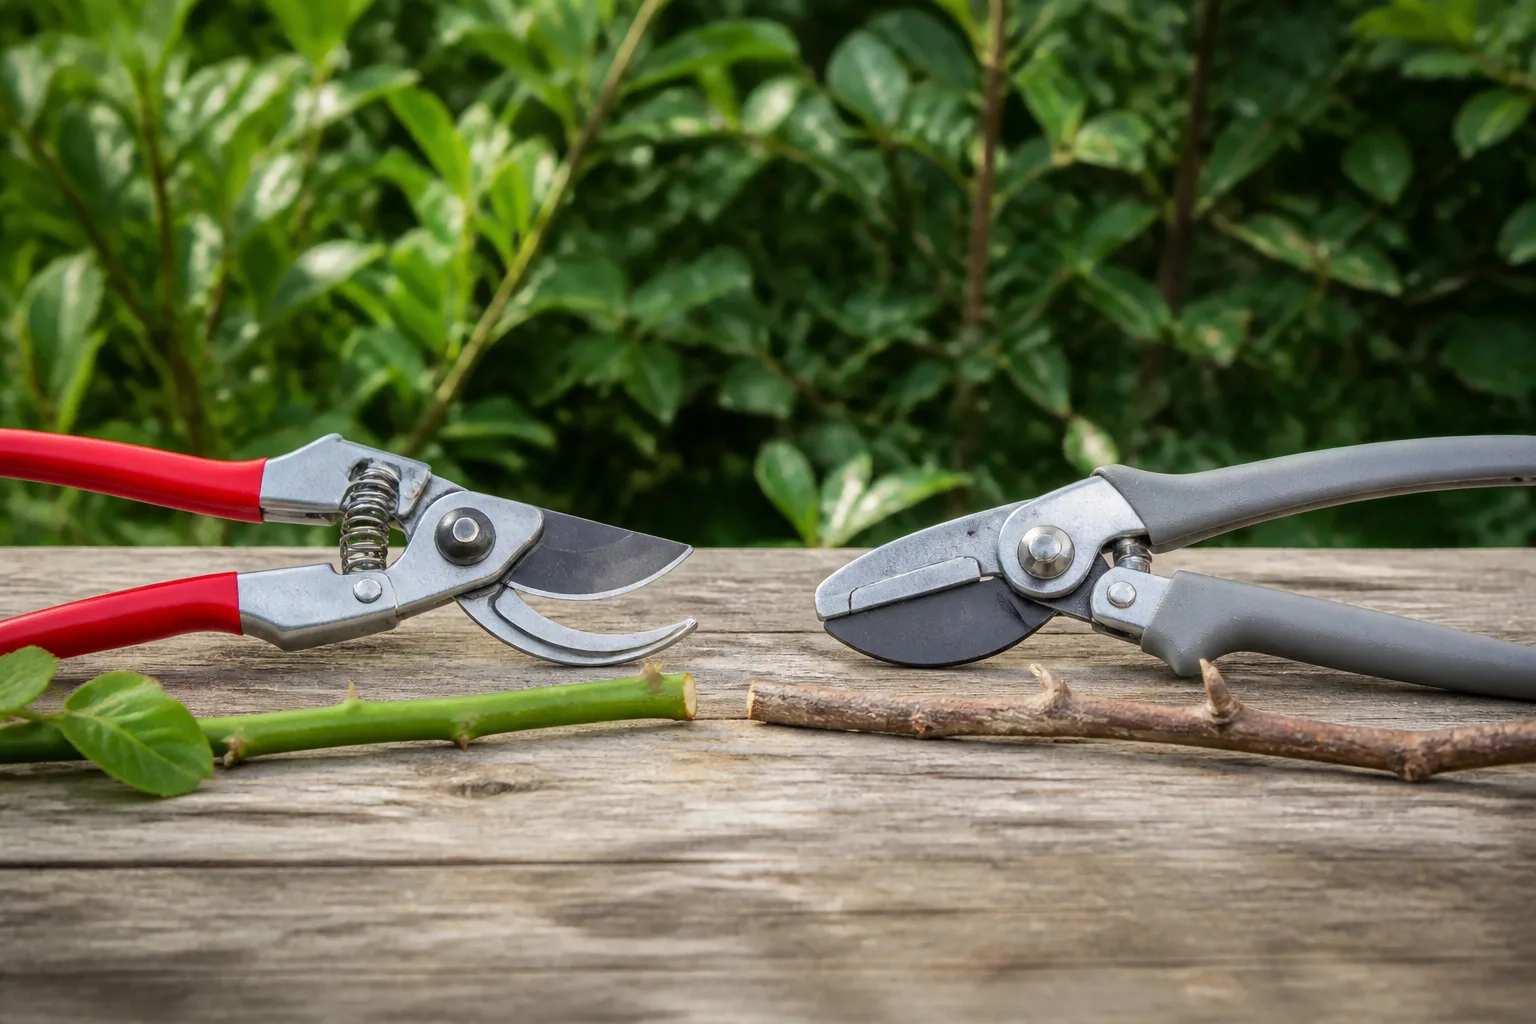
Before you cut, remove dirt and sap and make sure the blades are sharp enough to leave a clean surface rather than crushing the shoot. If you are removing diseased material, clean and disinfect the tool between affected plants and after finishing; for routine shaping of a healthy hedge, cleanliness and a sharp edge are the practical priorities. Wear gloves and eye protection, and do not use powered trimmers above shoulder height or from an unstable ladder.
Branches near power lines, high limbs that require climbing, large split stems, and major crown reductions are not homeowner hedge-trimming jobs. USDA Climate Hubs notes that regular structural pruning can reduce some wind- and ice-related hazards, but it cannot eliminate failures. Use an ISA Certified Arborist for high, heavy, or structurally compromised branches.
Make Cuts That Preserve Living Green Growth
Start with a slow walk around the plant. Mark the longest shoots, dead or broken sections, crossing branches, and any place where you can see bare interior wood. Decide which branches need removal and which only need a tip trim; taking a few minutes to plan the outline prevents the common mistake of shortening the entire shrub to fix one protruding stem.
Use selective cuts before reaching for hedge shears
On an individual arborvitae, follow the branch you want to shorten inward until you find a healthy green side shoot or a branch junction that can continue growth. Make the cut just beyond that living lateral, keeping the cut close enough to avoid a long stub but not flush against the joining branch. If no leafy shoot remains where you would need to cut, stop: a cut into a bare interior branch may leave a permanent gap.
For light surface maintenance on a hedge, shears can shorten the newest growth. Keep the blade in the green layer and take off little at a time; step back often so the flat line does not drift inward. Shearing has a place for a formal screen, but it is not a repair method for a hole, a cracked branch, or an oversized tree.
The Morton Arboretum explains why repeated shearing can backfire: dense outer needles shade the inside, helping a bud-free dead zone expand. A selectively pruned plant may look less geometric in the short term, but it preserves light and gives you more options for future cuts. For many residential screens, one careful annual trim is easier to maintain than frequent clipping.
Keep a hedge slightly wider at the base
Shape each side with a gentle inward slope so the bottom is slightly wider than the top. This hedge “batter” allows sunlight to reach lower foliage and reduces the tendency for the base to thin while the top stays dense. The RHS recommends this tapered profile for formal hedges; it is equally useful for a tall evergreen screen where shading at the bottom can produce permanent bare patches.
Do not rely on an eyeballed vertical wall if the hedge is already shading itself. A string line or a visual guide can help you keep the slope even, but cut to green growth rather than the line. If maintaining the exact rectangle would require cutting past foliage, the hedge has outgrown that shape; reduce it over a longer period only if green laterals remain, or replace it with a naturally smaller cultivar.
Can You Control an Arborvitae’s Height?
Sometimes, if the reduction is modest and you can make a cut to a live lateral branch. A central leader is the dominant upright shoot that gives many arborvitae their pointed crown. Removing its tip can blunt the natural form and may cause side shoots to compete for dominance, so do not treat a flat cut across the top as routine height control.
If a young, otherwise healthy plant has one leader that is just a little too tall, identify a strong side branch below the intended height that points in a useful direction. Reduce the leader back to that branch, and if needed, train the lateral upward with a loose, temporary tie. The Morton Arboretum describes this approach when an evergreen loses a leader: allow a new leader to emerge if possible, or guide a suitable upper branch upright with a soft tie, removing the tie before the next growing season. This is a way to restore a leading shoot, not permission to top an established tree.
Before making the cut, look at the likely result from the street and the house. If the cut would leave a flat brown top, expose old wood, or remove a large portion of the crown, pause. A tall, mature arborvitae may not be reducible to a shorter, naturally pointed tree in one season. Arborvitae can produce shoots from buds at branch crotches, but that response depends on live buds and adequate foliage; it is not guaranteed from bare old wood.
The more honest size-control question is often whether the cultivar fits the site. A fast-growing Green Giant planted beneath a window or too close to a property line will keep needing large cuts as it reaches for its mature dimensions. For a smaller screen, replacing an overgrown tree with a cultivar bred to remain compact can produce a better long-term shape than topping it repeatedly.
Repair Snow and Ice Damage in the Right Order
After a winter storm, wait until ice has melted and snow is no longer weighing down the branches. Do not strike, shake, or pull frozen limbs into place; the added force can turn a bent branch into a broken one. NC State Extension’s landscape guidance advises allowing ice to thaw naturally and assessing storm damage after the load is gone. If a branch is hanging over people, a driveway, or a power line, keep clear and call for help rather than trying to catch or cut it.

Let bent branches thaw and rebound before judging them
Once the shrub is clear of ice, check whether a branch is merely bent or actually cracked. A flexible branch with intact bark and attached foliage may rise partway on its own over days or weeks. Give it time before pruning for appearance; cutting a living branch just because it is temporarily drooping can remove healthy screen and leave an avoidable hole.
Loose, light snow is different from glaze ice. If reachable from the ground and not frozen to the foliage, it may be possible to gently brush snow upward with a soft broom, starting low so you do not add weight to lower branches. Never climb or use a rigid tool to knock snow or ice away. For an arborvitae hedge that has splayed, a loose support may hold small stems in position while they thaw, but do not cinch the stems tight or force frozen wood upright.
Remove broken wood without topping the whole crown
After thaw, remove a broken branch back to a healthy live lateral or its point of attachment, depending on its size and structure. Do not leave a splintered stub, and do not cut into the trunk flush; for a larger branch, use a proper branch-removal cut that preserves the collar. If the leader is cracked, the trunk is split, or several major stems have separated at the base, get an arborist’s assessment before making large cuts.
A single lost top does not always mean the plant is finished. Some evergreens can develop or be trained to a replacement leader, while others will remain asymmetrical; the outcome depends on the species, cultivar, injury, and available living shoots. USDA Climate Hubs emphasizes that structural pruning reduces some hazards but does not prevent all storm failures. Choose repair based on both the plant’s recovery potential and the risk to people or structures.
Remove Dead, Diseased, or Crowded Branches
Dead, broken, or clearly diseased branches are different from healthy growth you are shortening to fit a shape. Remove a dead twig to the point where it joins healthy wood; if only one branch in a hedge is brown, trace it inward before assuming the entire plant is dying. If the browning is widespread, investigate water stress, winter burn, root problems, or pests before pruning away large sections.
For a disease concern, avoid dragging infected material through the hedge and clean tools before moving to another plant. Do not automatically apply fertilizer after damage. Fertilizer does not close a wound or restore broken branches; water appropriately and address the cause of stress. If symptoms spread, the foliage dies from the inside outward, or branches show cankers or other suspicious lesions, ask a local extension service or arborist to identify the problem before cutting extensively.
Aftercare and Monitoring
After pruning, collect the debris so you can see the remaining structure and notice any hidden splits. Water during a dry spell if the root zone is dry, particularly for a recently planted tree, but do not keep wet soil saturated. A modest mulch ring helps protect soil moisture; keep it off the trunk and do not use fertilizer as a substitute for diagnosing why branches declined.
Recheck the shape after the next flush of growth rather than trying to make every side perfectly symmetrical in one session. Small differences in sunlight, exposure, and plant vigor can make a row grow unevenly. For a hedge, trim each plant toward the same gentle taper, then stand back from a distance; small adjustments are easier to correct than a heavy pass that cuts through the green shell.
Keep a simple note of the cultivar, last pruning date, and which branches were reduced. That record helps you see whether the hedge is responding and prevents repeated heavy cutting in the same spot. If a branch does not produce visible new growth by the next growing season, do not assume another deep cut will solve the gap; reassess for bare wood or a root, pest, or site problem.
When Pruning Is Not the Right Fix
Stop and get professional advice when you see a split trunk, a cracked main leader, a large branch suspended over a walkway, or damage near electrical lines. Do not climb into a mature arborvitae to reach a top cut, and do not operate a chainsaw from a ladder. A certified arborist can evaluate structural risk and explain whether reduction, cabling, removal, or replacement is appropriate.
Replacement is often more practical when an older hedge has become bare inside, several plants have lost their leaders, or its cultivar is much larger than the site can accommodate. Most conifers do not reliably resprout from bare old wood; yew is an important exception among common hedge conifers, not a rule to assume for arborvitae. The RHS advises considering replacement rather than renovation for an overgrown conifer hedge, because hard reduction may expose wood with no capacity to refill.
Choose a replacement based on its mature height and width, not its nursery-pot size. Set the future top line before planting: if you need a 6-foot screen, select a cultivar whose mature form can live at that height without repeated topping. Proper spacing and early, light formative pruning give the hedge a better start than trying to force a large tree into a narrow bed later.
Conclusion
Prune arborvitae while useful green foliage and living side shoots remain where you want the plant to fill in. Use spring for planned shaping, keep later trims light and early enough for your climate, and taper hedges so sunlight reaches the base. For height reduction, choose a healthy lateral or stop if the cut would enter bare wood; for storm damage, wait for thaw, distinguish bent stems from broken ones, and leave hazardous or major structural work to an arborist.
The best pruning plan respects the plant’s mature size and its limits. When a large arborvitae has outgrown its site or lost its green shell, a smaller replacement can be safer and more attractive than another severe cut.