How to Grow and Care for Monstera Pinnatipartita
Learn Monstera pinnatipartita care for mature, deeply lobed leaves: light, water, airy soil, climbing support, propagation, and symptom-by-symptom fixes.
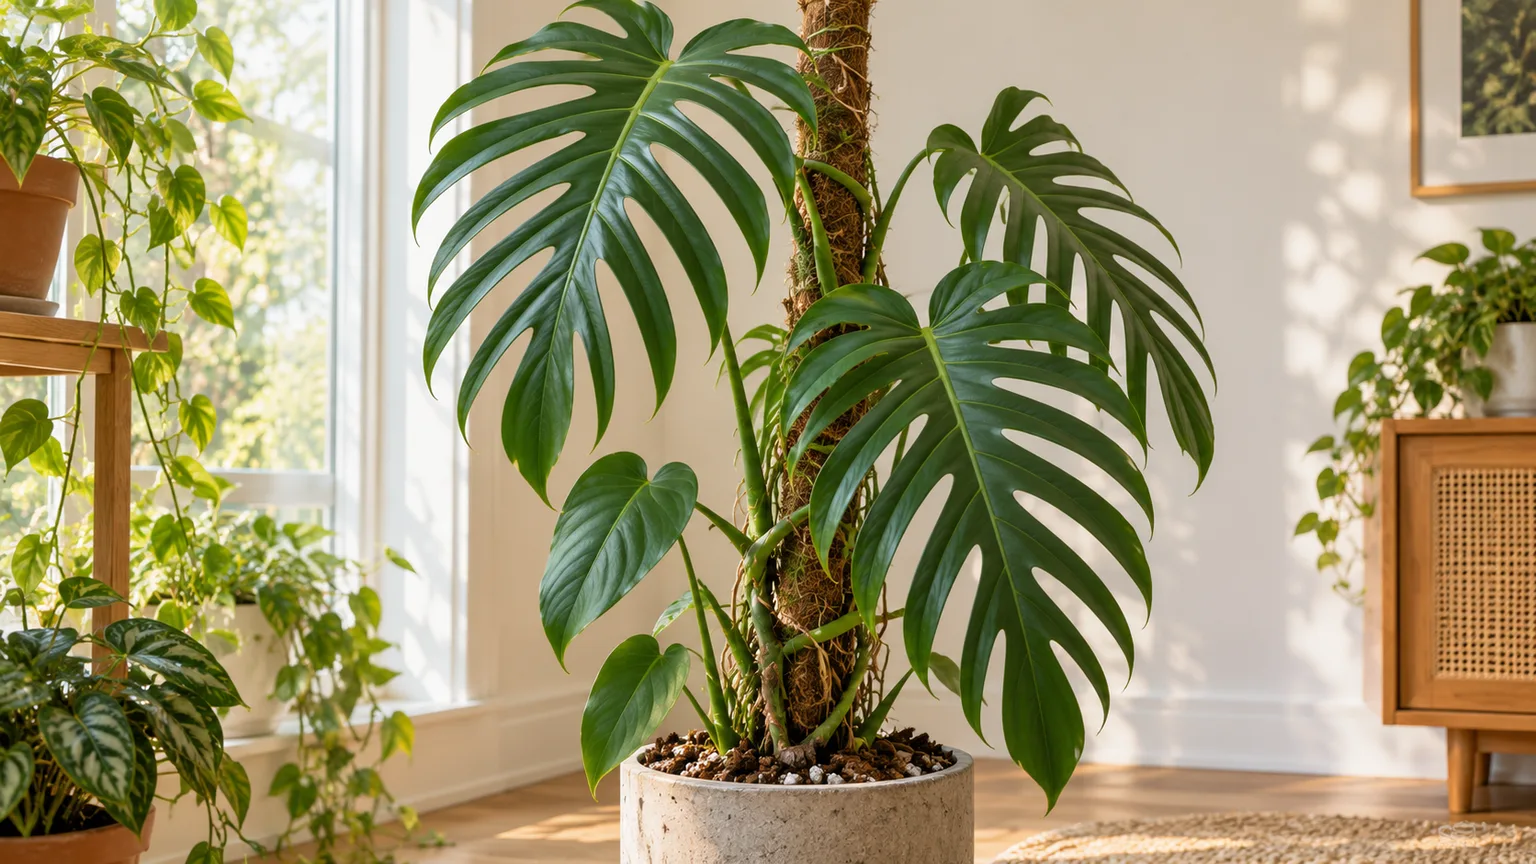
Monstera pinnatipartita is a tropical climbing aroid whose most dramatic leaves arrive with maturity. Young plants can have simple, heart-shaped blades; older growth may divide into long lobes that reach almost to the midrib. If your new plant looks nothing like a mature specimen in a photo, that difference may be age and growth habit rather than a care problem.
For indoor growing, focus on four basics: bright filtered light, a loose mix that drains while holding some moisture, a watering routine based on the root zone, and a stable place to climb. The Royal Horticultural Society lists this species as a tropical evergreen climber and recommends bright indirect light, moderate to high humidity, and a moist but well-drained growing medium. Conditions in a home vary, so use those as a starting point and adjust by watching how the plant and pot respond. (Royal Horticultural Society profile)
Know What Mature Growth Looks Like
Kew recognizes Monstera pinnatipartita as an accepted species in the arum family, Araceae, native to parts of Central and South Tropical America. It grows as a climber in wet tropical habitats. That background helps explain why an indoor specimen appreciates warmth, moisture around its roots, and a vertical support, but it does not mean the pot should remain wet or the room must feel like a greenhouse. (Kew Plants of the World Online)
The mature leaf is the plant’s identifying feature: deep divisions create a feather-like outline, with long sections on either side of the central vein. This is different from the round or oval holes that many people associate with Monstera deliciosa. A listing that promises a young pinnatipartita will arrive with dramatic adult leaves is setting an expectation the plant may not meet for a long time.
RHS gives a mature height range of 4–8 meters and a 10–20 year time to maturity in its plant profile. Those figures describe the plant’s potential under suitable growing conditions, not a timetable for a living-room pot. Indoors, the amount of light, the length of the growing season, support, and root health shape both size and leaf development; a young plant may remain compact and juvenile for years. (Royal Horticultural Society profile)
Juvenile Leaves and Adult Lobes Are Different Stages
Juvenile and mature leaves are not two versions of the same leaf that gradually changes after it opens. Each leaf forms at a growth point, and new leaves reflect the plant’s age and conditions as they develop. Older solid leaves will not split later. A healthy young plant can therefore keep its original simple leaves while later producing broader, more divided foliage as it climbs and gains vigor.
Use the newest leaf as your progress report. A larger, more divided leaf suggests that the plant is maturing in conditions that support it; an unchanged leaf on a small cutting is not a failure. More light and a climbing surface can help support strong growth, but neither forces a young plant to skip its developmental stage. Do not buy a plant based on a guaranteed number of months to mature lobes.
Place It in Bright, Filtered Light
Give the plant a bright position where it can receive abundant daylight without long exposure to harsh midday or afternoon sun through glass. Near an east-facing window is often a useful starting point. A south- or west-facing window may also work if a sheer curtain softens the strongest rays or the pot sits farther from the glass. The RHS calls for bright indirect light, and Fine Gardening notes that Monsteras generally grow more slowly and develop less mature foliage in dimmer conditions. (Royal Horticultural Society profile; Fine Gardening)
Judge the spot from the plant’s actual position, not from the room’s overall brightness. House Plant Journal’s practical light check is to look at how much open sky the plant can see from its location. A plant tucked behind a sofa or several feet from a small window may receive much less usable light than it seems. If new stems stretch toward the window, internodes lengthen, or leaves get progressively smaller, move the plant closer to the light source gradually or add a grow light. (House Plant Journal)
Direct sun is not automatically harmful, but intensity and acclimation matter. A plant grown in a dim nursery can scorch if moved straight into several hours of hot window sun. Increase exposure over a week or two and watch the leaves. Bleached, dry patches on the window-facing side point toward too much direct sun; evenly weak growth and long gaps between leaves point more toward inadequate light.
Water When the Upper Mix Begins to Dry
Do not water on a fixed weekday. Let the upper layer of mix dry somewhat, then check deeper before deciding. For a small pot, feel a few centimeters below the surface; in a tall or wide pot, check farther down because the surface can dry while the lower root zone is still wet. Lift the pot occasionally too: a noticeably lighter container supports what your finger finds.
When the mix has begun to dry, water slowly over the whole surface until water runs through the drainage holes. Let it drain fully and empty the saucer or decorative outer pot. This wets the whole root ball and flushes accumulated salts without leaving roots in standing water. The RHS advises watering during active growth and keeping the mix just moist in winter; Fine Gardening likewise recommends checking soil moisture and improving drainage if it stays wet too long. (Royal Horticultural Society profile; Fine Gardening)
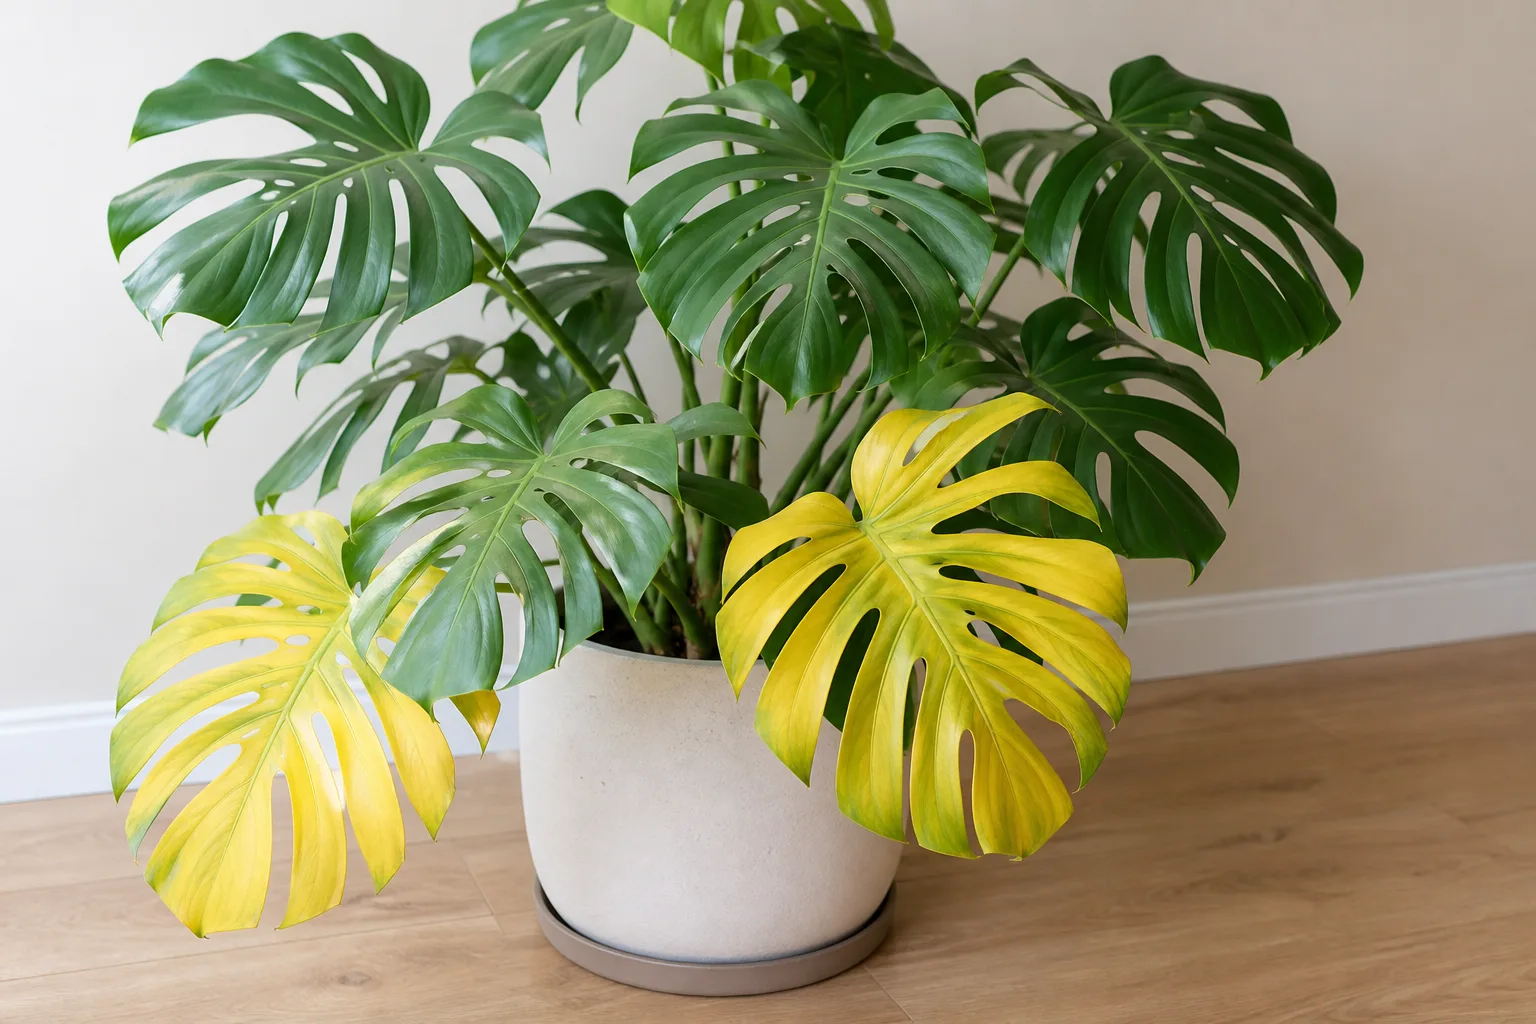
Yellow leaves by themselves do not tell you whether the plant needs water. If the pot is heavy and the mix is damp, watering again can make root stress worse. If the mix is dry several centimeters down and the pot feels unusually light, a thorough drink is more useful than frequent small splashes. Avoid leaving a little water in a cachepot between waterings.
Adjust for Season, Pot, and Room Conditions
The drying interval changes with light, temperature, season, pot size, and mix. A bright warm room can use water quickly during active growth; a cool, dim winter room can leave the same container wet for much longer. A small nursery pot packed with roots may dry quickly, while a large pot with lots of unused mix may stay damp around a small root system. There is no reliable “every seven days” rule that covers all of those situations.
If the surface dries fast but the center remains wet, check the drainage hole and consider whether the mix is too fine or the pot too large. If the whole root ball dries before you notice, water in two passes a few minutes apart so the mix has time to absorb it. In winter, reduce the frequency by waiting longer between thorough waterings; do not keep the plant bone-dry for weeks if it is still actively growing in warm light.
Use an Airy, Moisture-Retentive Potting Mix
The goal is a mix that holds enough water for roots to use while preserving air spaces after watering. The RHS specifies a peat-free, loam-based compost that stays moist but drains well. For a container-grown aroid, a good-quality indoor potting mix amended with orchid bark and perlite or pumice can provide that balance. The coarse pieces should be mixed throughout, not placed as a gravel layer at the bottom of the pot.
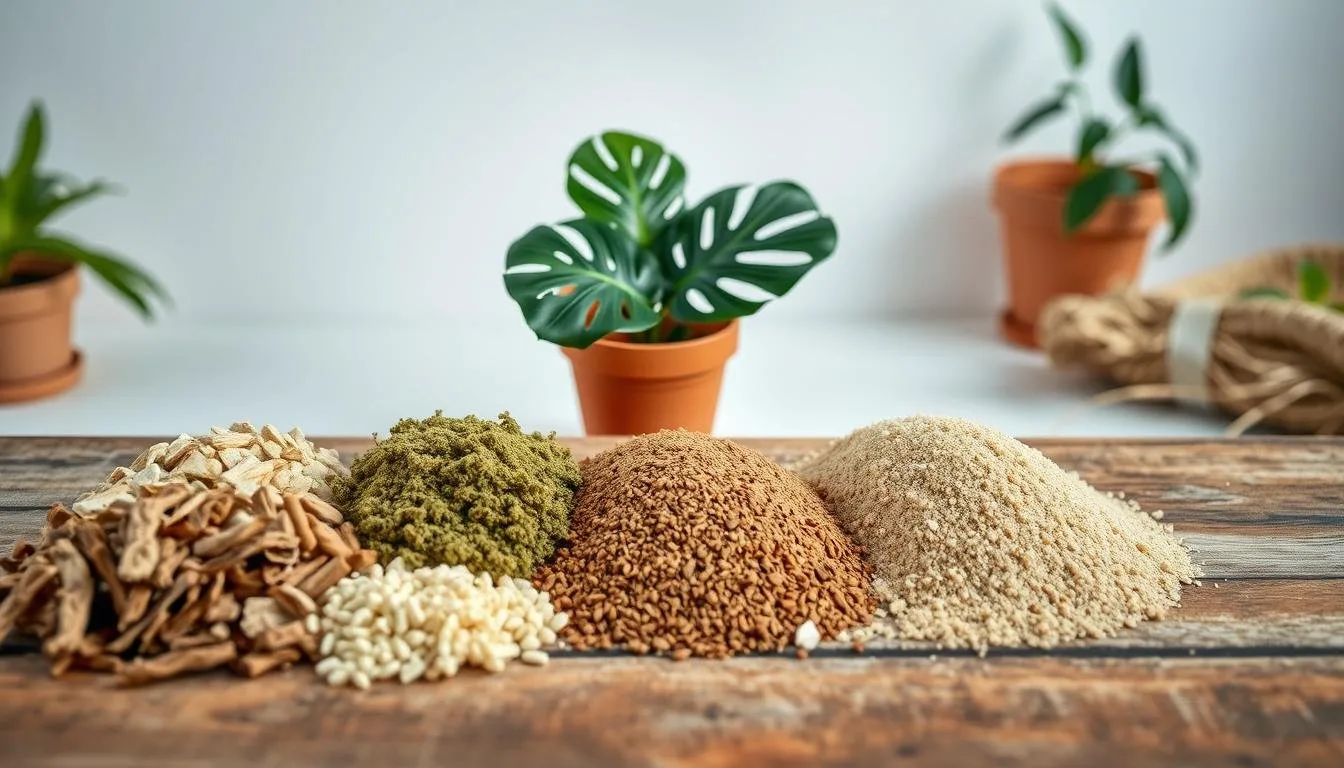
You can start with roughly two parts indoor potting mix, one part bark, and one part perlite or pumice, then adjust after observing dry-down. If the mix stays wet well beyond a week in your cool room, use more coarse material or a smaller pot. If it dries almost immediately in a warm bright spot, add a little more moisture-retentive mix rather than increasing the pot size dramatically. The exact ratio is less important than consistent drainage and the ability to tell when the root zone is drying.
Use a container with open drainage holes. A nursery pot inside a decorative cachepot makes it easy to drain excess water after a soak. Avoid dense garden soil, compacted old mix, and pots without drainage; each makes it harder to keep the roots moist without depriving them of air. Replace mix that has collapsed into a dense mass even if the plant is not tightly rootbound.
Give the Climbing Vine Stable Support
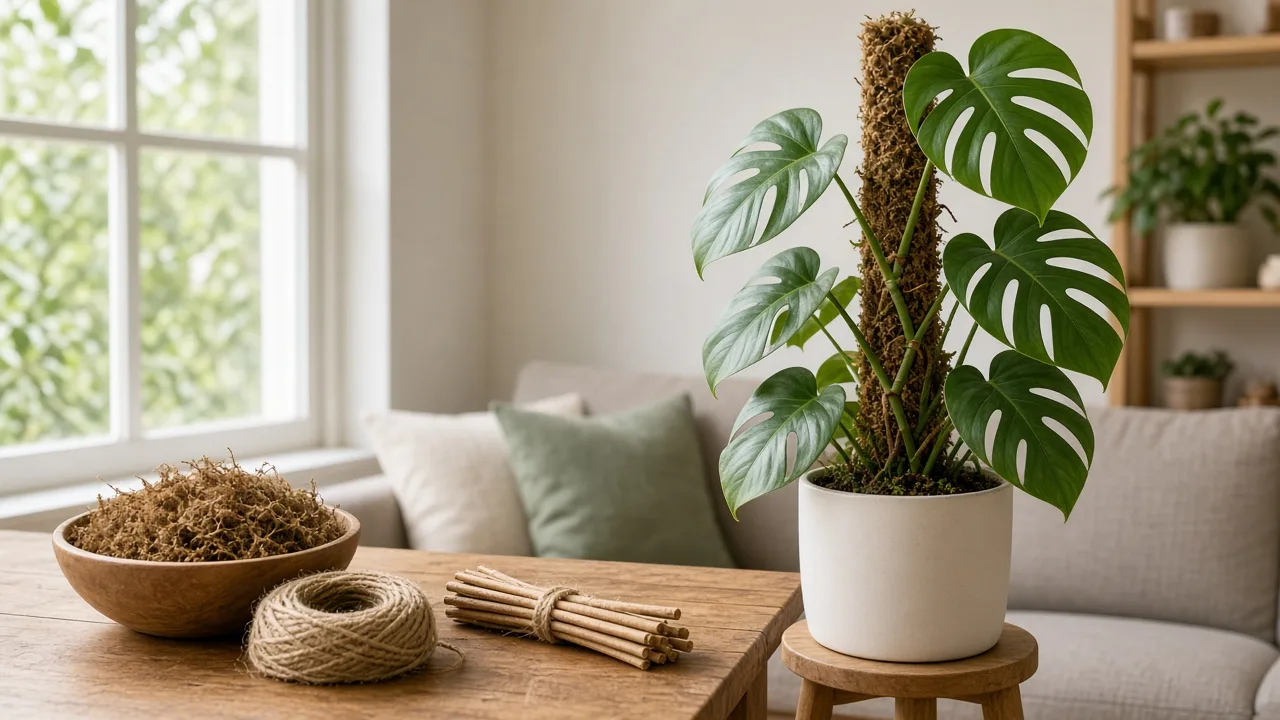
Monstera pinnatipartita can trail, but its natural habit is climbing. A coir pole, moss pole, wood plank, or sturdy trellis gives a long stem a place to attach and keeps leaves from sprawling across nearby furniture. Put support in place while the vine is flexible. If you add a pole later, push it in carefully at the pot edge so you do not spear the root ball.
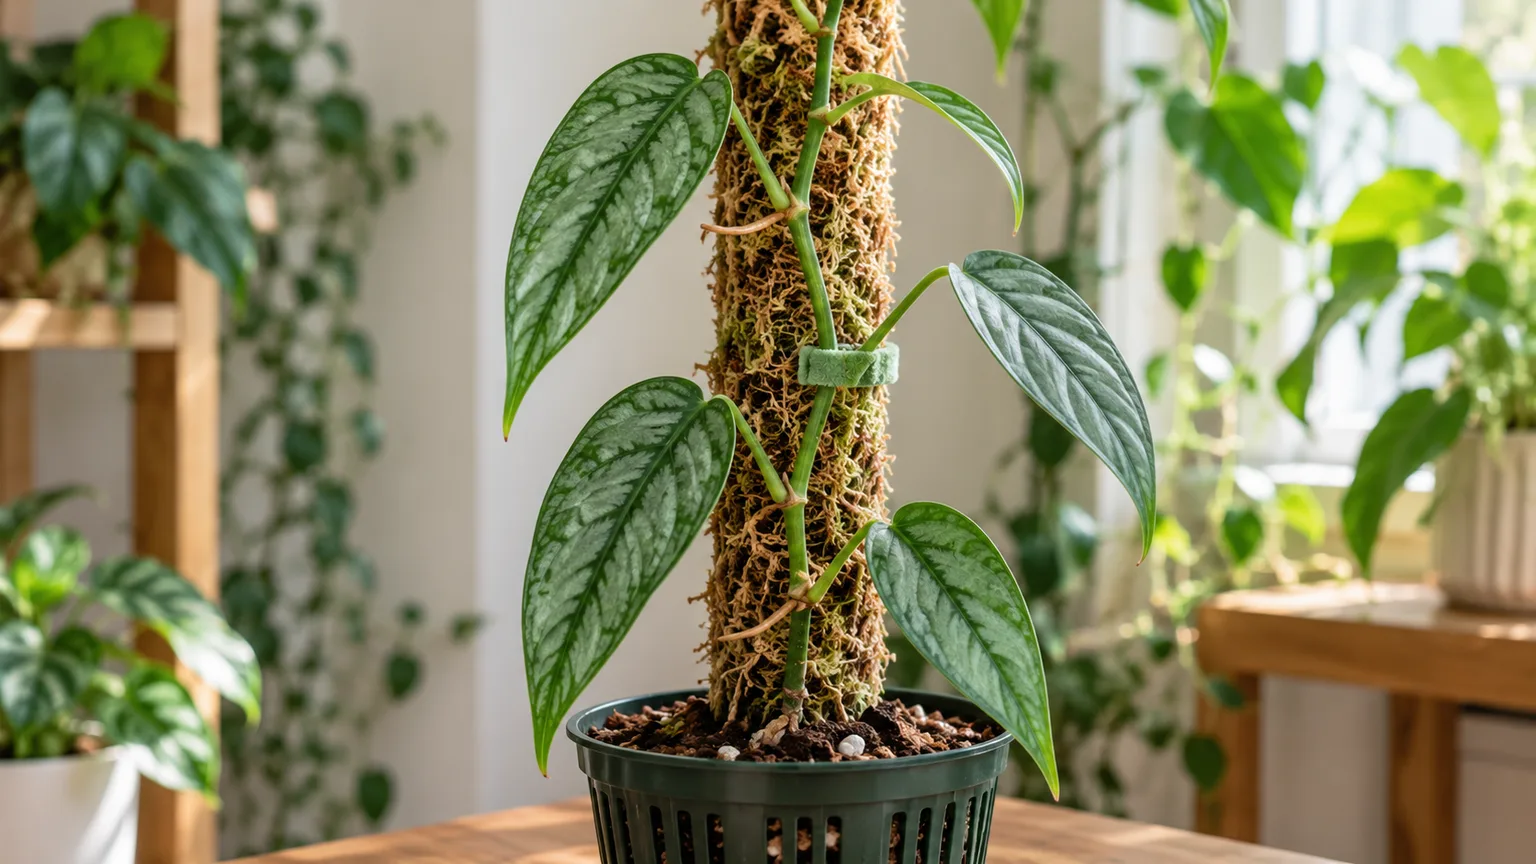
Tie the main stem loosely with soft plant tape or clips. Attach the stem at nodes rather than cinching a leaf stalk, or petiole, against the pole; petioles need room to orient their leaves toward the light. Aerial roots can be guided toward a pole or into the potting mix, but do not cut them off simply because they look unfamiliar. If they cannot reach the support, they can be redirected gently or trimmed when dry and damaged.
A pole is useful for stability and for encouraging upward growth, but it is not a magic switch for mature leaves. The plant still needs enough light and a healthy root system to build larger foliage. If you prefer a trailing plant with smaller leaves, a hanging basket is a reasonable display; choose the form that suits your space rather than treating a pole as mandatory. The RHS describes the species as both climbing and trailing. (Royal Horticultural Society profile)
Maintain Warmth and Useful Humidity
Keep the plant in a comfortably warm room and away from cold drafts, air-conditioning blasts, and heat vents. A tropical evergreen can slow down when the room is cool, and a cold root ball uses water more slowly. That slower dry-down is a reason to inspect the mix before watering, not to keep the previous summer routine.
Moderate to high humidity is helpful, especially as new leaves unfurl, but a home humidifier is more dependable than daily misting. The RHS recommends moderate to high humidity for this species. If the room is dry, run a humidifier near the plant and leave enough space for air to move around the foliage. Grouping plants can make a small local pocket of moisture, but it will not compensate for a cold, dark corner or persistently wet soil. (Royal Horticultural Society profile)
Avoid spraying the leaves as a substitute for watering the roots. Misting raises humidity only briefly and can leave water trapped where leaves overlap if airflow is poor. If you use a pebble tray, keep the bottom of the pot above the water line; the tray is for nearby evaporation, not for keeping drainage holes submerged. Good light and air movement remain more important than chasing a precise humidity number.
Feed During Active Growth
Use a balanced liquid houseplant fertilizer at the label rate while the plant is actively making leaves, following the RHS recommendation for monthly feeding during growth. Fertilizer supports new growth; it does not replace light, healthy roots, or a well-drained mix. A plant that is not growing in winter or after root damage will not benefit from stronger or more frequent doses.
Water the root ball before feeding if the mix is very dry, and do not exceed the product label. If you see a crust on the soil, brown leaf tips, or a sudden decline after repeated feeding, pause fertilizer and flush the mix with plain water when drainage is good. Resume gently when fresh growth returns. Slow-release products can be convenient, but their release rate changes with temperature and moisture, so avoid layering several fertilizer sources without checking what is already in the pot.
Repot When Roots or Mix Give You a Reason
Repot when the roots have filled most of the container, water runs straight through because the root ball is dense, or the potting mix has broken down and stays soggy. Roots emerging from a drainage hole are one clue, not by themselves a crisis. If the plant is stable and water moves through the mix normally, it may be fine in the same pot for another growing season.
Choose a pot only modestly wider than the existing root ball, with working drainage. A much larger pot holds unused wet mix around the roots and can delay drying. Spring or early summer is usually the least disruptive time because the plant can resume growth, but a severely compacted or rotting mix should be addressed when you find it rather than left until a particular month.
Slide the plant out gently and inspect roots before deciding how much to disturb them. Healthy roots are firm; damaged roots may be dark, soft, or foul-smelling. If the roots look sound, loosen only the outer coil and refresh the mix. If many roots are mushy, remove the failed mix and trim dead material with clean shears before repotting into a clean container and fresh airy medium.
Prune Selectively and Handle Aerial Roots Gently
Prune to remove dead or damaged leaves, control a vine that no longer fits its support, or take a cutting for propagation. Use clean, sharp shears and make the cut just above a node if you want the plant to branch from a lower point. A trimmed stem will not grow longer from its cut end, but a dormant node below the cut may activate and make a new shoot.
Keep healthy leaves whenever you can; each one contributes energy for roots and new growth. Aerial roots are part of the climbing habit, not a sign that the plant must be repotted immediately. Guide flexible roots toward a pole or mix. If you trim a dry, awkward root, use gloves and avoid touching your eyes or mouth afterward; RHS notes that the plant may irritate skin and eyes. (Royal Horticultural Society profile)
Propagate With a Node-Bearing Cutting
The dependable home method is a stem cutting that includes a node and its growth point. A leaf and petiole without a node may remain green for a while, but it cannot produce a new climbing stem. Gardening Know How makes the same distinction for Monstera cuttings: new growth comes from the node and axillary bud, so check the piece you intend to cut before making a clean incision. (Gardening Know How)
Choose a healthy stem with at least one node; a visible aerial root can help, but is not essential. Use a disinfected blade and cut below the node. Keep a leaf or two if present, but remove any leaf that would sit under water or in the propagation mix. Spring and summer growth can root faster, yet a healthy cutting may still take several weeks; judge it by new roots, not a fixed date.
Root a Cutting in Water or Potting Mix
For water, place the node below the water surface while keeping the leaf and most of the stem above it. Set the vessel in warm, bright indirect light and refresh the water when it becomes cloudy or depleted. Once several roots have formed and begun branching, pot the cutting into a small draining container with the same airy mix used for the adult plant. Keep it evenly damp while it adjusts, then return to the usual dry-down check.
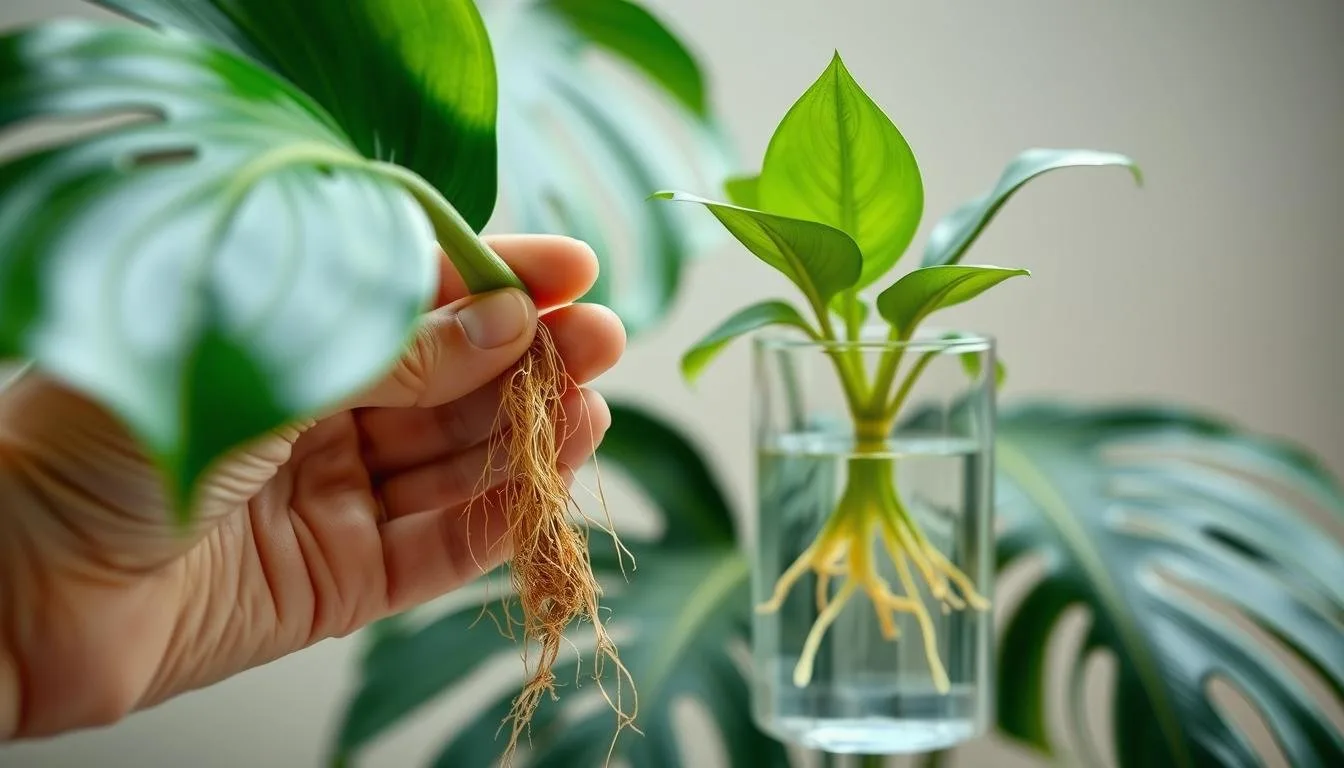
For direct-to-mix rooting, set the node into a lightly moist, airy medium so it is stable and in contact with the mix. A clear humidity cover can slow drying, but vent it and remove it if condensation stays heavy or the cutting begins to soften. Do not keep a leaf buried or let the cutting sit in waterlogged mix. If a cutting shrivels, confirm that the node is still firm and the medium is slightly moist before adding more water.
Water rooting is easy to monitor, but the new roots must adapt to potting mix after transplanting. Direct-to-mix rooting avoids that transition but offers fewer visible clues. Either can work; use the method you can keep warm, bright, and evenly moist without leaving the node soggy.
Air-Layer a Stem That Is Still Attached
Air layering is useful when a tall or awkward stem is hard to remove before it has roots of its own. Choose a healthy node on the parent vine, ideally near an aerial root. Wrap that section with damp sphagnum moss and a loose covering that holds moisture while allowing inspection; do not pack the moss so tightly that the stem stays waterlogged.
Check the moss periodically and re-moisten only when it is drying. When a cluster of healthy roots is visible through the wrap, cut below that rooted section with a clean tool and pot it into airy mix. Leave enough roots attached to support the new plant, and keep it out of harsh sun while it settles. The RHS lists layering among its propagation options for this species, while exact timing depends on warmth, light, and the stem’s condition. (Royal Horticultural Society profile)
Diagnose Common Problems From Conditions and Symptoms
Start with a short inspection before changing care. Check the newest and oldest leaves, the amount of light at the plant, the moisture several centimeters into the mix, whether water drains freely, and the undersides of leaves and stems. A single old leaf may yellow as it ages; several leaves changing at once usually deserve a closer look at roots, watering, light, or pests.
Change one condition at a time when the cause is unclear. Moving the plant, changing the mix, adding fertilizer, and watering more on the same day makes it difficult to tell which issue mattered. Take a photo and note the date; compare the next new leaf and the moisture pattern over the following weeks rather than expecting old damage to disappear.
Yellow Leaves, Brown Edges, and Drooping Stems
If several leaves turn yellow while the pot remains heavy and the mix smells sour or stays wet, suspect poor drainage or overwatering. Slide the root ball out to inspect it if the plant continues declining: mushy, dark roots support a root-rot diagnosis. Remove dead roots, correct the mix and drainage, and wait for the upper root zone to begin drying before watering again. Yellowing alone is not enough evidence to treat the plant for root rot.
If leaf edges turn crisp and the pot becomes very light, the plant may have dried too far between waterings. Water thoroughly, then adjust the interval based on how quickly the pot dries in its current location. Brown patches that appear on the window-facing side after a move suggest sun scorch; protect it from harsh direct sun. Dry edges can also reflect low humidity or fertilizer-salt buildup, so check the room and feeding history before changing the watering routine.
Drooping can follow either dry soil or saturated roots, and a cold draft can worsen it. Feel the mix before watering: a light pot with dry mix points toward thirst, while a heavy pot with wet mix points toward root stress. If the mix is moist and roots are firm, look for a recent cold exposure or pest issue. Fine Gardening identifies root problems and moisture imbalance as common Monstera concerns, which is why the root zone is more useful evidence than leaf posture alone. (Fine Gardening)
Slow Growth and Leaves That Stay Unlobed
If a juvenile plant produces small, solid leaves, first ask whether it has reached the mature stage. A young cutting may take a long time to develop divided foliage, and no care routine can promise a particular deadline. Give it a stable place to climb, maintain bright filtered light, and keep roots healthy; do not try to force faster growth with excess fertilizer or a permanently wet pole.
If a mature plant has stopped growing, inspect light and roots before changing the fertilizer. A dim location limits the energy available for new leaves, while a compacted mix or pot that remains wet can limit root function. Move the plant toward brighter filtered light gradually and correct drainage if needed. Be patient after repotting or propagation: established roots and a settled growing point matter more than a quick burst of feed.
Watch for Pests, Sap Irritation, and Pet Exposure
Inspect leaf undersides, petioles, and the stem near nodes when you water or wipe dust from the leaves. Scale insects can look like small fixed bumps; spider mites may leave fine webbing and stippled foliage. Isolate a new or affected plant while you inspect it, then remove pests you can see and follow the label on any insecticidal soap or other treatment you choose. Repeat checks matter because eggs and hidden pests may survive the first cleanup.
RHS lists Monstera pinnatipartita as harmful if eaten and notes that its sap can irritate skin and eyes. Keep the plant where pets and children cannot chew leaves, and wear gloves when pruning or repotting. Wash tools and hands after handling sap, and avoid touching your face during the work. (Royal Horticultural Society profile)
If a pet chews the plant, remove access to the foliage and contact a veterinarian or animal poison service for advice, especially if the animal seems distressed. Do not try home treatments based on a guess about how much was eaten. For households where a curious pet can reach the plant, a high shelf may not be enough once the vine grows; choose a secure room or another plant placement that remains inaccessible as stems lengthen.
Conclusion
The most reliable Monstera pinnatipartita routine is simple but responsive: bright filtered light, an airy mix, thorough watering after the upper root zone starts to dry, and enough warmth for steady growth. Give the climbing stem support if you want an upright plant, and treat deeply lobed leaves as a stage of maturity rather than something a new cutting must display immediately.
When a leaf yellows, browns, or droops, inspect the soil and roots before changing the schedule. When growth stalls, check light, support, and root health before increasing fertilizer. With those checks in place, the plant can develop at its own pace, and each new leaf will give you a more useful signal than any calendar promise.