How to Kill Mold on a Window Sill Safely
Learn how to kill mold on a window sill safely, choose a cleaner for wood or vinyl, spot leaks, and prevent the condensation that makes growth return.
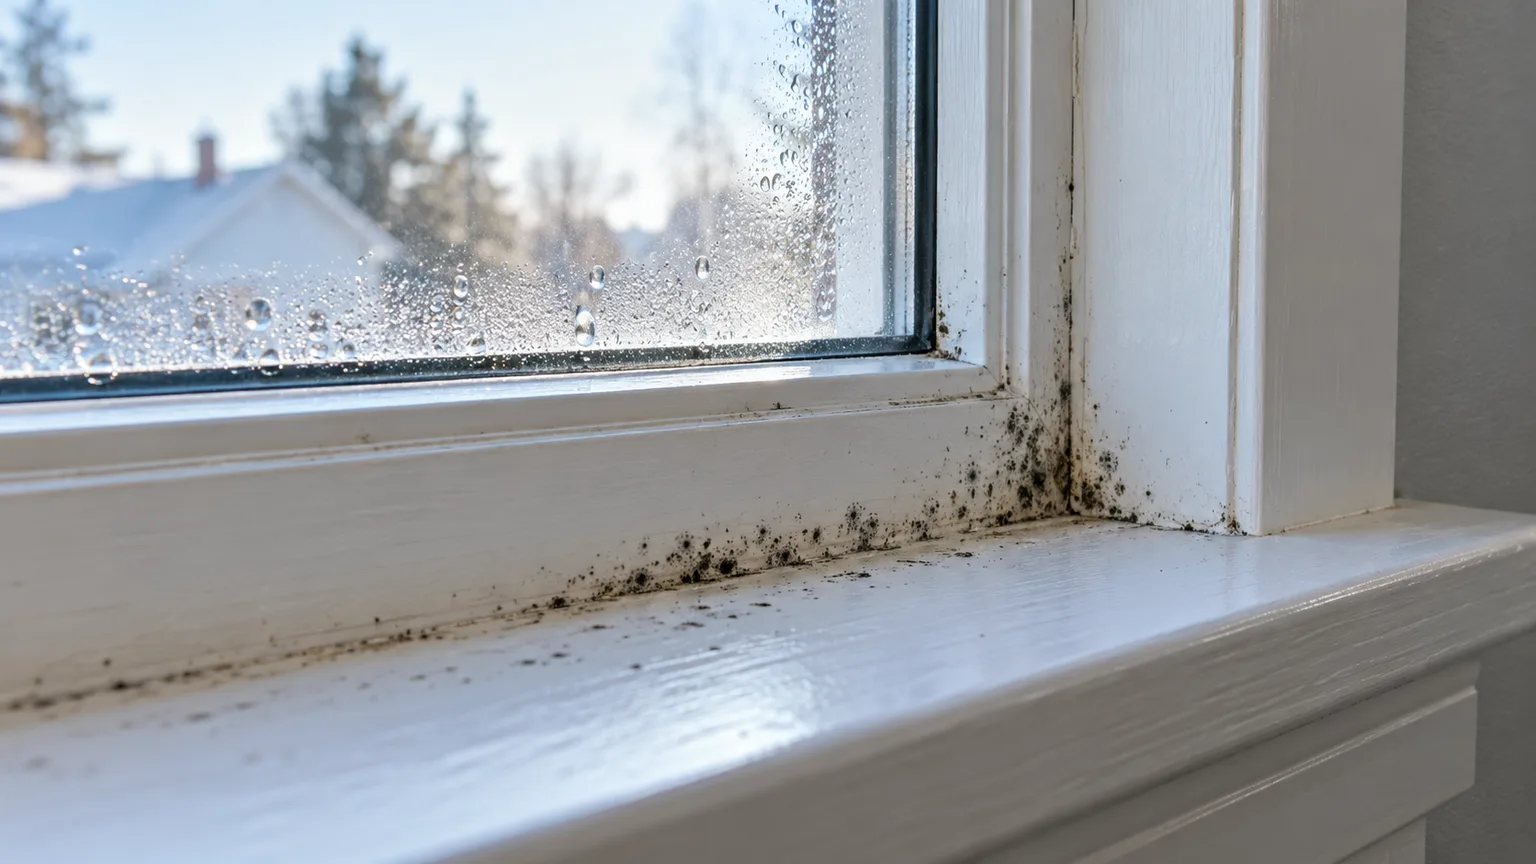
If mold is limited to a small patch on a sound, washable window sill, you can usually remove it by damp-cleaning the surface with detergent and water, then drying it completely. The harder part is preventing another patch: condensation, a leak, or a damaged window joint has to stop keeping the sill damp. A stronger spray cannot compensate for a wet sill or mold growing down inside damaged wood.
Start by checking whether the surface is hard and intact, whether water is appearing on the room side of the glass, and whether the spot is small and accessible. The U.S. Environmental Protection Agency (EPA) says that, in most cases, people can handle mold growth covering less than about 10 square feet, but water damage, hidden growth, health concerns, and the affected material can change that decision. Its basic advice is to scrub mold off hard surfaces with detergent and water, dry them completely, and remove porous materials when growth cannot be cleaned out. EPA’s home cleanup guidance is a useful boundary, not a guarantee that every smaller patch is a safe do-it-yourself job.
The short answer: remove the growth and solve the moisture
For a small patch on an intact painted sill, vinyl frame, tile, glass, or another hard surface, use a damp cloth and ordinary detergent to physically remove the visible growth. Wipe carefully instead of dry-brushing or sanding, rinse the surface with a clean damp cloth if its finish allows, and dry it at once. If the sill is swollen, soft, crumbling, or persistently wet, stop at surface cleaning and find out whether the material or the wall behind it needs repair.
You do not have to sterilize a room or make every mold spore disappear. The EPA says spores remain in ordinary indoor air and dust, but they will not grow without moisture; dead mold also needs to be removed because it may still trigger allergic reactions in some people. Bleach, vinegar, and “mold-killing” sprays are not substitutes for removing residue and correcting the water problem. The EPA does not recommend biocides such as chlorine bleach as a routine part of mold cleanup. Its bleach guidance explains why wiping, ventilation, and moisture control matter more than escalating to a stronger-smelling product.
Identify the moisture source before you clean
A windowsill is a collection point: water running down glass lands at a horizontal ledge, dust sticks to the damp film, and the frame or caulk may stay wet after the glass looks dry. Mold may appear as dots, streaks, or a fuzzy film in the corners, but color cannot tell you the species or how hazardous a patch is. Treat visible growth as a reason to check the moisture, not as a home diagnostic test.
Before wiping anything, take a quick look at several windows and note when the sill becomes wet. Is it mostly the coldest mornings? Does the water appear after rain? Is it between the glass panes, inside a track, or emerging from the wall-to-frame joint? Those patterns help decide whether to focus first on indoor humidity or ask for a window and wall inspection.
Condensation leaves a repeatable pattern
Room-side condensation forms when humid indoor air meets cold glass or frame surfaces. It often appears overnight or during cold weather, beads across the inside face of the pane, and drains to the lower track or sill. Kitchens, bathrooms, bedrooms, and rooms with humidifiers or indoor clothes drying can add moisture to the air; closed blinds or curtains and objects packed tightly against the window can also limit the warm airflow that would help the surface dry.
A quick way to test the condensation theory is to dry the sill and lower glass, then check them at the same time on several mornings. A small hygrometer can help you understand the room’s relative humidity, but it cannot diagnose why one window is colder than another. EPA advises keeping indoor humidity below 60 percent and, when possible, in the 30 to 50 percent range; in winter, a home may need the lower end to avoid sweating windows. The EPA’s moisture guide also recommends drying water promptly and reducing the source.
Condensation is different from fog trapped between panes. If moisture sits inside the sealed space of a double- or triple-pane unit and cannot be wiped from either accessible side, a failed insulated-glass seal may be involved. This Old House’s window-condensation guide explains the difference between outside, room-side, and between-pane moisture. A failed seal is a window repair question; it does not by itself prove that the dark patch on the room-side sill came from inside the glass unit.
Leaks and failed seals leave different clues
Water intrusion becomes more likely when staining appears after rain, the upper or side trim is damp, paint is blistering, caulk is separating, or the sill stays wet when there is no room-side condensation. Soft wood, swollen trim, peeling wallpaper below the window, and damp flooring are stronger reasons to investigate the assembly rather than repeat a wipe-down. Cold-surface condensation and a leak can happen at the same time, so one pattern does not rule out the other.
Do not pry trim off or cut into the wall just to see what is behind it. Window leaks can travel through joints at the frame, sash, and wall opening, and moisture may be hidden before it stains the room-side finish. The U.S. Department of Energy’s Building America Solution Center recommends assessing infiltration and deteriorated materials before window work; it notes that water staining, peeling finishes, and damage below a window can point to either intrusion or condensation. If the likely path is not obvious, an experienced window or building-envelope contractor can inspect without turning a small surface cleanup into uncontrolled demolition.
Set a safe cleanup boundary
The EPA’s approximate 10-square-foot guideline is about a 3-foot-by-3-foot patch. A small sill patch is usually far below that area, but the number does not overrule other warning signs. Do not treat it as a permission slip when contamination follows flooding, sewage, or a major leak; extends into drywall or insulation; keeps returning; appears inside HVAC equipment; or affects several large areas.
A person’s health and the building material matter as much as square footage. CDC says people with allergies, immune suppression, underlying lung disease, asthma, or COPD should not take part in mold cleanup. If one of those conditions applies, arrange for someone else to handle the work or talk with a health professional first. CDC recommends at least a NIOSH-approved N95 respirator, gloves, and goggles for people cleaning mold; eye protection should seal against dust rather than leave open vents. See the CDC’s current mold cleanup recommendations for the full safety guidance.
A small patch still has exceptions
Even a small patch is not a straightforward wipe-down if the sill crumbles when touched, the wood feels soft under the finish, mold is visible at the drywall seam, or a musty odor continues after the surface dries. Repeated growth in the same place means the first cleanup did not remove the moisture source or the affected material. Stop applying cleaner and arrange an inspection if the stain is spreading under paint or into the wall.
Avoid dry scraping, sanding, wire-brushing, or ordinary vacuuming of visible growth. Those methods can disturb material and spread dust through the room; sanding also creates a separate hazard if old paint contains lead. If the home predates 1978 and a painted window will need scraping or renovation, get lead-safe guidance before disturbing the coating. The EPA’s lead renovation program explains that work disturbing lead-based paint can create hazardous dust and that hired contractors generally need lead-safe certification for covered work. Do not use a fan aimed at a moldy sill while cleaning; it can move particles beyond the immediate work area.
Match the cleanup to the sill material
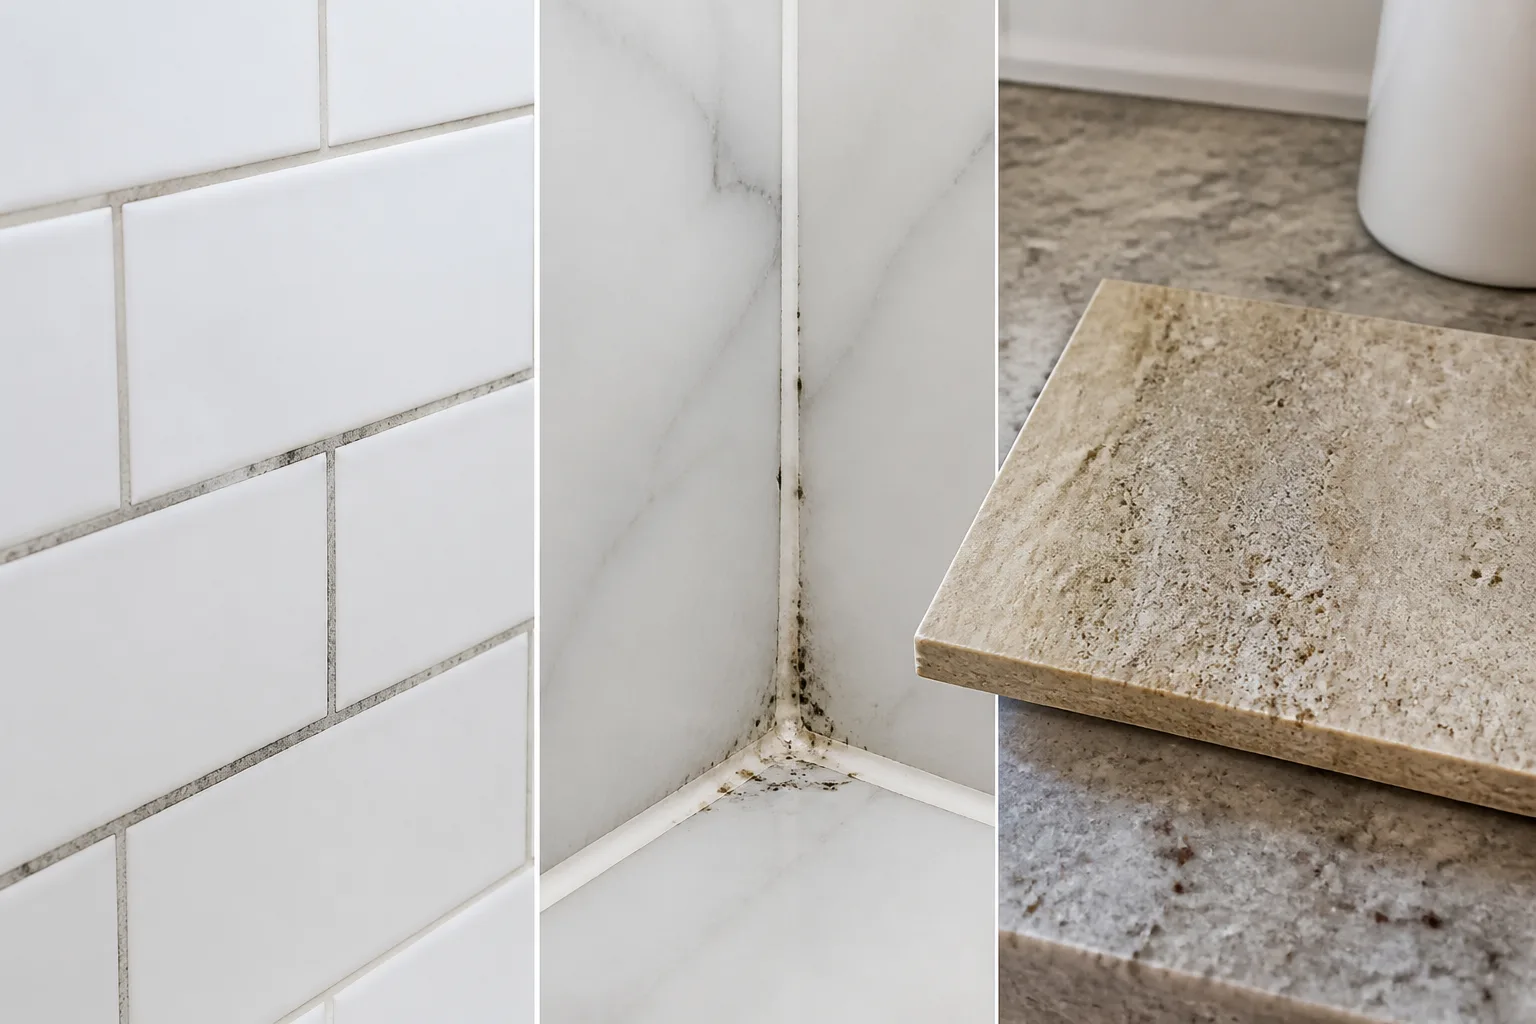
“Window sill” can mean painted wood, bare wood, fiberboard, vinyl, aluminum, tile, stone, or even the drywall return beside the window. Those materials do not tolerate the same amount of water or abrasion. First identify what the growth is sitting on, then choose the least aggressive method that can physically remove it.
Painted or sealed wood
A hard painted or sealed sill can often be cleaned with a lightly damp cloth and detergent, provided the paint is intact and the water is not entering through a crack. Work with the grain and use a soft nylon brush only for an edge or groove that a cloth cannot reach. Keep the cloth damp rather than dripping, because soaking the joint between the sill and frame can push water into the wood.
After the visible material is removed, wipe off cleaner residue as the product label or paint finish requires, then dry the surface completely. If the remaining dark mark is flat and the wood is sound, it may be staining rather than growth. Do not chase a stain with aggressive bleach, scouring pads, or sanding; those can remove the finish and expose absorbent wood without fixing the cause.
Bare, swollen, or porous material
Bare wood can absorb water, and painted wood can become porous where its coating is cracked or peeling. Medium-density fiberboard (MDF), particleboard, drywall, and other composite or paper-faced materials are especially difficult to clean once they are swollen or moldy through the surface. The EPA warns that porous materials may need to be discarded because growth can occupy their pores and crevices; a spray cannot reliably reach what is underneath.
If a small, superficial mark is on otherwise firm bare wood, avoid flooding it and monitor it after careful surface cleaning. If it is soft, swollen, delaminating, deeply stained, or musty after drying, get a repair assessment rather than sealing it under primer. A window professional can determine whether the sill, casing, or hidden wall material needs to be replaced. Never caulk or paint over active growth or damp wood: the EPA notes that paint applied over moldy surfaces is likely to peel, and a coating can conceal rather than correct continuing moisture.
Vinyl, metal, glass, tile, and stone
Hard nonporous surfaces are generally easier to clean because growth sits on the face instead of filling a porous substrate. Wipe vinyl, glass, or metal with detergent and water, paying attention to the lower track and gasket where grime collects, then dry those channels thoroughly. Avoid soaking electrical parts, drainage openings, or manufacturer-specific window components, and use the window maker’s care instructions when available.
Glazed tile can usually be wiped, while grout and caulk need closer attention because cracks and deteriorated sealant can hold moisture. Do not assume that every stone sill tolerates household acids: marble, limestone, and similar calcareous stones can be etched by acidic cleaners. For unfamiliar finishes, test a hidden spot with the intended cleaner or use a compatible pH-neutral detergent. When cleaning cannot remove growth from failing caulk or a damaged gasket, replacement may be more reliable than repeated treatment.
Clean a small, accessible window sill
The steps below are for a limited patch on a stable surface when the likely moisture source is understood and the cleaner can reach the whole affected area. They are not instructions for flood cleanup, extensive mold, or removing a window or wall. If anything about the surface or exposure changes while you work, stop and reassess.
Isolate the area and protect yourself
Move nearby belongings, curtains, and plants away from the sill so they do not touch the wet surface. Keep children and pets out of the room. If you are an otherwise healthy adult choosing to clean a small patch, put on gloves, a NIOSH-approved N95 respirator, and sealed goggles before disturbing the growth; CDC recommends this protective equipment for mold cleanup.
Open a window or use exhaust ventilation that sends air outdoors when practical, while avoiding a draft that carries debris into occupied rooms. Set out a small bowl of detergent solution, clean cloths, a soft brush for grooves, a second cloth for a clean-water wipe, and a waste bag. Do not pre-mix cleaners, decant chemicals into an unlabelled bottle, or combine bleach, ammonia, vinegar, or any other cleaning products.

Wipe and scrub with a compatible cleaner
Dampen a disposable or washable cloth with water and a small amount of ordinary detergent. Starting at the cleaner edge, wipe toward the affected patch with controlled strokes; fold to a clean cloth section as it picks up residue. If growth clings in a corner, use a soft brush with light pressure while keeping the area damp enough to avoid dry dust but not so wet that liquid runs into the joint.
For hard surfaces, EPA’s basic method is detergent and water, followed by complete drying. A disinfectant or biocide is not routinely required. If you decide to use a commercial mold product for a compatible surface, follow its label exactly, ventilate the area, and do not combine it with another cleaner. Bleach should not be the automatic next step after detergent; it can discolor or damage finishes and does not solve growth embedded in porous materials.
Dry, then check what remains
Use a fresh dry towel to absorb the remaining moisture, including the underside of the sash, track, sill corners, and nearby frame. Let the area finish air-drying; do not repaint or caulk while it is damp. Bag used disposable cloths and other cleanup debris, remove gloves without touching their dirty exterior, and wash your hands. Launder reusable cloths separately before using them elsewhere.
Inspect again only after the sill is dry. If the surface is clean but discolored, the color may be a stain; removing every pigment mark is not the same as preventing growth. If fuzzy material remains, the finish is lifting, or the area smells musty, do not cover it with primer. Repeated scrubbing can damage the sill and spread the problem; investigate the substrate and the moisture source instead.
Keep mold from returning
Cleaning is complete only when the visible growth has been removed, the material is dry, and the moisture problem has been corrected. The EPA recommends fixing leaks promptly and drying wet areas within 24 to 48 hours when possible. That window is a response target after a leak or spill, not a promise that mold always waits two days before growing. A chronically wet sill needs daily moisture control and, if there is a leak, a repair.
Lower condensation without overcorrecting
For recurring room-side condensation, first use the moisture-producing systems that are already there: run a kitchen or bathroom exhaust fan when cooking or showering, make sure the dryer vents outdoors, and avoid running a humidifier higher than the room needs. Lift curtains or blinds enough to let indoor air reach the glass, and leave a little space between the sill and objects that block airflow. A dehumidifier can help in a persistently humid room, but it will not repair a leaking window or rotted frame.
If droplets collect on the glass each morning, wipe the pane and sill dry rather than letting water pool for hours. Track whether this happens at one window or across the home. If the rest of the windows stay dry while one sill remains wet, consider a cold spot, blocked airflow, a damaged seal, or water entering at that assembly. If multiple windows sweat, the indoor moisture balance or ventilation may be a broader issue. This Old House’s practical condensation advice covers humidity, airflow, fans, and the distinction between room-side and between-pane condensation.
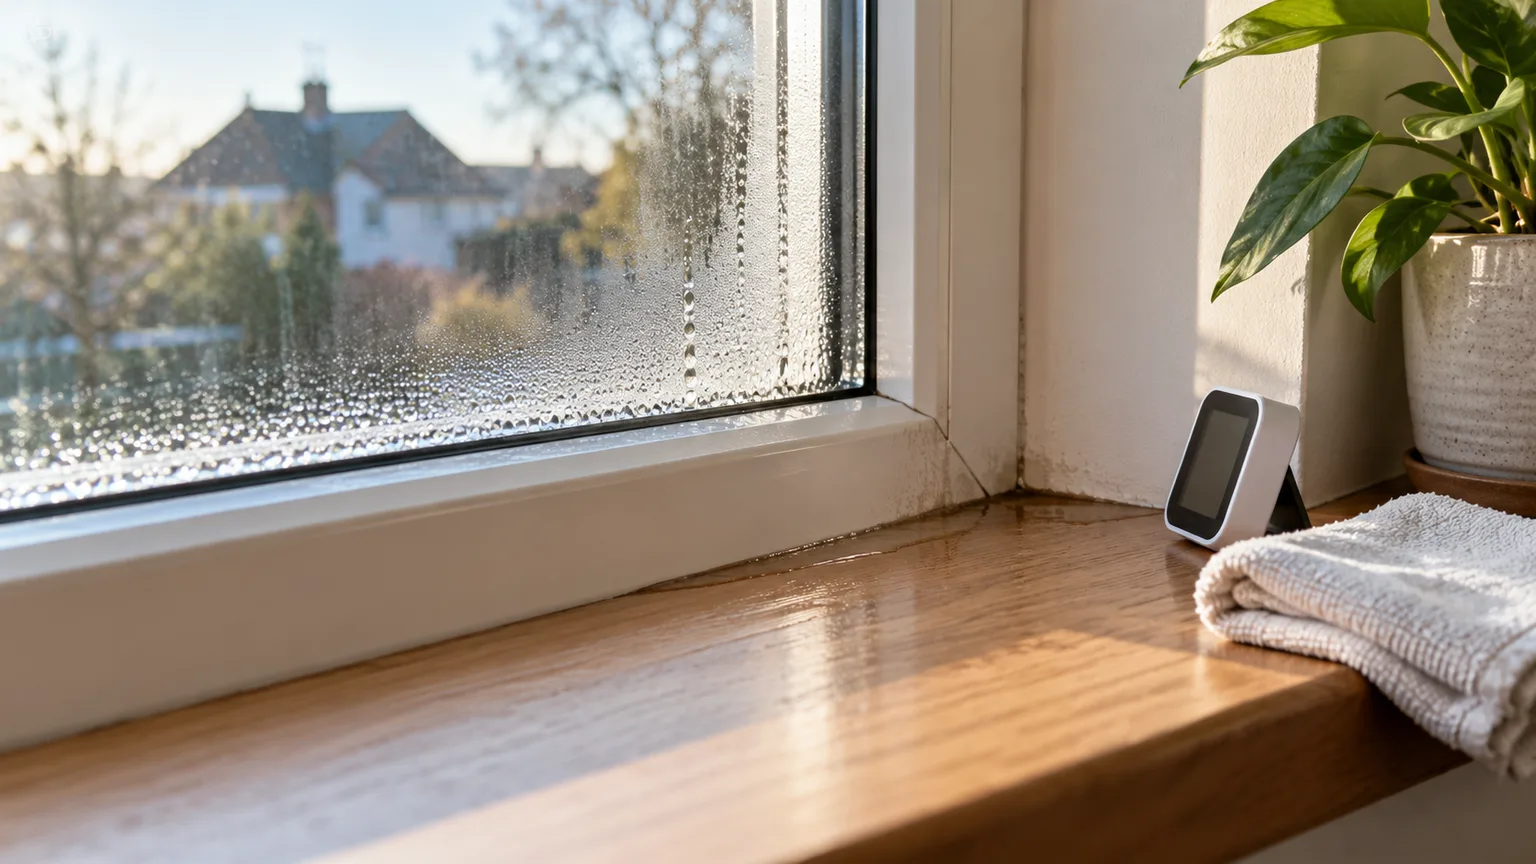
Use a hygrometer as a trend tool, not an absolute pass/fail device. EPA’s suggested relative-humidity range is below 60 percent, ideally 30 to 50 percent where possible, but the coldest glass can still condense moisture in a home that reads lower at room center. In cold weather, lower the humidifier setting and increase ventilation or air circulation before assuming the window needs replacement. If humidity changes do not alter heavy condensation on one window, an installer can assess insulation, air leakage, drainage, and the unit seal.
Repair water entry and damaged finishes
If water appears after rain, ask for the flashing, frame joints, exterior sealant, drainage paths, and sill condition to be checked. Do not simply run new caulk over a drainage slot or weep hole; some windows are designed to shed water through openings in the frame. The repair needs to follow the window’s design and the actual path water takes. A contractor should be able to explain what is leaking and how the proposed work fixes that route.
Once the wood is dry and clean, a sound painted surface can be refinished if needed. Remove only loose finish using an appropriate, lead-safe method; do not use primer as a mold treatment or to hide dampness. If the sill is split, soft, or rotting, replacement may be safer and longer-lasting than another coat of paint. Keep records of repeat wetting and repairs so you can tell whether a solution stopped the problem or only hid the stain.
When to call a professional or notify a landlord
Call an experienced mold-remediation or water-damage professional when the affected area is larger than about 10 square feet, follows sewage or floodwater, extends into wall cavities, involves HVAC equipment, or returns after a reasonable moisture repair. Professional help is also sensible if the window trim is soft or rotted, water has damaged the wall or flooring, or identifying the source would require opening the wall. Ask the contractor how they will contain the work area, remove or clean affected material, correct the water source, and verify drying; be wary of a proposal that only sprays or paints over the visible spot.
A mold test is usually not the first step when you can already see growth. EPA notes that no federal mold-spore limits exist for indoor air, so a test cannot tell you whether a home complies with a general federal mold standard. Visible growth already tells you to clean the surface or damaged material and correct moisture. Testing may have a narrow role in a professionally designed investigation, but a color name or a consumer kit cannot replace a building inspection or health evaluation.
If you rent, take dated photos and report the mold and any active leak, condensation, soft wood, or peeling finish to the landlord or property manager in writing. Ask for the moisture source to be inspected and repaired, not only for the visible spot to be cleaned. Save the report and any response, and follow the repair and escalation process that applies where you live; landlord duties and tenant obligations vary by jurisdiction. EPA’s homeowner and renter guide specifically tells renters to report leaks and moisture problems promptly to the building owner or manager.
Conclusion
To kill and remove a small patch of mold on a window sill, use a controlled damp-cleaning method on a stable surface, remove the residue, and dry the area completely. Choose the method by the sill material; a cleanable vinyl or painted surface is a different job from soft wood, swollen MDF, or mold that reaches drywall. Bleach is not a routine shortcut, and a stain that remains after cleaning does not automatically mean the cleanup failed.
The lasting fix is the moisture correction. Wipe and track condensation, reduce excess indoor humidity, improve airflow, and get water intrusion or deteriorated window parts repaired. If growth is large, hidden, recurring, flood-related, connected to HVAC, or risky for someone in the home to clean, stop DIY work and bring in the right professional.