How to Make an IKEA Greenhouse Cabinet for Plants
Learn how to make an IKEA greenhouse cabinet with the right shelf layout, grow-light timer, fan, humidity checks, and cable routing for tropical houseplants.
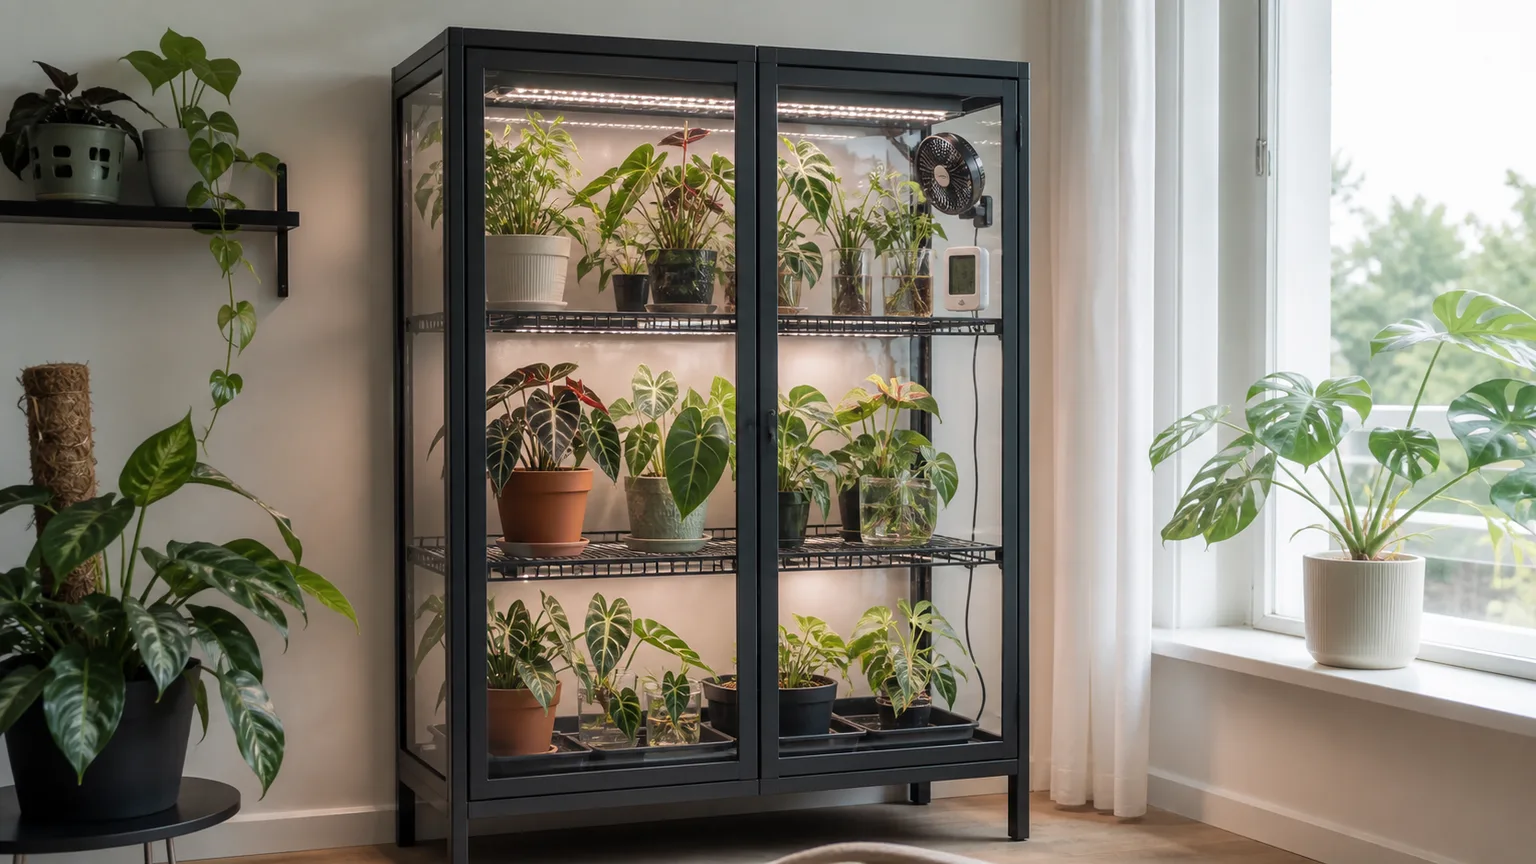
An IKEA greenhouse cabinet is a glass-door display cabinet fitted with plant lighting and, when needed, a fan or humidifier. It can make a useful home for tropical foliage plants that need more stable humidity or brighter light than a dim room provides, but it is not a sealed greenhouse just because the doors close. The best builds start with the cabinet’s dimensions and load limits, then add only the equipment that your plants and measurements call for.
You do not need to drill first, buy a humidifier on day one, or fill every shelf. A simpler route is to assemble the cabinet, test the lights and airflow, watch temperature and humidity across a full day, and bring plants in only after the setup behaves predictably. That sequence protects both the cabinet and the plants while leaving room to add features later.
What an IKEA greenhouse cabinet can and cannot do
A plant cabinet is best understood as a bright, sheltered display space, not a sealed terrarium or a climate-controlled commercial greenhouse. It can reduce drafts, keep plants together, and make supplemental light easier to position. A closed cabinet may also hold more moisture than the room around it, but the amount depends on gaps, room conditions, plant count, watering, ventilation, and the cabinet itself.
That variability is useful when you grow several humidity-tolerant tropicals, but it can be a disadvantage if you treat one humidity number as a goal for every plant. A cabinet that stays wet and stagnant can encourage fungal problems, while a plant that likes dry air or a dry rest period may be a poor fit. The American Orchid Society notes that humidity and air movement need to be balanced: moving air helps carry away stale, moist air, but a strong breeze in a low-humidity area can dry plants too quickly. Its orchid guidance is especially useful when you keep orchids, but the broader lesson applies to any crowded, humid plant space.
Think about the cabinet as a way to make care more consistent, not as a cure for weak light or incorrect watering. A grow light cannot compensate for roots kept in soggy soil, and a humidifier cannot solve an airflow problem by itself. The equipment should support suitable plant care; it should not turn the cabinet into a sealed box that you rarely open.
| Setup style | What it does well | Main tradeoff |
|---|---|---|
| Display cabinet with lights | Organizes plants and supplies a predictable light schedule | Humidity may stay close to room conditions |
| Cabinet with lights and a small fan | Adds gentle movement through crowded foliage | Does not necessarily exhaust warm or humid air |
| More enclosed, humid setup | Can support selected humidity-sensitive tropical plants | Needs closer monitoring for condensation, heat, and fungal issues |
Choose a cabinet by footprint, access, and load
Start by measuring the place where the cabinet will sit, not just the cabinet footprint. Allow room for the door swing, cable exit, access to an outlet, and a few inches of clearance from curtains or heating vents. If the cabinet will sit beside a sunny window, remember that direct sun through glass can warm a small enclosed space quickly; use a room thermometer during the brightest part of the day before committing to that location.
Then measure the plants you intend to keep, including the pot, saucer, and expected growth. Count the vertical distance needed above each plant, and make sure you can reach the back corners without lifting several pots out of the way. A cabinet that looks roomy when empty can become awkward once trailing stems, watering cans, and the door frame all compete for space.
Check the product page and assembly instructions for the exact cabinet and country where you are buying it. IKEA’s current MILSBO product listing, for example, describes a steel-and-aluminum frame, tempered-glass panels and shelves, a factory cable outlet at the top, and a maximum load of 11 pounds per shelf; it also says the cabinet must be anchored securely to a wall. Those details are specific to that model, not a promise about every glass cabinet. and verify the specifications of any other model before changing shelves or loading pots.
Put heavy pots low and spread weight instead of concentrating it on one small point. A filled watering tray can weigh more than it appears, and the total load includes pots, plants, soil, water, lights, shelves, and accessories. Do not assume that a glass shelf can safely support a long row of wet ceramic planters just because it feels sturdy when tapped.
The cabinet should also be stable in the room where it will live. Follow the model’s wall-anchoring requirements with suitable fasteners for your wall material; keep children and pets in mind when choosing the location; and do not treat a wall anchor as optional just because the cabinet is heavy. For models that require two people during assembly, enlist a second person rather than trying to hold large glass panels and align the frame alone.
Materials and tools: start with a simple setup
You can build a useful first version with fewer pieces than a fully automated cabinet. Start with the cabinet and its instructions, a grow light sized to the shelves, a plug-in timer if the light does not include scheduling, a small circulation fan, and a thermometer-hygrometer. Add removable plant saucers or a waterproof tray to catch drips, plus cable clips or a grommet if the model’s approved pass-through needs them.
Treat a humidifier, replacement shelves, grow-light meter, and controller as optional upgrades. You may find that the cabinet’s natural humidity is enough for your collection, or that a small fan and a slightly open door solve the problem without a humidifier. Buying every accessory before you test the cabinet often means spending money to correct conditions that the plants never needed corrected.
For tools, follow the assembly sheet first. A screwdriver and level are usually more useful than a drill at the beginning; only add a step bit, eye protection, deburring tool, and a correctly sized grommet if you have confirmed that a removable, non-glass panel is safe to modify. Never drill glass. If you cannot identify a safe cable route without altering a structural piece, use a cabinet with an existing cable opening or keep the build unmodified.
Build the cabinet in six deliberate steps
Step 1: Measure and plan the interior
Sketch the cabinet front and side, then mark the light location, sensor position, fan direction, cable exit, shelf heights, and plant footprints. That small plan reveals conflicts before you have wires attached to the frame or plants blocking the door. It also helps you choose a light with a usable beam width instead of buying one that illuminates only the center pot.
Decide where watering will happen. If you can remove each plant and water it at a sink, you need only drip protection and a place to set wet pots. If you expect to water inside the cabinet, use individual saucers, remove standing water promptly, and keep it away from plugs, drivers, and timers.
Step 2: Assemble and anchor the cabinet safely
Assemble the cabinet on a level floor and follow its supplied sequence. Keep glass supported on a protected surface, avoid impacts at glass edges, and do not force a panel into a frame that is misaligned. For MILSBO, IKEA specifies tempered glass but still warns that an edge impact or damaged surface can cause it to crack or break, so handle panels carefully and use the current assembly documents.
Do not tighten a frame in a way that leaves a panel under uneven pressure. After assembly, check that the doors open and close cleanly, the cabinet stands level, and the wall anchor is installed as instructed. If a panel does not fit, stop and correct the alignment rather than using extra force or assuming the glass will flex.
Step 3: Plan cable routing before drilling
Lay out the lights and fan before deciding where cords leave the cabinet. Use a factory cable port when the cabinet provides one; MILSBO has a cable outlet at the top. Keep plug connections, power strips, timers, and light drivers outside the humid cabinet whenever possible, and route cords so they cannot be pinched by the doors or become a path for water to run toward an outlet.
If the exact model has no suitable opening, favor a no-drill cabinet or a removable non-glass panel that the instructions allow you to modify. If you do drill an approved loose panel, remove it from the frame first, wear eye protection, keep the bit away from glass, remove sharp burrs, and fit a grommet to protect the cord insulation. Do not drill through a glass panel, a corner post, a load-bearing joint, or an assembled cabinet; if the panel’s role is unclear, leave it intact.
Step 4: Mount the grow lights and set a timer
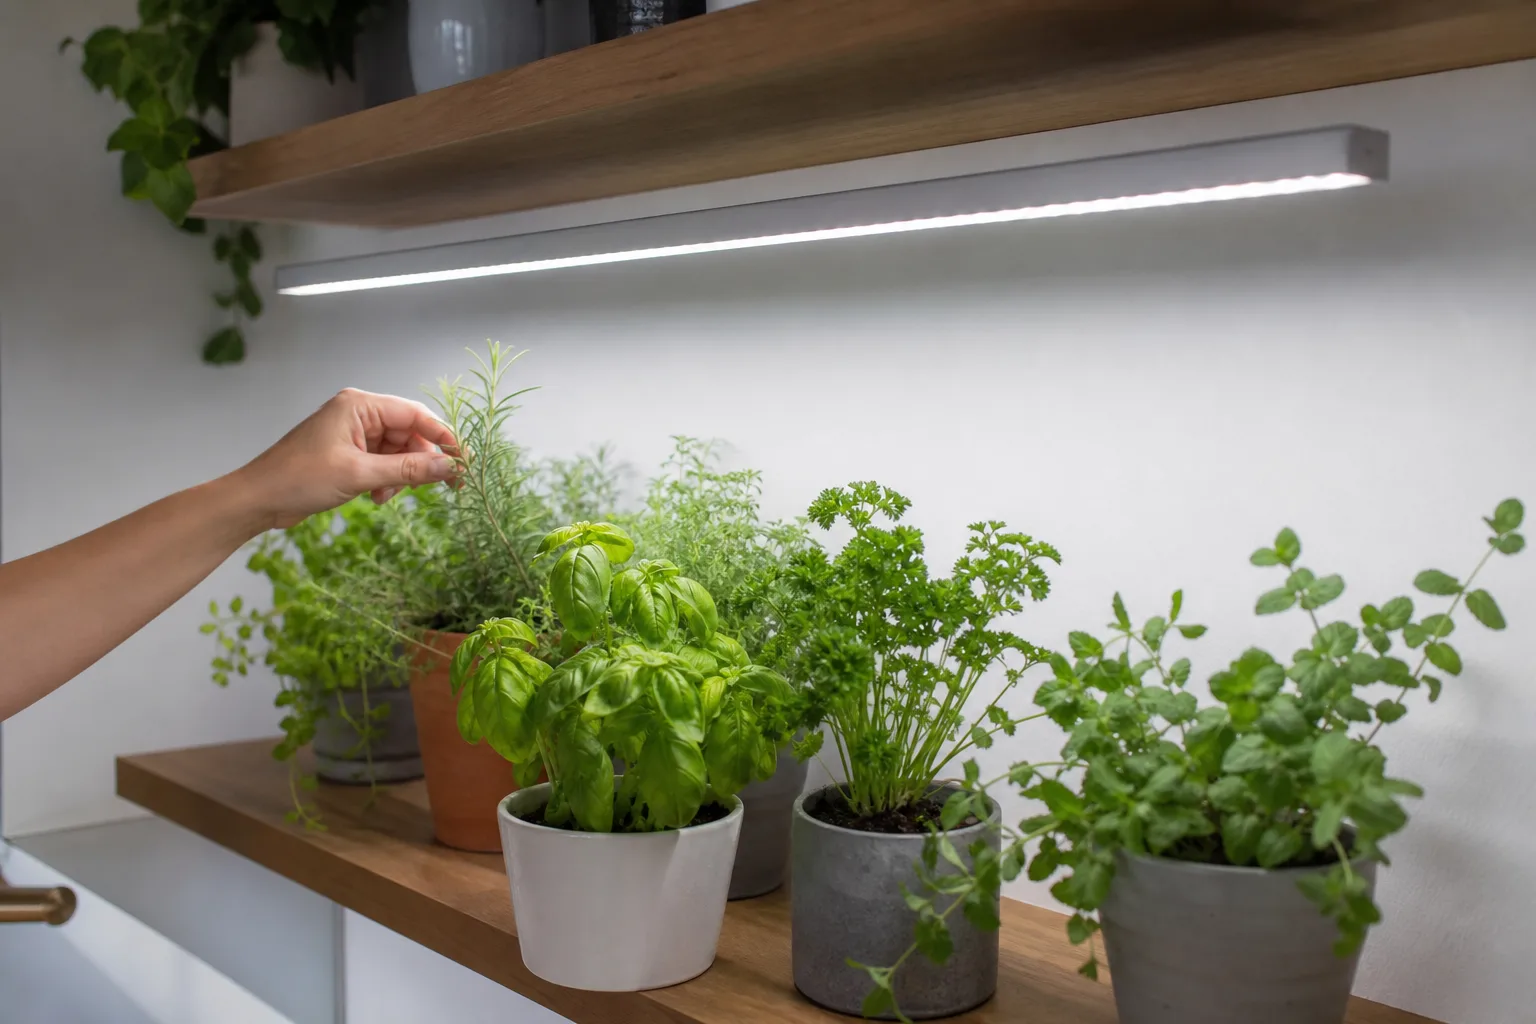
Choose a plant-purpose LED fixture with a coverage pattern that reaches the full shelf, not simply the highest advertised wattage. A slim bar is often easier to position over one shelf than a bulky hanging light; two bars may produce more even coverage than one intense spotlight. Use the maker’s mounting hardware and distance guidance, and check that fixtures cannot fall onto leaves or water trays.
A magnetic hook is convenient only if the exact spot is magnetic. Some display cabinets combine steel and aluminum parts, and a magnet that sticks to one section may not hold on another; test the location before trusting it with a light. Adhesive mounting can also fail on dusty, damp, warm, or textured surfaces, so follow the adhesive’s instructions and use a secure secondary support when the fixture design permits it.
Set a consistent day-night schedule with the timer rather than changing the light by memory. The right duration and distance depend on the plant species, fixture output, window light, and season. Epic Gardening’s houseplant light guide explains why intensity, distance, and daily exposure all affect plant response; use the light maker’s data and each plant’s care requirements rather than assuming every shelf needs the same schedule.
Step 5: Add a fan and climate sensors
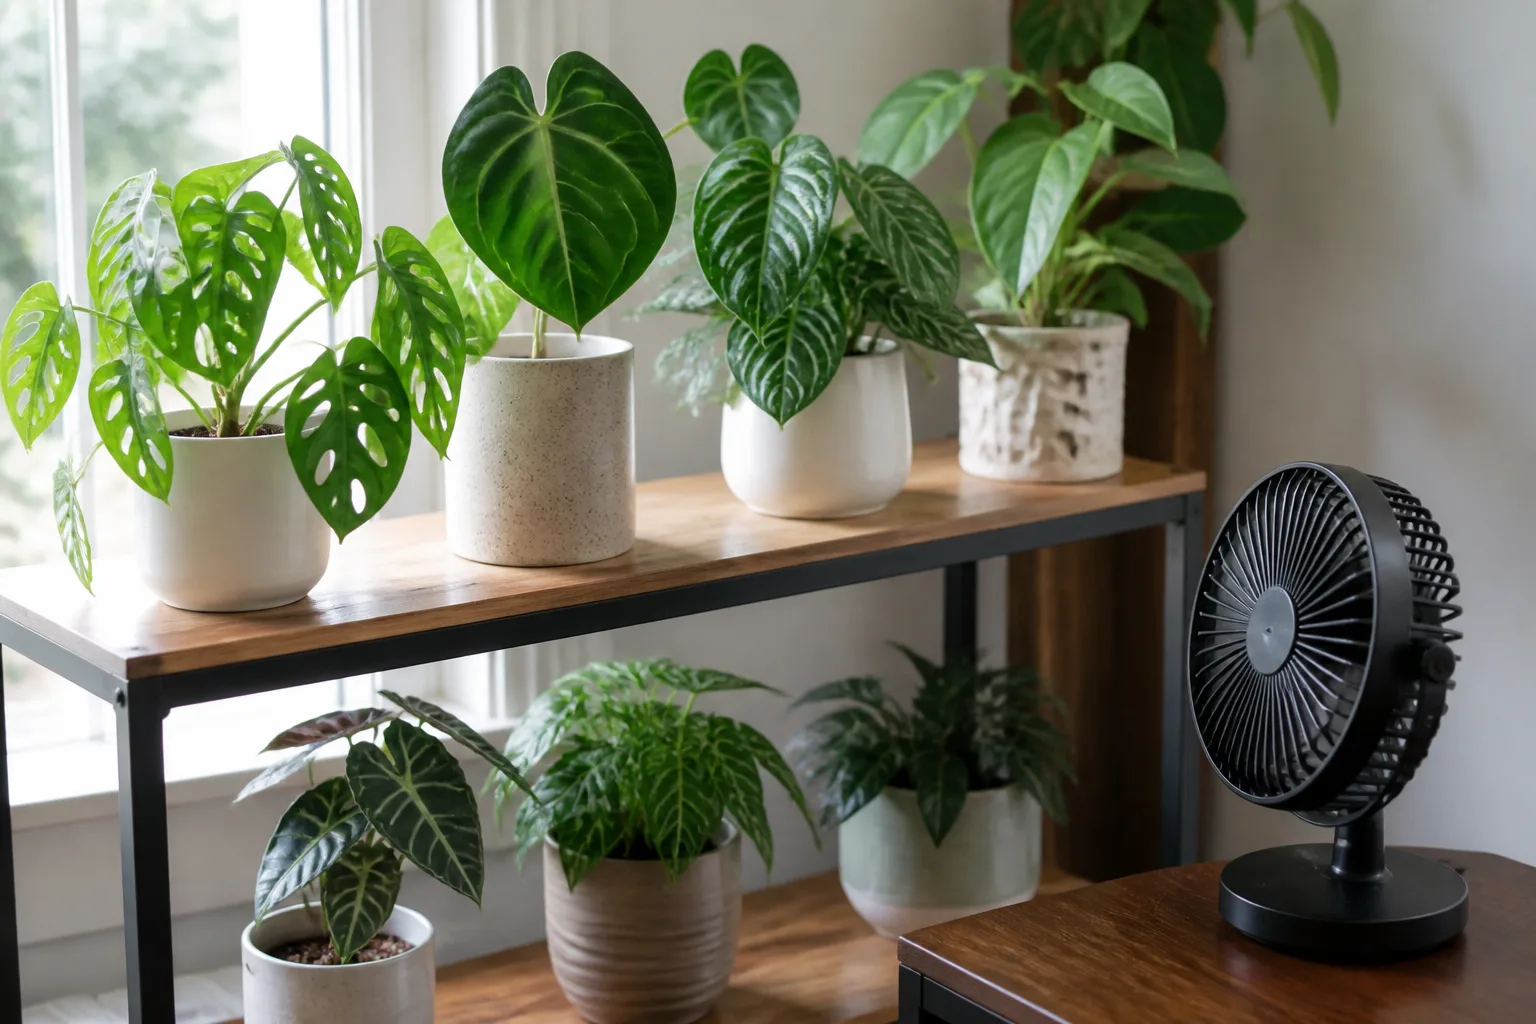
Use a small fan to keep air from sitting motionless among dense leaves. Aim it across the cabinet or along a side wall, not directly at one plant at close range. Start at the lowest setting; the goal is subtle movement, not leaves whipping around or pots drying out much faster.
Place a thermometer-hygrometer near the leaves, not on the floor or right next to the fan. A second sensor at another height can reveal whether the top shelf is warmer or drier than the lower one. Record the readings with the lights off and on, doors closed and briefly open, and at different times of day; a single midday number cannot show how much the cabinet swings overnight.
Step 6: Protect surfaces and arrange the shelves
Place pots on trays or saucers that can be removed and cleaned. A shelf that looks dry during setup may collect drips from watering, condensation from a humidifier, or residue from fertilizer. Keep soil and standing water off cabinet joints, and wipe the glass and frame with products allowed by the manufacturer.
Leave breathing room between leaves and between the plants and glass. Crowding blocks light, makes inspection harder, and creates damp pockets that stay wet after watering. Use wire shelves only if they fit securely and the cabinet can carry their weight; the open grid can let light pass through, but an improvised shelf can also wobble, scratch glass, or concentrate load on small supports.
Arrange plants by care needs, not by pot size or color alone. Put taller plants where they will not shade smaller ones, keep trailing growth from wrapping around lights or hinges, and leave a clear route to lift each pot out. A cabinet that is easy to inspect and water is more useful than one filled wall to wall.
Tune light, humidity, and airflow
Do a test run before loading the cabinet. Turn on the light and fan, close the doors as you normally would, and take temperature and humidity readings over at least one full light cycle. If direct sun reaches the cabinet, test during that window too; a cabinet that is comfortable at breakfast may become too warm by midafternoon.
Make one adjustment at a time and observe what changes. If you move the light, change the fan, and add a humidifier together, you will not know which adjustment helped or created a new problem. Keep a short log for the first week so that a slow change in humidity, temperature, or plant response is visible rather than guessed.
Match light to the plants, not the cabinet
A grow light is not automatically appropriate because it is sold as full-spectrum. Compare the fixture’s coverage and recommended hanging distance with the dimensions of each shelf, then assess light where the leaves actually sit. If the center plants are thriving but the outer plants stretch toward the fixture, the beam is too narrow or the pots are too far away; improve coverage or rotate the plants rather than moving the whole cabinet into harsh direct sun.
Look at new growth over several weeks. Long internodes, leaning stems, and smaller leaves can point to inadequate light, while bleached patches or crisp scorch marks can indicate excessive intensity or a sudden jump from low light. Change distance or duration gradually, since plants may need time to adjust when moving from a dim room to concentrated LED light. If you have mixed species, set the cabinet for the group with compatible light needs and move outliers to another location.
Measure humidity before adding a humidifier
Close the doors and observe the humidity before buying a humidifier. Some cabinets hold enough moisture from watered pots; others leak enough air that readings remain close to the room. The thermometer-hygrometer helps you separate what you hope the cabinet is doing from what it is actually doing.
Do not mist on a schedule to raise humidity. The American Orchid Society notes that misting is brief and does not meaningfully raise surrounding humidity for long; its guidance also warns that high humidity without sufficient air movement can favor fungal problems. Gardening Know How describes grouping plants and pebble trays as ways to create local moisture, but the size and ventilation of an IKEA cabinet matter more than a generic indoor humidity target. Gardening Know How’s humidity guide with readings from your own cabinet.
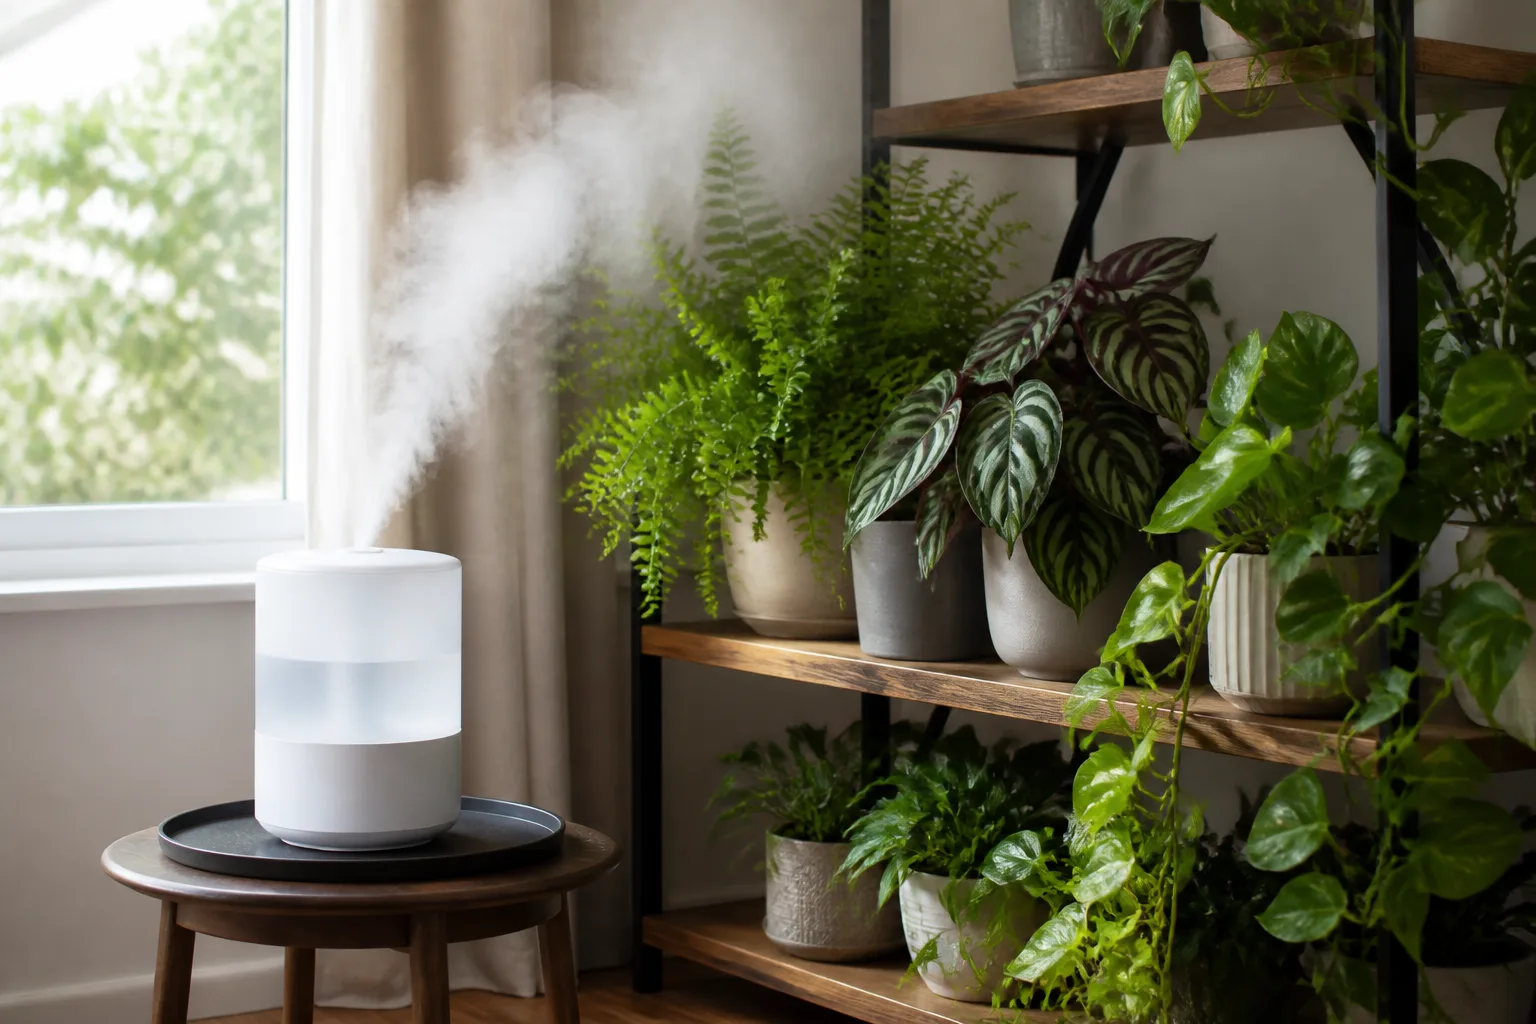
If the plants you chose need more moisture in the air and the cabinet stays too dry, add a small humidifier designed for the space and monitor the response. Keep mist output away from lights, power connections, and foliage that must not remain wet. If condensation coats the glass or water beads on leaves for hours, lower the humidifier setting, increase safe air exchange, or open the doors more often instead of pushing humidity higher.
Use gentle air movement, not a drying blast
A fan and an exhaust opening are not the same thing. A circulation fan moves air within the cabinet; it does not necessarily remove heat or moisture. If readings keep rising, the cabinet stays fogged, or warm air collects at the top, open the doors for a while or add a ventilation path that the cabinet structure can safely support.
The American Orchid Society recommends enough air movement for gentle leaf movement in orchid growing spaces and cautions that strong movement in low humidity can dry plants too quickly. In a small cabinet, a low-speed fan pointed toward a wall or across the shelf is often a better starting point than a fan aimed at the foliage. Adjust it if soil dries noticeably faster, leaves curl, or the fan creates one dry corner and one damp corner.
Which plants belong in a greenhouse cabinet?
Choose plants that genuinely benefit from the conditions you can provide. Many aroids, including Philodendron, Anthurium, and some Monstera, can be good candidates when their light, temperature, and watering needs overlap. Some ferns and selected orchids also suit an enclosed display, but orchid species differ widely; use the care requirements for the exact orchid rather than treating “orchid” as one humidity recipe.
Avoid grouping plants simply because all of them are tropical. A plant that needs bright light may not fit beside a shade-tolerant fern if the fixture cannot be positioned for both. Likewise, cacti, most desert succulents, and plants that require a dry dormancy are usually poor candidates for a warm, consistently humid cabinet. If you want to grow those plants, use a brighter, drier shelf or an open cabinet configuration instead.
Start with a few plants that already tolerate indoor conditions and are not in active pest treatment. Isolate new plants before moving them in, inspect the undersides of leaves and stems, and avoid bringing soil or foliage into contact with existing plants. Cornell Cooperative Extension’s houseplant guidance emphasizes that light, temperature, watering, and seasonal conditions all shape indoor plant care; use those species-specific needs to decide which plants can share one cabinet. See Cornell Cooperative Extension’s houseplant resources.
Commission, maintain, and troubleshoot the setup
For the first week, check the cabinet at roughly the same times each day. Note temperature and humidity before lights turn on, during the warmest part of the light period, and after the lights go off. Look for condensation, softened stems, persistent wet potting mix, and leaves that are bleaching, curling, or stretching.
If glass fogs or leaves stay wet, first remove standing water and reduce unnecessary misting. Then check that the fan runs, that plants are not packed together, and that the room is not receiving strong direct sun. Open the doors to exchange air while you correct the cause; do not respond by running a stronger humidifier.
If the cabinet feels warm, compare readings with the room and test it with the lights on but the humidifier off. Move the unit away from direct sun or a heat vent, increase safe ventilation, or reduce the light intensity if the fixture is heating the space. If leaves stretch, inspect the light at shelf level and adjust coverage before extending the timer for many extra hours.
If growth slows or the soil stays wet longer than expected, change watering based on the potting mix and plant rather than following the old room routine. A cabinet may lower evaporation, and a plant that needed frequent checks in a dry room may need less frequent watering when enclosed. Water thoroughly only when that species and mix call for it, let excess drain, and empty saucers rather than leaving roots in standing water.
Clean the glass so that dust and mineral film do not reduce transmission. Remove dead leaves, wipe shelves, and inspect hinges, cords, and mounting points periodically. If you see mold on the soil surface or cabinet seams, improve drying and air exchange, remove affected debris, and review how much water is entering the cabinet before applying any treatment.
Upgrade only after the cabinet is stable
Once the basic setup works, make changes based on a specific limitation. If light is uneven, add a second bar or an adjustable shelf light. If the cabinet traps too much moisture, increase the opening time or install a fan that can exchange air safely. If plants need humidity the cabinet cannot hold, consider a more capable humidifier and a controller with a sensor placed at canopy height.
Wire shelves can improve light passage and make it easier to position trailing plants, but choose shelves that sit securely on the cabinet’s intended supports and stay within the load limit. A pegboard back, extra hooks, and hanging baskets may add useful space, yet each new attachment adds weight and can restrict airflow or make watering awkward. Keep the original assembly and safety instructions available before changing the cabinet.
Do not seal every gap just to force a higher humidity number. A tighter enclosure can trap heat and moisture, and it may be harder to inspect or clean. The most reliable cabinet is usually the least complicated setup that keeps the selected plants healthy and gives you access to them for watering, pruning, and pest checks.
Conclusion
A successful IKEA greenhouse cabinet is planned around the exact cabinet, the plants’ needs, and the room where it will stand. Measure the shelves, confirm load and anchoring requirements, use a safe cable route, and install light, gentle airflow, and sensors before deciding whether humidity equipment is necessary.
Run the cabinet empty through a full light cycle, then introduce a few compatible plants and watch how temperature, humidity, and soil drying change. Add only the upgrades that solve a measured problem. That approach gives you the polished plant display you want while keeping the growing environment adjustable, inspectable, and safe to maintain.



