Landscaping on a Budget: 10 Affordable Ideas
Ten affordable landscaping ideas — from DIY beds and groundcovers to bulk mulch, native plants, and compost — with a phased budget plan so you spend in the right order.
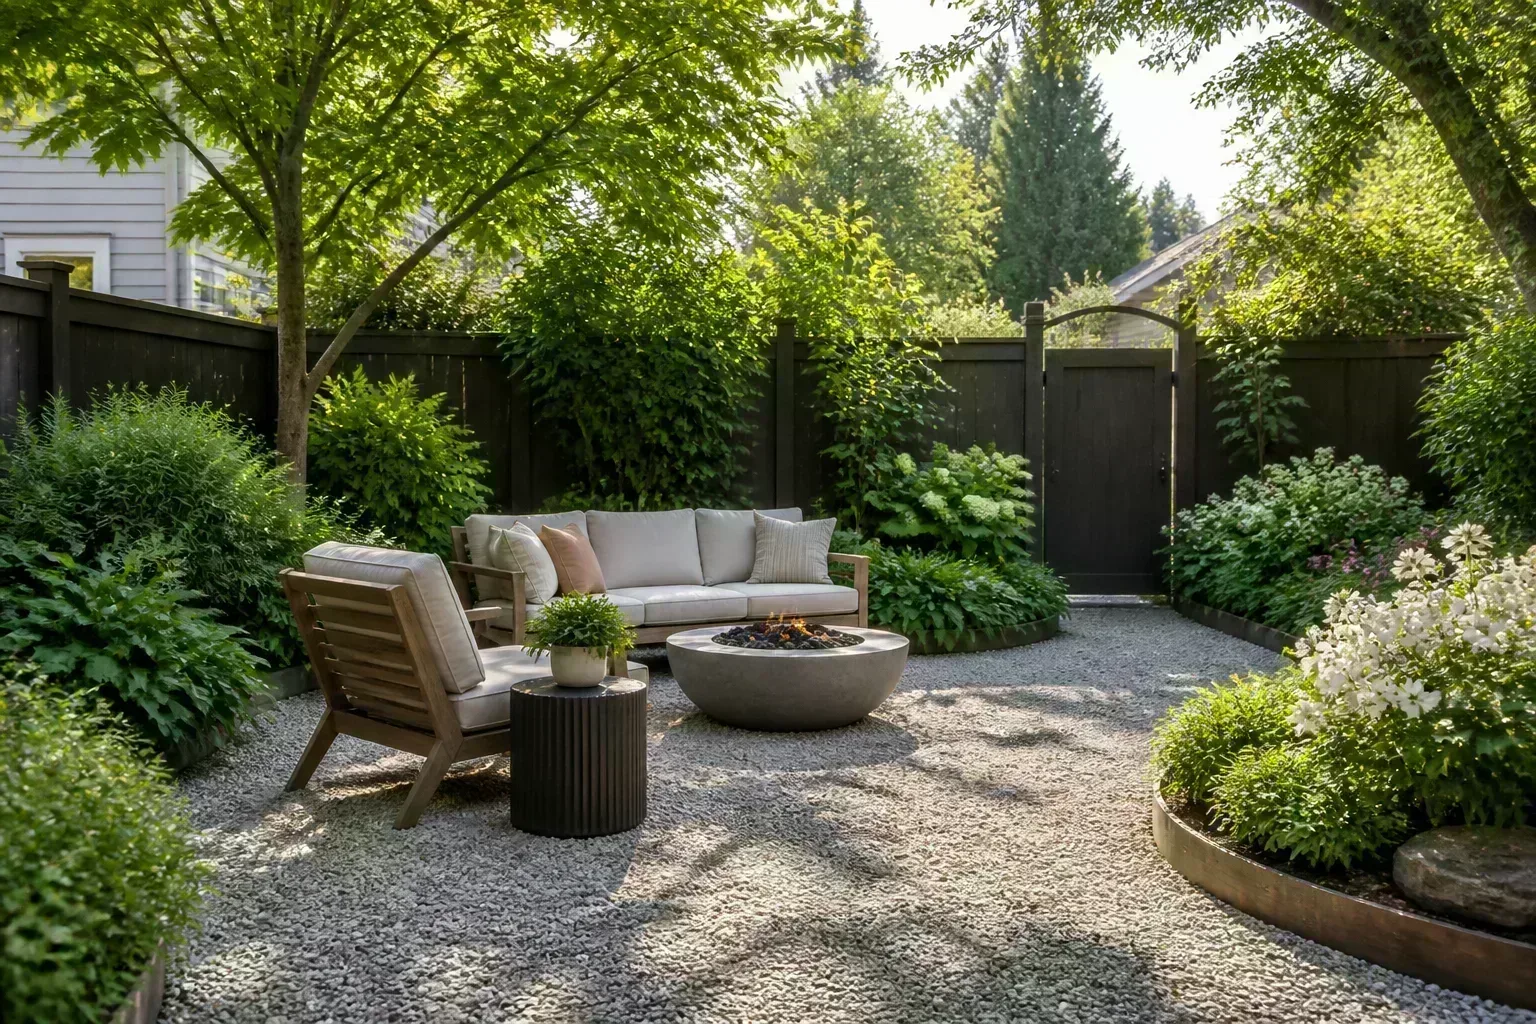
A yard can look neglected even when the grass is green. Usually the problem is missing structure: no clear bed edge, bare soil between shrubs, and a lawn that eats time and water without giving much back. Landscaping on a budget works when you spend in the right order — cleanup and outline first, hardscape second, plants last — instead of buying seven impulse perennials and wondering why the yard still looks unfinished.
The ten ideas below are not ten separate shopping trips. They are tools you combine. A defined bed with bulk mulch, a groundcover under a tree, and three repeated perennials often change the look of a front yard faster than one expensive tree planted in the wrong spot.
Start With a Budget Map Before You Buy Anything
Budget landscaping fails when you treat every Pinterest idea as equally urgent. Start by naming your real constraint: cash this month, labor this weekend, or long-term water and mowing bills. Those are different problems, and they get different fixes.
What realistic spending tiers can accomplish
For a small front or side yard, a $100–$300 weekend can usually cover weed cleanup, a crisp bed edge, one bulk mulch delivery or several bagged units, and a few small plants if you shop carefully. A $500–$1,500 phase can add gravel paths, DIY edging, a sand-set seating area, a recirculating fountain, and enough perennials to repeat one color through the bed. Full-yard redesigns with new patios, irrigation, and large trees climb quickly — industry surveys often place complete yard landscaping from scratch in the $1,400–$5,700+ range depending on size, materials, and labor, with designer fees higher still when you hire for the whole plan.
Resist the impulse to buy a statement tree or prefab fire pit before the bed outline exists. Those purchases look like progress but sit awkwardly when surrounding soil is still weedy or uneven. Spend first on what changes the whole view from the curb: edges, surfaces, and cleanup.
That wide range is why “how much should I budget?” has no single answer. A hellstrip refresh and a backyard patio with drainage are different projects. If you need help estimating soil or gravel volume before ordering bulk materials, our yard of dirt size and cost guide walks through the math.
Does landscaping increase home value? The National Association of Realtors Remodeling Impact Report on outdoor features notes that a quality landscape upgrade can recover a large share of its cost at sale — the report cites up to 100% recovery for an overall landscape upgrade in favorable conditions. That is not a promise that any DIY bed pays for itself; neglected yards still hurt curb appeal, and overbuilt hardscape in the wrong climate can become a maintenance liability.
Phase the work: cleanup, structure, then plants
Phase 1 — outline: Remove weeds, cut a consistent bed line, rake debris, and fix anything dangerous or sloppy visible from the street. This is the highest return per dollar in most yards. Phase 2 — structure: Add edging, mulch, gravel paths, sand-set pavers, or a small water basin — surfaces that make the yard read “intentional.” Phase 3 — plants: Fill beds with repeats of a few right-fit species, groundcovers where lawn struggles, and native plants grouped by water need.
The most expensive part of landscaping is usually professional labor on grading, irrigation, concrete, and large tree planting. DIY saves most on tasks that do not require heavy equipment: edging, spreading mulch, setting pavers in sand, dividing perennials, and assembling a recirculating fountain. Know your limit before you rent a plate compactor or dig near utilities — in the United States, call 811 before digging.
1. Define Beds With DIY Borders and Mixed Planting
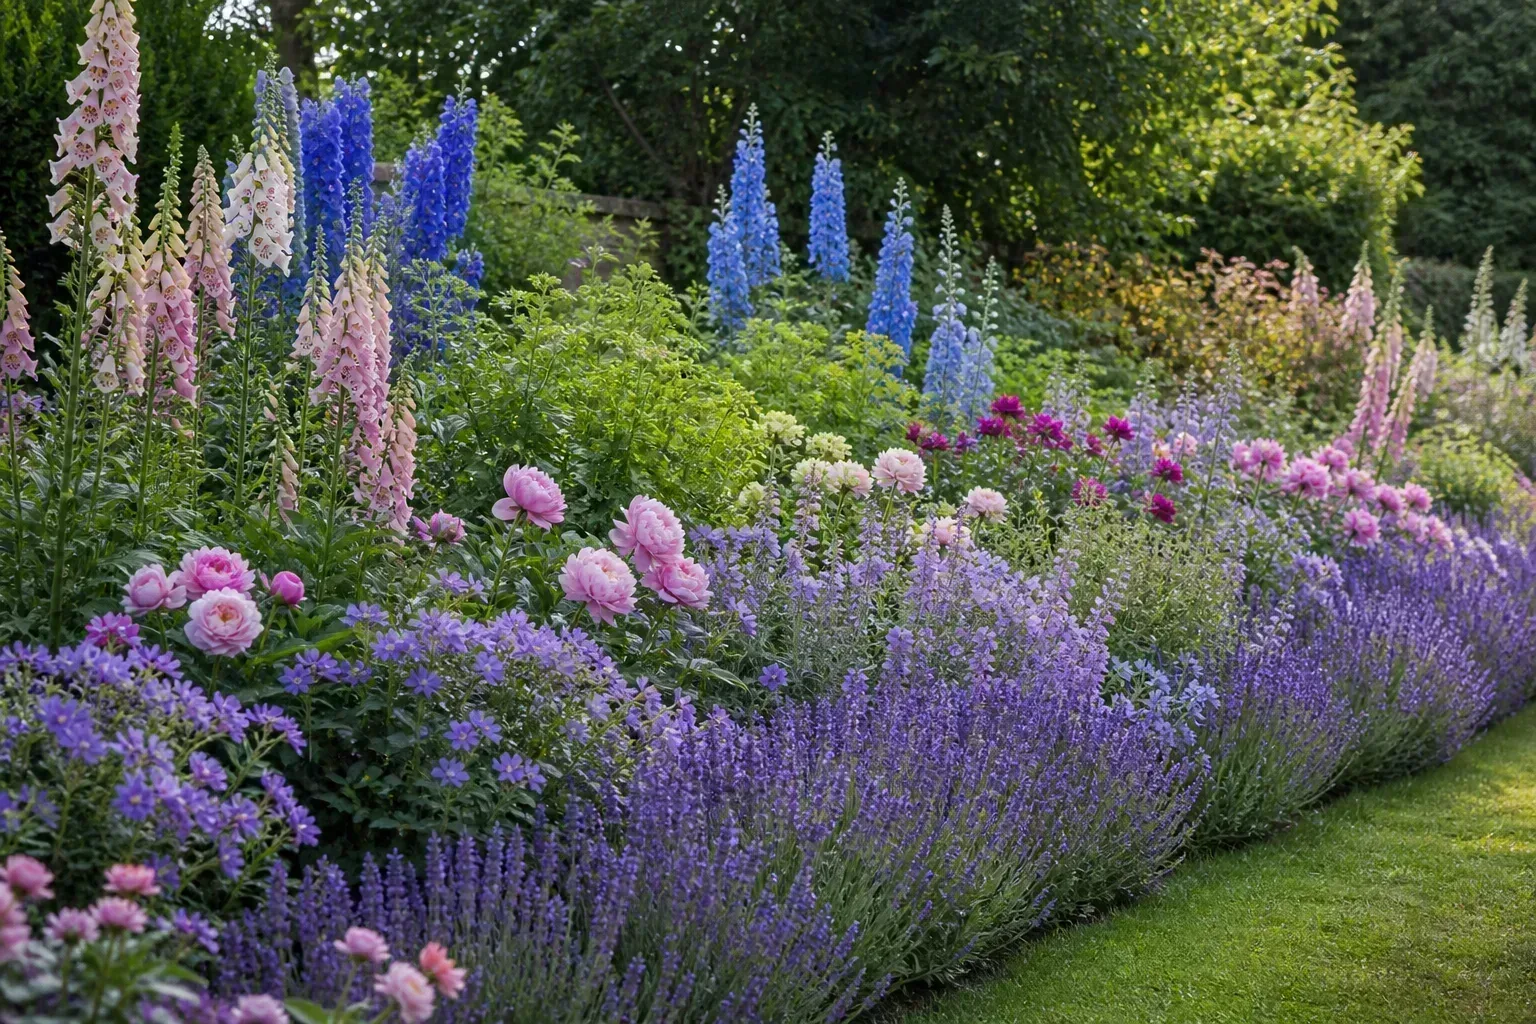
Mixed planting beds give you the fastest visual upgrade because they create contrast: lawn or path on one side, soil and plants on the other. You do not need raised walls everywhere. Often a cut edge plus mulch looks more polished than a low box filled with one struggling shrub.
Edging materials ranked by cost and longevity
Cut edge (spade or half-moon edger): Cheapest. Needs refresh one or two times per year where lawn creeps in. Loose materials — pine bark, wood chips, pea gravel, crushed stone: Moderate cost, especially in bulk; define the bed visually and suppress some weeds when depth is correct. Timber or stone edging: Higher upfront cost, less frequent maintenance. Avoid old railroad ties for edible beds unless you know they are untreated; many contain creosote or other preservatives you do not want near food or play areas.
Reuse counts. Free pallets (heat-treated, marked HT), salvaged bricks, and leftover stone from neighbor projects work when drainage still makes sense. For design sequencing — where beds should go relative to paths and views — see our landscape design for beginners guide.
When landscape fabric helps — and when it backfires
Woven landscape fabric can slow weeds under ** gravel or stone** where you are not planting densely and will not need to dig often. Under organic mulch in a perennial bed, fabric often creates a barrier roots and worms cannot cross; weeds still sprout in the mulch layer above. If you use fabric, overlap seams generously, pin edges, and never pile mulch against woody stems — the same volcano mulching mistake that rots bark applies whether or not fabric is underneath. Pull mulch a few inches back from trunks and crowns.
2. Shrink the Lawn With Groundcovers That Spread Themselves
Groundcovers cost less over time because you buy fewer plants and shrink the area that needs weekly mowing, feeding, and overseeding. The savings are maintenance dollars, not just checkout dollars.
Perennial groundcovers worth the first purchase
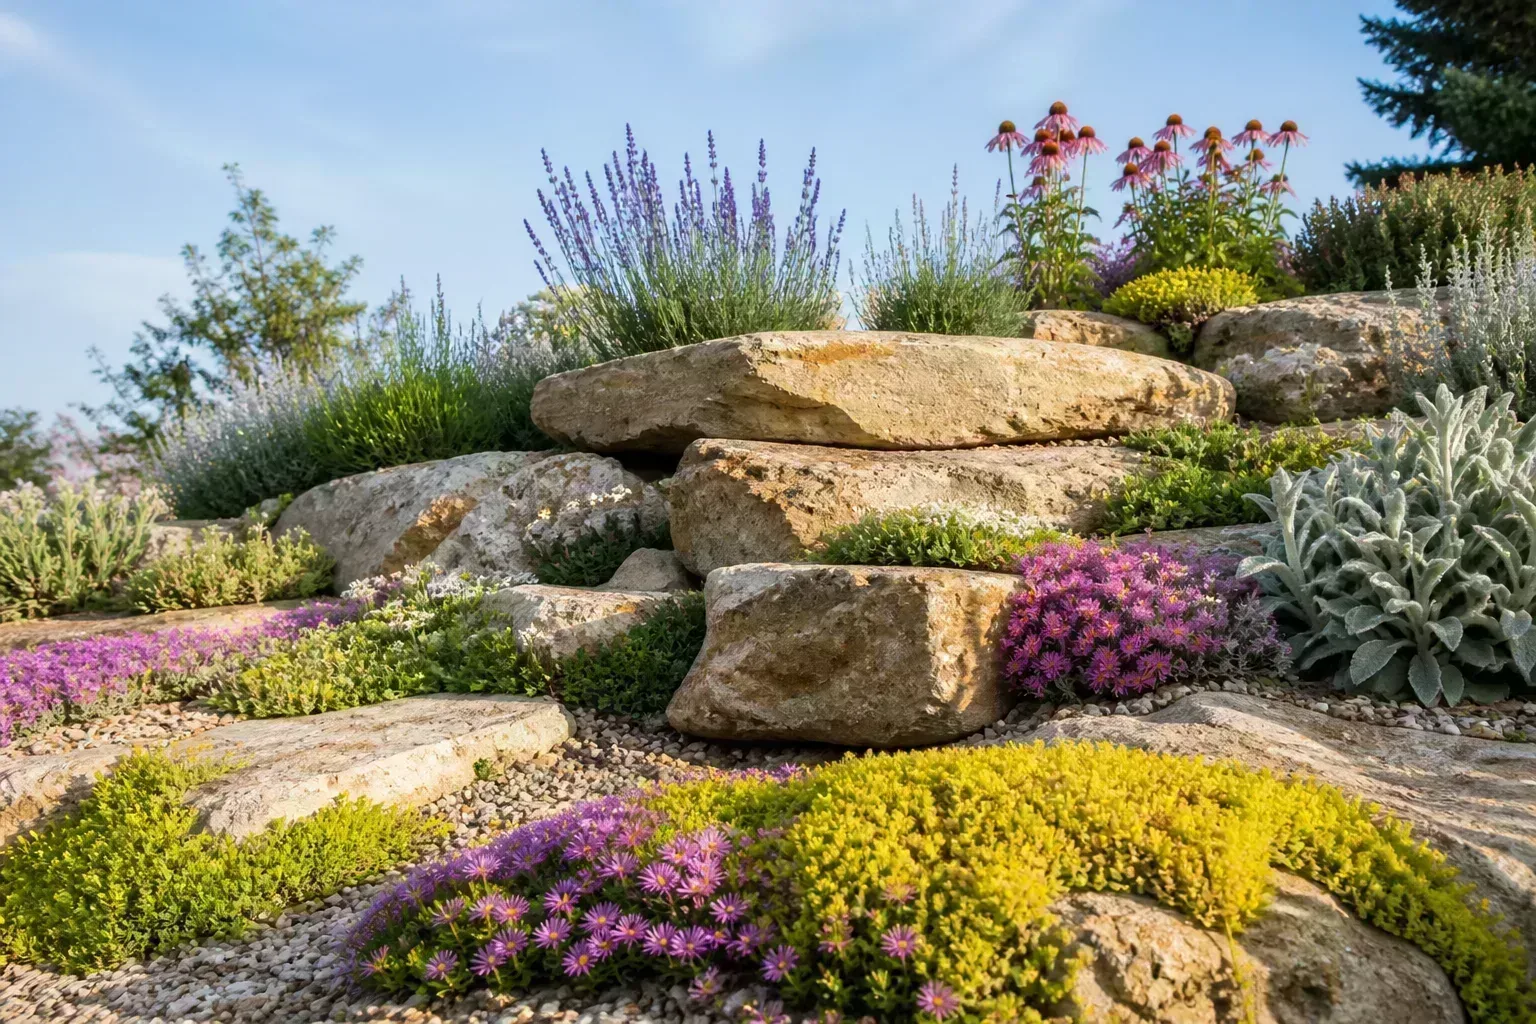
Look for plants that spread by runners or stolons, tolerate your light level, and survive local winters. Pachysandra handles deep shade where grass thins. Creeping myrtle (Vinca minor) covers shade to part shade but can escape into woods in some regions — check invasiveness locally. Creeping thyme suits sunny, well-drained strips and releases fragrance when stepped on, making it useful for paths and patio cracks with good drainage.
Plant fewer starters than you think. Space according to the label’s spread time — often one flat covers more ground by year two than impatient overplanting on day one. Keep new groundcovers watered through the first dry month; “low maintenance” starts after roots anchor.
Clover, violets, and lawn-alternative trade-offs
White clover and wild violets are polarizing. As lawn components or meadow patches, they stay green without fertilizer, tolerate foot traffic better than many flowers, and feed pollinators. As strict turf purists, they read as weeds. If your goal is lower cost and less nitrogen input, a clover blend or mowed mini-meadow under trees beats fighting them every spring. If you need uniform golf-course turf, clover is a mistake — choose one strategy per zone instead of half-heartedly battling both.
For larger lawn replacement strategies, our no-grass backyard ideas guide compares groundcovers, gravel, and planting beds by maintenance level.
3. Build Long-Term Value With Easy Perennials
Annual flats look cheap until you rebuy them every May. Perennials cost more per pot but return for years when matched to the site.
Plant once, repeat in groups of three
Buy three or five of the same perennial before you buy seven different ones. Repetition makes small budgets look designed. Russian sage gives summer color and deer resistance in sunny, well-drained beds. Hostas cover shade with foliage texture — our how to plant hostas guide covers spacing and crown depth that keep divisions healthy. Bleeding heart and yellow alyssum fill different seasons so one bed does not go flat after June.
Start with smaller pot sizes if you can wait a season. A quart perennial that catches up by fall often beats a gallon plant that sulks in clay because you skipped soil prep.
Shade and sun picks that stay cheap to maintain
Match the plant to hours of sun and drainage, not to the photo on the nursery tag. A sun perennial in wet shade fails expensively; a shade plant in reflected afternoon heat burns and gets replaced. Group by water need at the same time — thirsty astilbe should not share a hydrozone with dry-bank ornamental grasses. The EPA WaterSense landscape design guidance calls these hydrozones: separate irrigation logic for turf, mixed beds, and drought-tolerant strips so you stop overwatering one area to save another.
4. Hardscape Without Concrete: Gravel, Mulch, and Sand-Set Paths
Hardscape — paths, patios, edging surfaces — shapes how a yard looks day and night, rain or shine. Concrete is durable but expensive to pour and hard to change. Budget projects lean on materials you can lift and reset.
Bulk buying and free material sources
Mulch, pea gravel, crushed stone, and sand drop sharply in price per cubic yard when bought bulk from a landscape supplier instead of bagged at a big-box store. Calculate volume first; ordering one yard short leads to mismatched color on the second load. Free sources exist — tree companies sometimes dump chipped wood, and construction sites may give away clean fill or stone if you haul — but inspect for contaminants, invasive seed, or treated lumber mixed in.
Organic mulch also saves water when applied correctly. EPA WaterSense recommends mulch around shrubs and garden plants to reduce evaporation, moderate soil temperature, and slow weeds — typically 2 to 3 inches loose depth, pulled back from stems. For material types and the “donut” spacing around trunks, see our what is mulch guide.
DIY walkways and sand-set patios
A dry-laid stone path or sand-set brick patio skips concrete labor: excavate shallowly, compact a gravel base, lay leveling sand, set stones or pavers, sweep joint sand, and edge so material does not migrate into lawn. Plan paver sizes so you minimize cuts — fewer cuts means fewer tools and less waste. Slope surfaces slightly away from the house so water does not pool against the foundation.
Gravel alone is the fastest budget path. Use edging or a trench border so stone does not spread into mowing lines every week.

5. Add a Small Water Feature Without a Pro Install
Professional pond and waterfall installs can run to several thousand dollars with excavation, plumbing, and electrical work. A small recirculating fountain or pondless basin on a patio or bed edge delivers movement and sound at a fraction of that cost if you keep scale honest.
Recirculating fountains vs still basins
Recirculating features — urn bubblers, small stacked-stone falls, container fountains — reuse the same water with a submersible pump. They look more finished than a static bowl and use less water long term because evaporation is limited to the exposed surface. Still birdbaths are cheap but need frequent dumping and scrubbing to avoid algae and mosquitoes; they are fine when you will maintain them weekly.
Place any feature where you can reach a GFCI outlet and a hose. Hide cords safely; do not bury non-rated cable.

Pump, liner, and maintenance basics
Modern pond liner kits and magnetic-drive pumps are sized by gallons per hour and head height — match pump capacity to the feature height or the flow looks anemic. Rinse pump intakes monthly during season, drain before hard freeze in cold climates, and store pumps indoors if the manufacturer recommends it. Skip deep ponds without a plan for safety if small children visit the yard.
6. Choose Native Plants That Match Your Actual Site
“Native” is not a magic money-saving label. It is a filter for plants adapted to local soil, rainfall, and pests — which usually means less fertilizer, less supplemental water after establishment, and fewer replacement deaths.
Finding regional lists through extension
Your local cooperative extension office publishes plant lists, invasive species warnings, and soil test kits. National databases help, but the county list tells you what survives your winter and clay. The National Wildlife Federation notes that native plants form the base of local food webs — cover, nectar, and host plants for insects and birds — which is a practical reason to include them even when your primary motive is saving on hose time.
Start with a short list of five to eight natives that fit your sun and soil, then repeat them rather than collecting one of everything at the native plant sale. A small meadow patch of coneflower, bee balm, and little bluestem repeated along a fence reads intentional; eight unrelated species in a 40-square-foot bed reads chaotic and still needs the same watering attention as any mixed border.
Group plants into hydrozones
Put thirsty natives that naturally grow in wet meadows away from dry-bank species that evolved on slopes. Mixing them in one bed forces you to overwater the dry lovers or underwater the wet lovers. EPA WaterSense recommends separating turf from shrubs and groundcovers for the same reason turf is the thirstiest surface in most traditional yards. If you are reducing turf, shrink it where it struggles — deep shade, steep slopes, narrow strips — not where kids actually play.
7. Stretch Plant Budgets With Sales, Dividing, and Swaps
Plant cost is flexible if you accept smaller sizes, off-season timing, and propagation patience.
End-of-season nursery deals
Nurseries discount annuals and perennials in late summer when they want pots cleared before winter. Plants may look tired but recover with water and deadheading. Grocery store racks can be bargains or busts — check for root-bound, dry pots and avoid anything with pest webbing or mushy stems.
Tree programs through organizations like the Arbor Day Foundation occasionally offer low-cost seedlings; read size at maturity before planting under power lines or eaves. Seedlings are cheap because they need years — not because they replace a shade tree this season.
Dividing mature perennials for free coverage
Hostas, daylilies, ornamental grasses, and many spreading perennials become free plants when you divide them every few years. Dig on a cool day, split crowns with a sharp spade or knife, replant at the same depth, and water until new growth appears. Trading extras with neighbors turns one yard’s overload into another’s new bed — no cash, shared risk if you trust the source is disease-free.
8. Xeriscaping and Water-Wise Beds Beyond Desert Yards
Xeriscaping started in arid regions but the logic — group by water need, reduce thirsty turf, improve soil infiltration — applies anywhere water bills or drought restrictions matter.
Turf reduction and drought-tolerant grouping
Replace unused lawn with gravel paths, groundcovers, or shrubs on slopes where mowing is unsafe. Keep turf where you use it; kill it where you do not. Combine drought-tolerant perennials, ornamental grasses, and mulched beds so the eye reads variety without a sprinkler schedule built for Kentucky bluegrass everywhere.
Soil amendments that stretch every gallon
Compost and organic matter improve sandy soil’s water retention and clay’s drainage — the same amendment does opposite helpful things depending on texture. Aerate compacted areas so water infiltrates instead of running off. On slopes, use deeper-rooted groundcovers and shrubs to stabilize soil; bare mulch on a steep bank washes away in the first storm.
9. Containers and Compost for Free Fertility
Containers and compost are the budget gardener’s multiplier: move color where beds do not exist yet, and feed beds without buying synthetic fertilizer every spring.
Secondhand pots and drainage rules
Thrift stores, marketplace listings, and garage sales supply pots cheap. Scrub with soapy water and a dilute bleach rinse, then drill drainage holes in any solid-bottom container — including buckets and repurposed tubs. Without drainage, potting mix sours and roots rot no matter how carefully you water.
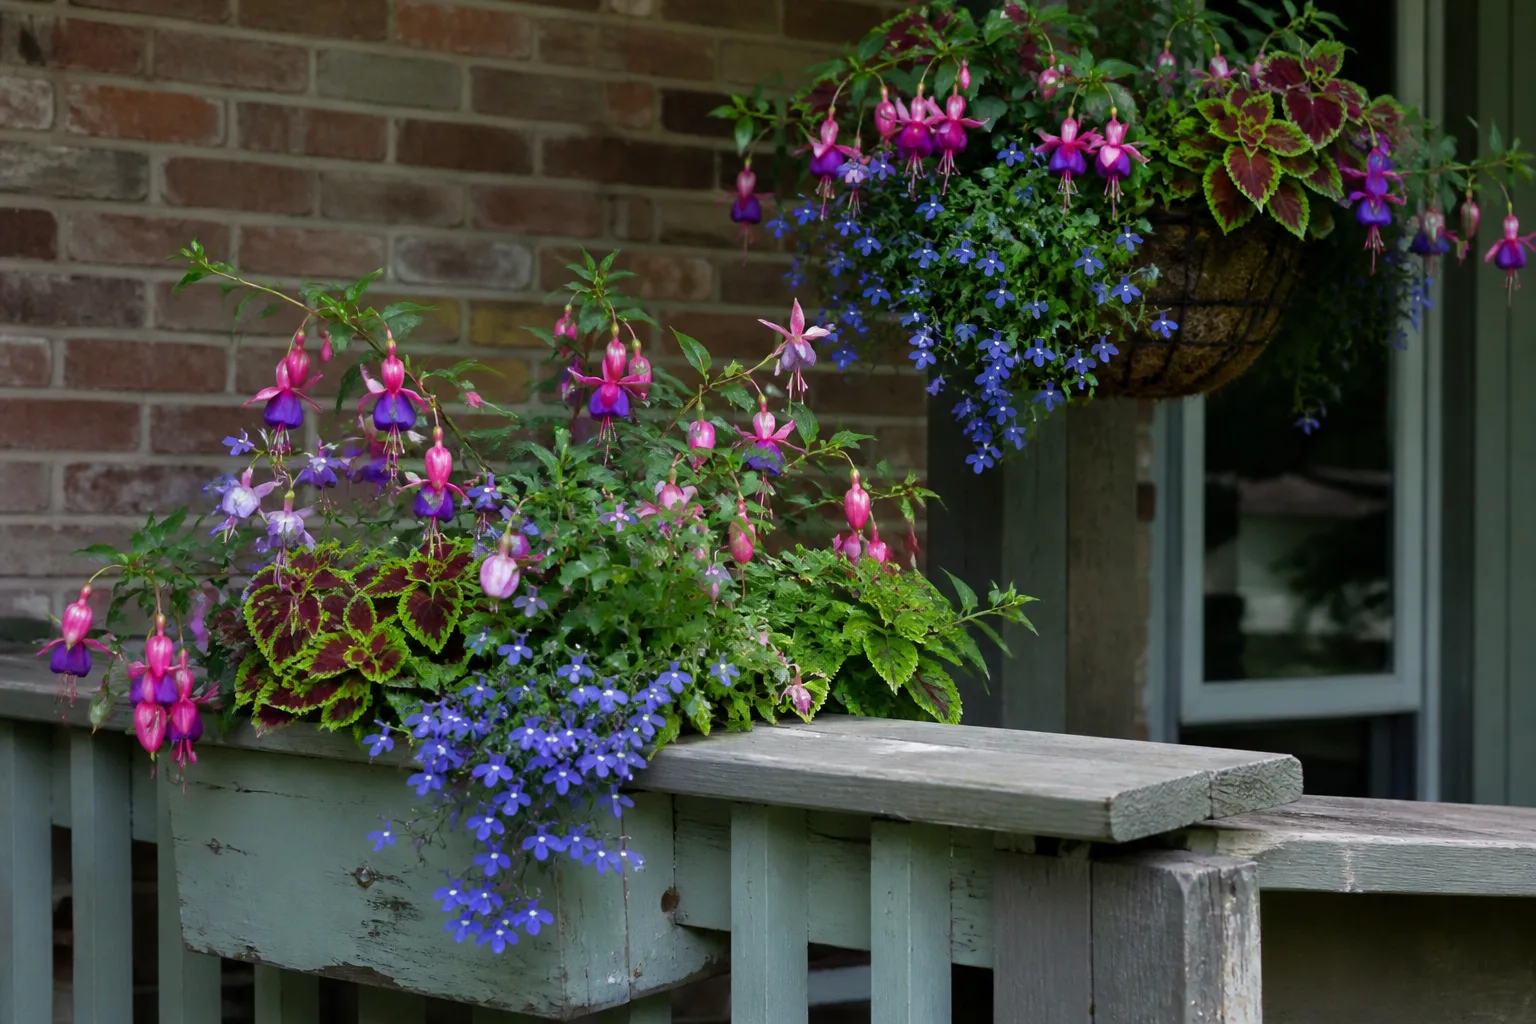
Group containers in threes on steps or patios; one lonely pot looks accidental, three reads designed. Elevate pots on feet if surfaces stain.
Start compost before you buy fertilizer
A simple bin or wire ring turns kitchen scraps, leaves, and shredded paper into amendment over months. You will not fill a bed overnight, but top-dressing one bed per season with finished compost improves soil structure and feeds slowly. EPA WaterSense notes that minimizing excess fertilizer also reduces thirsty top growth and runoff — compost plus mulch often outperforms monthly synthetic feeds on ornamental beds.
If you are also refreshing beds this season, our landscaping refresh ideas guide stacks low-cost updates in impact order — useful after your first budget phase is done.
Conclusion
Landscaping on a budget is less about finding the cheapest plant tag and more about sequencing: define edges, add surfaces, then plant in repeats matched to sun and water. Groundcovers and natives cut future mowing and hose bills; bulk mulch and sand-set paths beat poured concrete on price and reversibility; compost and divisions turn one purchase into many.
Pick one phase to finish this month instead of starting five partial projects. When the outline is crisp and mulch is even, a modest plant list looks deliberate — and that is the difference between “we are saving money” and “we are still fixing the yard” three seasons later.