How to Till a Garden: Tools, Timing, and Steps
Learn how to till a garden at the right moisture and depth, choose a hand tool or rototiller, add compost wisely, and avoid clods and compaction before sowing.

A garden does not need to be tilled just because the season is changing. Tilling is a tool for a defined job: opening a new planting area, incorporating a soil amendment that belongs below the surface, breaking a crusted top layer, or creating a fine seedbed for small seeds. If your established bed drains well, has a loose surface, and is already producing healthy plants, disturbing it again can create more work than it solves.
When tilling is useful, the best results come from three decisions made before the machine starts: choose soil that crumbles rather than smears, work only as deeply as the planting task requires, and stop once the bed is workable. Repeated passes can turn soil into dust, bring dormant weed seeds to the surface, and leave a compacted layer beneath the tines. The goal is not fluffy soil from top to bottom; it is an even, friable root zone with enough structure to hold moisture and air.
Decide whether tilling is needed
First name the problem you want to solve. “The garden needs loosening” is too vague to guide a tool choice. Is this a new bed over lawn? Are you trying to mix mature compost into the topsoil? Do seedlings need a smooth surface for germination? Is there a compacted patch caused by equipment or construction? Each situation calls for a different amount of disturbance, and some do not call for tilling at all.
A rototiller temporarily loosens the upper soil and can mix residue or organic matter into it. That can make initial planting easier, but the change is not permanent: rainfall, foot traffic, and the soil’s own structure can settle loosened earth again. Oregon State University Extension advises tilling only when there is a useful purpose and warns that frequent tillage can damage soil structure Oregon State University Extension. Treat a tiller as a bed-preparation tool, not a yearly maintenance ritual.
When tilling solves a real problem
A one-time cultivation may make sense when you are converting a modest patch of turf into annual vegetables, when a soil test calls for an amendment that must be mixed through a particular layer, or when you need to loosen a surface that has crusted and blocks water or small seedlings. Tilling can also incorporate a cover crop after it has been cut down, though the timing between incorporation and planting depends on the crop residue and local guidance. If you have a precise depth or amendment recommendation, follow that rather than running the tiller to its maximum setting.
Tilling is less likely to solve poor drainage caused by a high water table, a hardpan below the machine’s working depth, or a site that stays saturated after rain. Turning only the top few inches can leave the underlying restriction untouched; on wet ground, it may make a compacted layer more pronounced. Diagnose the depth and cause before you rent a powerful machine. Where chronic wetness is the issue, a raised bed, a different planting area, or professional drainage advice may be more useful than more tilling.
When no-dig or shallow cultivation is better
Established vegetable beds, perennial borders, and beds that already have a workable structure usually need only surface maintenance. Spread suitable mature compost or mulch over the surface, pull weeds while small, and use a hoe or hand cultivator to loosen only the top inch or two when direct-sowing requires it. That leaves deeper soil aggregates, old root channels, and soil organisms less disturbed.
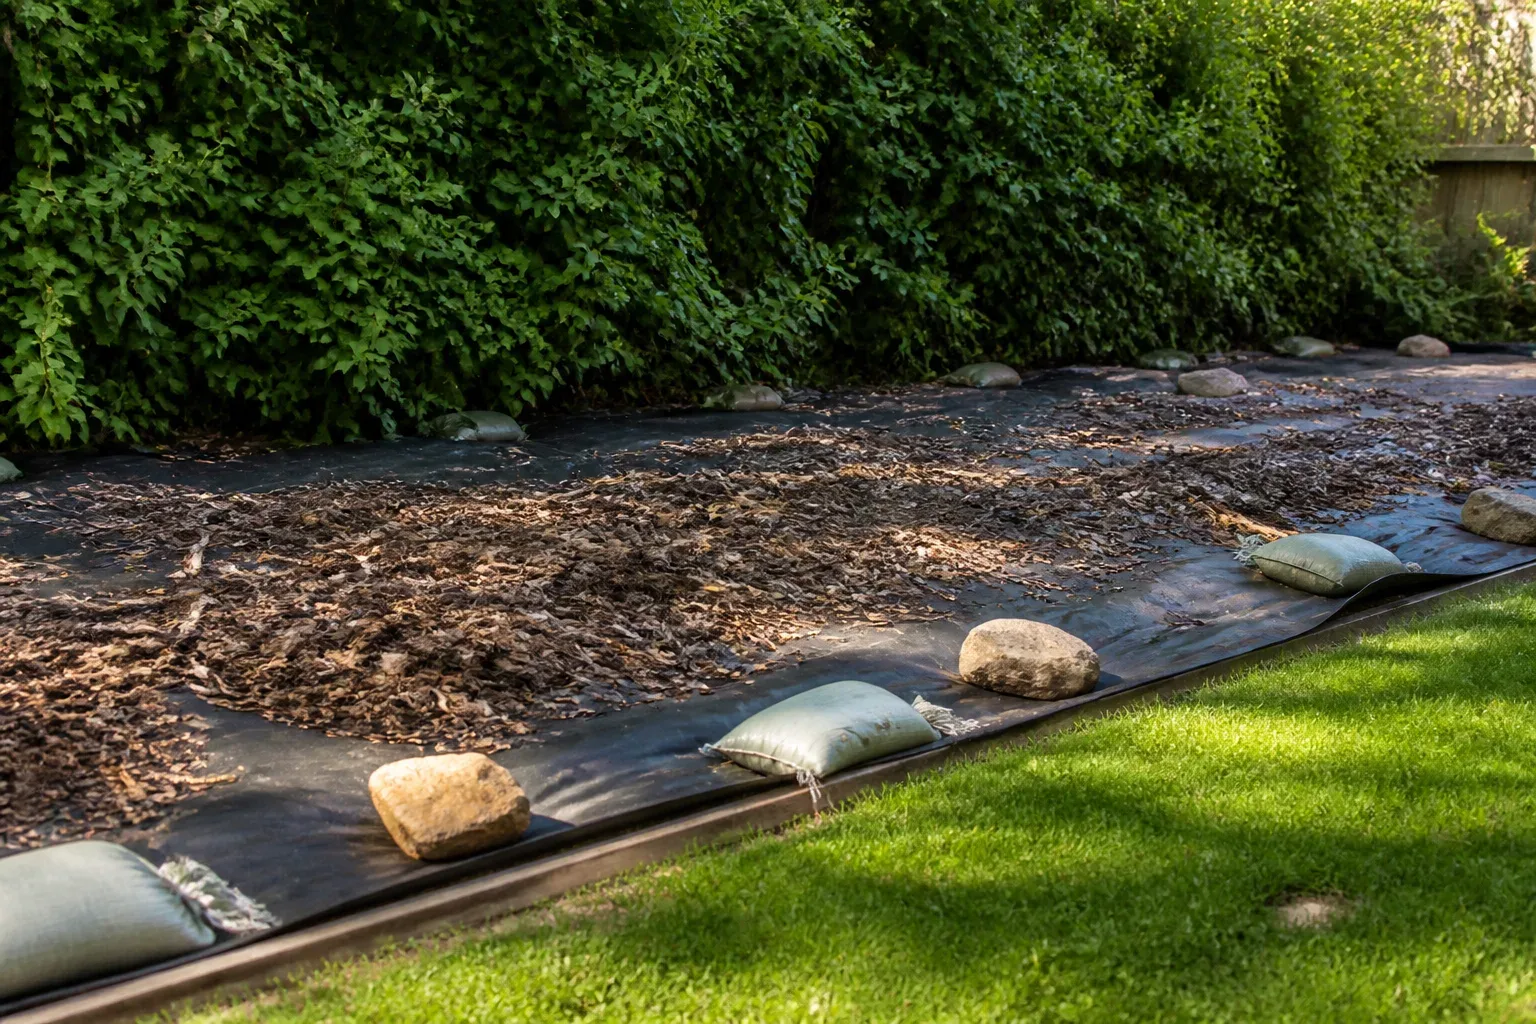
A new bed can also be made without turning the ground. Remove persistent perennial weeds, cover short vegetation with overlapping plain cardboard if appropriate, and add compost or another suitable organic mulch on top. University of Vermont Extension describes a no-till raised-bed approach that top-dresses with compost rather than mixing it into the soil University of Vermont Extension. The Royal Horticultural Society explains that low-disturbance methods can reduce weed-seed exposure and that “firm” soil is not automatically compacted RHS horticulturist Liz Mooney. No-dig does not erase every weed or instantly fix a deeply compacted site, but it is often the cleaner choice for a bed that already works.
Choose a tool that fits the bed
Tool choice depends on area, soil condition, physical effort, and how completely you intend to turn the soil. A small raised bed may be quicker to prepare with a spading fork and rake than to maneuver with a power tiller. A broad in-ground area with dense sod is a stronger case for renting a rototiller, provided the soil is not wet and the operator can control the machine safely.
Do not confuse a cultivator with a tiller. A cultivator generally stirs and weeds the top layer, while a rototiller is built to break and mix soil more deeply. Product names vary, so compare the tine design, working width, depth adjustment, weight, power source, and rental instructions instead of relying on the label alone. On a bed that needs only a surface finish, a lighter tool disturbs less soil and is easier to stop precisely.
Hand tools, cultivators, and rototillers
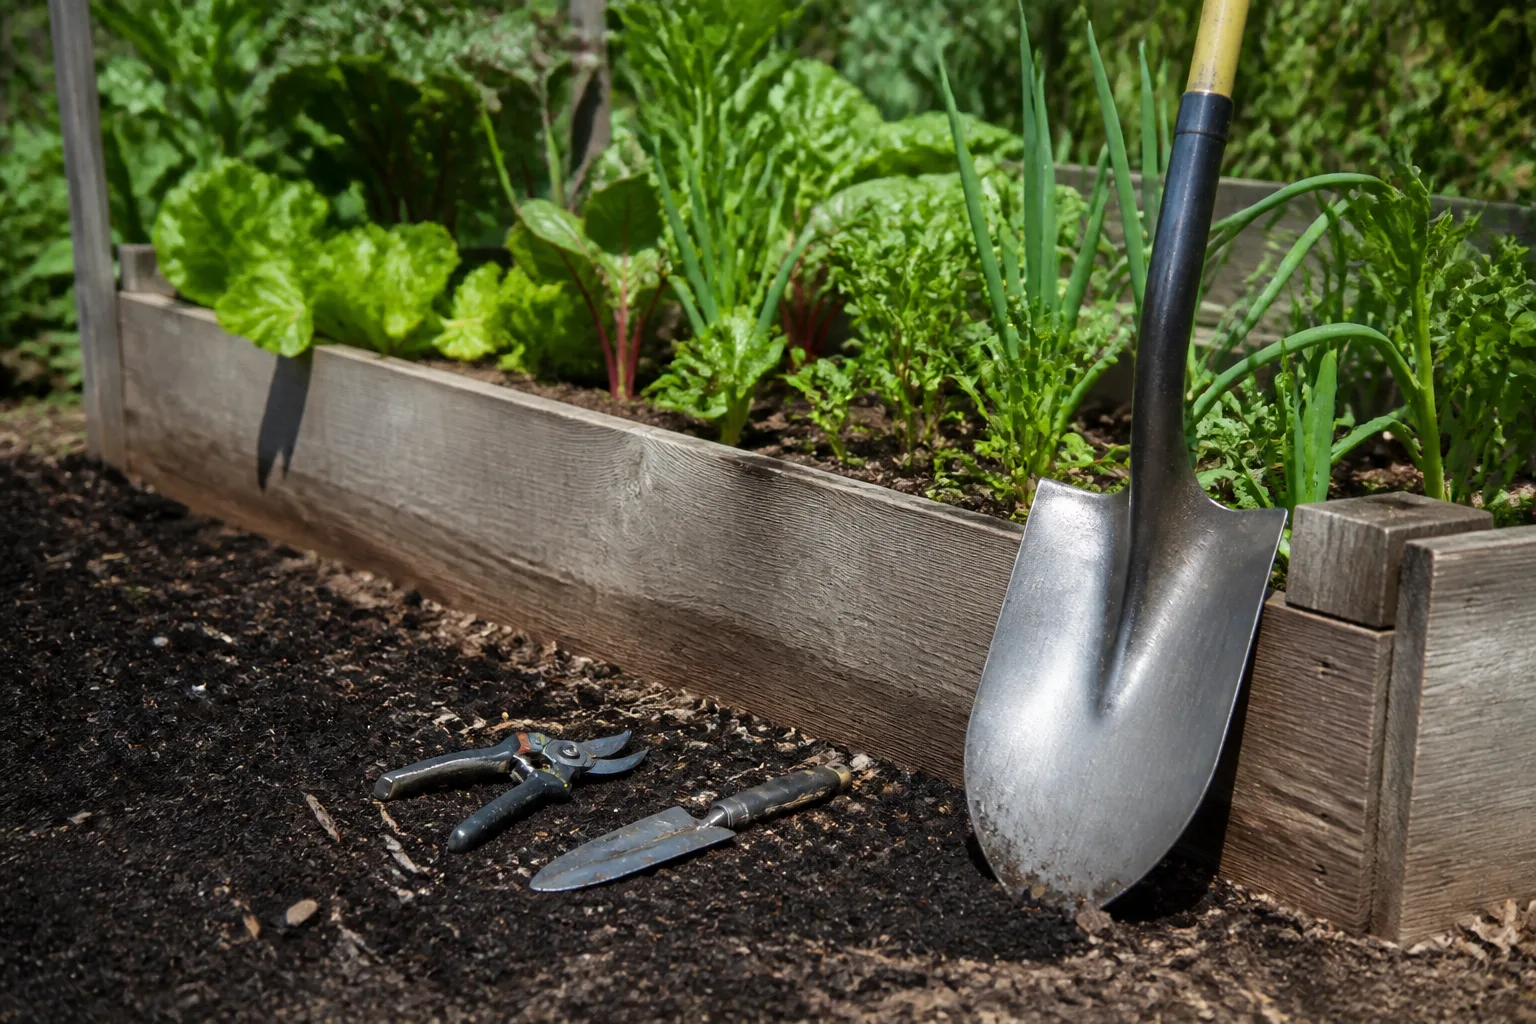
For a narrow bed or a few planting rows, a garden fork or broadfork loosens soil with less pulverizing than a rotary tine machine. Push the tool into workable soil, rock or lift just enough to open cracks, then move back rather than flipping every shovelful. A hoe, hand cultivator, or rake can finish the surface for seed sowing. These tools are slower over a large plot, but they give you control around roots, irrigation tubing, and stones.
A powered tiller saves effort over a broad area, but it adds weight, noise, vibration, fuel or battery needs, maintenance, and a greater chance of overworking the bed. If your garden is small or the machine would be used once, renting or borrowing is often more practical than buying. Ask the rental shop to explain starting, stopping, depth adjustment, transport, and any site limitations; read the owner’s manual before operating. Do not use a tiller as a substitute for removing large roots, buried wire, landscape fabric, or rocks that can catch the tines.
Wait for workable soil and the right season
The right day is defined by the soil, not the calendar. Spring is common for preparing a vegetable bed, while fall cultivation can suit some heavy soils and regional practices, but neither season makes saturated soil safe to work. Soil that is frozen, waterlogged, or powder-dry will not break into a useful structure. Oregon State Extension’s simple field test is practical: squeeze a handful from below the surface. If it stays in a sticky mud ball, wait; if it crumbles freely, it is workable; if it is dusty and clumped, it may be too dry Oregon State University Extension.
Test soil from more than one spot, because the surface can look dry while the root zone is still wet. A ball that smears across your palm or holds a glossy shape when pressed is a warning, especially in clay. A crumbly sample that breaks apart with light pressure is a better sign. If the soil fails the test after rain, give it time to drain and repeat the check rather than trying to speed the job up with a machine.
When to cultivate also depends on texture and the next planting date. The RHS notes that clay is often cultivated in autumn so winter weather can break clods, while lighter sandy soil is commonly prepared closer to spring; it also cautions against waterlogged or frozen ground and excessive cultivation RHS soil-cultivation guidance. Translate that as regional guidance, not a fixed rule for every climate. In a hot, dry region, turning soil can expose moisture just when seedlings need it; in a wet spring, waiting a few days can prevent long-lived clods. If you are incorporating a cover crop or fresh amendment, allow the interval recommended by your local Extension service or the product label before sowing sensitive seeds.
Prepare the site before loosening soil
Prepare the surface so the tiller does not have to chew through obstacles. Measure the bed and mark the actual working boundary. If you will till near a fence, building, tree roots, irrigation system, outdoor lighting, or any buried line, check the relevant utility-marking process first. In the United States, contact 811 or the local one-call center before digging; PHMSA describes 811 as a nationwide safe-digging resource PHMSA: 811 Before You Dig. Utility locating may not cover privately installed irrigation or low-voltage lines, so identify those separately.
Choose clear edges that will not become tangled in the tines. Use short stakes placed outside the working path, paint approved for temporary marking, or a straightedge to set the bed boundaries; remove loose string before the tiller is started. Do not run a machine up to a retaining wall, tree trunk, or fence post if you cannot see what is beneath the soil. Leave a buffer and finish that strip with hand tools.
Mark edges, utilities, and obstacles
Walk the entire area and pick up stones, branches, wire, plastic, plant labels, and litter. Mark large rocks, stumps, and thick roots, then remove what you can safely dig out with hand tools before powered tilling. A tine striking a hard object can jerk the handles or throw debris, damage equipment, or injure someone nearby. Keep children, pets, and bystanders well outside the operating area.
Check for surface hazards too: slippery leaves, hoses, uneven ground, and slopes can undermine footing. A walk-behind tiller is hard to control on a steep incline or in tight corners. If a section cannot be worked while you maintain a stable stance and a clear escape path, use a hand tool there or leave it alone. The machine should not be forced into conditions that make its movement unpredictable.
Remove vegetation without spreading perennial weeds
Clear tall annual weeds and crop debris so they do not wrap around the tines. Before removing vegetation, identify whether weeds are annual, shallow-rooted, or perennial with persistent underground roots or rhizomes. Tilling a patch of bindweed, quackgrass, bermudagrass, or another spreading perennial can chop it into pieces and distribute viable fragments through the bed. Dig those roots out selectively, smother the patch over time, or use a locally recommended control method before cultivating.
Grass sod can be cut and lifted in strips, covered to die back, or removed with another method suited to the site. Simply chopping sod into the soil is not always a clean shortcut: intact crowns and roots can regrow, and decomposing turf may interfere with a fine seedbed. If the area is mostly healthy turf and time is available, sheet mulching avoids flipping a large volume of buried weed seed to the surface. After clearing, rake the surface lightly; this is preparation, not a reason to pulverize the bed.
Decide whether and how to add compost
Compost is useful when the soil needs organic matter, but it is not a mandatory layer before every tilling job. A soil test can show whether pH or nutrients need correction, and the crop plan helps determine whether an amendment belongs in the bed. Do not use compost as a cure-all for poor drainage or add fertilizer without a reason. Too much of the wrong material can create a nutrient imbalance or an unsuitable growing medium.
Use finished, stable compost for planting beds. It should be cool and earthy-smelling rather than hot, sour, or full of recognizable fresh scraps. If the compost is immature, let it finish curing or apply it well before planting according to trusted local guidance; partially decomposed material can continue breaking down after application and may complicate seedling establishment. If there is no soil-test recommendation requiring mixing, an established bed can often be top-dressed instead of tilled.
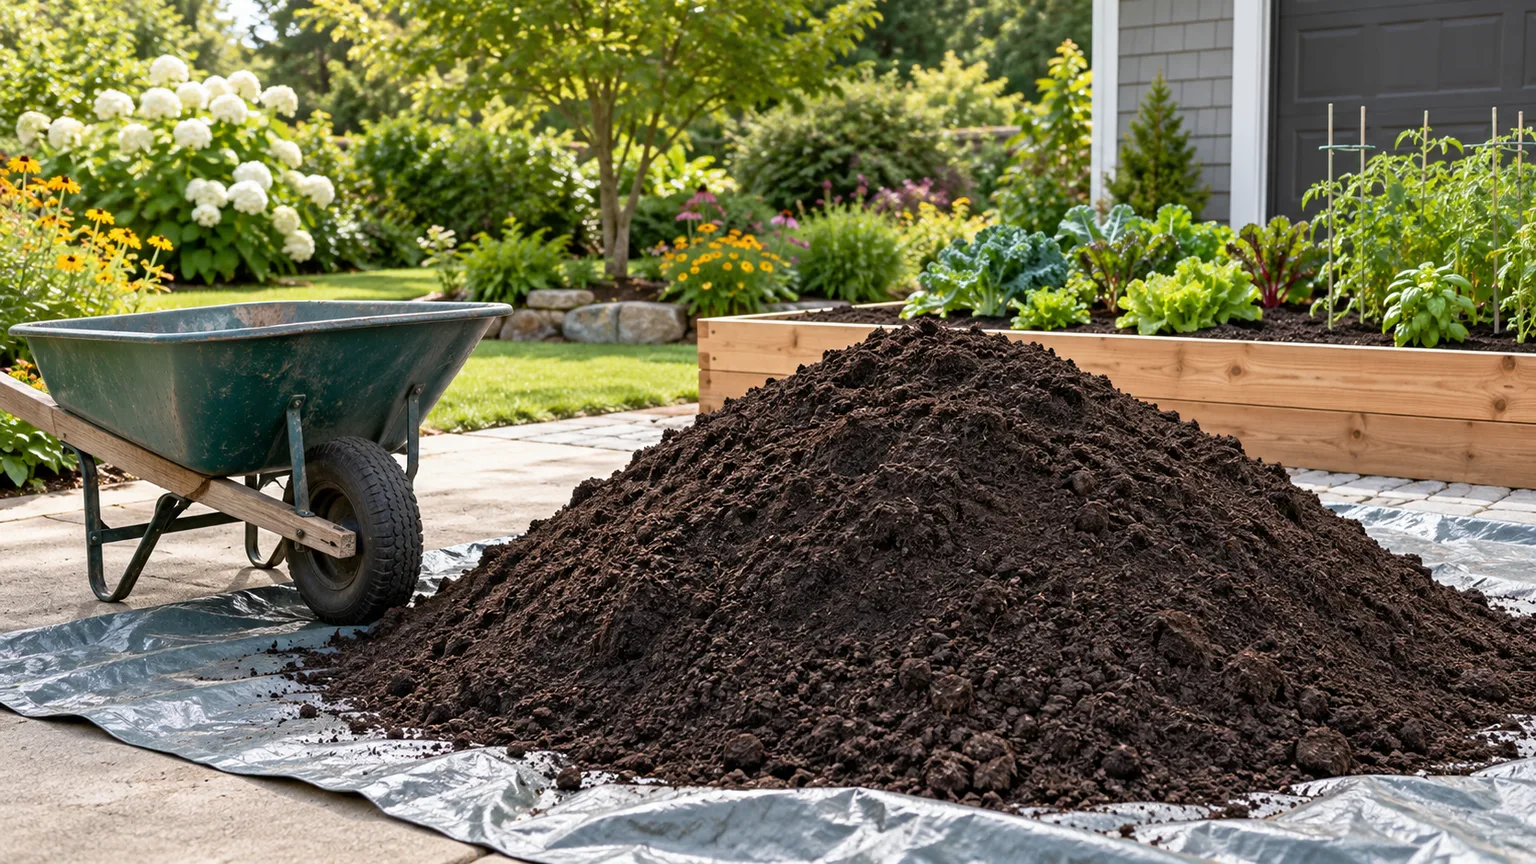
For a bed you are intentionally opening, spread a measured, even layer based on soil condition and Extension recommendations, then blend it only through the depth needed. Avoid assuming that a very thick blanket is automatically better or that every soil benefits from the same volume. Coarse woody material that has not decomposed is also not a direct substitute for mature compost when you need a smooth seedbed. University of Vermont’s no-till method demonstrates the alternative: apply a modest surface layer and plant into it without mixing University of Vermont Extension.
Till in shallow, controlled passes
Set the working depth for the job, not for appearance. For shallow-rooted vegetables and annual seedbeds, the useful zone is often the top several inches; deep-rooted crops, compacted soil, and a newly established perennial bed may call for a different plan. The right depth depends on the crop, soil profile, implement, and any test or local guidance. Start conservatively, inspect the result, and deepen only if the soil remains too firm where roots need to grow.
A common mistake is making several deep passes until the earth resembles potting mix. A fine, powdery surface can crust after rain and may dry quickly, while repeatedly working at one depth can form a dense layer just below the tines. University of Minnesota Extension notes that tillage breaks soil into smaller pieces that are more susceptible to compaction and erosion, and recommends considering alternatives to routine rototilling University of Minnesota Extension. Aim for aggregates that break apart under gentle pressure, not dust.
Loosen a small bed by hand
Stand outside the bed when possible so you do not compress the soil you just loosened. Drive a garden fork into the ground at intervals, then rock the handle back enough to open cracks without lifting and inverting every clod. Work in a grid, keeping rows close enough that the loosened areas meet. Pick out large stones and root pieces as they appear instead of using the fork to chop them repeatedly.
If you need to mix mature compost into the upper layer, scatter it first and use the fork or hoe to fold it through that zone with a light touch. Break only the clods that remain too large for the intended seed or transplant. Finish with a rake, leveling the bed without pressing it into a hard pan. If the fork barely enters, stop and reassess moisture or compaction rather than straining against soil that is too wet or too dry.
Operate a powered tiller safely
Read the exact model’s manual before fueling, charging, starting, adjusting, transporting, or clearing the machine. Wear close-fitting clothing, sturdy closed-toe footwear, eye protection, and hearing protection if the manual or noise level calls for it. Secure loose hair and remove dangling items. Keep both hands on the controls, maintain firm footing, and keep other people well away from the tines and debris path.
Start from the edge of the marked bed and make a short test pass at a shallow setting. Let the machine do the work; do not push it forward aggressively or hold it in one place while the tines dig a hole. Walk at a steady speed, use straight parallel rows with a small overlap, and make a U-turn only where you have room to do so safely. If the tiller bucks, pulls sideways, or repeatedly catches, release the controls according to the manual, shut it off, and inspect for an obstruction only after all moving parts have stopped.
If one pass loosens the soil enough, stop. If the remaining strips need attention, make a second shallow pass at a right angle only after checking that the bed is still crumbling and not becoming powdery. Avoid reversing into areas you have not inspected, working on a slope beyond the machine’s rating, or reaching near rotating tines. Clear wrapped vegetation with the machine off and according to the manufacturer’s instructions. The first pass should be diagnostic: if it creates smeared walls or large wet clods, stop and wait rather than making the damage finer.

Finish the seedbed and decide when to plant
A finished bed is level enough to water evenly, loose enough for roots to enter, and firm enough that seeds will not sink into large air pockets. Rake out clods that are too large for the crop, remove remaining stones and roots, and shape planting rows or beds. For small seeds, a fine surface layer helps keep seed depth even; for transplants or larger seeds, a coarser crumb structure is usually acceptable. Do not compact the bed by walking across it after preparation.
You can often plant into a newly prepared bed once the soil is workable and the amendment is suitable for immediate planting. That does not mean the outdoor temperature or season is right for every crop. Use local planting calendars and the seed packet’s depth and temperature guidance. If you are sowing after incorporating a cover crop, fresh manure, or a substantial amount of organic matter, check the recommended wait interval for that material and crop. Water gently after planting so a hard crust does not form over small seeds.
Mulch may help conserve moisture and reduce new weed growth after seedlings are established, but keep the seed row clear until emergence if the crop needs light or direct soil contact. A thin layer of clean straw or screened compost can be used where appropriate; avoid burying delicate seedlings or blocking the soil surface where you need to monitor germination. If the bed will sit unplanted, cover it rather than leaving fine tilth exposed to wind and heavy rain.
Fix clods, weeds, and other tilling problems
Large hard clods usually mean the soil was too wet, too dry, or too clay-heavy for the chosen method. Do not attack them with more powered passes while they are wet; that can smear and compact the soil. Let the bed dry or weather, then break only the clods that remain, using a fork or rake. If they are rock-hard after drying, consider top-dressing with organic matter over time and reducing traffic instead of trying to pulverize the whole plot.
If weeds flush after tilling, assume some seeds were brought into favorable light and warmth. Hoe seedlings while they are small, before they set seed, and cover bare soil when the bed is not in use. A stale seedbed can be useful: prepare the surface, let a first flush germinate, then shallowly remove those seedlings before sowing the crop. Keep that final disturbance shallow so you do not bring up another layer of buried seeds.
If the machine leaves a smooth, compressed floor under the tilled layer, you may be seeing a tillage pan or repeated-depth compaction. Stop working at the same depth. On a dry-to-moist, workable day, a broadfork can open the layer with less inversion; if the problem is deep or widespread, ask a local Extension service or soil professional to diagnose it before renting heavier equipment. A tiller cannot correct every drainage problem and can worsen the wrong one.
Protect soil after the bed is prepared
Keep traffic on paths, especially when soil is moist. Footsteps repeatedly compress the same planting area, undoing some of the benefit of loosening it. Narrow permanent beds with reachable edges make it easier to work without stepping into the root zone. After harvest, leave healthy roots in place when practical, add a suitable mulch, or grow a cover crop suited to your climate and garden plan.
For established beds, shift from annual deep tilling to targeted surface cultivation. Add organic matter at the surface when it is needed, pull young weeds before they seed, and disturb only the row or planting pocket that requires it. Gardeners’ World notes that no-dig methods still need weed management and that some compost can contain viable weed seeds, so inspect surface mulch and remove unwanted seedlings early Gardeners’ World. A no-till routine is not “do nothing”; it moves the work from repeated soil turning to keeping the surface covered and the bed consistently maintained.
A tiller is worth bringing out again when a new, specific job justifies the disturbance. Before you do, repeat the decision in order: identify the problem, check soil moisture, look for a lower-impact method, and use only the depth and passes needed. That approach protects the bed you are building and makes future planting easier.
Conclusion
To till a garden well, start by deciding whether the bed truly needs to be turned. If it does, wait until a squeezed handful crumbles, clear vegetation and hazards, choose a tool scaled to the area, add only suitable compost in a measured amount, and work shallowly until the seedbed is ready. Stop before the soil becomes powder or the tiller reaches a layer it cannot improve.
For an established, healthy bed, a rake, hoe, fork, or surface compost may do the job with less disruption. Keep people and pets away from powered equipment, contact local utility marking services before digging, and let soil conditions—not impatience or a calendar date—set the pace. The best preparation is the smallest amount of work that leaves a stable, plantable root zone.



