How to Plan a Vegetable Garden Before Spring
Learn how to plan a vegetable garden that fits your space and schedule, with frost-date timing, a scaled layout, crop rotation, and seed-starting tips.
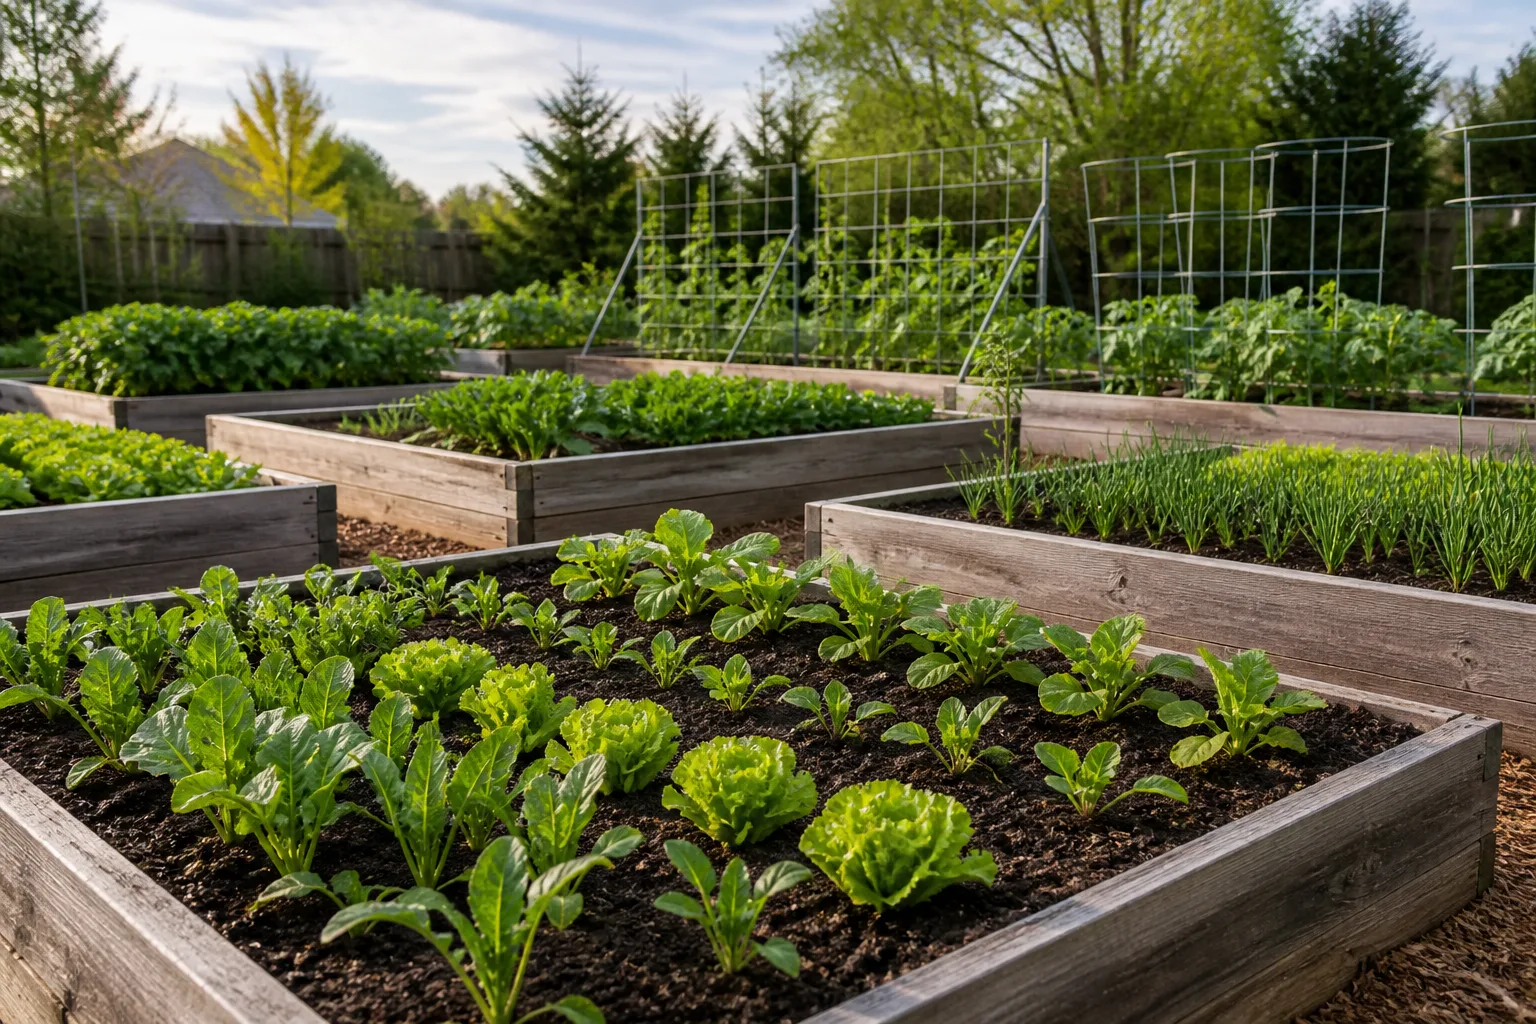
The frozen ground is not wasted garden time. It is the best moment to make the decisions that are difficult to change once seedlings fill the beds: where the sun falls, how much space a sprawling squash will claim, which crops follow the peas, and whether you can realistically water everything in July.
The most useful vegetable garden plan is not a perfect drawing or a long wish list. It is a small set of decisions tied to your site and your calendar. Plan in this order—harvest goals, site, timing, crop list, map, follow-on crops, supplies—and spring planting becomes much less frantic.
Start with the Harvest You Actually Want
Begin with the kitchen, not the seed catalog. Write down the vegetables your household eats often, the ones that taste noticeably better fresh, and anything you want to preserve. A garden full of novelty crops can look productive while still producing very little food you will actually use.
Next, set a maintenance limit. Virginia Cooperative Extension notes that garden size should reflect the time available for regular weeding, watering, harvesting, and pest checks—not simply the amount of empty ground you have. A single well-tended bed usually beats a large garden that becomes impossible to keep up with by midsummer (Virginia Tech’s planning guidelines).
Turn your list into quantities. “Tomatoes” might mean two plants for fresh sandwiches, six plants for sauce, or one patio container. “Lettuce” might mean four heads at once, or a small sowing every two weeks. Those are different plans, even though they use the same crop names.
Inspect the Site Before You Draw a Bed
Do not treat an open patch of ground as blank space. It already has a sun pattern, drainage pattern, wind exposure, nearby roots, and a history of what grew there. Planning while plants are dormant makes the layout easier to see, but use notes or photographs from the growing season so you do not mistake a winter-bright spot for a summer-sunny one.

Measure Sun, Water, Wind, and Cold Pockets
Track direct sun in the likely garden area at breakfast, midday, and late afternoon on more than one clear day. Many vegetables need at least six hours of direct sun, while fruiting and seed-producing crops often perform best with more; Virginia Tech lists eight to ten hours as ideal for a vegetable garden. If a tree is leafless now, mark the shade it will cast after leaf-out.
Water access is a design constraint, not a finishing detail. Walk the route from the spigot to the farthest bed, account for a hose crossing, and decide whether a soaker hose or drip line can reach every row. The easiest bed to grow is usually the one you can inspect and water on an ordinary weekday, not the one that looks best from the kitchen window.
Look for places where cold air settles: low spots, the bottom of a slope, and areas boxed in by solid fences. These locations warm slowly in spring and may freeze when a nearby, slightly elevated bed does not. Avoid planting beside thirsty trees or shrubs when possible, because their roots compete for water and nutrients as well as casting shade.
Choose In-Ground Rows, Raised Beds, or Containers
Use an in-ground garden when you have workable native soil, room for access paths, and enough area to grow crops in quantity. If you are unsure whether the bed is ready, use this soil-readiness check before you dig. Rows are efficient for corn, potatoes, beans, or a large succession of greens, but they can waste space if the paths are wider than the bed and you only grow a few plants.
Raised beds make sense when the site drains poorly, the native soil is contaminated or difficult to improve, or you need a clearly defined, accessible growing area. For help choosing a medium, see our guide to the best soil for vegetable gardens. They also warm and drain differently from the surrounding ground, so do not assume a raised bed is automatically safe for early planting. A container can be the most honest choice for a small garden: it limits the crop list, but it also limits weeding and makes it easier to give a sun-loving tomato the right location.
Leave enough clearance to work without stepping on growing soil. The best shape is the one that lets you reach the center from a path and gives a hose, wheelbarrow, or harvest basket a practical route.
Set a Planting Calendar from Frost Dates
Find your average last spring frost date and first fall frost date from a local Extension service, then write both on the top of your garden plan. They define a planning window, not a promise. The University of Georgia’s vegetable calendar explicitly warns that its dates are long-term averages and that individual years may require delaying or advancing work based on actual weather (UGA’s vegetable garden calendar).
Your local frost dates matter more than a generic “plant in March” list. Our seasonal vegetable planting guide can help you organize the calendar, but elevation, proximity to water, slope, urban heat, and the garden’s exposure can move the usable window. Check the short-range forecast before planting tender transplants even when the average frost date has passed.
Separate Cool-Season and Warm-Season Crops
Divide your crop list into two broad groups. Cool-season vegetables such as peas, spinach, lettuce, radishes, carrots, and many brassicas can be started earlier because they tolerate cool conditions; warm-season crops such as tomatoes, peppers, eggplant, beans, cucumbers, and squash need warmer soil and protection from frost.
This split prevents a common mistake: using a sunny winter day as permission to plant everything. If the ground is still cold, put cool-season crops on the early calendar and start tender crops indoors or buy them later. A late cold snap can kill a warm-season transplant, while a cool crop planted too late may bolt or produce poorly once heat arrives.
Soil temperature is a useful second check. Air can feel warm while the soil remains cold and wet, especially in shade or heavy ground. Use the seed packet’s soil-temperature guidance when it provides one, and judge the bed’s drainage before sowing.
Work Backward from Days to Maturity
Treat “days to maturity” as a planning estimate, not an appointment. Ask whether the number begins at direct sowing, transplanting, or another milestone, then add time for slow spring growth, harvest, and the possibility of a weather delay.
For fall crops, count backward from the first expected frost and reserve a harvest buffer. The UGA calendar illustrates this logic by adding the crop’s days to maturity and time for harvesting when calculating a planting date. For spring crops, count backward from your intended transplant date: the packet might say six to eight weeks indoors, but a cool room, weak light, or a delayed spring can make the actual schedule longer.
Put the dates on a simple table with four columns: crop, start method, earliest outdoor date, and expected end or follow-on crop. This exposes conflicts before you buy seed. A tomato that occupies a bed until frost is a very different space commitment from a radish that frees the bed in a month.
Turn the Crop Wish List into a Realistic Plan
Choose varieties that fit your space, climate, and tolerance for trouble. Compact or bush forms are useful in containers and narrow beds; pole beans, cucumbers, and indeterminate tomatoes need vertical support or a larger footprint. Look for disease resistance that matches problems common in your area rather than paying extra for a feature you do not need.
Select a dependable core and a small experiment. A good first-year ratio is several varieties you already know you will eat, plus one or two new choices. This creates useful information for next year’s plan without turning the whole harvest into a trial. The practical value of planning is its restraint: Epic Gardening also frames maintenance as proportional to garden size in its spring vegetable garden planning guidance.
Pair crops by similar needs, not by a rigid companion-planting chart. Lettuce and radishes can share an early bed because both tolerate cool weather; a tomato and a sprawling pumpkin may both enjoy sun but still compete for room. Flowers and herbs along an edge can add color and habitat for insects, but they should not crowd the vegetables or block access.
Draw a Scaled Map That Can Survive Real Growth
Measure the actual bed, then draw it on graph paper with one square representing one foot or another repeatable unit. Mark north, paths, the water line, fences, gates, trees, and permanent structures before adding a single plant. If the garden does not yet exist, draw the proposed bed and its working clearance, not just the rectangle you hope to fill.

Use the mature spacing on the seed packet, not the size of the seedling in its tray. A bare bed invites overplanting because it looks as if there is room for another tomato, another cucumber, and one more zucchini. Two months later, the canopy closes, airflow drops, harvesting becomes awkward, and the extra plants may yield less than a correctly spaced planting would have.
Put Tall Crops North and Paths First
Place corn, pole beans on trellises, tall tomatoes, and other high crops along the north side when the site allows. This reduces the hours they shade shorter plants. The rule is not absolute—wind, access, and the direction of a fence can override it—but it is a strong starting point.
Draw the path network before the crop blocks. A path is not wasted space if it lets you weed, inspect leaf undersides, carry a harvest basket, or cover a bed during a frost. Narrow beds that can be reached from both sides are often more productive than a larger bed that forces you to lean across or step into the soil. For a similar access-first principle, BBC Gardeners’ World recommends beds narrow enough to work from the paths in its potager design guide.
Reserve Mature Space for Roots, Vines, and Supports
Write the support beside the crop on the map. A cucumber trellis needs an anchor and a harvest side; a tomato cage needs to be in place before roots fill the area; a squash needs a direction in which its runners can spill without swallowing a path. Planning the structure now is easier than trying to add it through a dense canopy.
For each crop, record three measurements: plant spacing, row or bed spacing, and expected height or spread. If the numbers do not fit, change the crop or variety before changing the spacing. This is where compact lettuce, bush beans, patio tomatoes, or a container-grown cucumber can make a small garden work better than a full-size version of every favorite.
Build Succession Planting and Crop Rotation into the Map
One planting date creates one harvest rush. Succession planting spreads the work and the food by staggering sowings of fast crops or replacing an early crop with a later one. The exact interval depends on the crop and climate, but two weeks is a useful starting mark for salad greens, radishes, beans, and other quick crops; adjust when heat or frost shortens the season.
Draw the replacement crop as a second layer on the same bed map. A spring square of lettuce may become a summer basil or bean space, then a late-season spinach or kale area. This makes the garden feel larger without adding another bed, but only if the first crop’s harvest date, the next crop’s planting window, and the soil’s condition all fit together.
Group Crops by Family and Move Them Yearly
Crop rotation is easier when you map plant families instead of individual varieties. Put tomatoes, peppers, and eggplant in a nightshade block; cucumbers, squash, melons, and pumpkins in a cucurbit block; peas and beans in a legume block; and broccoli, cabbage, kale, and related crops in a brassica block.
Avoid placing the same family in exactly the same spot year after year when you can. Virginia Tech recommends not repeating vegetables from the same family in one location more often than once every three years because rotation can reduce the buildup of some insects and diseases. In a one-bed garden, perfect rotation is impossible; moving the family to a large container, swapping half-bed sections, or rotating only the crops that had problems is still more useful than ignoring history.
Keep last year’s map with the new one. Note where disease appeared, which bed dried out first, which crop bolted, and which variety was actually harvested. A garden plan becomes much more valuable when it is also a record of what happened.
Order Seeds, Test Leftovers, and Choose Varieties
Inventory before shopping. Separate seeds you already have by crop, variety, and packet date, then note whether they were stored cool, dry, and sealed. Do not discard a packet simply because it is not new, but do not let optimism take the place of a germination check when the crop is important.
For a simple home test, place a known number of seeds between damp paper towels, keep them warm according to the crop’s needs, and count how many sprout. If only half germinate, sow more thickly only where the crop can be thinned safely, or order fresh seed for crops that are difficult to replace. Root crops are not good candidates for starting in a tray just to rescue weak germination because their roots dislike disturbance.
Order the varieties that match your map, not every attractive catalog photo. Check the packet for days to maturity, mature size, spacing, planting depth, thinning directions, disease resistance, and whether the crop is meant for direct sowing or transplanting. The seed packet is a crop-specific instruction sheet; a generic calendar cannot replace it.
Start Seeds Indoors Only When You Can Support Them
Indoor seed starting is useful when it matches the crop and your setup. It can extend the growing season and give tomatoes, peppers, eggplant, and some brassicas a head start, but it also creates a new job: consistent light, moisture, airflow, and transplant timing.
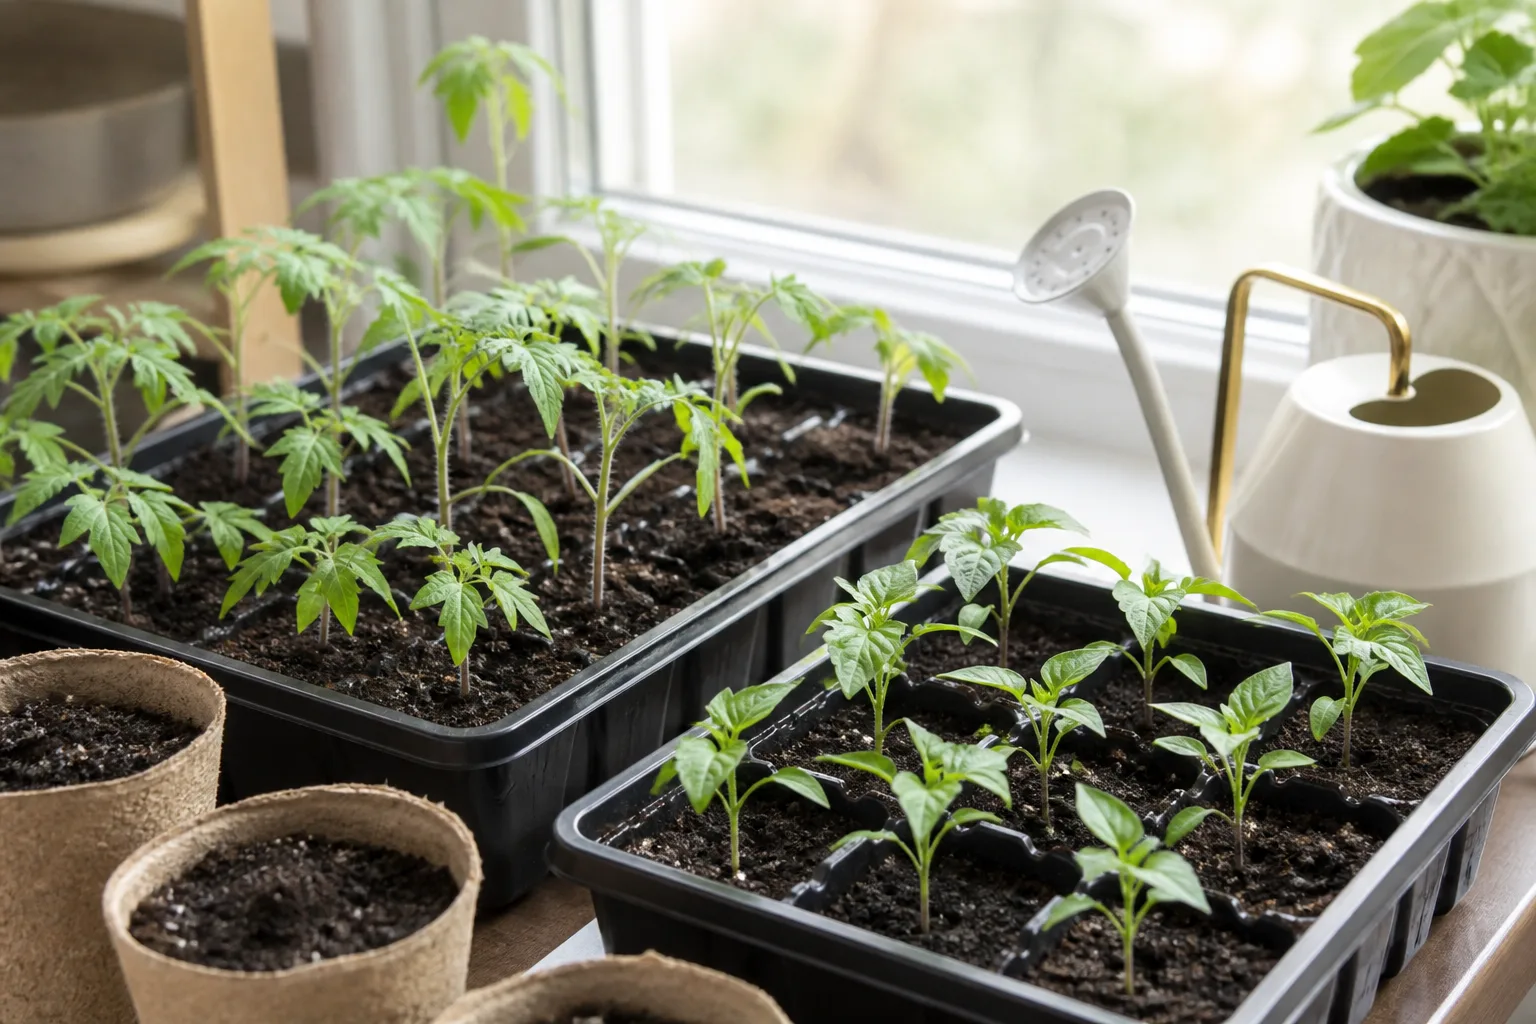
The University of Georgia’s seed-starting guidance recommends using a light, well-draining seed-starting mix rather than garden soil, and it emphasizes strong light to prevent weak, stretched seedlings. A sunny window may be insufficient in late winter, so decide where trays, lights, water, and a fan will live before sowing (UGA’s seed-starting guide). If you are new to the indoor phase, follow our seed-starting guide for the setup details.
Start only as many seedlings as you can keep properly lit and labeled. An overcrowded tray is not a bargain; it is a queue of stressed plants competing for the same light and root space. Label each variety immediately, keep the packet with the tray, and put the outdoor transplant date on your calendar.
Direct-Sow or Transplant by Crop
Use direct sowing for crops that dislike root disturbance or are simple to establish where they will grow. Carrots, beets, radishes, peas, beans, corn, cucumbers, and squash are common examples, although local conditions and the variety still control the best timing. Our guide to the easiest seeds to direct sow is a useful companion when narrowing the list. Make the seedbed smooth, follow the packet depth, and thin seedlings rather than letting every seedling become a crowded plant.
Use transplants when a crop benefits from a longer protected start or when your season is too short to finish it outdoors from seed. Tomatoes and peppers are classic examples. Do not move them outside merely because they have reached the size you expected; they also need suitable temperatures, workable soil, and a hardening-off period.
Harden seedlings by gradually increasing their exposure to outdoor light and changing temperatures over about one to two weeks. Start in a sheltered, shaded place, protect them from strong wind and cold nights, and increase sun and time outside step by step. Moving a soft indoor seedling straight into full sun can cause more damage than waiting a few extra days (the University of Georgia’s transplanting guidance).
Prepare Soil, Water, and Frost Protection Before Planting
Do not work the bed just because the calendar says spring. Squeeze a handful of soil: if it forms a sticky ball, smears, or glistens with water, wait. Working wet soil can destroy the air spaces roots need and leave hard clods when it dries. A raised bed may become workable sooner than an in-ground clay bed, but both need the same moisture judgment.

Test soil before adding lime, fertilizer, or a large load of manure. A soil test can identify pH and nutrient conditions that are invisible in a dark, crumbly-looking bed; more amendment is not automatically better. Add finished compost or another amendment when the soil test and the bed’s texture support it, and keep any manure or compost source appropriate for food gardens.
Use this frozen period to repair beds, clean and sharpen tools, check fencing, and gather stakes, trellis material, row cover, and labels. Fine Gardening’s early-spring checklist treats tool maintenance, soil testing, seed starting, and garden planning as separate jobs worth doing before the season accelerates (Fine Gardening’s early-spring checklist).
Plan watering before the first transplant. Virginia Tech lists about one inch of water per week as a general vegetable-garden reference, while noting that sandy soil, rainfall, crop, and weather change the requirement. Think of that number as a check on your irrigation capacity, not a reason to water by the calendar. Our guide to watering a vegetable garden explains how to adjust for soil and weather. A rain gauge, mulch plan, and a reachable hose or drip system will make the schedule more adaptable.
Use a Four-Week Frozen-Yard Checklist
Break the work into short sessions so the plan stays useful rather than becoming another winter project you avoid. This sequence works backward from decisions that cannot wait until planting weekend:

- Week one: observe and measure. Mark the garden boundaries, north, water source, paths, shade, cold pockets, and any tree roots. Write down the time you can spend each week and the harvests you want.
- Week two: choose and map. Select a manageable crop list, compare varieties, draw the bed to scale, assign mature spacing, place tall crops and supports, and add the first follow-on crop.
- Week three: schedule and order. Find local frost dates, read every packet, count backward from transplanting, test saved seed, and buy only the seed and supplies the map can accommodate.
- Week four: prepare and protect. Take a soil sample, repair structures, check irrigation, clean tools, organize seed-starting space, and keep row covers ready for an unexpected cold night.
Use the plan as a working document, not a contract. If the soil stays wet, delay the bed work. If the forecast turns cold, protect or postpone tender plants. If the garden already looks too full on paper, remove one crop now; that is much easier than removing a diseased, tangled canopy in July.
Conclusion
Planning a vegetable garden while the yard is frozen is not about predicting the season perfectly. It is about making the high-consequence decisions early: grow what you will eat, choose a site you can reach, anchor timing to local frost and soil conditions, map mature space, schedule more than one harvest, and keep a record for next year.
When the ground finally thaws, you should not be deciding whether three zucchini plants fit beside the tomatoes. You should be checking whether the bed is workable, sowing the crop that belongs in that window, and following a plan that leaves room for weather and real life.