How to Lower Soil pH in 4 Easy Steps
Learn how to lower soil pH with a soil test, the right sulfur rate, careful application, and a retest before you add more. Avoid shortcuts that do not last.
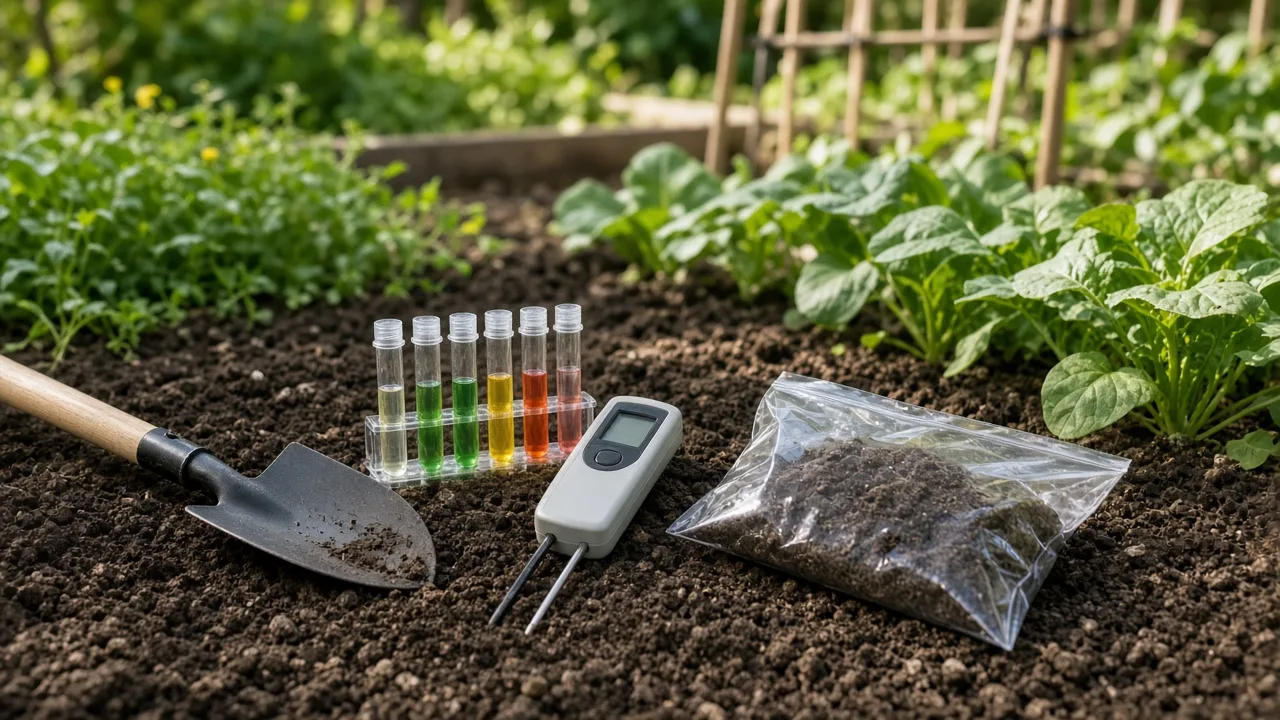
Lowering soil pH starts with a test, not a bag of sulfur. The correct amount depends on what you are growing, how alkaline the soil is, and how strongly that soil resists change. Add an unmeasured acidifier and you can overshoot, waste money, or damage roots without fixing the original problem.
The reliable approach is simple: identify the plant’s target, test a representative sample, follow a lab’s amendment recommendation, and retest before applying more. In many gardens, elemental sulfur is the practical choice, but it works over months and may need several small applications.
Before you change pH, name the plant and its target
Soil pH describes how acidic or alkaline the soil solution is. A reading below 7 is acidic; above 7 is alkaline. The scale is logarithmic, so a one-point shift is substantial. pH matters mainly because it affects which nutrients are available to roots, not because a number by itself tells you whether a plant is healthy. Most garden plants tolerate a range, while a few crops need distinctly acidic conditions.
Pick a target for the crop in that bed rather than trying to make every garden soil neutral. Oregon State University Extension lists blueberries at pH 4.5 to 5.5 and many vegetables around 6 to 7. Those ranges are not interchangeable: a vegetable bed that suits tomatoes may still be too alkaline for blueberries. Use a local extension recommendation or the plant’s production guidance to set the target, and aim near the upper end of the suitable range unless the crop guidance says otherwise. Oregon State University Extension explains plant-specific pH ranges.
For a concrete example, Oregon State recommends pH 4.5 to 5.5 for blueberries. A soil reading of 6.2 would be a meaningful mismatch for that crop, but the same reading may be acceptable for other plants. Before you amend a whole bed, consider whether the soil, drainage, sunlight, and watering pattern also suit the plant; lowering pH cannot compensate for a site that stays waterlogged or lacks sun. Oregon State’s home blueberry guide covers the crop’s soil needs.
Yellow leaves do not diagnose pH
Pale leaves with green veins can occur when high pH limits iron availability, especially on new growth of acid-loving plants. But a similar color change can come from waterlogged roots, compacted soil, drought, root injury, or other nutrient problems. A symptom can tell you what to investigate; it cannot tell you how many pounds of sulfur to apply.
If a plant looks stressed, test the root-zone soil and review moisture and drainage at the same time. Avoid treating the entire garden based on one struggling shrub or a home test taken from a single spot. If only one plant is affected, collect a separate sample from its root zone and, if possible, compare it with a nearby healthy area.
Step 1: Test a representative area
Use a cooperative extension or reputable soil-testing laboratory before changing pH. A home meter or color kit can provide a rough screening number, but a laboratory test is more useful for choosing an amendment because it can report soil texture, buffer pH, nutrients, organic matter, or a recommended treatment. Ask for a lawn-and-garden test with recommendations for the crop you intend to grow; a basic pH-only reading may not provide enough information to calculate an effective rate.
Take several small samples from the part of the bed you will treat, combine them in a clean plastic bucket, mix them thoroughly, and submit the amount the lab requests. Iowa State Extension recommends a composite sample from roughly 10 to 15 locations in one consistently managed area, collected from the top 4 to 8 inches. Keep separate samples for a vegetable garden, lawn, and ornamental bed, or for areas with visibly different soil or drainage. Do not mix in surface mulch, compost, fertilizer granules, or manure, and do not sample immediately after applying amendments. Iowa State’s soil-sampling guide explains how to collect a representative garden sample.
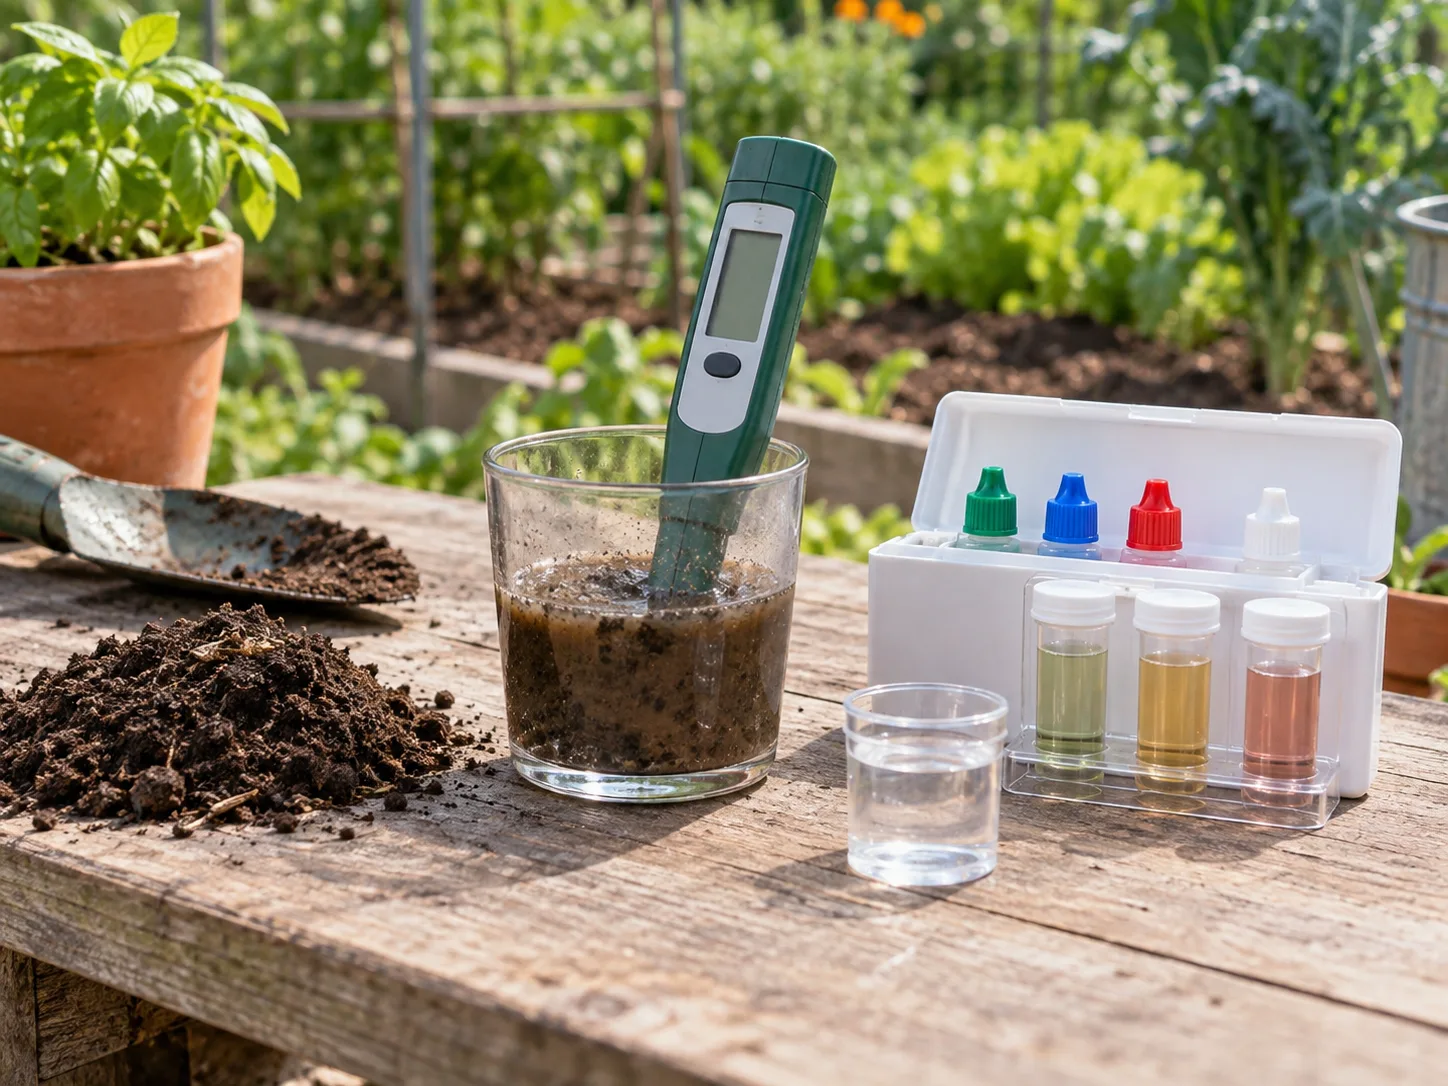
A lab report often returns within a week or two, depending on the lab and season. Check the method it used and follow its instructions for interpreting results. Soil readings can vary with sampling depth, season, and recent inputs, so use the same lab and sampling approach when you compare results later. If a kit and a lab disagree, use the lab’s result or ask the lab how to resolve the discrepancy before applying sulfur.
Ask the lab for pH, texture, and an amendment rate
A soil pH number tells you the current acidity, but not the amount of acidifier required to move it. Two soils with the same pH may need very different sulfur rates because clay, organic matter, carbonates, and other soil components buffer pH changes. Buffer pH measures part of that resistance. Iowa State Extension advises using the current pH, the target pH, and soil type to calculate sulfur needs; its recommendations are tied to its own test method and regional soils. Its soil pH guide explains why a soil test and buffer information matter.
When submitting a sample, name the intended plants and ask the lab for a specific rate and incorporation depth. A recommendation for a lawn may assume a shallow surface treatment; a new vegetable bed may assume sulfur mixed through several inches of soil. Those are different treated soil volumes, so do not copy a rate from another region or a different crop. If the report gives only pH and no amendment guidance, contact the lab or local extension office rather than translating a generic chart into a dose.
If the report shows pH already within the crop’s range, stop there. Yellowing or slow growth still deserves attention, but adding sulfur is not the default treatment. Check soil moisture, drainage, light, roots, and the rest of the nutrient report first.
Step 2: Choose an acidifier that fits the job
For a planned pH adjustment in an outdoor bed, elemental sulfur is commonly recommended because soil microorganisms convert it gradually into compounds that acidify the soil. The process needs time, moisture, oxygen, and biologically active soil; it can take several months, and cool or dry conditions slow it. Granule size and formulation also affect the speed. Follow the product label and lab recommendation for the exact formulation you purchased rather than assuming all sulfur products behave identically.
Sulfur is a correction, not a fertilizer substitute. Do not calculate a dose from pH alone, and do not assume more will work faster. Excess sulfur can drive pH below the crop’s range and make some elements too available or toxic. In alkaline soils with substantial buffering, a large change may require multiple seasons; for a very acid-loving crop, it may be more sensible to change the growing medium than to force the entire native soil into a different chemistry.
When fertilizer can help—and when it cannot
Some fertilizers containing ammonium nitrogen can gradually acidify soil as they are used, and they may help maintain pH for a crop that also needs nitrogen. They are not a clean stand-alone substitute for an amendment rate: using extra fertilizer to chase pH also adds nutrients, and an unnecessary nitrogen load can harm plants or leach. Choose a fertilizer for the plant’s nutrient needs and label rate, not as a shortcut to a target pH. Wisconsin Extension cautions that ammonium sulfate can add unnecessary nitrogen when used just to lower pH.
Aluminum sulfate reacts more quickly than elemental sulfur, but “faster” does not make it the safer default. Excess soluble aluminum can injure roots, especially when an application is too heavy or soil drainage is poor. Extension recommendations vary by region and intended crop; use it only if a local soil-test recommendation specifically calls for it and provides a rate. For most home beds, gradual elemental sulfur is easier to manage. Iowa State compares the speed and plant risks of common acidifiers.
Organic materials are not a measured substitute
Compost is valuable for soil structure and organic matter, but its effect on pH depends on what went into it and how it was made. It may not lower pH, and some composts can be alkaline or salty. Add compost for a soil-building reason, not as a guaranteed acidifier. Peat moss is also not a predictable fix: products differ, and common garden-center peat may be only slightly acidic. The Royal Horticultural Society notes that peat is no longer recommended as a routine soil-acidifying material; where organic matter is needed, choose a sustainable, well-characterized product and still follow the soil-test plan. RHS guidance reviews sulfur and other acidifying materials.
For pots or a new raised bed, you can often begin with an appropriate acidic growing medium instead of changing a large volume of native soil. That gives you more control over the root environment, but it still needs good drainage and periodic testing. Avoid filling a blueberry bed with an arbitrary mix of garden soil and compost: the finished medium may not have the target pH or physical structure the plant needs.
Step 3: Apply sulfur to the root zone
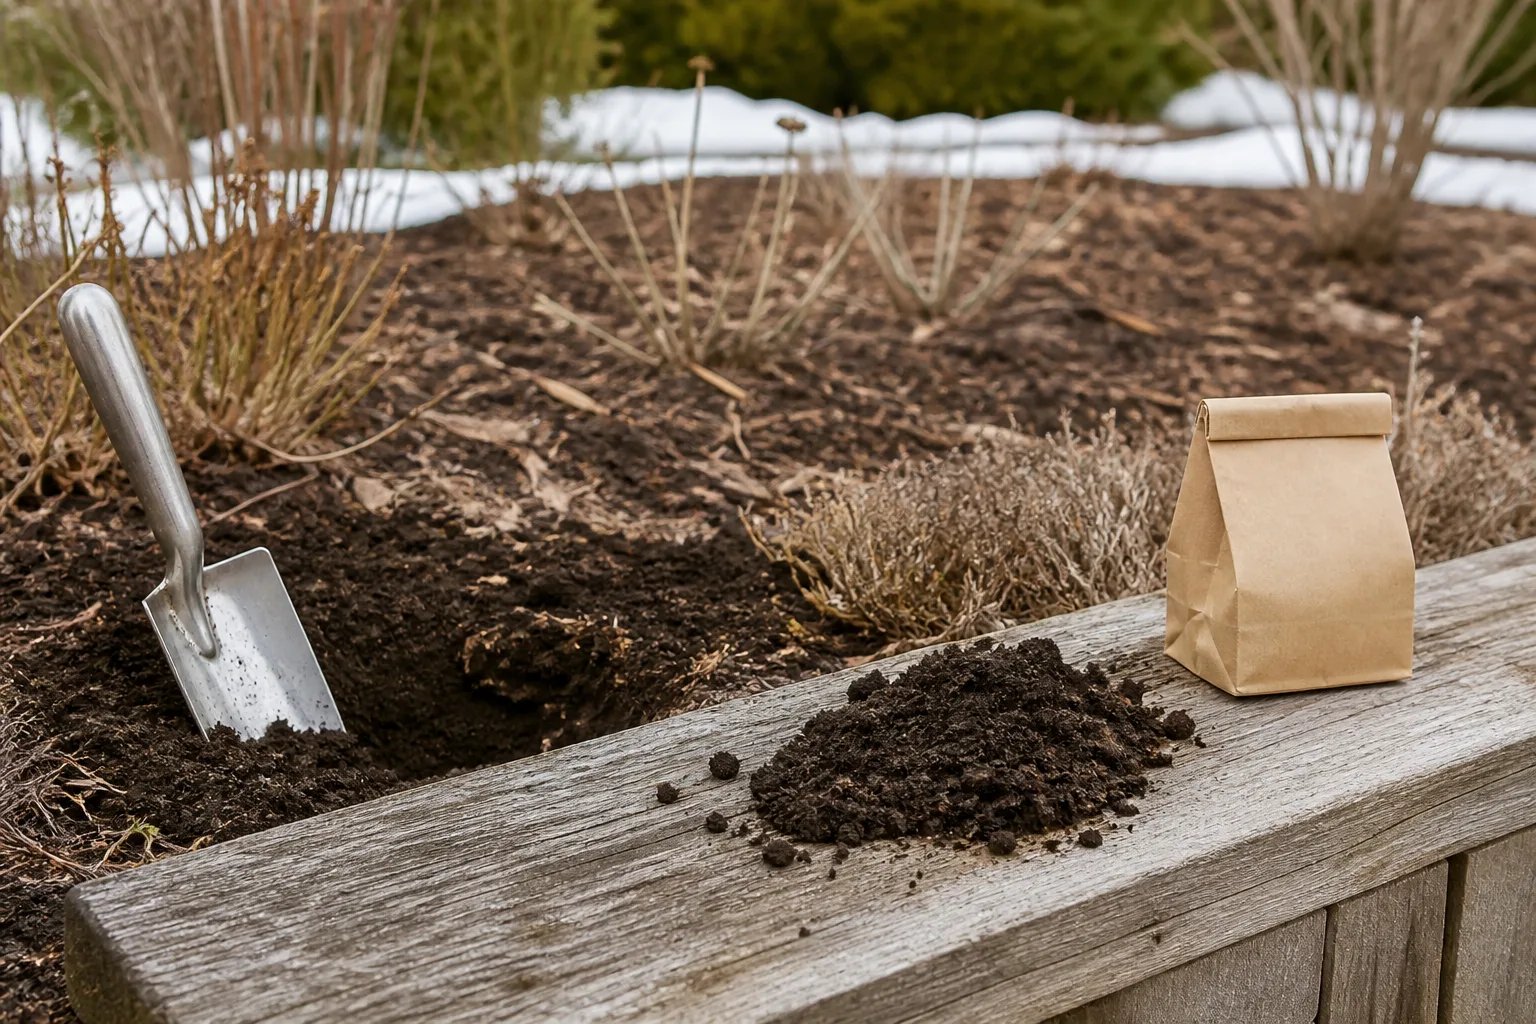
Use the sulfur product and rate specified by the soil-test recommendation. Measure the bed’s length and width, calculate its square footage, and use the rate for the product’s stated treatment area. If the report gives a total amount for a full bed, do not apply that amount to each plant. Mark the area first, weigh or measure the material, and spread it evenly; uneven piles can create highly acidic pockets beside soil that remains unchanged.
Wear the protective gear on the product label, avoid breathing dust, and apply in calm weather so fine particles do not drift. Keep sulfur off leaves and out of ponds, drains, or other places it does not belong. Do not mix it with fertilizer, lime, ash, or another amendment unless the label or lab recommendation directs you to. The goal is even contact with the intended soil layer, not a concentrated ring of product around a stem.
Before planting
An empty bed is the easiest place to lower pH because you can incorporate the product through the future root zone. Spread the recommended amount evenly, then mix it into the depth stated by the test report. Many extension guides describe incorporating sulfur into the upper several inches of soil; the correct depth depends on the crop and test method. Do not rototill deeply around tree roots, where tilling would cut or expose them.
Water the bed enough to settle the soil and maintain normal moisture, not until it is saturated. Sulfur needs soil contact and microbial activity; it does not dissolve into a quick acid bath. If the local recommendation is to amend in fall and check in spring, follow that timeline. If the target is far away or the soil is heavy or highly buffered, plan on more than one season rather than increasing the first dose.
Wait for the test result to show that the bed is in range before planting a crop that is sensitive to high pH. Oregon State’s blueberry guidance recommends testing and adjusting well in advance because changing pH after planting is harder and can take a year or more. For blueberries, that lead time also lets you confirm drainage and organic matter before investing in shrubs. Oregon State describes pre-plant soil preparation for blueberries.
If plants are already growing
Once roots occupy the bed, do not dig or till deeply just to incorporate sulfur. Apply only the lab-recommended amount to the plant’s root-zone area, then work it into the surface gently if you can do so without cutting roots. For an established shrub, that zone often extends outward toward the drip line; avoid placing a concentrated dose against the trunk or crown.
A surface application changes only the upper soil layer at first, so it may not correct the full root zone quickly. That is a reason to split the treatment into smaller applications over time, not to bury a large amount beside the plant. Recheck pH before repeating. If a specific plant is declining, a small managed zone or a replacement planting in suitable soil may be safer than trying to acidify the entire bed around it. Oregon State Extension explains gradual treatment for existing plants.
Step 4: Wait, retest, and adjust only if needed
Elemental sulfur works on a biological timetable, not an overnight one. A visible change may take months in warm, moist, aerated soil, and a large pH change can require multiple applications or growing seasons. Do not top up because the bed “looks unchanged” after a week. Soil appearance is not a pH measurement, and over-application can create a different problem than the one you started with. Oklahoma State Extension recommends following soil-test rates and reassessing pH several months after treatment.
Retest the same area after the period recommended by your lab or product label—often after several months or the next suitable season. Use the same sampling depth, locations, and laboratory method if you want to compare the trend. If pH moved partway toward the target, follow the report on whether and how to make another small application. If it overshot or is already in range, stop adding acidifiers.
Keep a short record: date, product and formulation, amount, treated area, incorporation depth, soil-test result, and what you planted. This turns the next test into useful evidence instead of another guess. For a planted bed, also note irrigation source and whether the symptoms improved; leaves may take time to recover even after the soil test improves, and older damaged leaves may not turn green again.
Check what may push pH back up
Some sites naturally resist acidification. Soil formed from calcareous parent material, construction fill, or limestone-rich subsoil may contain enough carbonate to neutralize added acidity. Soil near concrete foundations or paths can also become more alkaline over time. If repeated, correctly measured sulfur applications barely move the result, ask the lab whether buffering or carbonate is the limiting factor instead of escalating the dose.
Irrigation water can matter too. Water with substantial bicarbonates may gradually raise pH in the root zone, so an initially successful adjustment may not last. If your pH creeps upward, test the soil and ask an extension office or water-testing lab whether irrigation alkalinity should be checked. A single soil amendment cannot permanently overcome a continuing source of alkalinity.
Shortcuts that rarely create lasting soil change
A quick kitchen test can sometimes suggest whether a sample is acidic or alkaline, but it cannot give a dependable numeric target or calculate how much sulfur a buffered bed requires. Home methods are not a replacement for a lab report when a plant needs a narrow range. Treat them as curiosity, not authorization to add acid.
Pine needles, coffee grounds, and compost
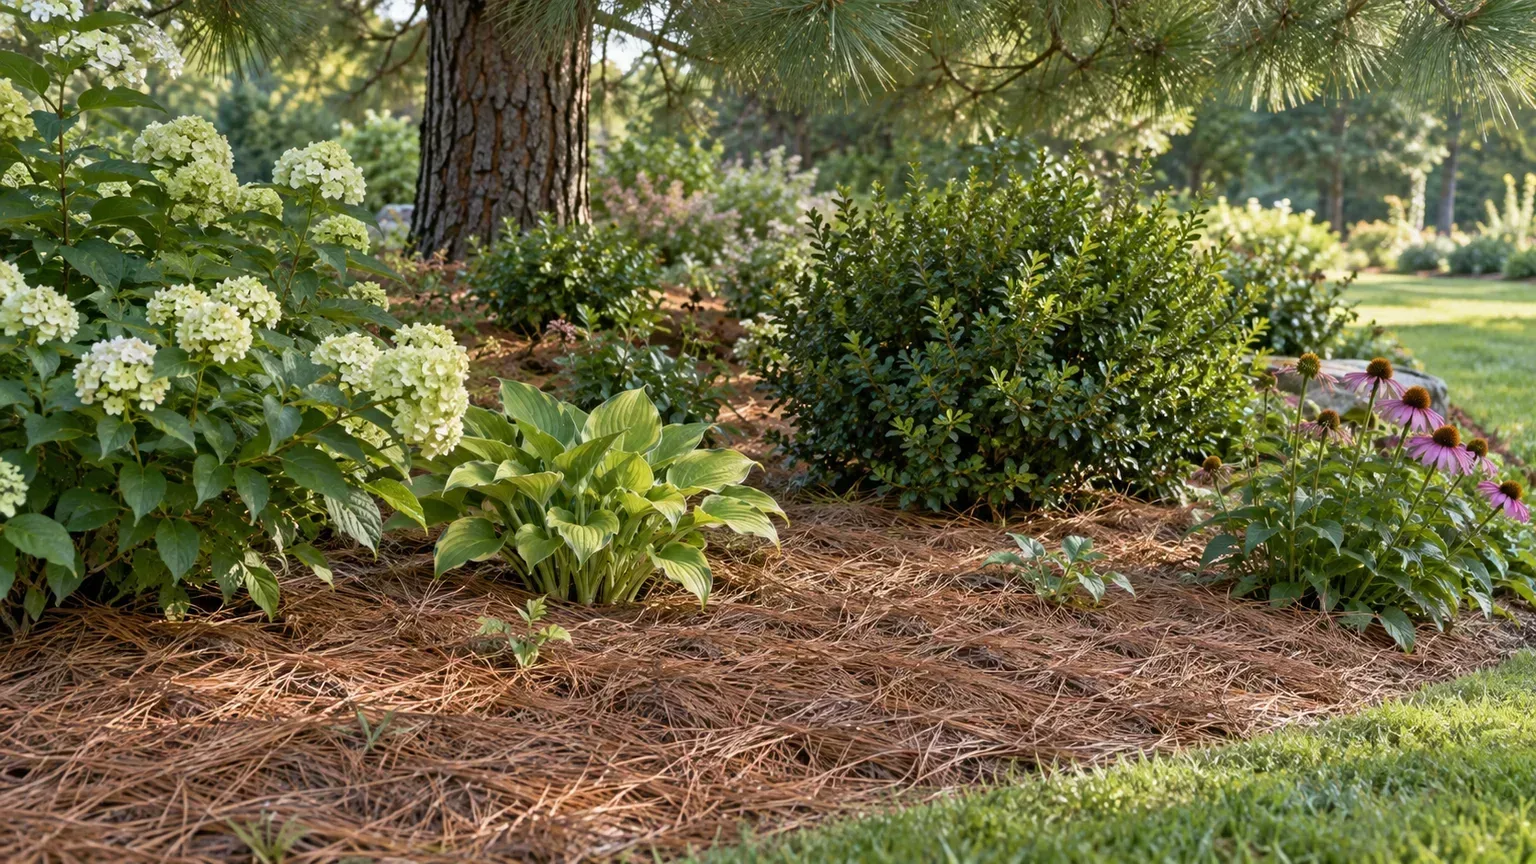
Pine needles are useful as a light mulch: they can protect the soil surface, moderate moisture, and gradually add organic matter as they decompose. They do not reliably acidify the mineral soil enough to correct a high pH. A thick layer of needles, coffee grounds, or other organic scraps is therefore not a controlled pH treatment. Gardening Know How’s review of the pine-needle myth distinguishes mulch benefits from meaningful pH change.
Coffee grounds can be added to a compost system in sensible quantities, but spent grounds do not act like a measured dose of elemental sulfur. Compost itself varies in pH and nutrient content, so applying it may improve soil structure without moving pH in the direction you want. If you enjoy these materials, use them for mulch or compost—not as the pH-control plan.
Vinegar and other household acids
Do not pour vinegar, lemon juice, or another household acid into garden soil to lower its pH. The acidity of the liquid does not tell you how much is needed to overcome the soil’s buffering, and the effect may be brief and uneven. A concentrated splash can expose roots to an extreme local condition while leaving most of the bed unchanged. There is no safe universal kitchen recipe for changing a garden bed’s pH.
The same caution applies to “pH-down” products intended for hydroponics or irrigation tanks. They are designed to adjust a measured water solution, not to calculate a lasting change to mineral soil. If water pH is a concern, first establish whether it is actually raising soil pH; then get water and soil tested and follow a recommendation designed for the crop and system.
When a raised bed or container is the better answer
If a soil test shows strong buffering, carbonate, or repeated rebound from alkaline irrigation, compare the cost and effort of ongoing amendment with growing the plant in a separate medium. A raised bed or large container lets you start with a known, well-drained mix suited to the crop. Oregon State notes that, in regions where native soil is alkaline and pH rises again, blueberries may be easier to manage in a constructed raised bed or container. That is a practical alternative, not a failure to garden “naturally.”
Keep the new medium separate from the surrounding alkaline soil where possible, and confirm its pH before planting. Use a container with drainage holes and an irrigation source that will not rapidly undo the adjustment. Even a controlled bed can drift over time as water and amendments interact, so test it periodically rather than relying on the label of a bagged mix forever.
Conclusion
To lower soil pH, first decide whether your crop needs a lower range and test a representative sample. Get a rate based on the actual soil and target, then apply elemental sulfur evenly at the recommended depth and give it time to work. Retest before you repeat the treatment.
Skip universal dose charts, extra fertilizer, vinegar, and pine-needle “acidifying” claims as substitutes for a soil-test plan. If the ground is strongly buffered or pH keeps rebounding, a raised bed or container may be the simpler way to give acid-loving plants the soil they need.