How to Get Rid of Mice in Your Garage: A Safe Plan
Find out how mice enter a garage, where to place traps, how to clean rodent droppings safely, and which seals and storage changes prevent repeat visits.
The fastest reliable way to get rid of mice in a garage is to remove what they can eat or nest in, set mouse-sized snap traps where they travel, and close the openings they use to get inside. Do those jobs together: trapping catches mice already there, while storage changes and repairs keep new ones from replacing them. If you find droppings, urine, or nesting material, clean it safely before you sweep, vacuum, or move contaminated boxes.
Start with the garage door, wall-floor edges, stored birdseed or pet food, and the darkest corners behind shelves. Then follow this sequence: ventilate if there is rodent waste, note the freshest signs, reduce attractants, set protected traps, seal the route, and check for new activity over the next week. The CDC warns against dry sweeping or vacuuming rodent waste because it can send contaminated particles into the air; a few careful steps can make the cleanup safer and the control plan more effective.
Start with a safe, quick garage plan
Ventilate, map fresh activity, and remove easy food
If the garage has visible droppings, urine, a nest, or a dead mouse, open the outside door and windows and leave the space to air out for 30 minutes before cleanup, as the CDC’s rodent-cleanup instructions advise. Wear disposable or rubber gloves when you handle traps or clean; if you have a significant amount of waste or a history of respiratory illness, ask your local health department or a pest professional about appropriate precautions before disturbing it. Don’t start by sweeping out the whole garage or dragging all the boxes into a dust cloud.
While the garage airs, make a quick map from the threshold inward. Note fresh droppings, shredded nesting material, chewed seed bags, gnaw marks, and any narrow trail that follows a wall or shelf edge. Mark a likely entry point outside the garage, too: a gap under the door, a split in the bottom seal, a utility opening, or a corner where the foundation meets the siding. A quick phone photo or simple sketch helps you put traps at the right places and later tell whether new evidence has appeared.
Next, remove the easiest rewards. Put pet food, birdseed, grass seed, and animal feed into tightly closed metal or heavy plastic containers; sweep up loose seed only after you have checked for and safely cleaned any rodent contamination. Close trash lids and take out food waste, wipe up spills, and move food items off the floor. If something cannot be removed immediately, place it in a sealed container and move it away from active signs until the route is under control.
Don’t park a vehicle on top of evidence and assume the mouse will leave. Mice may shelter around stored items and can chew vehicle wiring or build nests in a warm engine compartment; if you see nesting material or droppings in the engine bay, cabin air intake, or ventilation system, use the CDC’s vehicle-cleanup directions and consult a mechanic if wiring or hoses look damaged. Avoid starting a vehicle when a nest is visible near moving or hot components until it has been inspected.
Confirm mice and find their route
Read droppings, gnawing, nests, and sounds cautiously
Mice leave small dark droppings, gnaw marks on food packaging or stored materials, and shredded paper, fabric, or insulation in sheltered nests. You may hear quick scratching or scurrying after dark, but a sound alone does not prove there are mice; branches, pipes, insects, and other animals can make similar noises. The University of California’s Integrated Pest Management (UC IPM) guide to house mice recommends using droppings, fresh gnaw marks, and nests to locate activity, including behind boxes and in garages.
Look along walls and behind objects rather than only in the open center of the floor. Check the back of low shelves, the edges of stored fabric or insulation, the area around a water heater, corners beside the garage door, and containers that hold seed or feed. Mice tend to use protected edges and can stay close to a food source, so several signs clustered near one wall are more useful than one old dropping in a dusty corner.
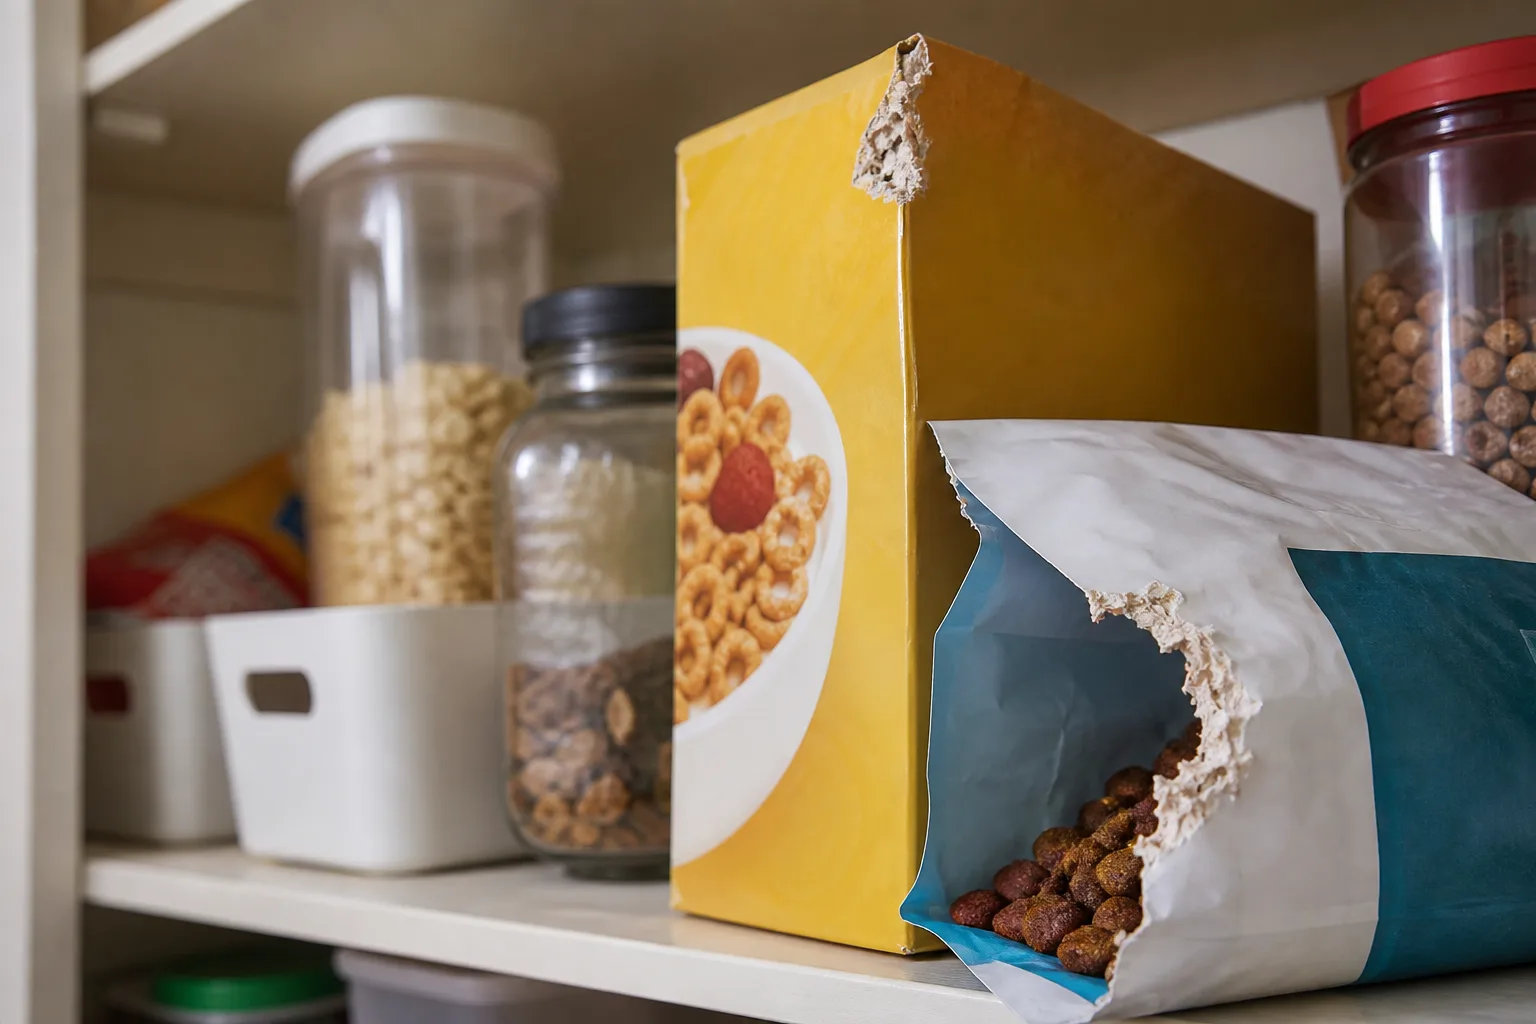
A mouse can squeeze through an opening about ¼ inch (6 millimeters) wide, roughly pencil-width. That is a practical size for inspection: check any gap that looks large enough to admit a pencil, especially around the overhead door, utility lines, foundation, or attached-house door. Dropping size and sound can hint at mouse versus rat activity, but they are not reliable enough to identify a species with certainty; if the signs are unusually large or the traps are being moved or ignored, have a professional identify the rodent before choosing larger traps or a different plan.
A single sighting can mean one mouse wandered in, or it can be the first sign of more. Treat new droppings, fresh chewing, or repeated nighttime sounds as a reason to inspect and monitor, not as proof of a large colony. Clean a small accessible area safely, record the date, and see whether fresh droppings return; that gives you a clearer signal than trying to judge the size of the problem from one old mark.
Trap active mice before the next one arrives
Place mouse-sized snap traps on runways
For a few mice in a garage, a set of correctly sized snap traps is usually the most observable first control. UC IPM describes trapping as a good first step for house mice in homes and garages, and recommends putting traps close to walls, behind objects, in dark corners, and where fresh signs appear. A trap in the middle of a clear floor may be easy to see but poorly placed; set it beside the route the mouse already uses.
Use several traps near the signs rather than one trap at the far end of the garage. A mouse-sized snap trap can be set perpendicular to the wall with its trigger end at the edge, or parallel to the wall if the design calls for that placement; follow the product’s instructions. A small amount of bait, such as peanut butter, is enough. UC IPM notes that a food the mice already eat can work well, and that too much bait can let a mouse take it without setting off the trigger.
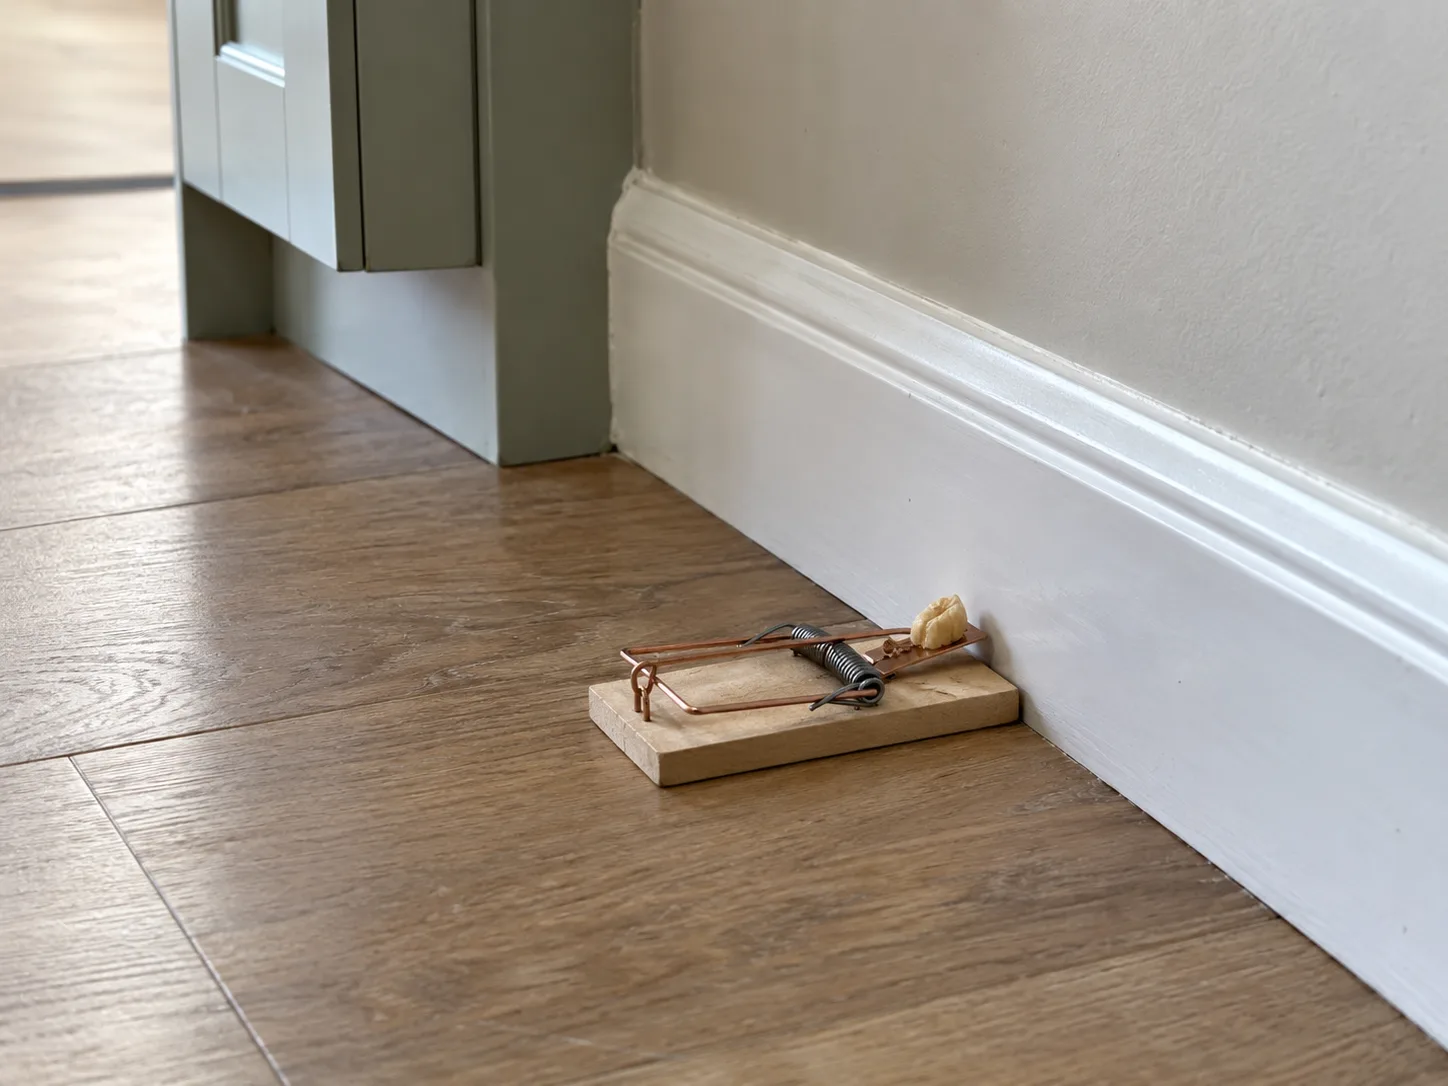
Place traps where children and pets cannot touch them—behind a secured barrier, inside a suitable trap cover, or on a shelf or ledge that is accessible to mice but not to people or animals. Check them daily. If the garage is used by pets, children, or wildlife, make a simple floor plan and block access to the area while traps are set rather than relying on a warning note alone. Never put a trap where an animal could reach it through a gap in a gate or under a storage rack.
If a mouse takes the bait without triggering a trap, reset it with less bait, move it closer to the wall, or shift it to the next fresh sign. If a trap remains untouched for several nights while activity continues, it may be in the wrong place, the bait may be unfamiliar, or the animal may not be a mouse. Move traps based on new evidence instead of adding them at random. Keep a short count of catches and dates so you can see whether activity is tapering off.
Why poison, glue boards, and repellents are poor shortcuts
Rodenticide bait can be tempting when a garage has many signs, but it adds exposure and carcass problems without fixing the entry point. A poisoned mouse may die in an inaccessible wall, storage stack, or vehicle compartment, creating an odor and leaving you unable to confirm whether the control worked. The National Pesticide Information Center’s mouse guidance explains that rodent baits can harm people and pets if misused; its rodenticide overview explains the hazards and the importance of following the product label.
If you decide a bait product is necessary, use only one labeled for the location and situation, in the required bait station and exactly as directed. Keep bait secured from children, pets, and non-target animals, and follow all label instructions for placement, refilling, disposal, and protective equipment. Do not scatter loose poison, combine products, or assume that a garage is automatically inaccessible to a child or pet. Ask a licensed pest professional to manage bait if you cannot secure it or monitor it reliably.
Glue boards can leave a mouse trapped and struggling, and they do not solve the opening that let it in. Live traps also require frequent checks and a lawful, humane plan for the animal; local rules differ, and simply releasing it elsewhere can create a problem for someone else without controlling the garage route. Snap traps are easier to monitor and remove promptly. Keep traps in active locations, check them every day, and use the cleanup steps below when a mouse is caught.
Peppermint oil, dryer sheets, cats, and plug-in ultrasonic devices are not substitutes for trapping and exclusion. Their effect can be inconsistent, and a smell that fades or a device that does not address a hole will not make a garage mouse-proof. UC IPM specifically notes that high-frequency electronic devices are not effective house-mouse control. If you enjoy a scent product, use it only as an optional extra, not as a reason to delay sealing gaps or setting traps.
Seal the ways mice enter the garage
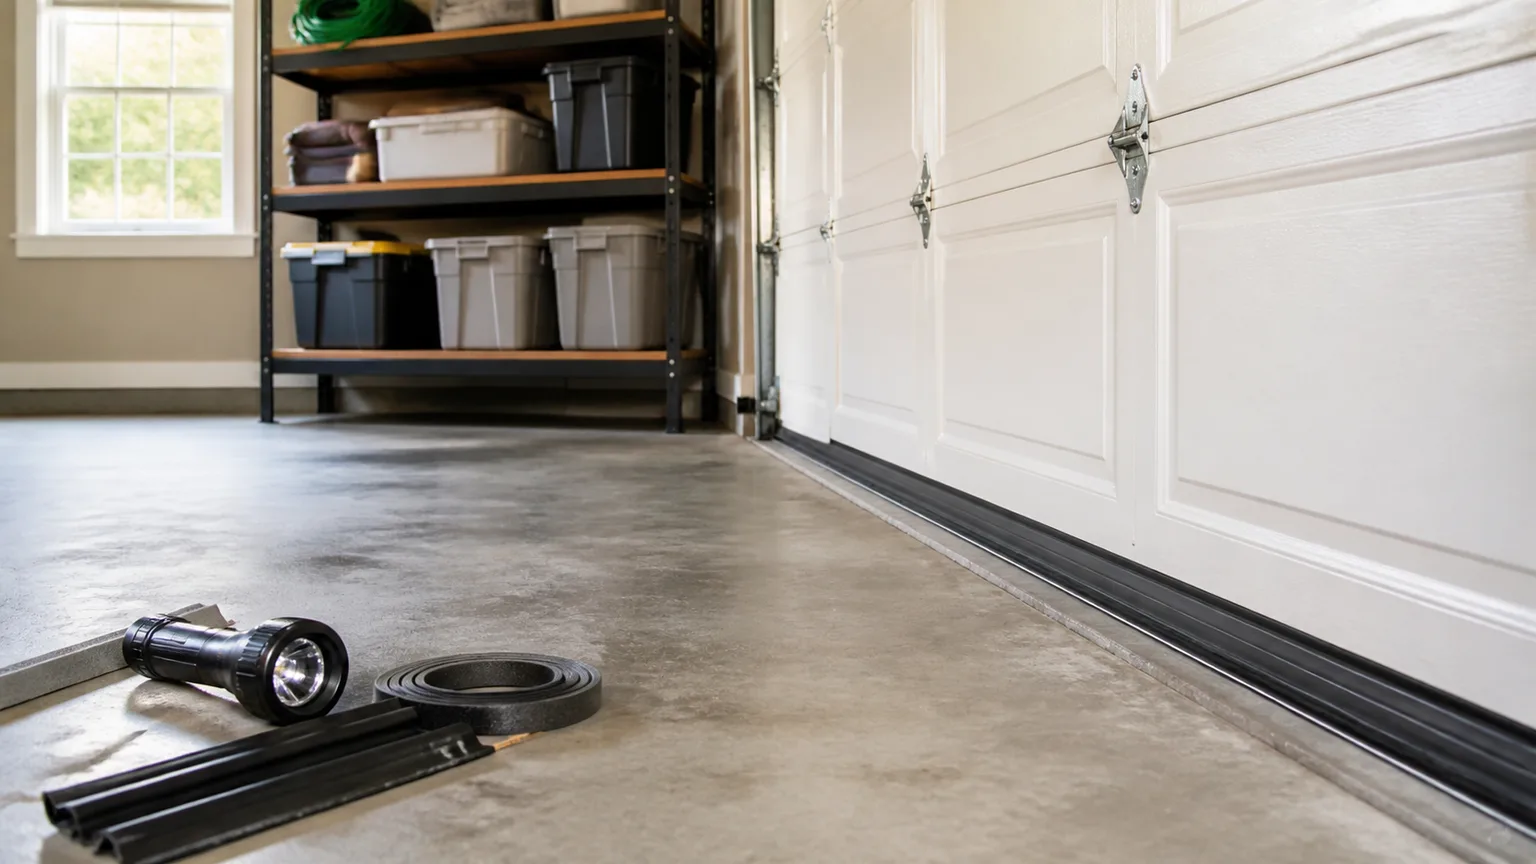
Fix the bottom gap and side seals of the overhead door
The largest moving opening in the garage deserves the first exclusion check. Close the overhead door and examine the rubber bottom seal from inside and outside. It should contact the floor along its full width, including both corners; a flattened seal, torn end, daylight line, or uneven concrete can leave a route underneath. If the floor is uneven, a new bottom seal alone may not close the gap; a garage-door professional can assess a compatible threshold or adjust the door without interfering with its safety sensors.
Inspect the vertical side weather stripping and the top edge, too. A door can have a good bottom gasket while a split corner or loose side seal leaves a passage. Remove leaves, seed, or debris that keeps the door from closing flat. Do not wedge cloth, cardboard, or loose mesh into the track, and never attach a barrier that can be pulled into the door mechanism or interfere with the door’s reversal sensor. The practical garage advice in Good Housekeeping’s mouse-control guide also emphasizes weather stripping below the garage door and keeping food and trash out of reach.
Check the pedestrian door between the garage and house as carefully as the overhead door. A worn sweep, loose threshold, damaged weather stripping, or an unlatched door can give a mouse a route indoors. Keep this door closed, repair its seals, and verify that the latch pulls the door snugly against the frame. This is especially important if the garage contains pet food or stored goods that might attract mice from the outside.
Close small holes with durable materials
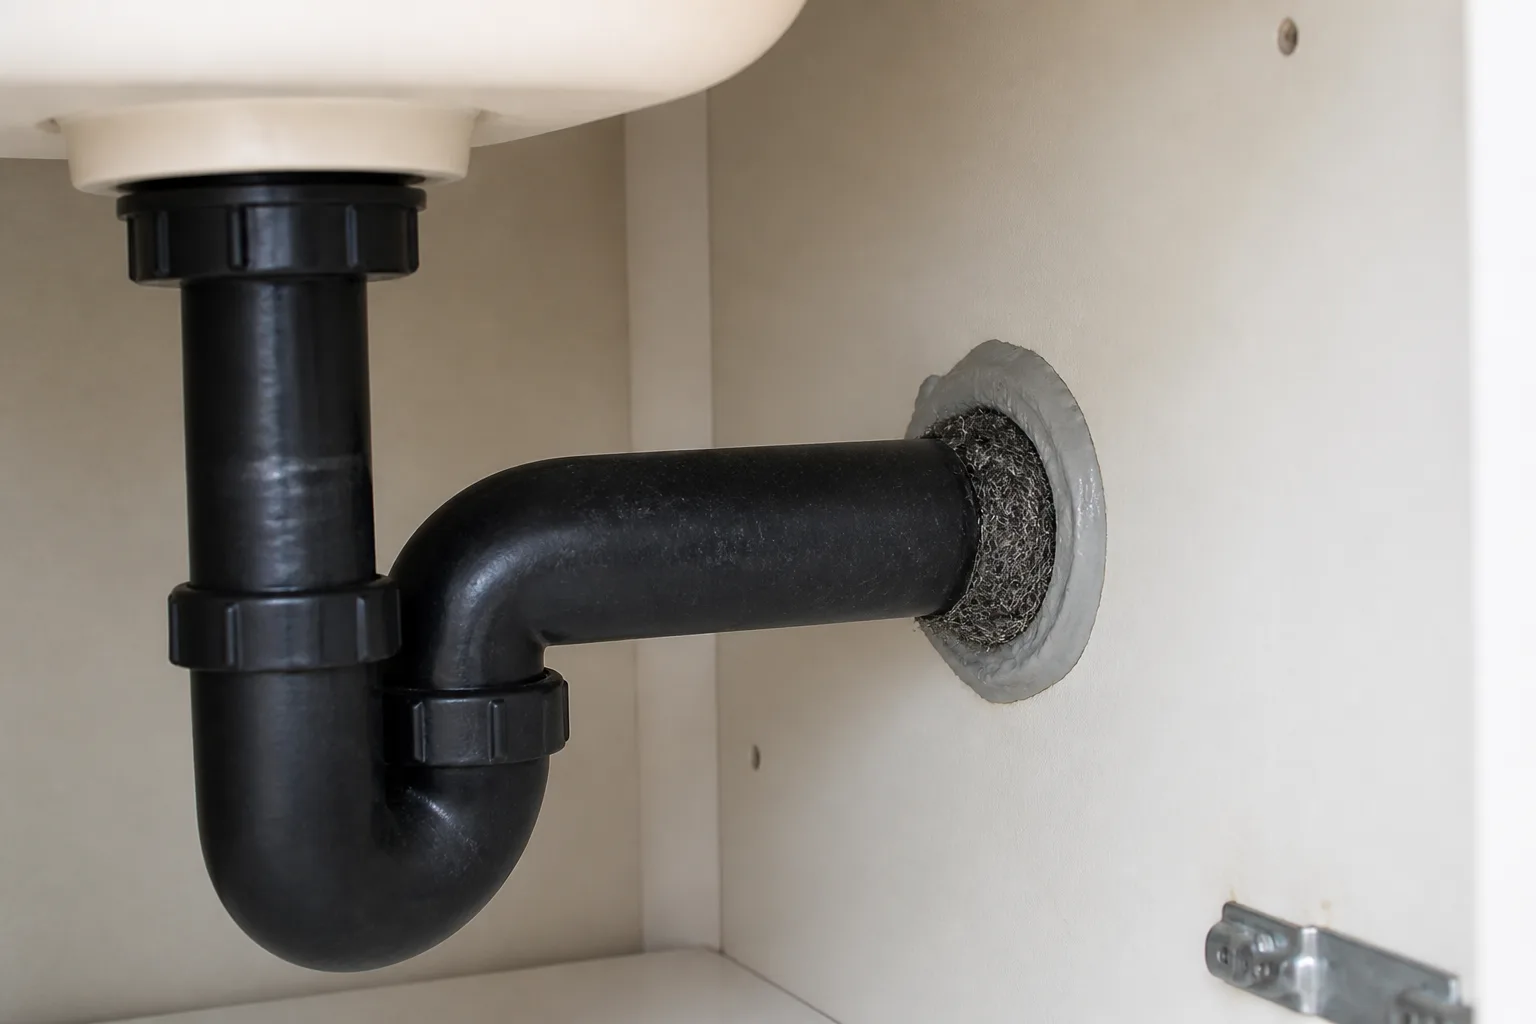
Walk the perimeter inside and outside, starting at floor level. Check slab cracks, foundation joints, corners behind shelves, pipe and cable penetrations, vents, drain openings, and places where siding meets masonry. UC IPM says that mice can use openings as small as a quarter inch and recommends chew-resistant materials such as wire screen or coarse steel wool for small gaps; for lasting repairs, it advises metal or concrete around foundations and utility openings. Temporary steel wool may rust, loosen, or leave edges exposed, so secure it and cover it with an appropriate durable repair material.
For a narrow crack in a nonstructural surface, choose a repair product rated for that material and location. For larger openings, use metal mesh or hardware cloth backed by mortar, cement-based patch, or another suitable exterior repair. Expanding foam by itself, plastic screen, rubber, vinyl, and wood can be gnawed; foam may fill the center of a hole but it does not create a chew-proof barrier. If you use foam, pair it with an appropriate metal barrier and finish the opening so the barrier cannot be pulled away.
Do not plug an operating vent, weep opening, combustion-air inlet, or drain to stop a mouse. Put rodent-resistant screening over a vent only if the vent manufacturer or a qualified contractor confirms the screen will preserve the required airflow. A blocked dryer or combustion vent can create a different safety problem. If a mouse is already in a wall void, sealing both ends blindly could trap it inside; use traps and seek professional help when the route leads into an inaccessible cavity.
Seal the entry point after traps are active rather than waiting until every mouse is caught. If the opening is obvious and the mouse is not living in the wall itself, close it promptly; the trap plan removes animals that are already inside while the repair reduces new entry. Recheck the patch after a few days for fresh chewing, displaced material, or a newly discovered bypass route.
Clean droppings, nests, and contaminated storage safely
The cleanup sequence matters more than the cleaner’s scent. The CDC says not to vacuum or dry-sweep rodent droppings, urine, or nesting material because that can send tiny contaminated droplets into the air. After the garage has ventilated for 30 minutes, put on gloves, spray the waste until thoroughly wet with an EPA-registered disinfectant or the CDC-recommended bleach solution, and leave it wet for five minutes or for the contact time on the product label. Wipe it up with paper towels, then disinfect the hard surface and dispose of the towels and waste in a sealed bag.
For the CDC bleach mixture, use 1.5 cups of household bleach in 1 gallon of water, or 1 part bleach to 9 parts water, and make the solution fresh before use. Follow the disinfectant label, keep children and pets away, and never mix bleach with ammonia, acids, or other cleaners. If the droppings are on a large pile of loose insulation, inside heating or cooling ducts, or spread through a closed attic-like space, do not improvise with a household vacuum or pressure washer; contact a professional or local health department for advice on the right cleanup method.
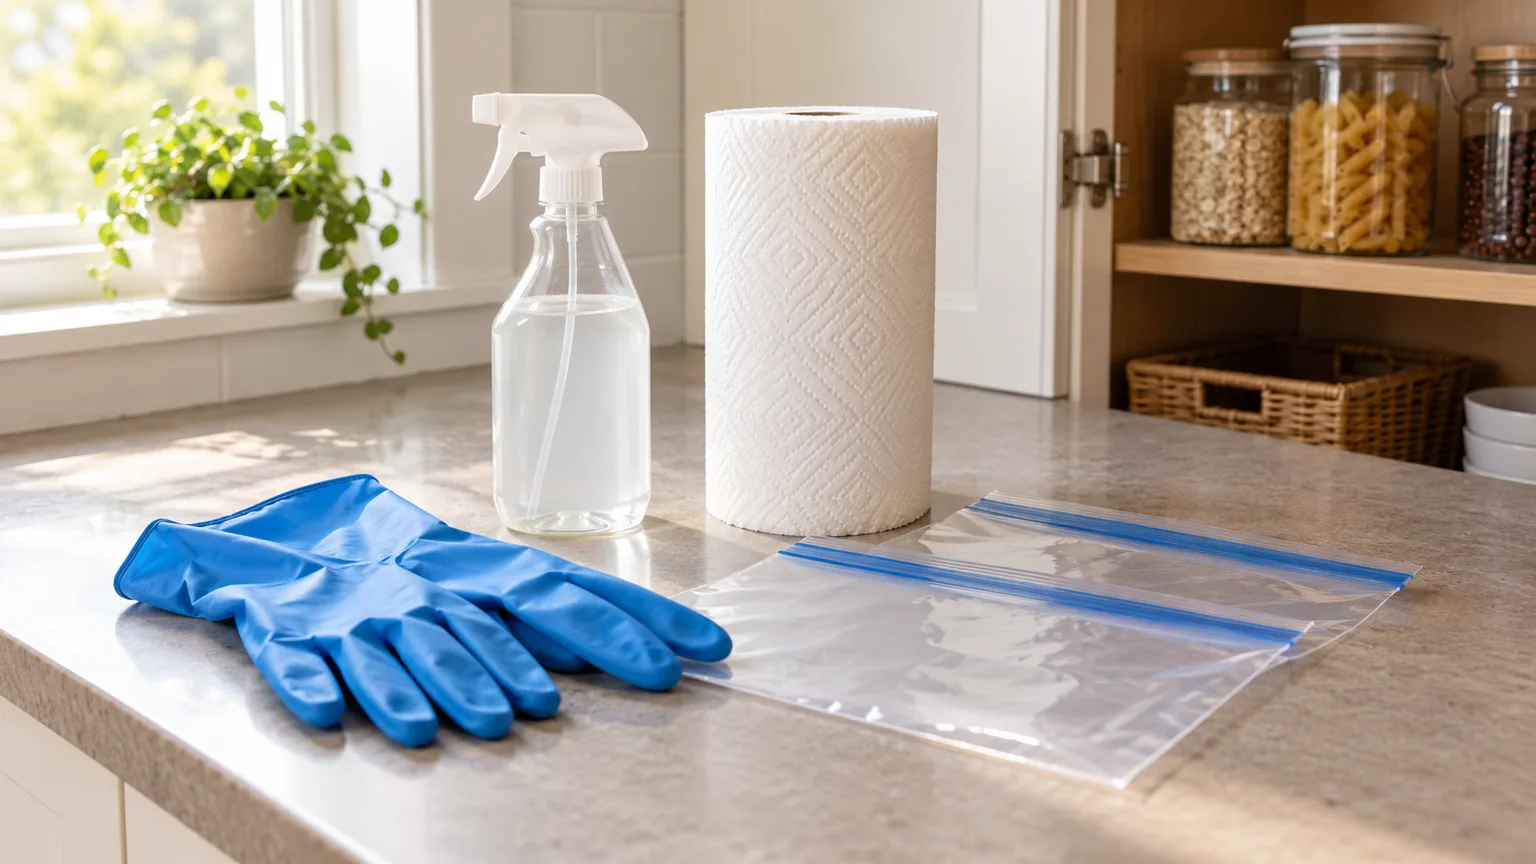
For a dead mouse or nest, wet it with disinfectant, let the product sit for the required time, and lift it with paper towels or another disposable tool while wearing gloves. Place the mouse, nest material, paper towels, and any disposable trap in a plastic bag; tie it closed, put that bag inside a second sealed bag, and place it in a covered trash container. Wash gloved hands before removing the gloves, then wash your hands again with soap and water. Do not handle a mouse or droppings barehanded.
Cardboard that has urine or droppings on it is difficult to clean and should be discarded in a sealed bag. Hard plastic, glass, or metal bins can be disinfected and reused. Move cleanable stored items to a ventilated area while you work, and do not carry contaminated cardboard through the house. If a rodent has nested in a vehicle, the CDC’s separate vehicle instructions include airing out the vehicle before cleaning; do not blow out a nest with compressed air or vacuum it dry.
Make the garage less attractive to mice
Store feed, seed, and supplies in chew-resistant containers
Garages often hold food that does not look like “food storage”: birdseed, grass seed, chicken feed, pet kibble, grass-seed mixes, and sometimes gardening supplies made with grains. A bag or cardboard box is not a mouse-proof container. Transfer these goods to tightly lidded metal or heavy plastic bins; inspect the bottom seams and corners of each container for teeth marks, and discard any contaminated contents rather than feeding them to pets or wildlife.
Keep trash in a lidded can that closes firmly, clean spills promptly, and avoid leaving pet food out overnight. Good Housekeeping’s guide notes that stored food, trash, and pet food can make a garage attractive, while PestWorld’s rodent-prevention checklist recommends reducing food access and closing building openings. Do not store a bird feeder’s spilled seed, open bait, or a bag of grass seed beside the wall where you are trapping; that gives mice a competing food source and can reduce trap success.
Reduce cover and nesting material indoors and outside
Use lidded plastic bins for seasonal gear, cloth, and paper goods instead of open cardboard boxes. Keep stored bins several inches off the floor and leave a narrow inspection lane around the perimeter so you can spot new droppings, chew marks, or a damaged seal. You do not need to throw away every cardboard box; prioritize damaged or contaminated packaging and the stacks sitting right beside active signs or a possible entry gap.
Outside, remove spilled birdseed and pet food, close garbage cans, and reduce dense weeds, brush, or clutter directly against the foundation. Move firewood and scrap lumber away from the garage wall and elevate it off soil if practical. These steps reduce shelter close to an entry point, but they cannot replace a repaired door seal or a blocked utility opening. Mice may still live outdoors; the goal is to keep the garage from offering an easy route, quiet nest, and steady meal.
A tidy garage helps most when it makes inspection possible. Leave the bottom edge of walls and shelves visible, store materials in cleanable containers, and check behind items before moving them. If you find a nest or waste under a heavy cabinet, avoid reaching blindly into the space; use a flashlight first and follow the wet-cleanup procedure if you can access it safely.
Know when a professional should take over
Call a licensed pest-management professional when fresh signs continue after a week of correctly placed traps and repairs, when you hear activity inside a wall or ceiling you cannot inspect, or when the problem involves a large area of contaminated insulation or a heating and cooling system. A professional can identify the species, locate concealed routes, and coordinate exclusion without blocking required vents or creating a trapped-animal problem. Ask what the inspection includes, which control methods they propose, how they will protect children and pets, and how they will verify that activity has stopped.
Get additional help if the signs may be rats rather than mice, if traps are repeatedly sprung without a catch, or if mice have chewed vehicle wiring, fuel-related components, or electrical cables. A pest professional can address the animal problem, but damaged wiring or a vehicle system may also need an electrician or mechanic. If you use a pesticide product, confirm it is registered and labeled for that setting and follow the label; NPIC can answer questions about pesticide safety, but a product label and local law govern how a product may be used.
For an accessible, small garage problem, monitor for a full week after the last catch and after the obvious gaps are closed. UC IPM’s guidance stresses that control works best when sanitation, exclusion, and trapping are combined. No single week proves mice can never return, but seven days with no new droppings, gnawing, sounds, or catches is a useful checkpoint; keep the storage routine and inspect door seals seasonally, especially when weather changes bring mice looking for shelter.
Conclusion
To get rid of mice in your garage, combine safe cleanup, mouse-sized snap traps, durable exclusion, and protected storage. Begin by checking the garage door seal and the wall edges where fresh signs appear, then trap on those runways, close openings mice can use, and remove food and nesting material. Avoid dry-sweeping waste, loose poison, and scent or sound products that do not fix the route.
Keep traps and bait out of reach of children and pets, follow labels, and get professional help for activity inside walls, ducts, extensive insulation, or a damaged vehicle. When the garage stays clear of fresh signs for a week after the last catch and the entry gap has been repaired, continue routine checks so a small leak in the building envelope does not become another mouse problem.