How to Edge a Garden Bed in 4 Clear, Practical Steps
Learn how to edge a garden bed with a spade or half-moon edger, mark a mowable curve, remove turf cleanly, and mulch without covering plant crowns or stems.
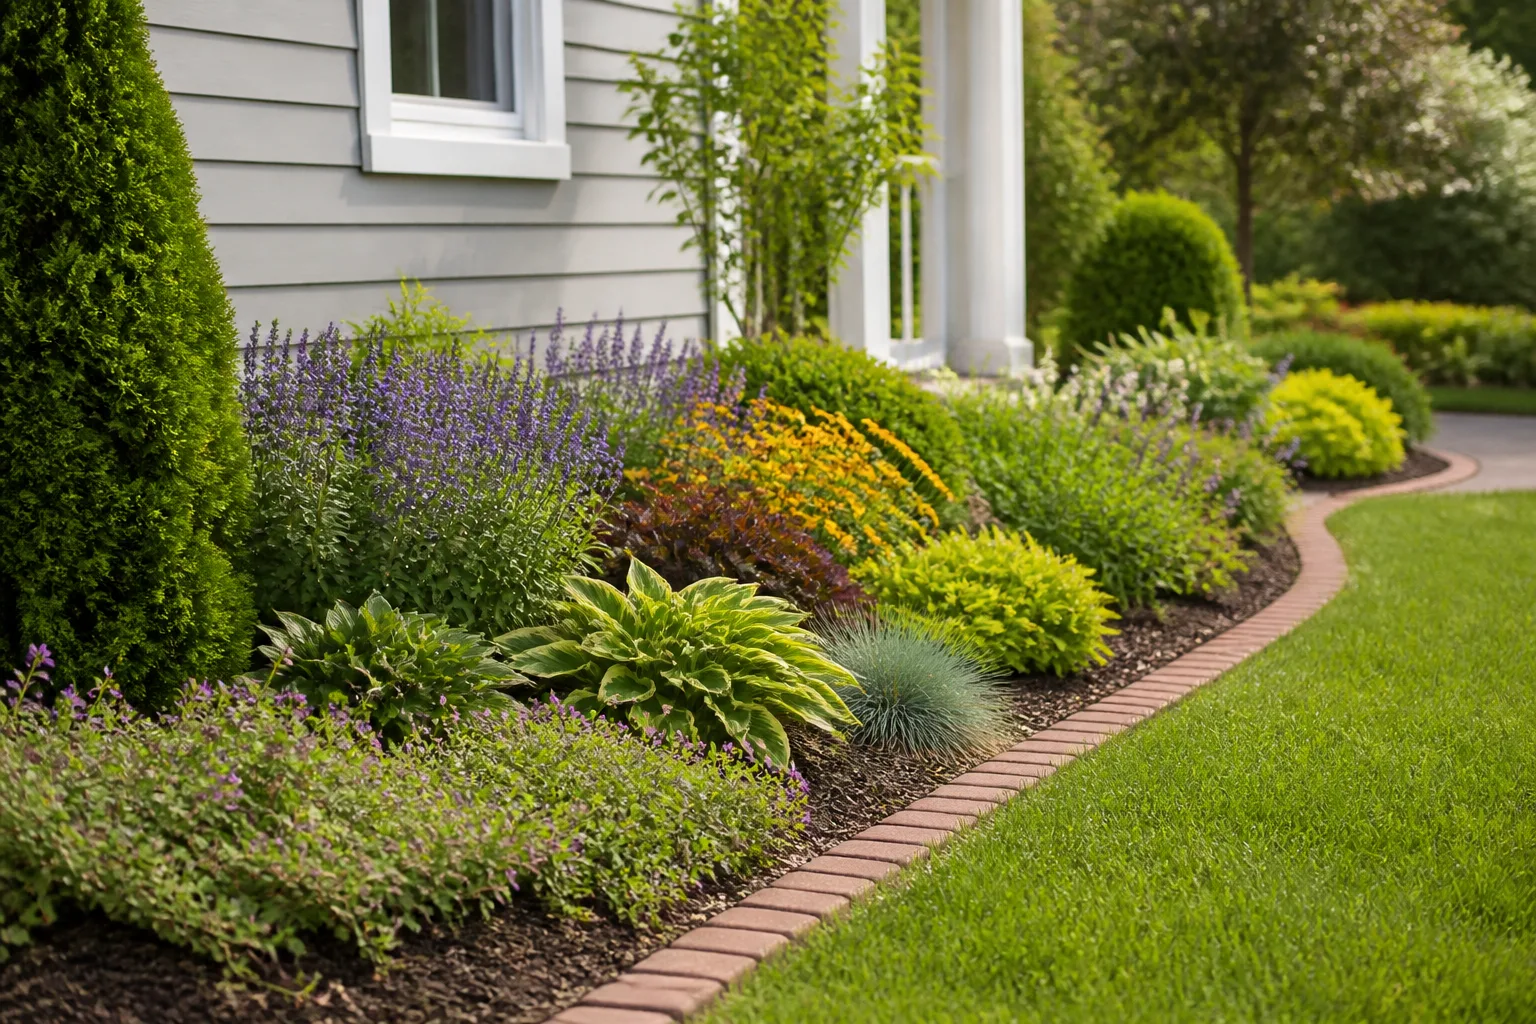
A clean edge is a small cut with a big visual payoff: it makes the lawn stop where the planting begins, gives the mower a clear line to follow, and keeps loose mulch from drifting as easily into the grass. The simplest version needs only a sharp spade or half-moon edger, a way to mark the line, and a few minutes to lift the turf. It will need upkeep, though; a trench cut into soil is a defined boundary, not a permanent wall against spreading grass.
For a lasting result, pick the edge style before you dig. Then work when the soil is damp enough to cut cleanly but not wet enough to smear, protect visible roots and irrigation, and keep the bed surface just below the lawn rather than burying the cut under a mound of mulch.
What a Garden-Bed Edge Can—and Cannot—Do
A trench edge separates the lawn from a flower bed with a narrow, exposed soil wall. It gives your eye a crisp line, creates a small channel that can catch loose mulch, and makes it easier to mow without clipping the flowers or scraping stems with a string trimmer. Organic mulch can reduce evaporation and weed growth when it is applied in a sensible layer; Penn State Extension recommends 2 to 3 inches for most landscape plants and cautions against piling mulch over stems or root systems. Penn State Extension’s plant-health guidance explains those benefits and limits.
The trench does not make the bed weed-proof. Rhizomatous or stolon-forming grasses can cross a shallow cut, mulch breaks down, and new weed seeds can arrive from wind or birds. If a vigorous lawn grass keeps invading, the edge may need more frequent recutting or a physical barrier; if the bed is next to a path instead of lawn, a simple cut may be enough to keep the shape legible without doing extra construction.
Choose a Trench Edge or a Physical Border
A cut-in trench is the fastest, cheapest option when you want a natural lawn-to-bed transition. It works especially well for informal curves, existing beds that only need a reset, and borders you can reach easily with a spade during routine garden cleanup. Its weakness is the same thing that makes it simple: nothing solid is stopping runners from growing back under the grass-side wall.
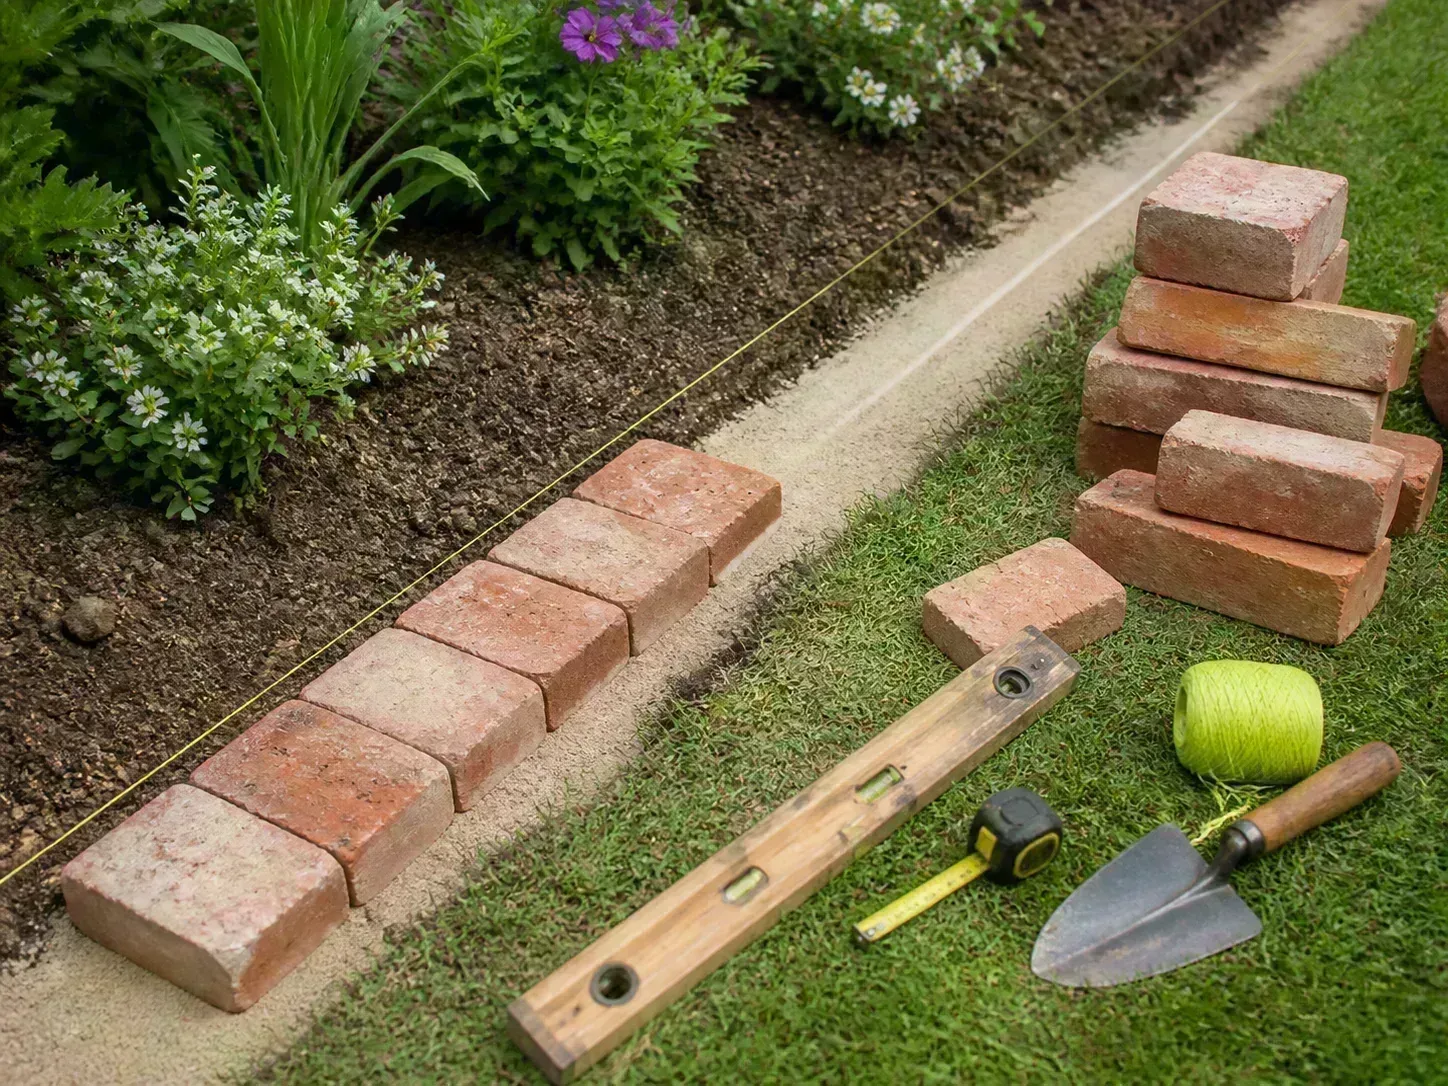
A physical border—such as metal strip, brick, stone, or a well-set timber—takes more planning and installation. In return, it can hold a bed line in place, help contain mulch, and make it easier to mow along a firm edge. The material and installation determine the trade-offs: rigid masonry is difficult to bend through tight curves, low-profile metal is less visually obvious, and timber needs a straight or gently angled layout. Epic Gardening’s overview of garden edging options describes the difference between a simple trench and installed borders; choose the material for your site’s shape and maintenance habits rather than assuming every bed needs edging hardware.
When a cut-in trench is the right choice
Choose a trench when the bed already has a good outline, you want to refresh the lawn boundary, or you prefer a flexible edge that can be reshaped as plants mature. A narrow, gently curving bed beside open lawn is a good candidate because a mower can track the curve and you can see whether the line needs adjusting from several angles before committing to it.
A trench also lets you change the boundary a little at a time. If a shrub has outgrown its spot or perennials are crowding the front, widen the bed gradually instead of cutting a sharp new line through the plants. This is useful for small redesigns, but it does mean repeating the cut as turf expands or the planting edge moves.
When installed edging earns its place
Consider a physical border if the lawn grass spreads aggressively, mulch repeatedly spills into the mower path, the bed borders gravel or a path, or you need a consistent mowing line over a long straight run. For curves, flexible metal or plastic typically bends more easily than brick or lumber; for straight lines and crisp corners, rigid products can be easier to align. If you install edging with spikes, stakes, or a deeper trench, first locate irrigation and buried services. In the United States, 811 routes you to your local center, where you can check the marking process for your state.
Installed edging is not automatically low maintenance. If its top sits too high, a mower may scalp grass or throw clippings; if it sits too low, soil and mulch can wash across it. Set the top with the finished lawn grade and mower clearance in mind, and leave enough room for stems and plant crowns on the bed side.
Choose a Workable Day and the Right Tools
The best time is less about a date on the calendar than soil condition. Choose a frost-free day when the top few inches are moist and friable: a spade should enter without bouncing, while the soil should crumble rather than smear when you squeeze it. Very dry clay resists cutting and can produce a jagged wall; saturated soil compresses under your feet and collapses into the trench. If the ground is powder-dry, water the border the day before and let excess drain. In many climates, spring is convenient because the bed is easy to see before peak growth, but you can recut an edge any time the ground is workable and plants are not in the way. Fine Gardening’s practical bed-edge walkthrough likewise treats spring as a useful refresh window rather than a rule that fits every region.
For a short or gently curved run, a sharp flat spade or half-moon edger is enough. A spade is versatile for cutting the line and lifting sod; a half-moon tool makes repeated vertical cuts with less rocking. A wheeled lawn edger can help on a long, even border, but it follows the line you give it and cannot decide where the curve should go. Keep a hand trowel nearby for tight corners, garden shears for a few overhanging blades, and a rake or tarp for collecting sod and loose soil.
Before a long pass, scrape soil off the blade and check that its cutting edge is sharp; a dull blade tears the sod mat and makes you push harder for a less even wall. A string trimmer can tidy a few stray blades after the edge is established, but it is a poor substitute for the initial cut because its line tends to leave a sloped, irregular border and can throw mulch into nearby plants.
Wear sturdy closed-toe shoes and press the tool down with your foot, not by jumping on the blade or twisting your back. Check for sprinkler tubing and shallow landscape lighting before cutting; if you are installing deeper edging or driving stakes, use your local utility-locating service first. You do not need to buy mulch just to edge the bed, but have the right material ready if the existing layer is thin enough to expose soil after the cut.
How to Edge a Garden Bed in 4 Steps
Work in manageable sections, especially if the bed is long. After every few feet, step back and look along the line from the lawn and the house; small corrections are easier before the entire border is cut.
1. Mark a line the mower can follow
For a new bed or a major reshaping, lay a garden hose, rope, or flexible cord on the ground and adjust it until the curve feels deliberate. Stand back from the house and also look from the direction you normally mow. Repeated, broad curves generally look calmer and are easier to follow than tight scallops, abrupt bumps, and narrow necks where the mower deck cannot turn.
For a straight border, use stakes and string, but do not force a formal straight line onto a cottage-style planting if the rest of the yard is relaxed. On an established bed that only needs recutting, follow the old edge unless you are intentionally widening it. Leave enough lawn-side clearance for the mower wheel, and avoid curves that send the mower into a plant, walkway, or steep slope. Once the line looks right, cut a short test section and check it from standing height before continuing.
Think about the route you take when mowing, not just the view from the patio. A broad curve lets a mower pass without a sudden turn that scalps the grass; a narrow notch can trap clippings and force you to finish with a trimmer. The border does not need to be perfectly symmetrical, but a steady rhythm of curves usually looks more intentional than a series of small bumps.
2. Cut a continuous wall through the turf
Stand on the lawn side and place the edger vertically on the marked line. Push straight down through the grass mat into mineral soil, then lift and reset the blade with each cut; overlap the cuts slightly so you do not leave uncut bridges that tear the turf when removed. Keep the blade perpendicular to the surface for the lawn-facing wall. A continuous cut looks cleaner and is easier to mow beside than a series of angled notches.
For many established beds, a wall around 3 to 4 inches deep is a useful starting point; a tougher or thicker sod mat may need a deeper cut, and a new bed may require additional turf removal inside the border. Fine Gardening describes deepening the cut to 4 to 6 inches when refining an edge, while Epic Gardening describes a roughly 4-inch initial cut for a trench. Treat those figures as field guides, not a target to hit blindly: reduce the depth near shallow roots, buried irrigation, tree flares, or rocky ground. If the blade hits resistance, stop and inspect rather than forcing it through a root or line.
3. Lift the sod and shape the trench
Use a spade to deepen the cut where the grass mat still holds on, then slide the blade under the sod and lift small sections toward the bed interior. Keep the removed strip narrow; taking a broad band of lawn makes the bed look oversized and increases the amount of soil you must replace. Shake loose soil back onto the bed, compost healthy sod separately if you have a place for it, and discard grass with persistent invasive runners so you do not replant those pieces at the edge.
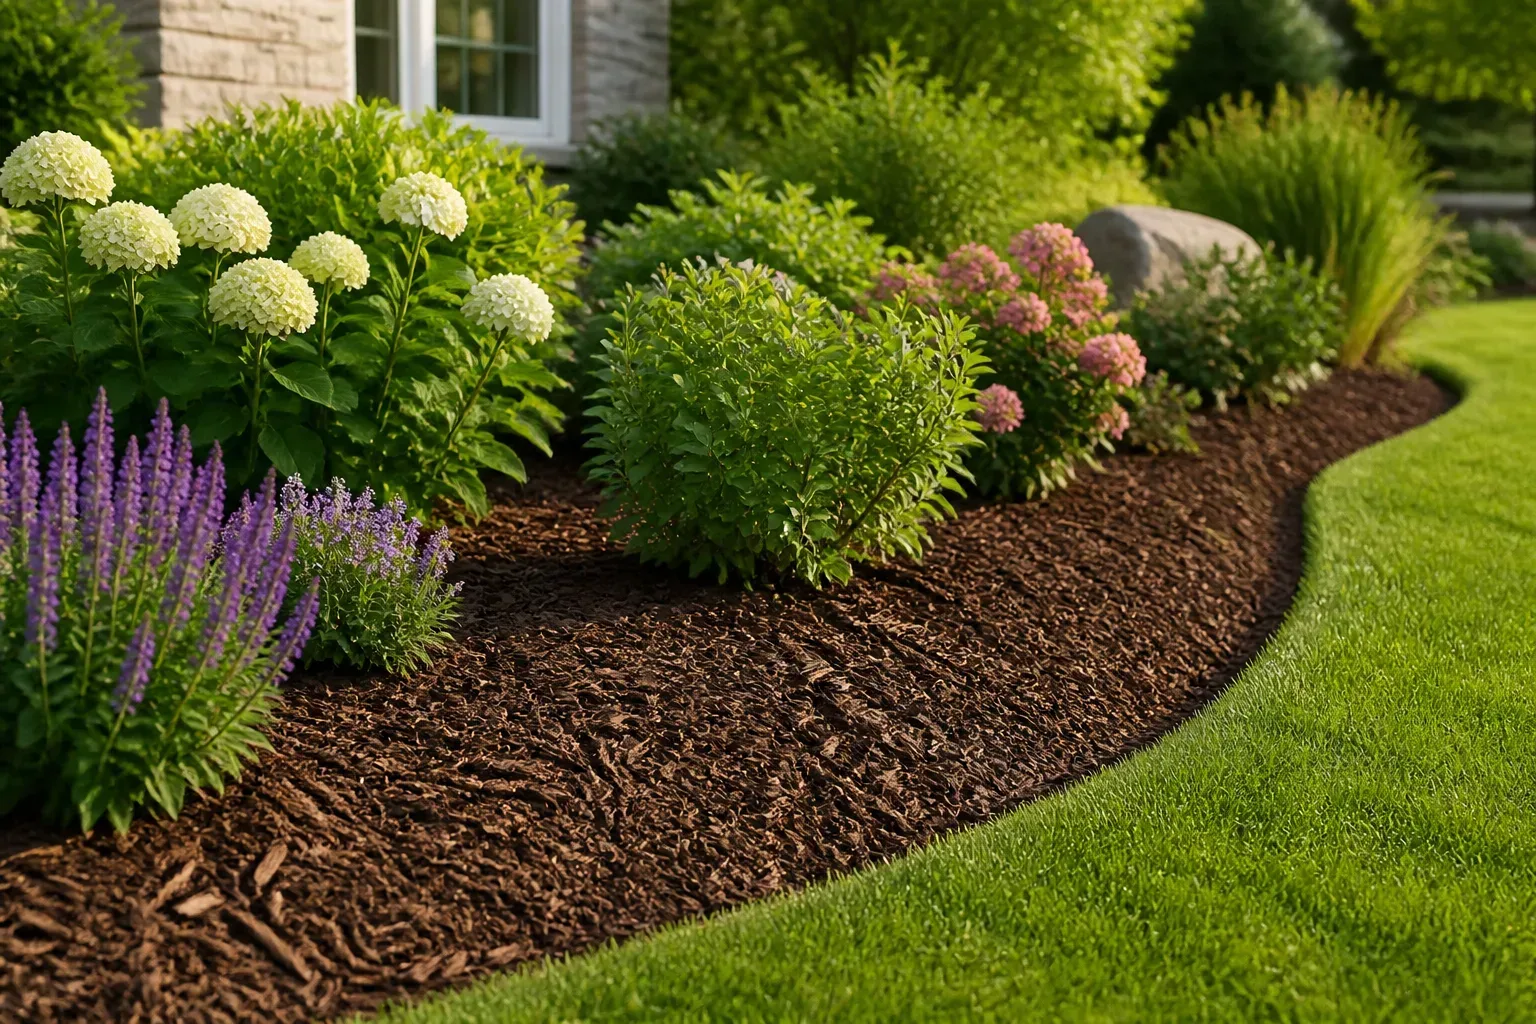
Aim for a neat, mostly vertical wall on the lawn side and a shallow bevel or open channel on the bed side. That small channel can catch mulch, but it should not become a deep ditch that traps standing water or redirects runoff toward a foundation. Check the finished grade: the planting-bed soil and mulch should sit slightly below the lawn, with the wall visible above them. If roots cross the planned trench, move the line outward or use a surface border; do not cut a major root just to preserve a curve.
For a brand-new bed, remember that this perimeter cut is only the boundary; it does not remove the turf across the entire planting area. Lift the sod inside the outline separately if you are planting right away, and do not hide live grass under a thin layer of mulch and assume it will stay gone. On an established bed, remove only the sod that has crossed the intended line so you do not disturb more soil or roots than the repair requires.
4. Refine the edge and finish with mulch
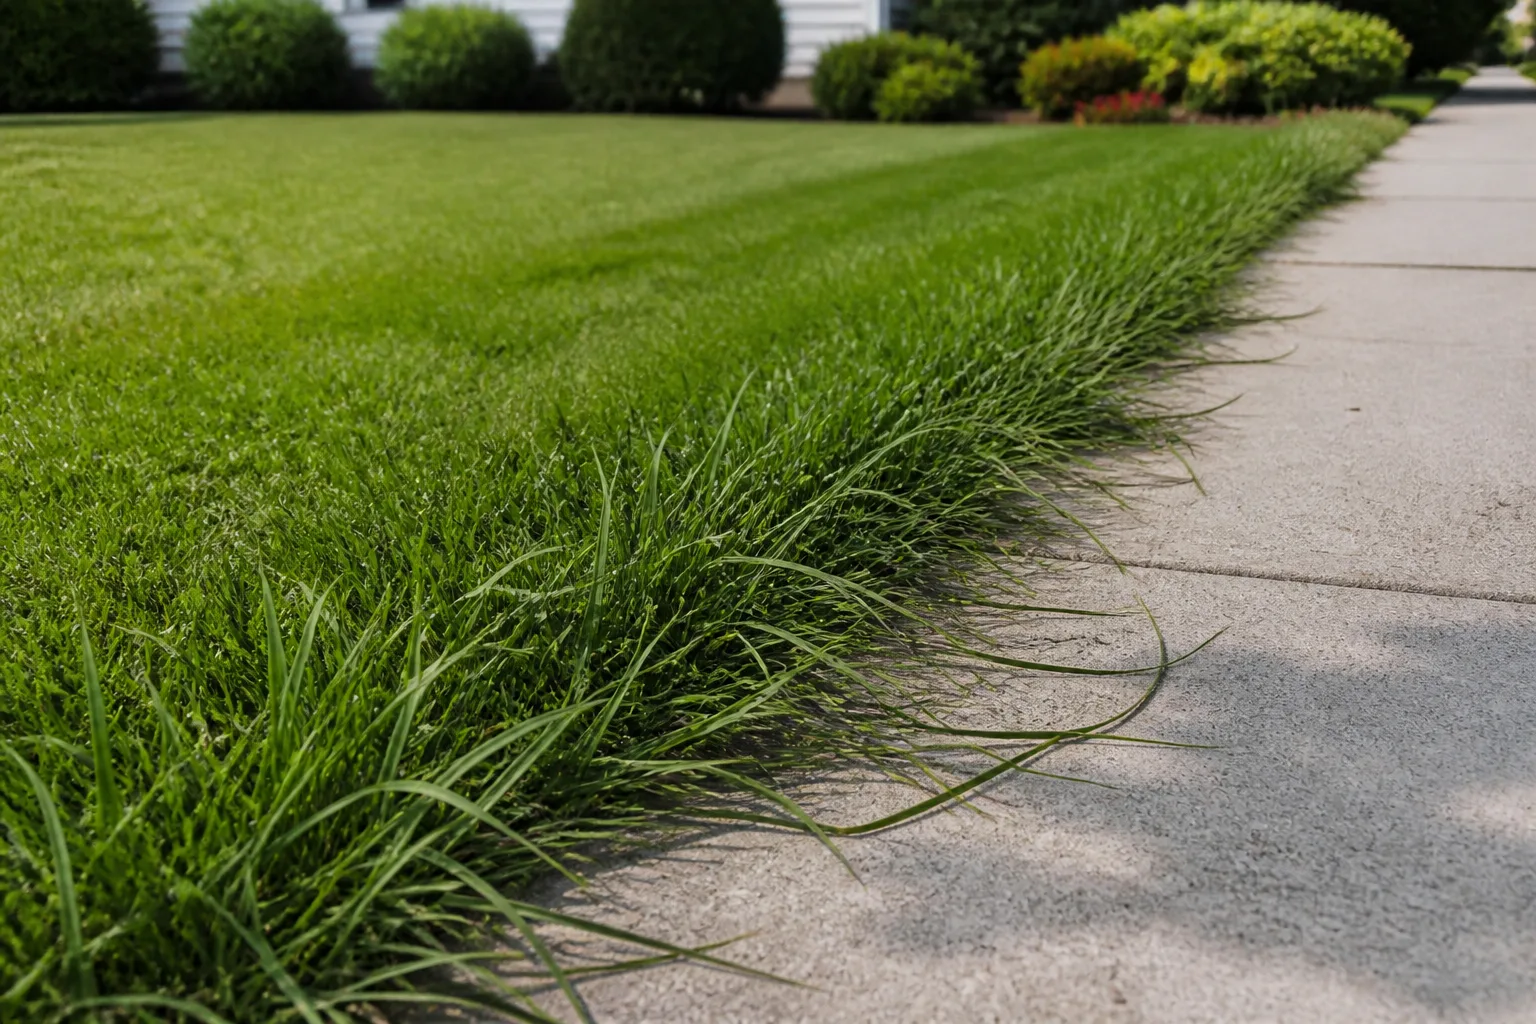
Walk the cut and remove any remaining tufts that hang over the wall. For a few loose blades, hold hand shears vertically and snip them flush with the face; do not shave horizontally across the top because that creates a ragged shelf instead of a clean vertical line. Firm the bed side lightly with your hand or the back of a rake, but do not stomp the soil into a compacted ridge.
Spread mulch evenly across the bed and stop before it covers plant crowns, low stems, or the visible flare at the base of trees. Penn State Extension recommends 2 to 3 inches for most landscape plants; its tree mulching guidance notes that poor drainage and finely textured mulch call for a thinner layer and that existing mulch should be checked before topping it up. Follow plant-specific guidance if your garden includes shallow-crowned perennials or shrubs. Rake the final surface gently down toward the edge, but keep the lawn-side wall visible so mulch does not bridge the cut.
How to Refresh an Existing Bed Without Harming Plants
A bed that only looks soft at the perimeter usually needs a recut, not a complete renovation. Pull back mulch a few inches from the edge so you can see the soil line, remove grass that has crossed the boundary, and follow the original curve with short vertical cuts. If the border is overgrown by an inch or two, re-establish the line from the lawn side rather than digging a wider trench into the planting area; this preserves root space and keeps established plants from being buried by new soil.
Before cutting near a tree or mature shrub, look for roots that have surfaced or spread close to the lawn. Move the line outward if a large root lies under it, or use a shallow, flexible surface edging material where you cannot safely cut. Around herbaceous perennials, avoid slicing through crowns at the front of the bed. If plants have filled the available space, divide or relocate them at an appropriate time instead of repeatedly trimming their root systems to force an unrealistically narrow edge.
Keep Grass and Weeds from Returning to the Edge
Recheck a trench edge during active growth, not only when it looks overgrown. In a fast-growing lawn, runners can cross the wall within weeks; in a slower-growing or cool-season lawn, a few touch-ups during the growing season may be enough. Fine Gardening recommends honing an edge two or three times during the growing season, while the exact interval for your yard depends on turf growth, rainfall, and how crisp you want the line. Recut when you see runners crossing the wall, not on a rigid calendar.
Keep lawn clippings from accumulating in the trench, pull weeds while they are small, and replace only the mulch that has decomposed or washed away. Mow with the discharge directed away from delicate plantings, and trim only the lawn strip that the mower cannot reach. A trench can slow grass from spreading into the bed but will not stop a determined runner from crossing it; Epic Gardening also recommends pairing trench edging with other measures where grass pressure is high. For persistent runners, either recut more often or install a barrier deep and stable enough for the particular grass and soil.
Common Garden-Edging Mistakes to Avoid
Cutting when soil is too wet leaves a smeared, compacted trench wall that slumps as it dries. Wait until the ground is damp but workable. Making the edge too deep everywhere can injure shallow roots and creates extra labor without necessarily stopping runners; use the smallest depth that gives you a stable, continuous wall.
Drawing tight, fussy curves makes mowing harder and can make the bed feel visually restless. Use long curves and check the line from the house and mower approach. Leaving sod bridges causes the turf edge to tear back in uneven chunks, so overlap your cuts and test the sod strip before lifting it. Mounding mulch over the border hides the clean line and can bury plant stems; rake it back and keep a small visible wall.
A final mistake is expecting a trench to function like a root barrier. If a spreading turf species is invading from a lawn, a few inches of open soil may slow it but will not guarantee containment. Choose an installed barrier or a wider, more frequently maintained buffer when the plant’s growth habit calls for it.
Troubleshoot a Ragged or Collapsing Edge
If the edge looks ragged immediately after cutting, sharpen the tool, overlap the vertical cuts, and remove the whole sod bridge rather than tearing at it. If the soil wall crumbles, the bed may be very dry or sandy; moisten the line and make smaller cuts, then use a shallow, flexible border if the soil cannot hold a trench. In heavy clay, wait until the soil is moist but no longer plastic, and keep your feet off the bed side so you do not compress the edge.
If mulch keeps washing into the lawn, reduce the bed-side slope, replenish the mulch only to its intended depth, and check whether water is flowing across the bed from a downspout or slope. Do not deepen the trench to redirect runoff without understanding where that water will go. If grass comes back quickly, look for runners crossing at surface level and for gaps in any installed barrier; recut only the affected stretch first, then decide whether the whole boundary needs a different solution.
On a sloped yard, follow the grade with a smooth contour rather than cutting a straight, level channel across the hillside. A trench edge is a visual and mowing boundary, not a drainage system; if water is concentrating in the bed or flowing toward a building, identify the source—such as a downspout or compacted path—and address that separately instead of making the edge deeper.
Conclusion
A professional-looking garden edge comes from a clear line, a continuous cut, turf removed without damaging nearby plants, and mulch that stays below the top of the lawn. For most beds, a sharp spade or half-moon edger and a few careful passes are enough; choose permanent edging only when the site or grass makes frequent recutting impractical. Work in soil that cuts cleanly, protect roots and utilities, and inspect the edge as the lawn grows so small touch-ups keep it neat.