How Often to Water Seedlings at Every Growth Stage
How often to water seedlings depends on their stage, cell size, and conditions. Learn the moisture checks and watering methods that prevent soggy or dry roots.
The short answer: inspect daily, water by evidence
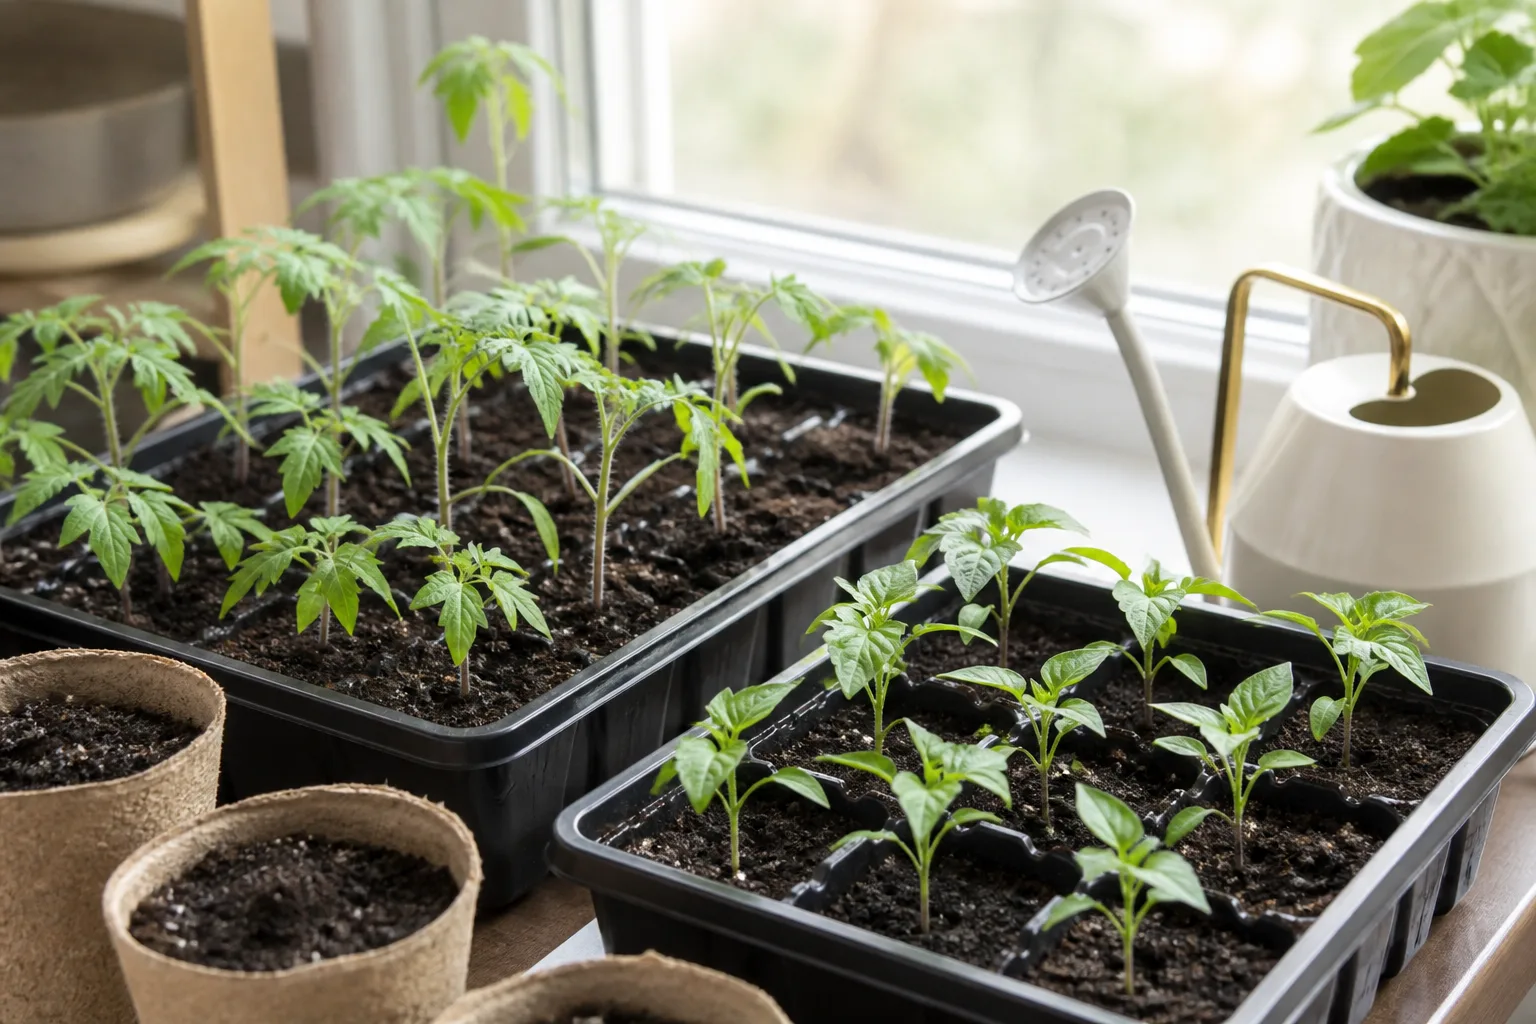
Check seedlings at least once a day, but do not water just because a day has passed. Water when the growing mix is approaching dry at the right point for that stage: keep a newly sown seed zone evenly damp, then let the upper surface of an emerged seedling’s mix get nearly dry before watering again. A small tray under strong light may need water daily or more often; a covered tray in a cool room may go several days without needing another drink.
The useful target is moist, not wet. Roots need both water and oxygen; when all the pore spaces stay filled with water, roots cannot function normally and disease risk rises. University of Maryland Extension recommends waiting until the top of the media is nearly dry after seedlings emerge, while keeping the root system supplied with moisture and air.University of Maryland Extension That is a better rule than a fixed “once a day” schedule because it responds to the container in front of you.
What seedlings need before and after they emerge
The watering rule changes as a seed turns into a plant. Before germination, the seed needs dependable contact with moisture; after it emerges, the young roots need a cycle that wets the root zone thoroughly and lets excess drain away. Treating every stage the same is one reason gardeners bounce between a dry seedbed and a permanently wet tray.
Before sowing: wet the mix all the way through
Dry seed-starting mix is hard to hydrate evenly after it has been packed into small cells. Stir water into the mix before sowing until a squeezed handful feels like a wrung-out sponge: it should hold together lightly, but water should not drip from it. University of Maryland Extension and Seed Savers Exchange both recommend pre-moistening the medium before filling containers, which also reduces dry pockets around seeds.University of Maryland ExtensionSeed Savers Exchange
Fill containers with a loose, even mix and make sure excess water can escape through drainage holes. If you only spray the top after sowing, the surface can look dark while the seed itself sits in a dry pocket below; a gentle watering after sowing should moisten the full seed zone without washing tiny seed away. Use the seed packet’s sowing depth, since a very shallowly sown seed dries sooner than one covered by a few millimeters of mix.
Germination: keep the seed zone evenly moist
During germination, do not let the mix dry out around the seed. A seed absorbs water as germination begins, and an interruption in moisture can stall that process; at the same time, saturated mix excludes air and can cause seed rot. Illinois Extension recommends evenly moist rather than soggy media, and Utah State lists both overwatering and underwatering among causes of poor germination.Utah State University ExtensionIllinois Extension
Some extension guides use “keep it moist” as the headline rule, while others describe a nearly dry surface after seedlings emerge. Those directions are compatible when “moist” means the root zone still has water but the pores are not waterlogged; the mix should never be bone dry, but it also should not feel sodden. University of Minnesota Extension warns that misting can dampen the top while leaving the rest of a container dry, and recommends draining excess water from the tray.University of Minnesota Extension
A clear humidity dome or a loose cover can slow evaporation and reduce how often you need to intervene. It does not prove the mix below is wet enough: condensation on a lid reflects humidity, not the moisture in every cell. Check a couple of cells at the edges and center, and lift the cover briefly to assess the surface rather than pouring water into the bottom tray by habit.
Remove the cover as soon as seedlings begin to emerge, or uncover individual sections as they sprout if germination is staggered. Seed Savers Exchange recommends removing covers when the first green shoots appear so seedlings get airflow and are less likely to develop fungal problems.Seed Savers Exchange If some seeds have not germinated, keep their section moist without leaving emerged seedlings trapped in a warm, stagnant enclosure.
After emergence: let the upper surface approach dry
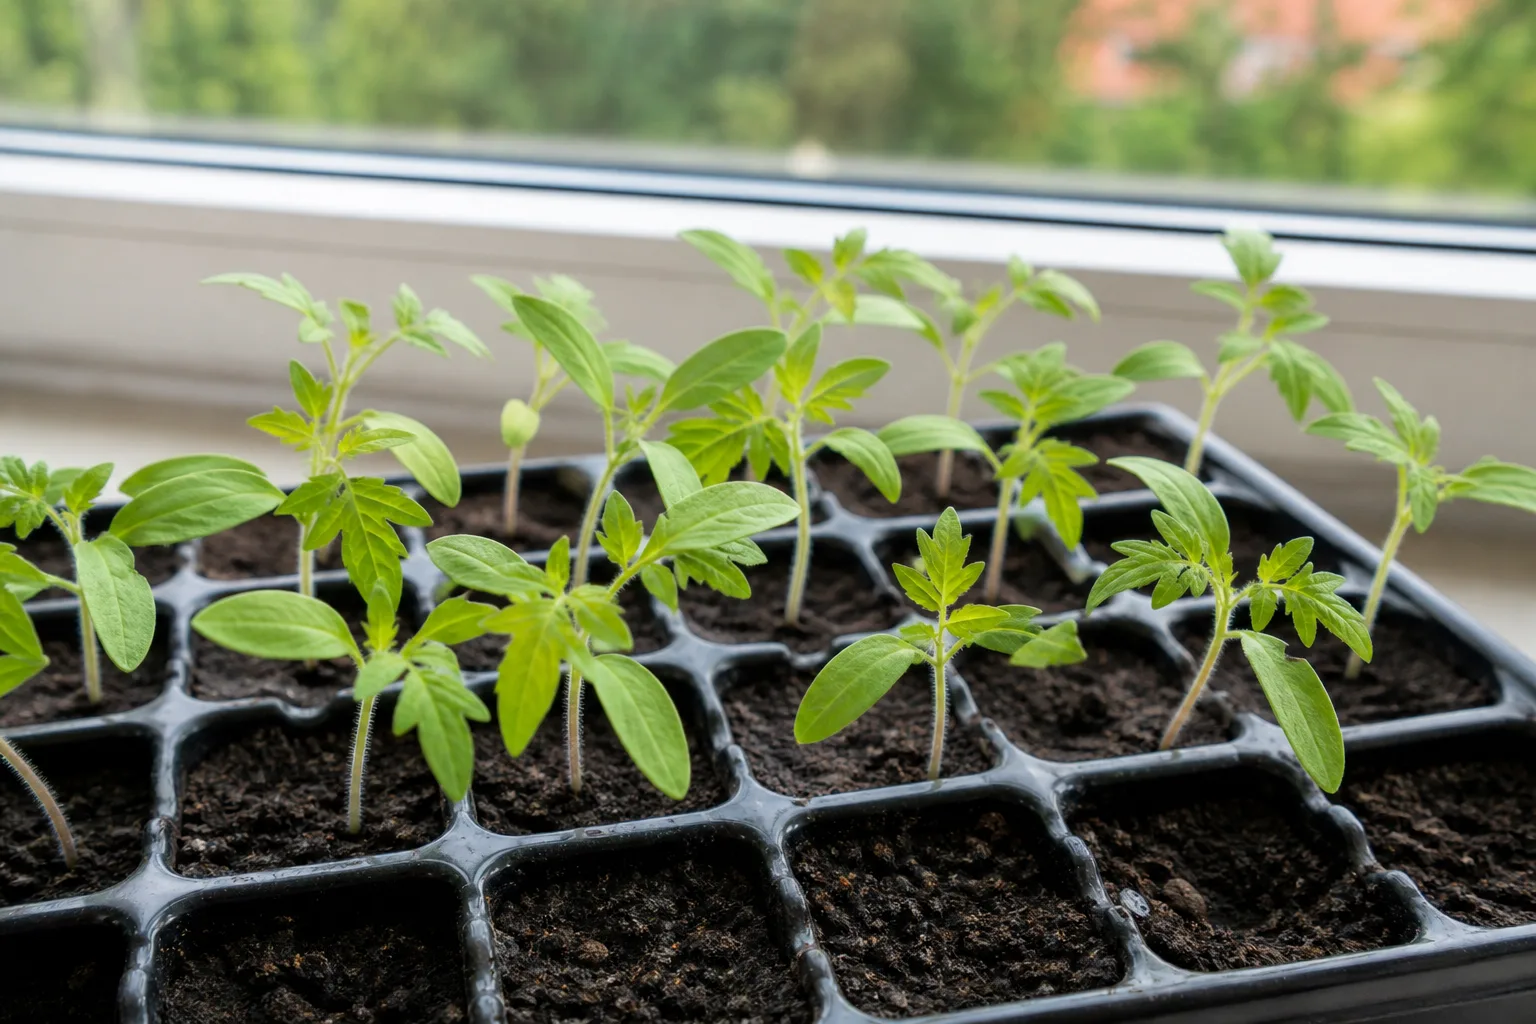
Once cotyledons (the first seed leaves) are open and roots are growing, move from “keep the surface constantly damp” to “water thoroughly, then let the top nearly dry.” Do not let the whole plug dry to the point of wilting. In a shallow cell, the root zone may be only an inch deep, so a nearly dry surface is a cue to inspect the cell’s weight and deeper mix, not permission to leave the plant thirsty for another day.University of Maryland ExtensionUtah State University Extension
New leaves and roots increase water use, but they do not make every seedling thirsty on the same schedule. A tomato in a warm, bright room may empty a small cell quickly, while a slow-growing herb in a larger pot uses less water per day. A useful habit is to check daily and water only the cells that have become light or dry enough; adjust the inspection to twice a day when tiny cells are exposed to heat, sun, or drying air.
After potting up: water through the root ball and reset
After moving a seedling into a larger pot, water it enough to settle mix around the existing root ball and wet the surrounding medium, then let the pot drain. A transplant should not be left standing in its runoff tray. Utah State Extension advises keeping a newly planted root ball moist while avoiding a perpetually soggy soil condition.Utah State University Extension
The larger container changes the schedule immediately. It holds more water than a cell, but the seedling may still have a small root system that cannot use all of that moisture quickly. Check the root ball and the new mix separately for the first few days; do not water the entire pot again just because the old seedling cell used to dry out fast.
A 30-second moisture check
Use more than one clue when deciding whether a tray needs water. Surface color and touch can tell you what is happening at the top, while a pencil or the tray’s weight gives you a better sense of moisture lower in the root zone. If those cues disagree, check another cell before watering the whole flat.
Use touch plus a pencil in deeper cells
For a cell with a seedling, lightly touch the top of the mix with a fingertip. If it feels cool and slightly damp, wait; if it feels dry and crumbly, check one cell farther down rather than immediately flooding the tray. In deeper pots, push a clean wooden skewer or pencil partway into the mix and pull it out: darkened wood or clinging damp mix suggests water remains below the surface. Texas A&M AgriLife Extension similarly recommends checking the feel of the medium before deciding to water.Texas A&M AgriLife Extension
Do not poke directly beside a tiny seed or a fragile stem. Use an empty cell at the edge of the tray or a pot of the same size and mix as a moisture reference. A finger test is less useful in very small cells because there is little depth to probe; for those, pair a quick touch with the cell’s color and weight.
When the top is dry but the tray still feels heavy, do not soak the entire flat. For an emerged seedling, wait if a deeper check shows moisture; if a seed is still germinating at the surface, lightly moisten that surface without saturating the bottom. When the top looks dark but the tray feels light, water may have soaked only the surface, so test a deeper cell before deciding whether to water the full group.
Lift the tray: weight tells you more than color alone
Lift one end of the tray or a representative cell after watering and again as it dries. A tray that feels noticeably lighter has lost water; one that still feels heavy is not ready for more, even if the surface has turned pale. Utah State Extension notes that potting mix lightens as it dries and that tray or pot weight can help indicate when to water.Utah State University Extension
Color is useful but imperfect. A dark top may hide a dry cell beneath it, while a pale surface can sit above moist mix, especially after bottom watering. Learn the difference on your own setup by comparing how the mix looks and feels just after watering with how it looks before the next watering; a quick written note for each seed variety can help you spot which tray dries first.
Check at least one cell in the center and one near an edge. Edge cells often dry sooner because they have more exposed sides, while the middle of a crowded tray may hold moisture longer. If the readings differ, water the cells that need it instead of treating a large mixed tray as though every seedling has the same root zone.
Choose the watering method for the job
There is no single watering method that is right for every seedling. Bottom watering is tidy and avoids washing mix from delicate stems, but top watering is useful when the surface needs moisture or when dissolved salts need to be flushed through the pot. Use the method that reaches the dry part of the growing medium, and always allow excess water to drain.
Bottom-water cells without leaving them in a puddle
Set a tray with drainage holes inside a watertight outer tray. Add a shallow layer of room-temperature water, just enough to contact the bottoms of the cells, and let the mix wick it upward. Check after about 10 minutes; depending on cell size and mix, it may take longer. Lift the tray when the surface has darkened and the cells feel heavier, then pour out any water left in the outer tray. Epic Gardening describes the same touch-and-weight check and advises emptying the tray after the medium has absorbed water.Epic Gardening
Bottom watering is not “leave the tray full.” Prolonged standing water keeps the lowest part of the cells saturated and can deprive roots of oxygen. It can also wet cells unevenly if their drainage holes or growing mix differ. If a cell remains dry after a short soak, top-water that cell gently rather than leaving the whole flat submerged for an hour.

Repeated bottom watering can also leave mineral or fertilizer salts near the surface because water evaporates while dissolved material remains behind. Utah State Extension recommends watering from above periodically and discarding drainage water to reduce salt buildup.Utah State University Extension If you see a white crust on the mix or container, flush the pot from above with clean water and let it drain rather than increasing bottom soaks.
Top-water seedlings when the surface itself needs water
Use a narrow-spout watering can, squeeze bottle, or gentle shower setting to wet the mix without dislodging seed or flattening stems. Aim at the growing medium near the base of the plants, not directly at the leaves, and continue until water moves through the root zone and exits the drainage holes. Texas A&M AgriLife Extension recommends watering enough to wet the root zone and checking that water does not simply run down the inside wall of the container.Texas A&M AgriLife Extension
Top watering is especially useful just after sowing, for seeds on the surface that must stay moist, and when the top layer dries while the cell below is still damp. It is also the simplest way to flush salts out of a container. The tradeoff is that a strong stream can move seeds, expose roots, or leave leaves and stems wet, so slow the flow and water close to the mix.
“Enough” is the amount that wets the whole root ball and then drains freely, not a fixed number of teaspoons per plant. In a small cell, add water in a controlled pass and look for moisture through the cell rather than pouring until the tray is flooded. Water running around the sides or straight through one channel can leave the center dry, especially if the mix has shrunk away from the pot wall.
Use a mister only for a narrow purpose
A mister can refresh the very top of the medium around tiny surface-sown seeds or seeds that need light to germinate. It is not a dependable way to water an established seedling: repeated misting may wet the seedling and surface while leaving the lower cell dry. If a seedling’s cell feels light, use a full but gentle watering rather than reaching for the spray bottle again.
After emergence, favor water that penetrates the mix and drains, not frequent leaf misting. Wet foliage is not automatically harmful, but in a crowded, poorly ventilated tray it dries slowly and adds to an already humid environment. If you do mist surface-sown seed, keep it brief, inspect the medium afterward, and stop once the seedling is anchored and roots have reached the mix.
What changes how fast seedlings dry
Cell size is one of the strongest practical clues. A 128-cell flat holds much less mix per seedling than a 6-cell tray, so a cell on the edge can move from damp to dry quickly. Larger pots hold a bigger reserve, but that reserve can remain wet around a small root system; choose a pot only modestly larger than the root ball and check before watering again.
The growing medium matters too. Fine seed-starting mixes made with peat or coir hold water and wick it upward, but when those materials dry completely they can become difficult to re-wet. Epic Gardening describes this hydrophobic behavior and recommends pre-wetting the mix and using touch and weight cues afterward.Epic Gardening If water beads or runs down the cell wall without soaking in, do not assume the mix is hydrated; apply water gradually from above or use a brief bottom soak, then confirm the center of the cell is damp.
Light, heat, and airflow change water loss, but a grow light is not automatically a reason to water more. A sunny window, warm room, heat mat, uncovered tray, or fan can speed drying; LED lights close to a tray usually add less heat than direct sun or a warming mat. Seed Savers Exchange advises removing bottom heat after germination, and Utah State notes that strong airflow can increase watering needs.Utah State University ExtensionSeed Savers Exchange Respond to the mix, not the equipment label.
Outdoor trays need a separate check after wind, hot sun, or rain. Rain may wet the top without soaking each cell evenly, and an outdoor tray can collect water in its solid base. During hardening off, seedlings are gradually exposed to sun and wind, so inspect them before they wilt and move them to shade during the first exposures rather than trying to compensate with repeated watering.Utah State University Extension
For seeds sown directly in a garden bed, the seed zone is spread over a wider, shallower area than a cell pack. Keep the top layer around the seeds moist until they emerge, using a fine shower that does not wash seed or soil downhill; after roots establish, shift to slower, deeper watering that moistens soil around the young roots. A brief sprinkle that wets only the crust can make the bed look watered while the seed zone below remains dry, so check the depth where the seed was placed.
Outdoor conditions can make this a different routine from an indoor tray. Newly seeded rows in exposed beds may need light watering more than once on a hot, breezy day, while a shaded bed after rain may need none; use the seed depth and weather together rather than translating an indoor-cell schedule directly into the garden. University of Minnesota guidance notes that dry layers can restrict young root growth, which is why the goal is to keep moisture available where new roots are growing, not merely to darken the soil surface.University of Minnesota Extension
For seeds sown directly in a garden bed, the seed zone is spread over a wider, shallower area than a cell pack. Keep the top layer around the seeds moist until they emerge, using a fine shower that does not wash seed or soil downhill; after roots establish, shift to slower, deeper watering that moistens soil around the young roots. A brief sprinkle that wets only the crust can make the bed look watered while the seed zone below remains dry, so check the depth where the seed was placed.
Read symptoms before you add water
Dry mix that has become light, pulled away from the cell edge, and feels dry below the surface points toward underwatering. Seedlings may lose firmness or droop, but wilting alone is not proof that they need water: roots damaged by saturated mix can produce a similar limp appearance. Check the medium first, then inspect drainage and the root zone before choosing a response.
Mix that stays heavy and wet, water sitting in the outer tray, or an algae-green surface suggests the tray is staying wet too long. Roots need oxygen as well as moisture; when saturated mix displaces air, roots can stop growing or die. University of Maryland Extension identifies excess moisture as a risk for root rot and damping-off pathogens such as water molds.University of Maryland Extension
Damping-off is more specific than a seedling that simply looks sad. Affected seedlings may rot or become pinched at the soil line and then collapse; Penn State Extension describes it as seed or seedling destruction by fungi, including seedlings rotting near the soil surface.Penn State Extension Remove collapsed seedlings with the surrounding mix, improve airflow, and avoid reusing contaminated medium. Do not try to rescue a tray by either flooding it or letting every remaining cell become bone dry.
Fix a watering problem without making it worse
If the mix is dry, re-wet it until water reaches the full root zone, then let excess drain. For a peat- or coir-heavy plug that repels water, add a small amount at a time rather than pouring a large volume over the top; a short soak from below can help the medium absorb water again. Check the center of the cell afterward, because a damp surface does not guarantee that the root ball has rehydrated.
If the tray is soggy, remove standing water and make sure each cell has open drainage holes. Take off the humidity cover once seedlings have emerged, space crowded plants, and allow air to move gently around the tray. Do not place seedlings in a hot window to “dry them out”; a sudden temperature spike can stress plants whose roots are already struggling.
When stems collapse at the soil line, remove affected seedlings and the mix around them rather than moving them into fresh pots with the same wet medium. Wash reusable trays and tools before the next sowing, and follow the disinfectant label. If an entire flat remains wet for days, revisit the setup: use a lighter seed-starting medium, reduce the amount of water, improve drainage, or pot up roots that have filled their cells. Fixing the condition is more useful than changing the watering hour.
Conclusion
Check seedlings every day, then water when the medium—not the calendar—shows it is time. Before germination, keep the seed zone evenly moist; after emergence, let the top approach dry while the root zone remains damp and airy. Bottom-water when cells need a thorough soak, top-water when the surface or a salt flush calls for it, and empty every tray that holds runoff.
As cells warm, roots grow, and seedlings move outdoors, the same tray may need a different rhythm. Touch the mix, compare the tray’s weight, and look for drainage before adding more water. That small check protects seedlings from both extremes and gives you a repeatable answer to the question of how often to water them: whenever their stage and actual moisture call for it.