How to Grow Sweet Corn at Home From Seed to Harvest
Learn how to grow sweet corn at home, from warm-soil planting and block spacing to pollination, steady watering, harvest cues, and quick cooling.
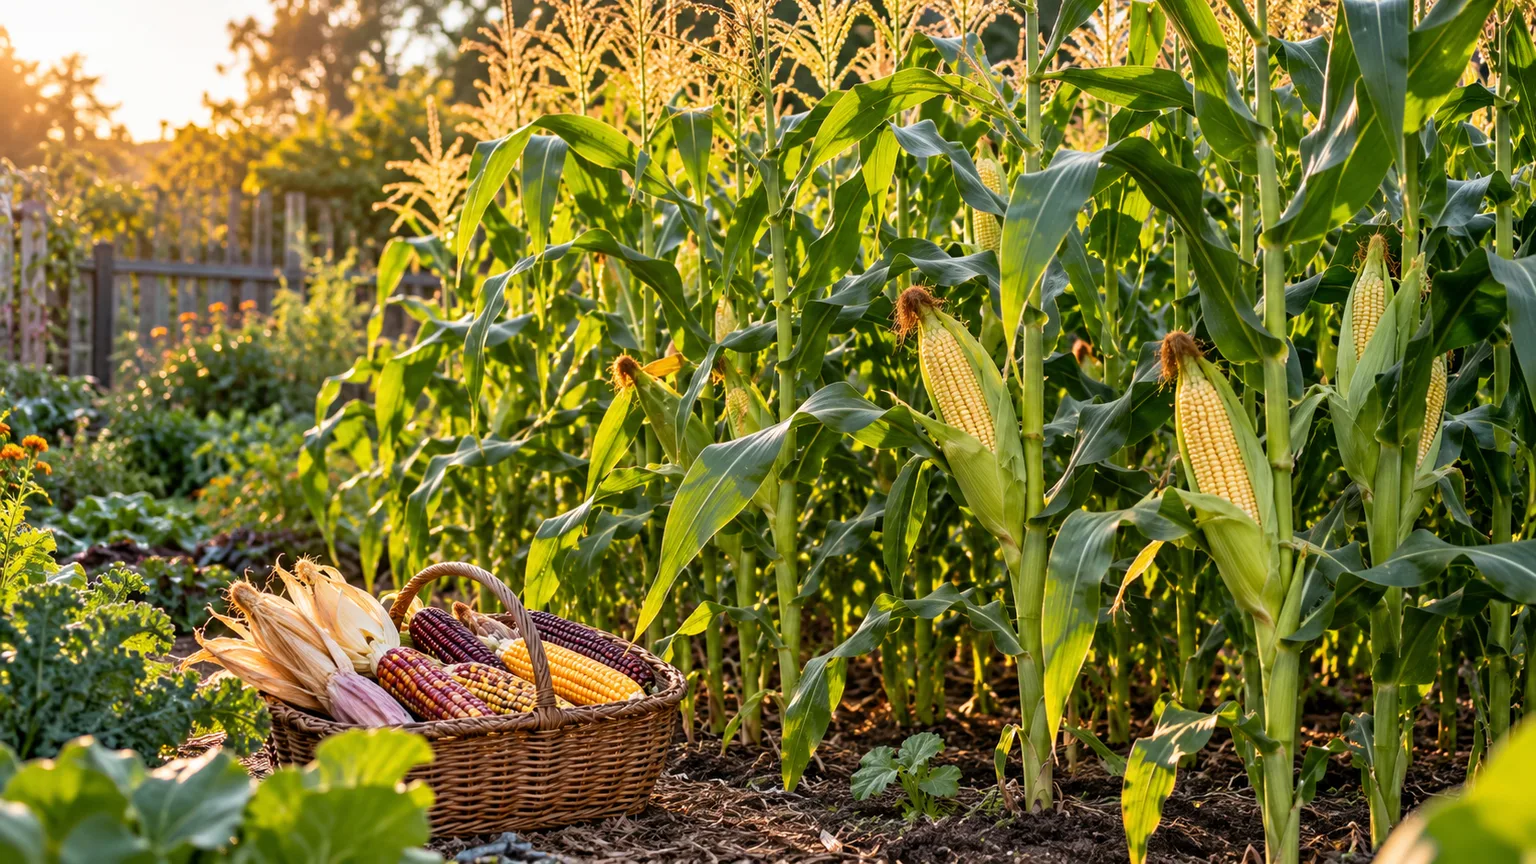
Sweet corn is straightforward to grow when three things line up: warm soil, a sunny bed, and enough plants grouped close enough for wind to move pollen between them. Direct-sow one variety in a block of at least four short rows, keep the bed evenly moist as tassels and silks appear, and pick ears at the milk stage. Those choices matter more than elaborate pruning or a complicated feeding schedule.
Decide which sweet corn type fits your garden
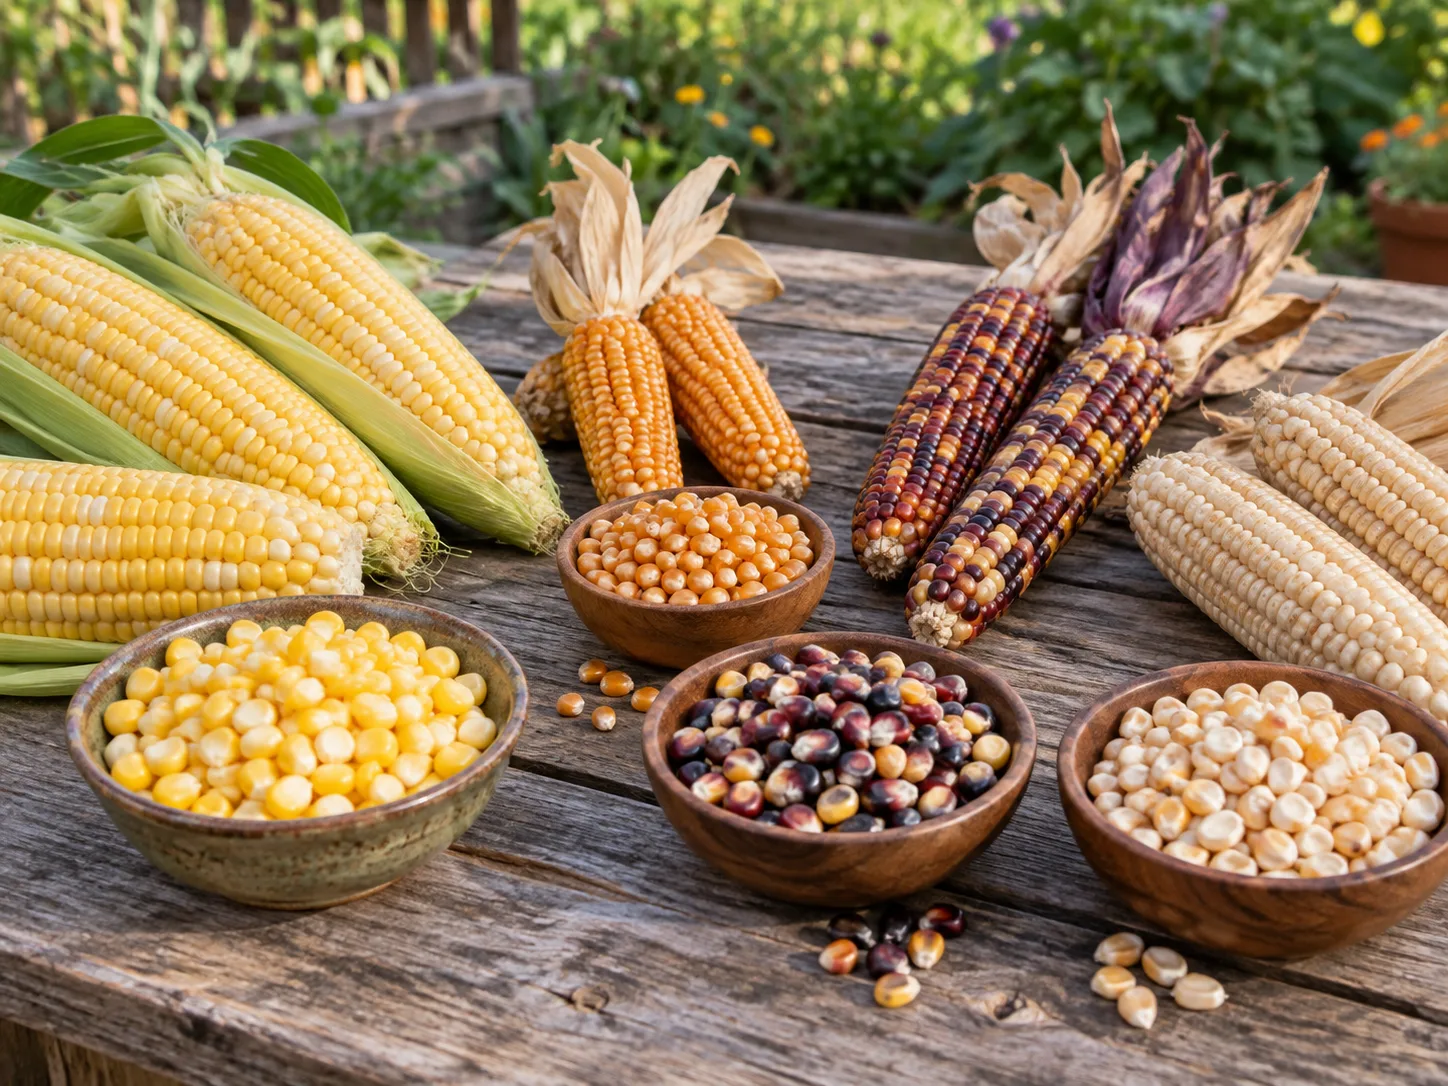
The seed packet’s sugar type affects flavor, storage, and how cautiously you should plant in cool spring soil. The common categories are normal sugary (su), sugary enhanced (se), and supersweet (sh2); some newer hybrids combine genes from more than one category. All can make good garden corn, but they do not behave identically.
Normal sugary corn has a classic tender, creamy texture, but its sugar changes to starch quickly after harvest. Sugary-enhanced types retain more sweetness while keeping a tender bite. Supersweet types usually hold sweetness longer, which can help if harvest and cooking are separated by time, but their kernels can feel crisper and their seeds are less forgiving of cold, wet soil. Extension recommendations also warn that pollen from another corn type can affect the eating quality of some supersweet and multi-gene ears.
Choose a variety by days to maturity, the length of your frost-free season, and the flavor you prefer. In a short-season garden, an early cultivar is often a better bet than a late variety planted into warm summer weather. If you grow just one variety, check whether it is suited to your region and follow the packet’s specific directions. If you want several types, read their pollination-isolation requirements before buying: recommended distances and timing vary by genotype and source, and “different colors” alone does not tell you whether two varieties can safely share a flowering window. University of Georgia Cooperative Extension and Penn State Extension explain the trade-offs among sweet-corn gene types and the risk of overlapping pollen.
Choose a sunny, well-drained site
Corn is a tall, hungry annual, so give the planting a place where it can receive at least eight hours of direct sun and where water can reach the bed. A sheltered location helps reduce wind damage, but avoid tucking corn behind a wall or dense shrubs that shade it. In a mixed vegetable garden, place the block where mature stalks will not cast a long shadow over shorter crops; in a northern-hemisphere garden, that often means along the north or east edge.
Loose loam with reliable drainage is a useful starting point. Heavy, compacted, or waterlogged soil slows roots and can make an otherwise healthy stand unstable. Before adding lime or fertilizer, test the soil; University of Georgia Extension gives an optimum pH range of about 6.0 to 6.5 for sweet corn, while local soil reports should guide any amendment. Work finished compost into the bed if it needs organic matter, but do not use a thick layer of fresh manure as a shortcut to “rich” soil. Excess nutrients, especially nitrogen, can produce lush foliage at the expense of stable stalks and well-timed ears.
Plan the bed for wind pollination
A corn tassel at the top of the plant releases pollen, and wind carries that pollen to the silks emerging from each ear. Each silk is connected to a potential kernel. If pollen does not land on a silk, the ovule beneath it will not develop into a kernel, which is why an ear can look full at the base but have gaps or a bare tip.
That biology explains the most important layout rule: plant a compact block rather than one or two long rows. Four short rows side by side is a practical home-garden minimum; three or more can work, but a wider block gives pollen more nearby silks to reach. Keep the rows close enough that the block functions as one planting, while leaving enough room to weed and water without crushing stalks. A raised bed can work if it holds several short rows together; a narrow strip with a single row may grow tall plants but often produces less dependable ears.
Wind pollination is not the same as bee pollination, so you do not need a pollinator garden to set corn. If you have only a small number of plants or a calm, rainy flowering period, you can help by gently shaking tassels over the fresh silks on a dry morning. Do this when pollen is shedding and silks are exposed; repeating it over several days is more useful than brushing an old, dry tassel over brown silks. Gardener’s Path includes hand-pollination as a useful option for a low-density stand, while Seeds ’n Such discusses block layout and the way wind and drought can affect pollen reaching silks.
Plant after the soil warms
Corn seed can begin germinating at lower temperatures, but cold, damp soil slows emergence and raises the risk that seed will rot before it grows. For a home garden, wait until frost danger has passed and the soil is at least 60°F at seed depth; a warmer, drying seedbed is especially helpful for supersweet types. University sources differ on their minimums because varieties and production conditions differ. Using 60°F as a conservative target gives seed a better start than planting into ground that merely feels mild on the surface.
Use a soil thermometer in the morning, measuring a few inches deep in more than one spot. If the bed is still cool or saturated after rain, wait several days and check again instead of anchoring the decision to a calendar date. In many climates, that puts planting after the average last killing frost, but local frost patterns and the variety’s days to maturity matter more than a universal date. A black plastic mulch or breathable row cover can warm a bed, but remove or vent covers as temperatures rise and never let the seedlings overheat.
Direct sowing is simplest because corn seedlings do not love root disturbance. In a very short season, you can start seed in deep cells and transplant while seedlings are small, but avoid holding them until their roots circle the container. If your spring is warm enough to sow outside, skipping indoor starts avoids the extra handling and hardening-off step. Utah State University Extension recommends soil at or above 60°F to reduce seed loss from rot, while UGA Extension emphasizes waiting for warm soil and after the last killing frost.
Sow seed in short blocks
Prepare an even seedbed, then sow kernels about one inch deep. A practical spacing range is eight to twelve inches between seeds and roughly 30 to 36 inches between rows, adjusted for the variety and the packet’s instructions. If the seed is valuable or germination uncertain, put two seeds in each spot and thin to the stronger seedling once it has several leaves; do not leave a dense clump to compete all summer. Keep the seedbed moist until emergence, but do not keep it waterlogged.
Before planting, sketch the rows so your “block” is genuinely broad. For example, four short rows that form a rectangle are better for pollination than one long row with the same number of plants. Leave a reachable path at the outside if the plot is large, but avoid splitting a small stand into widely separated mini-rows. As stalks grow, leave the roots undisturbed: repeated deep hoeing can cut roots, slow development, and undermine the stand.
Use succession planting for a longer harvest
A single sowing tends to mature within a short window, which is useful if you plan to freeze or share a large harvest but inconvenient if you want only a few ears at a time. To spread the picking season, sow a new block every 10 to 14 days while there is enough warm weather left for that variety to mature. Another option is to plant early-, mid-, and late-season varieties together, but keep their pollination genetics in mind if the types should not flower at the same time.
Count backward from the likely first fall frost using the seed packet’s days-to-maturity estimate, then leave a margin for cooler weather and slower growth. The number on the packet is a guide, not a promise; soil temperature, heat, water, and local day length can shift the harvest. Stop sowing when a late planting is unlikely to finish before cold weather. Utah State University Extension recommends repeat plantings about every 10 to 14 days for a more continuous crop.
Water deeply, especially at silking
Aim for about an inch of water a week from rain and irrigation as a starting point, then adjust for heat, soil type, and rainfall. Water deeply enough to moisten the root zone instead of sprinkling the surface every day. A rain gauge makes it easier to tell whether a storm actually supplied enough; sandy beds and raised beds often dry faster than heavier ground.
The period around tasseling, silking, and ear fill is the point to watch most closely. Drought stress can slow silk emergence and reduce the chance that pollen reaches every ovule. If the top inch of soil looks dry, check farther down before deciding whether to irrigate; the goal is evenly moist soil, not standing water. Drip lines or a soaker hose laid beside the rows deliver water near roots and reduce wet foliage. UGA Extension identifies pollination and final ear filling as critical water periods, and Utah State Extension also cautions that water stress reduces yield and ear quality.
Feed according to soil needs
Corn uses a substantial amount of nutrients, but a blanket fertilizer dose can do more harm than good. A soil test is the best way to find out whether the bed needs nitrogen, phosphorus, potassium, or a pH adjustment. If the test recommends fertilizer, follow its rate for the bed area and the product label; the commercial-acre rates in a production guide should not be transferred directly to a backyard plot.
Many gardeners incorporate mature compost before sowing, then side-dress only if the soil plan calls for it or the plants need supplemental nitrogen. Side-dressing means placing fertilizer in a shallow band beside the row rather than against the stalk, then watering it in. Extension recommendations often time a nitrogen side-dress around knee height or the eight-to-ten-leaf stage, sometimes with another application near silking; follow your local soil-test and extension advice rather than feeding automatically.
Too much nitrogen may make plants dark green and tall while increasing lodging risk and delaying maturity. If your corn is leafy but ears are poor, check block size, water at silking, and planting dates before adding more fertilizer. Better nutrition cannot compensate for missed pollination or a crop planted too late to finish.
Keep weeds down without disturbing roots
Weeds compete most strongly while corn is small. Hand-pull them near seedlings or cultivate only the top inch or two of soil between rows; corn roots spread outward, and deep hoeing can damage them. Once the leaves shade the ground, the crop often suppresses new weeds, but do not let a fast-growing weed patch take over during establishment.
After the soil has warmed, a thin layer of clean straw or another suitable organic mulch can slow evaporation and reduce weeds. Keep mulch from smothering seedlings or holding wet material against stalks. As plants grow, you can gently mound loose soil a couple of inches around their bases to help anchor them, especially in exposed gardens. Do not cut off healthy side shoots just because they appear near the base; they are a normal growth response, and removing them does not fix poor pollination or guarantee larger ears.
Protect the crop from pests and weather
A few holes in leaves do not automatically threaten the harvest, but inspect plants weekly and look more closely as silks emerge. Corn earworms can feed at ear tips, while cutworms can sever young seedlings near the soil line. Birds, raccoons, deer, and rodents may target seed or ripening ears, so choose protection that fits the actual problem: a temporary seed cover can deter birds during emergence, and a sturdy fence is more dependable than a repellent for persistent larger animals.
When you find insect damage, identify the pest before treating. Pull back a husk on a damaged ear and look for feeding, frass, or a larva near the tip; remove badly damaged portions and compost or discard the ear according to local guidance. Do not spray an insecticide onto silks or edible ears based on a generic schedule. If damage is widespread, ask your county extension office about locally common pests and use only a product labeled for sweet corn, following its harvest interval and all label precautions.
Corn smut produces conspicuous swollen, grayish or white galls on ears or other plant parts. Remove affected ears before the galls release spores and clear crop debris after harvest. Crop rotation and good cleanup help reduce recurring problems, though they cannot prevent every pest or disease in a home garden. UGA Extension lists common insect problems and describes cultural causes of poor kernel development and lodging.
Troubleshoot common sweet corn problems
A disappointing ear is a useful clue about what happened earlier in the season. The timing of the symptom matters: a weak stand begins with the seedbed; missing kernels often trace back to pollination or drought; and ears that taste starchy may have been left too long or, for some types, pollinated by a different corn genotype. Compare what you see with the growing conditions rather than reaching first for fertilizer or pesticide.
Check the pattern across several ears. If every ear is underfilled at the tip, poor pollen coverage, heat or drought during silking, or an overly small block is more likely than a single damaged ear. If only one ear has a chewed tip, investigate insect or animal feeding. Keep a simple note of planting date, soil warmth, irrigation during silking, and harvest date; it will make next season’s fix more specific.
Diagnose ears with missing kernels
Corn kernels develop only where individual silks received pollen. Missing kernels scattered over the cob, especially at the tip, usually point to incomplete pollination; tight planting, too few rows, a dry spell during silk emergence, or pollen and silks appearing at different times can all contribute. A compact block improves the odds, but it cannot fully offset severe drought or extreme heat when flowers are active.
For a small planting, hand-pollinate by shaking pollen from several dry tassels onto fresh silks in the morning. Repeat on more than one day while new silks emerge. Next season, plant more short rows in a tighter block, avoid overcrowding within a row, and keep soil consistently moist from tasseling through early ear fill. If kernels are full but tough or less sweet, check maturity and whether a different corn type was flowering nearby; extension sources describe different isolation distances and timing for different genetics, so use the seed supplier’s specific recommendation.
Respond to stalks that lean or fall
Wind, a shallow root zone, saturated soil, excessive nitrogen, or a stand with too much open space can make tall stalks topple. A compact block helps neighboring stalks buffer wind, while steady but not excessive watering supports growth without leaving roots in soggy soil. Avoid applying extra nitrogen late simply because the plants appear short; first check soil fertility, variety height, water, and whether the crop was planted late.
If a few stalks lean but remain attached and their ears are still developing, gently guide them upright and firm loose soil around the base. Do not force brittle stalks back into place. Remove stalks that have snapped or are diseased, and note the cause so you can adjust the site, fertilizer, or block layout next year.
Harvest by checking kernels, not the calendar
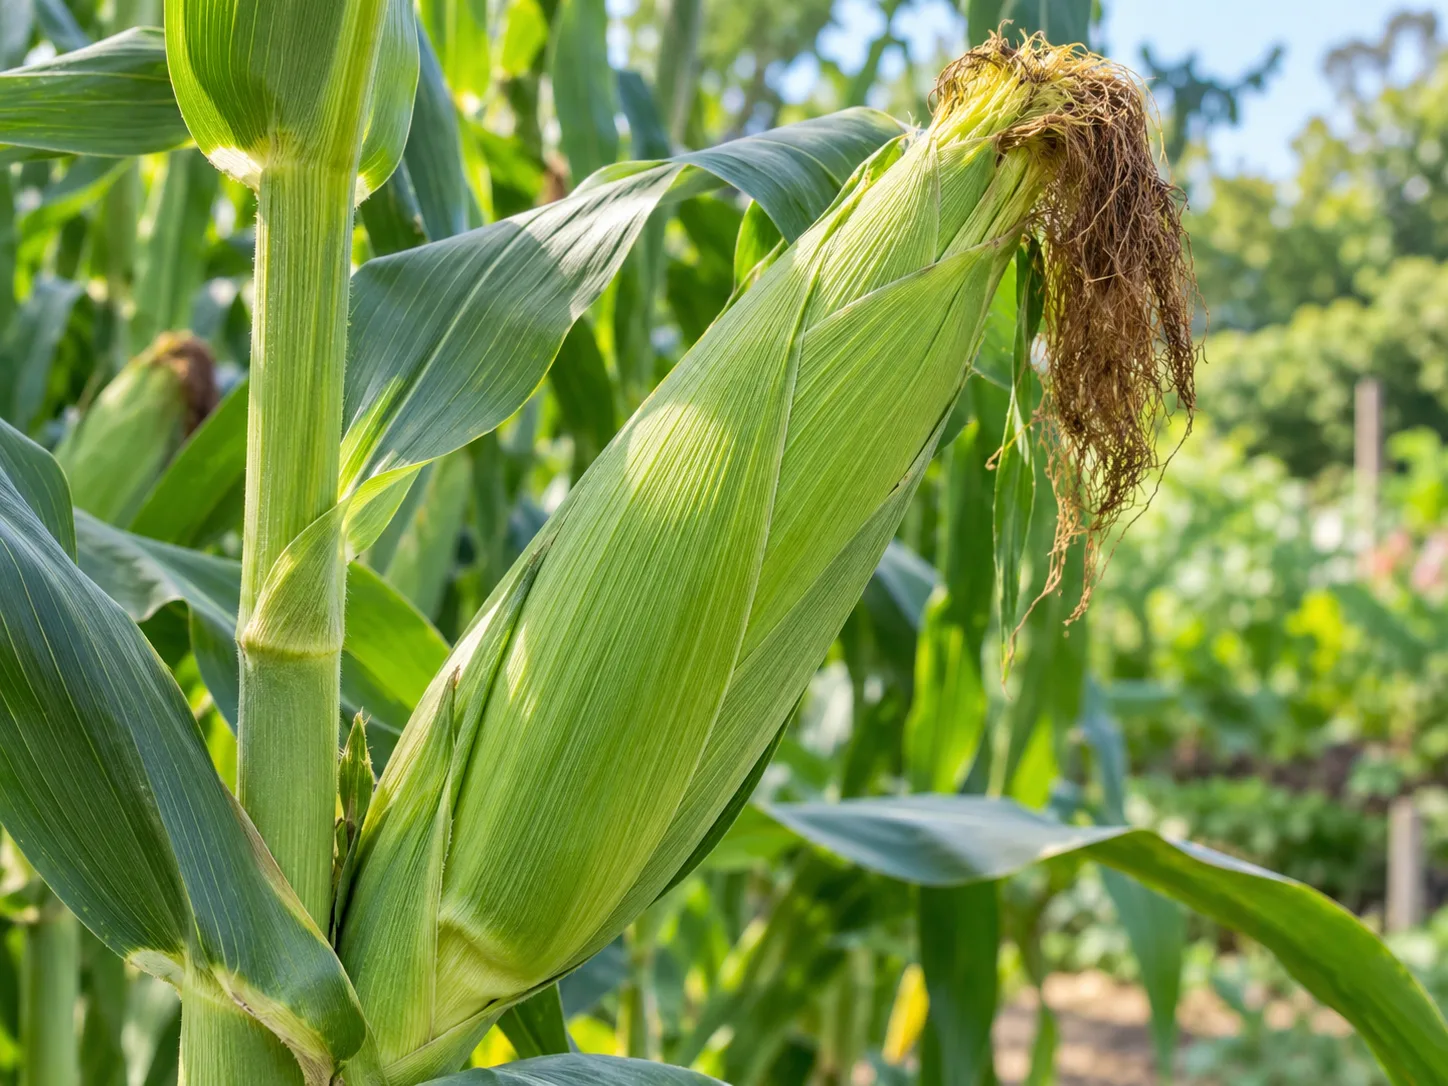
The seed packet’s maturity date helps you know when to start inspecting, but the ear itself tells you when to pick. Under many summer conditions, sweet corn is ready roughly 18 to 24 days after silks first appear; cool weather can extend that window and sustained heat can shorten it. Look for brown, dry silks and a husk that is still green and snug. The tip should feel rounded and filled out rather than sharply tapered.
To confirm, pull back a small part of the husk on one ear and press a kernel with a clean thumbnail. Watery, clear juice means the kernels are immature; milky juice signals the classic eating stage; a dry or doughy kernel means you waited too long for peak fresh flavor. Once you know the crop’s timing, you can use the earliest ears to gauge the rest, but check each ear because they may not mature on the same day. Pick by grasping the ear and bending it downward with a slight twist so you do not tear the stalk.
A common planning assumption is about one useful ear per plant, though variety and conditions change the result. If you need enough corn for a meal or freezer batch, plant a larger block than the exact number of servings you want and expect some ears to be small or imperfect. Utah State University Extension and UGA Extension describe the brown-silk, plump-kernel, milky-juice cues for harvest.
Cool and use ears quickly
The sweet flavor of freshly picked corn fades as sugars convert to starch, especially when ears sit warm. Harvest in the cool part of the day if possible, keep the husks on until you cook, and refrigerate the ears promptly if you cannot use them right away. Penn State Extension recommends immediate refrigeration; for best eating quality, try to cook or preserve the crop the same day rather than leaving it on a counter overnight.
If you have more than you can eat, freeze it while it is still fresh. Penn State Extension’s sweet corn preservation guidance recommends preserving within six hours of harvest for best results. For whole-kernel freezing, it advises blanching ears for four minutes, cooling them, cutting kernels about three-quarters of the way through, and freezing in moisture-resistant containers. Use a current, tested extension recipe if you plan to pressure-can corn; corn is low-acid and is not safe for water-bath canning.
Grow sweet corn in containers only when the setup fits
Corn can grow in a large container, but one lonely pot is a poor layout for a wind-pollinated crop. The container needs enough soil volume to keep roots from drying quickly, and you need several plants grouped closely enough to form a block. A dwarf or compact variety and a sunny, sheltered patio can make the experiment more practical, but frequent watering and a small harvest are still likely trade-offs.
If you only have space for one or two containers, another vegetable may give a more reliable return. If you want to try corn, use multiple large, deep containers arranged tightly together, with drainage holes and a growing medium that does not dry out immediately. Sow enough plants for pollen to move among them, water whenever the root zone begins to dry, and follow the variety’s spacing and maturity directions. Do not treat a single plant’s tassel as a guarantee of full ears; the silks need adequate pollen during the short flowering window.
Conclusion
Growing sweet corn at home starts with a realistic layout: choose a variety suited to your season, wait for warm soil, and plant a compact block rather than a lone row. Give the crop full sun, even moisture, and careful fertility; protect its shallow roots from deep cultivation and keep water steady as tassels and silks appear.
When ears feel full and their silks dry, test a kernel for milky juice and harvest promptly. Cool the ears quickly or preserve them while fresh. A block that flowers together and stays moist through pollination is the clearest path to full, sweet kernels.



