How to Grow Cabbage: Planting, Care, and Harvest
Learn when to plant cabbage, how far to space it, and how to water, feed, protect, harvest, and store heads without inviting splitting or pest damage.
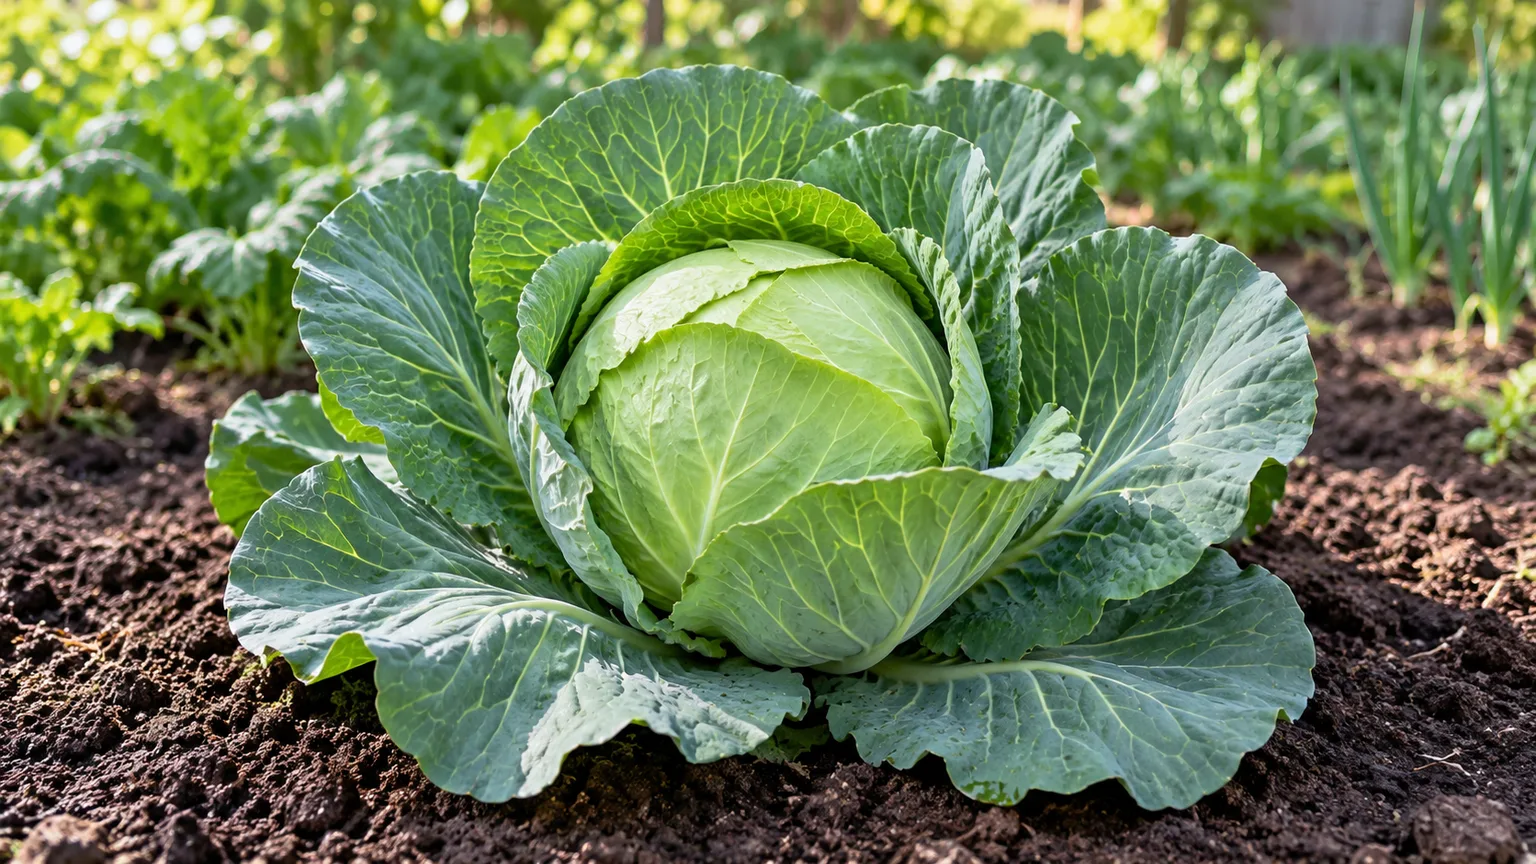
Cabbage is easiest to grow when you treat it as a cool-weather crop with a schedule, not as a plant that can sit in the ground all season and eventually make a head. Choose a variety that matures before summer heat or autumn cold arrives, keep the root zone evenly moist, and protect young leaves before caterpillars find them. Those three decisions matter more than a complicated fertilizer routine.
The edible head is a cluster of tightly packed leaves from Brassica oleracea. Cabbage grows best in fertile soil, full sun, and cool-to-mild weather; high heat and uneven growth can leave heads loose, bitter, split, or undersized. In return for giving it space and steady care, one plant can provide a substantial harvest, and some varieties can stand in the garden after maturity or store well after cutting.
Cabbage’s growing pattern and seasons
Cabbage is botanically a biennial: it normally forms a head in its first year, then flowers and produces seed after overwintering. Home gardeners usually grow it as an annual and harvest the head during that first season. That means a cabbage plant does not reliably “come back” as a second full crop after harvest, although its cut stem can produce smaller side shoots under favorable conditions.
The main practical distinction is the harvest season. Spring and early-summer crops need a variety that can mature before hot weather; fall crops are started while summer heat is easing and finish in cooler conditions. The Royal Horticultural Society groups cabbages by spring, summer, autumn, and winter harvest windows and notes that sowing and harvesting dates differ by type, so use the seed packet’s local timing rather than applying one calendar to all varieties (RHS cabbage growing guide).
Choose a cabbage type for your harvest window
Seed catalogs may group cabbage by head shape, color, or season. Green ballhead varieties are the familiar dense round heads; pointed types often mature sooner and can fit a smaller garden; red cabbage can take longer and may form a firm, substantial head; Savoy has crinkled leaves and is commonly grown for cool-season harvests. These categories overlap, and cultivar performance depends on your climate.
Read the packet for three details before buying: days to maturity, expected head size, and whether the variety is suited to spring, summer, fall, or overwintering. Days to maturity are estimates rather than deadlines, and suppliers do not always count from the same starting point; check whether the listing counts from sowing or transplanting. If the bed is small or you cook for one or two people, a compact or early type is often a better choice than a giant storage cabbage. Epic Gardening groups many varieties into early, midseason, and late ranges of roughly 60–80, 80–90, and 90–110 days, respectively; those ranges are useful for comparing packets, but local temperatures and the supplier’s counting method still control the actual harvest date (Epic Gardening’s cabbage guide).
For a continuous harvest, sow small batches at intervals rather than planting the entire packet at once. Choose varieties with staggered maturity dates, too: an early pointed cabbage followed by a midseason ballhead and a later storage type spreads the work and reduces the chance that several large heads become ready in the same week. A few plants of each type can be more useful than a long row of a single cultivar.
Schedule sowing around local temperatures
Cabbage thrives in cool conditions but still needs enough frost-free growing time to form a head. For a spring crop, count backward from the period when your area usually turns hot, then select a cultivar that can mature before that window. In many U.S. gardens, transplants go out a few weeks before the last spring frost, but the right date depends on local weather, how cold the soil is, and whether you can protect young plants from a hard freeze.
For a fall crop, count backward from the first expected hard freeze using the cultivar’s days to maturity and add a buffer for slower growth as days shorten. Start summer-sown seedlings in a cooler, bright place or provide temporary shade while they establish; hot potting mix can interfere with germination and small seedlings dry quickly. Utah State University Extension describes cabbage as a cool-season crop, gives a general planting window two to three weeks before the last frost for spring plantings, and recommends scheduling fall varieties so maturity lands around the first fall frost rather than long after it (Utah State University Extension cabbage guide).
In mild climates, fall and winter cabbage may be more dependable than spring cabbage. In short-season regions, an early cultivar and a protected spring start may be the best use of garden space. If your summers are hot and your winters mild, aim for an autumn-to-winter crop and use shade cloth or row cover only as temporary protection; do not expect a heat-sensitive variety to form a tight head through prolonged hot weather.
Start cabbage seeds indoors
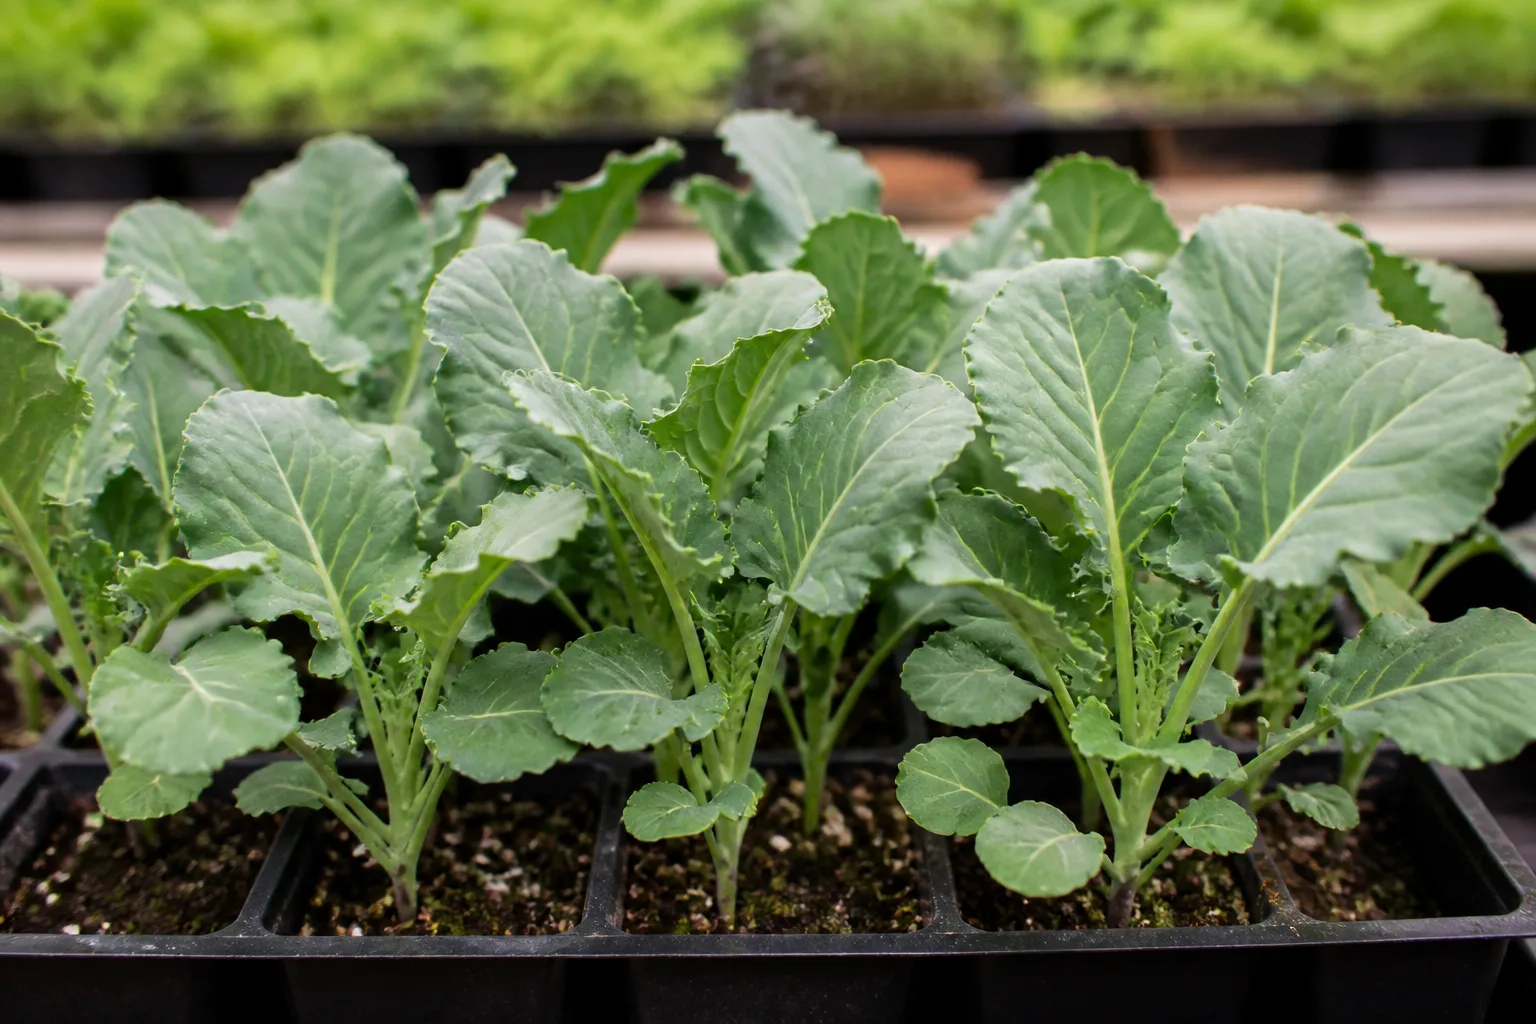
Start seeds about five to seven weeks before the intended transplant date, adjusting for the packet and your climate. Sow one or two seeds per cell in a clean seed-starting mix at the packet’s depth, usually around one-quarter inch; keep the mix moist but not saturated. Once seedlings emerge, give them strong light and enough air movement to grow stocky rather than stretched and pale.
If both seeds germinate in a cell, snip the weaker seedling at the mix surface instead of pulling it and disturbing the stronger one’s roots. Potting on is only needed if the seedlings become root-bound before planting out. Avoid keeping seedlings warm and crowded for too long: a tall, stressed transplant can stall after planting, giving pests and heat more time to damage it.
A modular tray is helpful because each plant can move with its root ball mostly intact. This is especially useful if your garden has a history of clubroot or if you want to reserve the main bed for crops that can be planted sooner. The RHS recommends modular sowing to limit root disturbance, then moving young plants outdoors when they have a sturdy root system and several true leaves.
Direct-sow cabbage outdoors
Direct sowing works when your soil is workable, cool, and not waterlogged, and when you can protect the row from slugs, birds, and insects. Make a shallow drill or plant a small cluster of seeds at each station, following the packet depth. Once seedlings have several true leaves, thin them to the final spacing by cutting extras at soil level; the remaining plant will not have to compete for light, water, and nutrients.
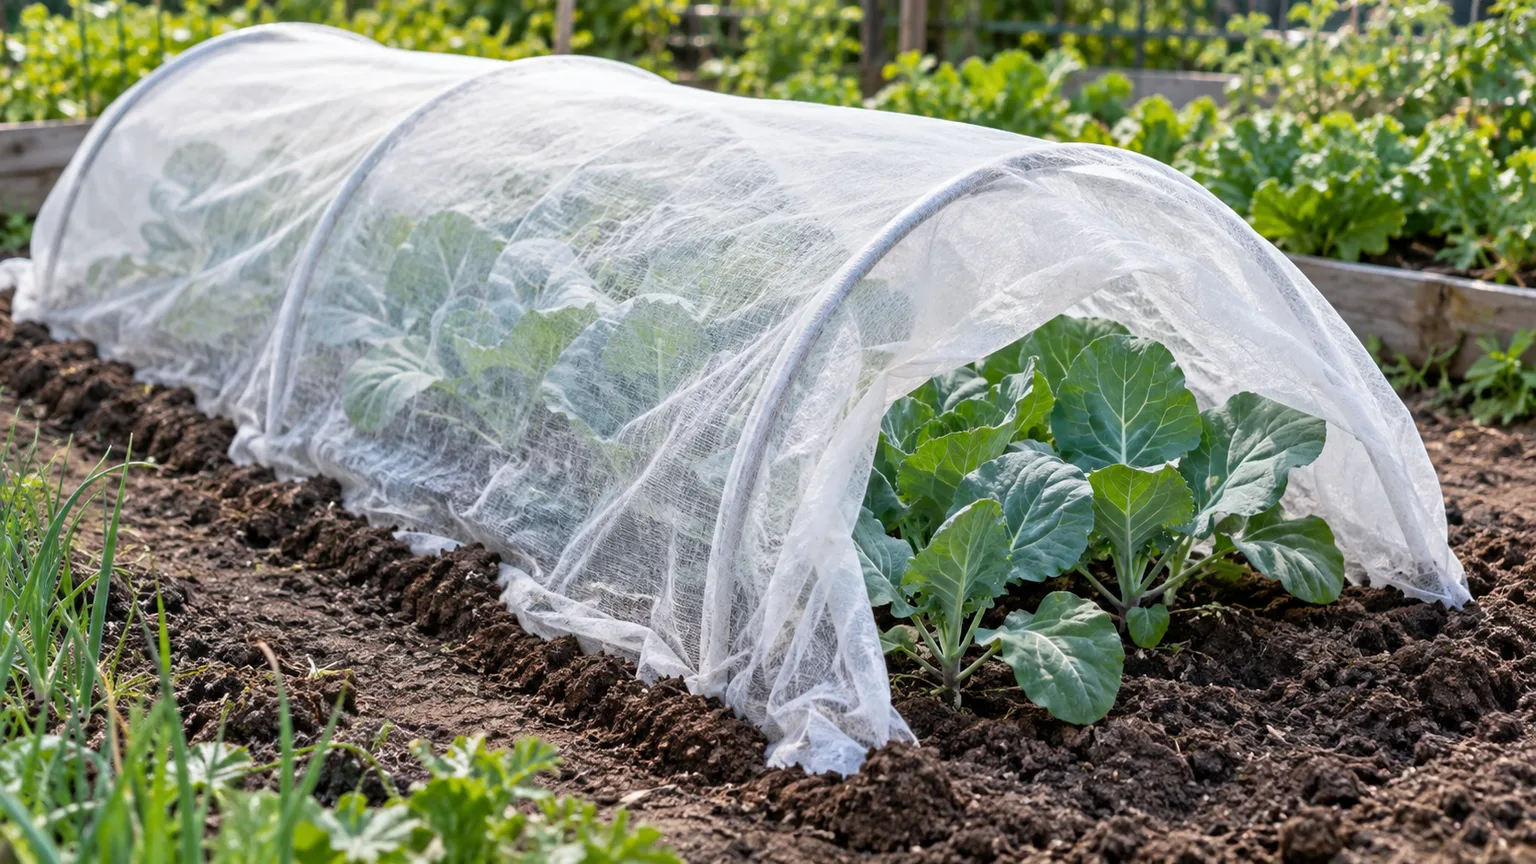
For a home bed, direct sowing is often simpler for a fall crop than trying to nurse seedlings through midsummer heat. Keep the seedbed consistently damp until emergence, but water gently so seeds are not washed from the row. A lightweight insect-proof cover can protect the crop early, but install it before butterflies lay eggs and secure its edges so pests cannot crawl underneath.
If you want baby greens rather than a full head, you can sow more densely and harvest the young leaves, but treat that as a separate crop goal. Dense sowing does not create larger heads; it creates smaller plants competing with one another. For full-size cabbage, thin promptly and leave the room the cultivar needs.
Harden off and transplant without stalling growth
Before planting indoor-grown seedlings outside, harden them off over about a week. Begin with a sheltered outdoor spot for a few hours, then lengthen the time and gradually increase exposure to wind and direct sun. Bring them in if a severe cold snap is forecast, and do not put a wilted tray straight into hot afternoon sun.
Transplant on a cool, cloudy day or in late afternoon. Water the tray first, lift each seedling by its root ball rather than its stem, and plant it at the same depth or slightly deeper so the stem is supported. Firm the soil around it and water thoroughly to close air gaps. A temporary row cover can reduce wind stress and block insects while roots reestablish, but remove or lift it as needed if temperatures rise sharply.
A seedling that droops for a day may recover after watering and shade, but persistent wilting usually means the root ball dried, roots were damaged, or the soil is waterlogged. Check the soil before adding more water. A transplant that stays stalled for weeks may be too old, root-bound, or exposed to heat; replacing it early is often more productive than trying to rescue a weak plant late in the season.
Choose and prepare a sunny, fertile site
Choose a site that receives at least six hours of direct sun on most days, has good drainage, and has not recently grown cabbage, broccoli, kale, collards, cauliflower, or another brassica. The family resemblance matters in the rotation plan: related crops share several soilborne diseases and insect pests. A three-year gap between brassica crops is a useful home-garden target when space allows, while the RHS advises avoiding the same ground for cabbages and other brassicas for at least the previous couple of years.
Cabbage prefers fertile soil with organic matter that holds moisture but drains after rain. Before planting, work in mature compost if the bed is low in organic matter, and use a soil test to decide whether lime or fertilizer is needed. Do not add lime by habit: it changes pH and is a long-term amendment, not a quick treatment for every cabbage problem. If clubroot has occurred, choose a resistant cultivar where available, avoid moving contaminated soil between beds, and consider growing in a clean container or raised bed.
Good drainage is as important as fertility. Heavy, compacted ground can hold water around roots and slow growth, while very sandy soil may dry between waterings. If the bed floods after storms, improve drainage or use a raised bed rather than compensating with a fertilizer. Keep the planting area weed-free while plants are young, when weeds can quickly overtake the rosette.
Space plants for the head size you want
A practical starting range for many full-size cabbages is 12 to 18 inches between plants, with rows about 2 to 3 feet apart. Compact cultivars can use the closer spacing; large storage types and vigorous Savoy varieties need more room. Utah State University Extension gives 12 to 18 inches in-row and 2 to 3 feet between rows, while the RHS recommends checking the cultivar because compact and larger types differ in final size.
| Planting goal | Starting spacing | What to expect |
|---|---|---|
| Compact or early heads | About 12 inches apart | Smaller heads, closer planting, easier fit in a narrow bed |
| Standard home-garden heads | About 15 to 18 inches apart | Good access and airflow for most varieties |
| Large storage or winter types | Use the wider end of the packet range, sometimes more | More room for mature wrapper leaves and large heads |
These are starting points, not a promise of head diameter. Crowding shades lower leaves, restricts airflow, and can make it difficult to inspect plants for eggs or caterpillars. Wider spacing allows larger outer leaves but uses more of the bed; if space is limited, choose a compact variety instead of forcing a large cultivar into a tight grid.

Water evenly and mulch the root zone
Aim for about 1 to 2 inches of water per week from rain and irrigation combined, using the lower end in cool weather and adjusting for fast-draining soil, heat, wind, and container conditions. This is a useful planning range, not a fixed watering schedule: check soil several inches down and water when the root zone is drying. A deep soak is more useful than a light daily sprinkle because it encourages roots to explore the bed.
Water at the soil surface in the morning when possible. Drip irrigation or a soaker hose delivers water to the root zone and keeps foliage drier than overhead watering. A layer of clean organic mulch helps slow evaporation and suppress weeds; leave a little space around the stem so the crown does not sit against wet, decomposing material.
Consistency becomes especially important as the head begins to form. A plant that dries repeatedly and then receives a large amount of water may take up moisture faster than the head can expand evenly, causing cracks. Utah State University Extension connects moisture fluctuations during heading with splitting, and recommends even watering; mulch can reduce the swings but does not replace checking the bed after hot, dry weather.
Feed before heads begin to form
Cabbage uses nutrients to build a large leaf canopy before it makes a dense head. Start with fertile soil and a soil test rather than automatically applying a strong fertilizer. If the test or plant growth indicates a need, use a vegetable fertilizer according to its label and side-dress while plants are establishing, commonly a few weeks after transplanting.
Stop routine nitrogen feeding once the heads start to tighten. Extra nitrogen late in the season can keep the plant producing loose outer growth instead of a compact head, and overfeeding can contribute to splitting. More fertilizer will not fix heat stress, drought, waterlogging, poor roots, or a variety that needs more time. If leaves are pale, look at the whole plant and soil moisture first, then check the nutrient recommendation before adding anything.
Grow cabbage in containers
Cabbage can grow in a pot, but the container must be large enough to buffer moisture and give roots room. Use a deep container with drainage holes, generally at least 12 inches wide for one compact plant; a larger pot is easier to keep evenly moist and supports a larger cultivar. Fill it with a quality potting mix for vegetables rather than dense garden soil, which can compact in a container.
Choose compact cabbage and plant one per pot unless the container is exceptionally large and the cultivar is small. Pots dry faster than beds, especially in hot sun or wind, so check moisture daily during warm weather and water thoroughly when the mix begins to dry. A container can be a useful way to avoid a garden bed with clubroot history, but only if the pot, mix, tools, and runoff are kept separate from contaminated soil.
The trade-off is yield and attention. One pot is unlikely to produce the size or number of heads that an in-ground row can, and a small pot can swing from wet to dry quickly. Put it where it receives full sun and has airflow, but avoid a heat-reflecting wall that raises root-zone temperatures during the hottest part of summer.
Protect plants from insect pests
The most efficient cabbage pest plan is prevention before damage appears. Cover seedlings and transplants with fine insect mesh or a lightweight row cover immediately after planting, and anchor the edges. If you wait until holes appear, adult butterflies may already have laid eggs beneath the leaves; an uncovered crop can be difficult to clear after caterpillars settle into the head.
Check the undersides of leaves every few days. Imported cabbageworm larvae are green and can blend into the foliage; cabbage loopers move in a characteristic looping crawl, while flea beetles leave many tiny holes in young leaves. Remove visible eggs and caterpillars by hand, and keep the crop covered between inspections. A cover must allow enough airflow and should not press tightly on the growing head.
Aphids cluster on tender growth and leaf undersides, and slugs can chew seedlings in damp beds. Remove infested outer leaves when damage is limited, rinse aphids off with a firm stream of water, and reduce hiding places such as weeds and plant debris. If you consider a pesticide, identify the pest first, choose a product labeled for edible cabbage and the specific pest, and follow every label direction and preharvest interval; do not apply household mixtures to food crops as a substitute for identification.
Prevent diseases and diagnose leaf symptoms
Crop rotation, clean transplants, good drainage, and removing diseased debris are the foundation of cabbage disease prevention. Clubroot causes swollen, distorted roots and plants that wilt even when the soil is moist; once it is established in a bed, it can persist for years. Avoid moving soil from that bed, select resistant varieties if available, and use clean containers or a separate raised bed when practical.
Black rot may cause yellow, V-shaped areas that begin at the leaf edge and darken veins, while downy mildew often appears as pale or yellow patches with fuzzy growth on the underside in humid conditions. Symptoms overlap, so remove a badly affected plant and compare the pattern with a reliable plant-disease resource before treating the rest of the bed. Avoid splashing soil onto leaves, water near the base, and clear crop debris at the end of the season.
Brown or dry leaf edges inside an otherwise firm head may be tipburn rather than a simple lack of fertilizer. It can develop when growth is uneven and calcium does not reach rapidly forming inner leaves, even where calcium exists in the soil. Keep moisture steady and avoid pushing excessive growth with late nitrogen; adding calcium without testing or diagnosing the problem may not solve it.
Troubleshoot loose heads, splitting, and bolting
Loose heads usually reflect a mismatch between the plant’s needs and its growing conditions: heat, crowding, insufficient sun, dry soil, excess late nitrogen, or harvesting before the cultivar has matured. Confirm the variety’s maturity window, check whether plants receive enough sun, and inspect soil moisture before changing fertilizer. If weather has turned hot, there may be little value in feeding a crop that has already missed its cool growing window.
A split head often follows a dry spell, then sudden heavy rain or watering when the plant is nearly mature. Keep moisture as even as possible with mulch and irrigation, and harvest a firm head promptly when a period of heavy rain is forecast. Small cracks can be used quickly if the inside is clean and sound; discard a head with decay, foul odor, or extensive insect damage. GardenersPath likewise describes a dry-to-wet swing and late overfeeding as common contributors, reinforcing why a mature head should not receive a late nitrogen push (GardenersPath’s cabbage growing guide).
Bolting is the shift from leafy growth to a flower stalk. It can follow cold exposure at the wrong seedling stage or a later warm spell, depending on the variety and local conditions. Once the stalk rises, the head’s texture and flavor decline, so harvest a usable head early rather than waiting for it to tighten further. Choose a variety suited to your planting season and protect young plants from prolonged temperature extremes.
Harvest when heads are firm
Use the calendar as a reminder to inspect, not as the harvest signal. A ready head feels dense and firm when pressed gently, has reached a reasonable size for its variety, and has no sign of splitting. Some early cultivars may mature in roughly two months after transplant, while later storage types need longer; Utah State University Extension lists variety examples ranging from about 55 to 100 days, illustrating why the packet’s own maturity estimate matters.
Cut the stem just below the head with a clean, sharp knife. Leave a few outer wrapper leaves attached to protect the head during handling and storage, and move it into shade or indoors soon after cutting so it does not wilt. If rain is expected and the head is already firm, harvest rather than gambling on an additional week of growth.
If the head is small but firm, it can still be harvested; waiting for a larger size may increase the risk of splitting or pest damage. If it is loose and the plant still has healthy leaves, give it time only if temperatures and moisture remain suitable. A head that has begun to crack should be used promptly after inspection because open tissue is more vulnerable to rot.
Encourage a small follow-up harvest
After cutting the main head, some plants send out small side shoots from the remaining stem. This is more likely when the roots and several healthy outer leaves remain in place, but it is not guaranteed and the new heads will be much smaller than the first. Leave the plant in the bed if it is healthy, remove old damaged leaves, and keep watering while new shoots develop.
If multiple shoots form, you can harvest them as tender greens or leave a few to make small heads. Remove the plant after production slows or if disease, clubroot, or severe pest damage appears. Treat regrowth as a bonus, not as a replacement for planting another cabbage for a full-size harvest.
Store cabbage for the kitchen or winter
For everyday use, refrigerate an unwashed head with its outer leaves intact in the crisper drawer or a loose bag. Avoid sealing wet cabbage in an airtight container, which can trap excess moisture and speed decay. Cut only what you need and keep the unused portion wrapped and cold; quality is best while the cut surface is fresh.
Long storage requires cold, humid conditions that most kitchen refrigerators do not maintain uniformly. Utah State University Extension describes storage around 32°F with very high relative humidity and gives a possible storage range of two to six months under suitable conditions; that is a root-cellar or controlled-storage target, not a promise for a standard refrigerator. Store only sound, mature heads, check them regularly, and remove any that soften or rot.
Keep stored cabbage away from apples, pears, and other ethylene-producing fruit if you are aiming for longer storage. Follow the cultivar’s storage description too: some varieties are bred for fresh eating and quick use, while dense winter types are better suited to keeping. If you do not have a cold, humid place, plan to harvest in batches and refrigerate heads for near-term meals instead of letting a mature crop sit outside indefinitely.
Conclusion
For dependable cabbage, match the cultivar to the season, start it early enough to avoid prolonged heat, and give each plant room for its mature leaves. Keep water steady as heads form, cover young plants before caterpillars arrive, and use the packet and the feel of the head to decide when to harvest. With those fundamentals in place, cabbage can be a straightforward crop in a garden bed or a large pot—and you will know what to change if growth stalls, pests appear, or a head starts to crack.



